
Taurus AIR FORCE
Taurus Air Force 20-inch Industrial Fan User Manual
Model: AIR FORCE | Brand: Taurus
1. Introduction and Overview
Thank you for choosing the Taurus Air Force 20-inch Industrial Fan. This manual provides essential information for the safe and efficient operation, assembly, maintenance, and troubleshooting of your new fan. Please read it thoroughly before use and retain it for future reference.
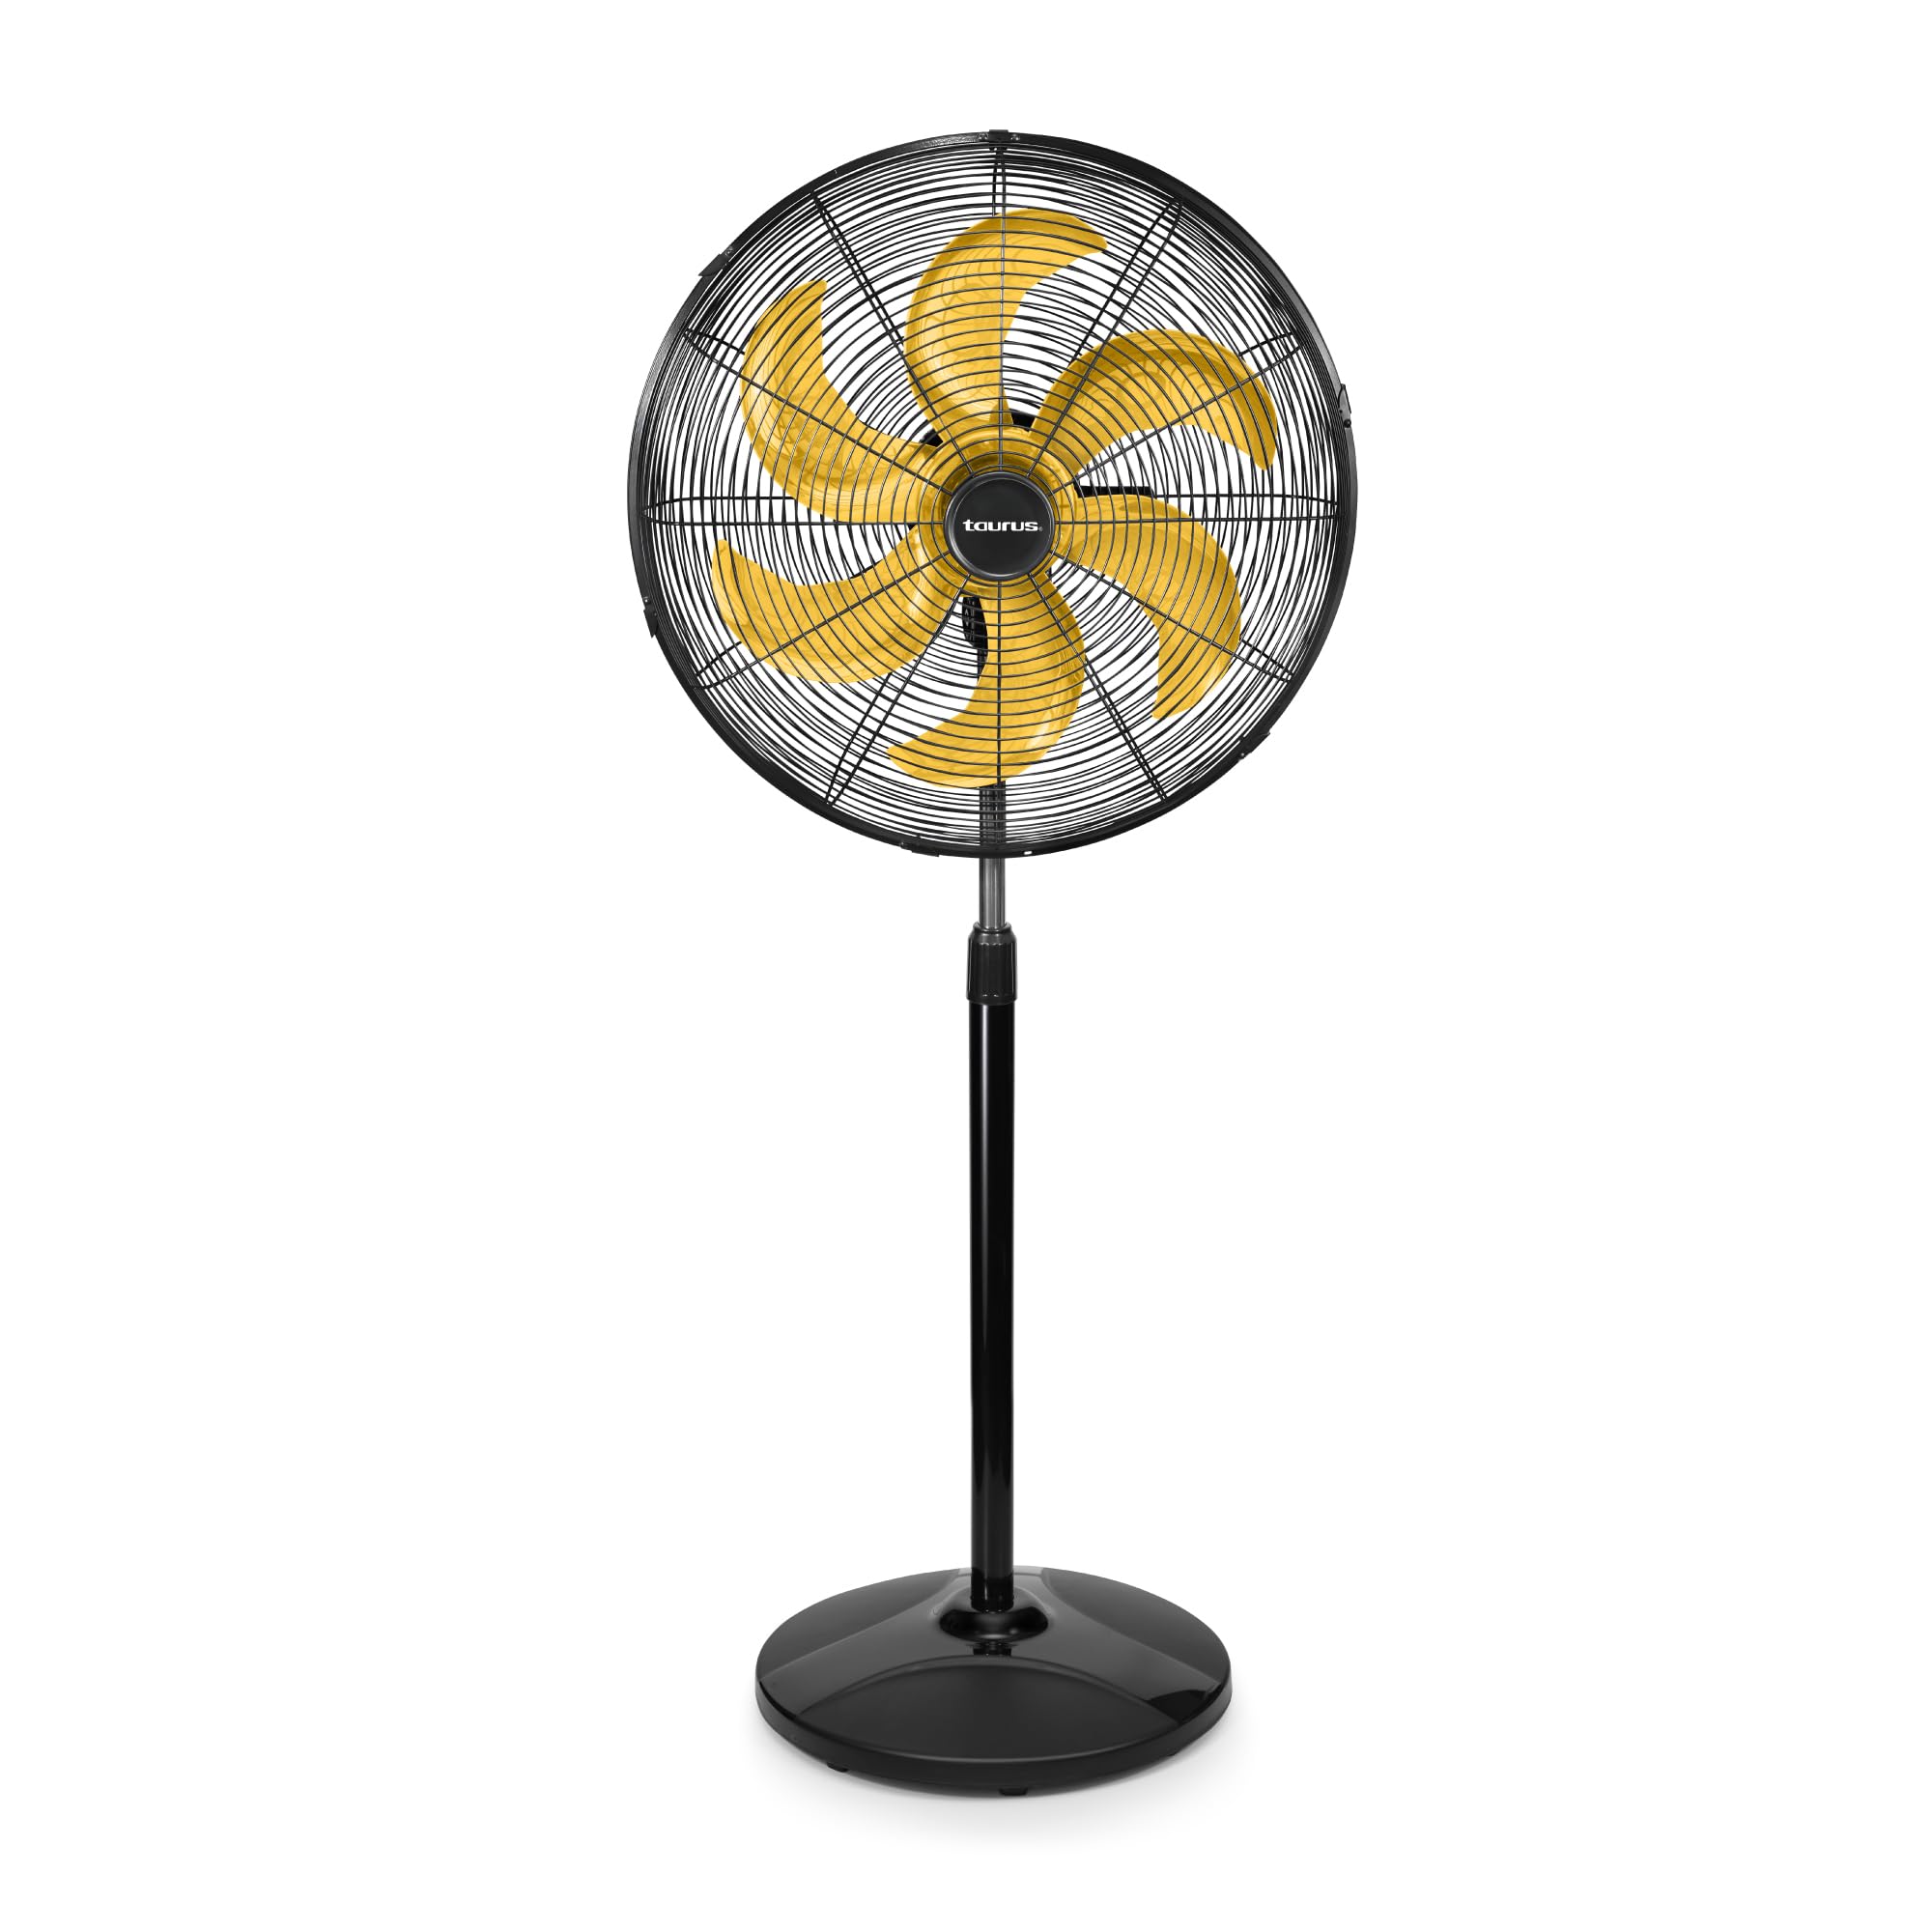
Image 1.1: Front view of the Taurus Air Force 20-inch Industrial Fan, featuring a black body and distinctive yellow metal blades.
Key Features:
- 20-inch Metal Grille and 6 Aerodynamic Yellow Blades: Designed for maximum airflow and instant cooling.
- 3 Speed Settings: Allows for customized airflow intensity.
- Wide Horizontal Oscillation: Ensures uniform air distribution across a large area.
- Adjustable Height: Can be adjusted up to 1.45 meters to suit various needs.
- Eco-Friendly Design: Features a counterweight made from post-consumer recycled material.
- Durable Construction: Built with metallic components for industrial-grade performance.
2. Safety Instructions
To reduce the risk of fire, electric shock, or injury, always follow these basic safety precautions:
- Read all instructions before using this fan.
- Ensure the power supply matches the voltage specified on the fan's rating label.
- Do not operate any fan with a damaged cord or plug. If the cord or plug is damaged, contact the manufacturer or a qualified service agent.
- Avoid placing the fan in areas where it may be easily knocked over. Always place it on a stable, level surface.
- Keep fingers, hair, and loose clothing away from the fan blades and grille during operation.
- Do not use the fan near water or in excessively humid environments (e.g., bathrooms, laundry areas).
- Unplug the fan from the power outlet before cleaning, performing maintenance, or when not in use.
- Do not block air openings.
- This fan is certified for operation in temperate and tropical climates.
- Do not attempt to repair or adjust any electrical or mechanical functions on this unit. Doing so will void the warranty.
3. Product Components
The Taurus Air Force Industrial Fan typically includes the following components:
- Fan Head (with grille and blades)
- Adjustable Stand Pole
- Base (containing recycled counterweight)
- Power Cable with Speed Control

Image 3.1: Close-up view of the fan head, showing the metal grille and yellow blades.

Image 3.2: Detail of the fan's base, illustrating the eco-friendly recycled material used for the internal counterweight.
4. Setup and Assembly
While the product specifications indicate no assembly is required, some minimal setup steps are typically needed for floor fans to ensure stability and proper function. Please follow these general guidelines:
- Unpack Components: Carefully remove all parts from the packaging. Verify that all listed components are present.
- Attach Base to Stand Pole: Securely attach the stand pole to the fan base. Ensure it is firmly seated and tightened according to any provided fasteners.
- Attach Fan Head to Stand Pole: Mount the fan head assembly onto the top of the stand pole. Ensure it is securely fastened and stable.
- Position the Fan: Place the assembled fan on a firm, level surface, away from curtains or other objects that could obstruct airflow or get caught in the blades.
- Connect Power: Plug the power cable into a suitable electrical outlet.

Image 4.1: Side view of the fully assembled Taurus Air Force Industrial Fan, illustrating its stable floor-mount design.
5. Operating Instructions
Follow these steps to operate your Taurus Air Force Industrial Fan:
- Power On/Speed Selection: Locate the speed control knob on the power cable. Turn the knob to select your desired speed setting (1, 2, or 3). Position '0' is off.
- Adjust Height: To adjust the fan's height, loosen the height adjustment knob on the stand pole, raise or lower the pole to the desired position (up to 1.45 meters), and then securely tighten the knob.
- Activate Oscillation: To enable the wide horizontal oscillation feature, locate the oscillation pin/button on the top or rear of the fan motor housing. Push it down to start oscillation, or pull it up to stop the fan from oscillating and direct airflow in a fixed direction.
- Adjust Tilt: The fan head can be tilted vertically to direct airflow upwards or downwards. Loosen the tilt adjustment knob on the side of the fan head, adjust to the desired angle, and then tighten the knob.

Image 5.1: Speed control knob on the power cable, used to select one of the three fan speeds.

Image 5.2: Visual representation of the fan's wide horizontal oscillation, distributing air across a broad area.

Image 5.3: Illustration of the fan's adjustable height mechanism, allowing customization up to 1.45 meters.
6. Maintenance and Care
Regular cleaning and maintenance will ensure the longevity and optimal performance of your fan.
- Always unplug the fan from the power outlet before cleaning.
- Cleaning the Grille and Blades: The manufacturer recommends "hand wash" for care. This implies careful manual cleaning. Use a soft, damp cloth to wipe the exterior surfaces. For the blades and interior of the grille, you may need to remove the front grille (if detachable) to access them. Use a soft cloth or brush to remove dust and debris. Ensure all parts are completely dry before reassembling and operating the fan.
- Do not use abrasive cleaners, solvents, or harsh chemicals, as these can damage the fan's finish or components.
- Do not immerse the fan in water or allow water to drip into the motor housing.
- Store the fan in a cool, dry place when not in use for extended periods.
7. Troubleshooting
If you experience issues with your fan, refer to the following common problems and solutions:
| Problem | Possible Cause | Solution |
|---|---|---|
| Fan does not turn on. | No power, loose plug, speed control set to '0'. | Check power outlet, ensure plug is fully inserted, turn speed control to 1, 2, or 3. |
| Low airflow. | Fan speed too low, grille/blades obstructed or dirty. | Increase speed setting, clean grille and blades (refer to Maintenance section). |
| Fan is noisy. | Loose parts, fan not on a level surface, debris in blades. | Check for loose screws, ensure fan is on a stable surface, clean blades. |
| Oscillation not working. | Oscillation pin/button not engaged correctly. | Ensure the oscillation pin/button is pushed down to activate oscillation. |
If the problem persists after attempting these solutions, please contact Taurus customer support for assistance.
8. Specifications
| Brand | Taurus |
| Model | AIR FORCE |
| Item Weight | 9.3 Kilograms |
| Product Dimensions | 57.91 x 50.04 x 144.78 cm (L x W x H) |
| Finish Type | Metallic |
| Care Instructions | Hand wash (for cleaning grille/blades) |
| Assembly Required | No (Minimal setup may be needed for stand and base) |
| Number of Pieces | 1 (Main unit) |
| Batteries Required | No |
| Included Components | Fan Head, Stand Pole, Base, Power Cable with Control |
| Electric Fan Design | Floor Fan |
| Power Source | AC |
| Style | Industrial |
| Special Feature | Manual Controls, Adjustable Height, Oscillation |
| Recommended Uses | Ventilation |
| Mounting Type | Floor Mount |
| Material | Metal, Plastic |
| Color | Black body with Yellow Metal Blades |
9. Warranty and Support
Your Taurus Air Force Industrial Fan is backed by a comprehensive five-year manufacturer's warranty. This warranty covers defects in materials and workmanship under normal use.
For warranty claims, technical support, or any questions regarding your product, please contact Taurus customer service. Keep your proof of purchase for warranty validation.
For the most up-to-date contact information, please visit the official Taurus website or refer to the contact details provided with your product packaging.
Ask a question about this manual
Ask about setup, troubleshooting, compatibility, parts, safety, or missing instructions. Manuals+ will review the question and use this page’s manual context to help answer it.