1. Introduction
This user manual provides comprehensive instructions for the setup, operation, and maintenance of your Ematic EPJ590WH Portable Projector. Please read this manual thoroughly before using the projector to ensure proper operation and to maximize its lifespan. Keep this manual for future reference.
The Ematic EPJ590WH is a versatile portable LCD projector designed to support various video sources, including gaming consoles, PCs, laptops, and streaming devices. It features an 800 x 480 native resolution with support for up to 1080p video input, built-in speakers, and multiple connectivity options.
2. Safety Information
To prevent fire or electric shock, do not expose this appliance to rain or moisture. To avoid electric shock, do not open the cabinet. Refer servicing to qualified personnel only.
- Do not block ventilation openings. Ensure adequate space around the projector for proper airflow.
- Do not place the projector on an unstable cart, stand, tripod, bracket, or table. The projector may fall, causing serious injury and serious damage to the appliance.
- Do not look directly into the projector lens when the lamp is on. The bright light can cause eye damage.
- Use only attachments/accessories specified by the manufacturer.
- Unplug this projector during lightning storms or when unused for long periods of time.
- Clean only with a dry cloth.
3. Package Contents
Please check to ensure all items are present and in good condition:
- Ematic EPJ590WH Portable Projector
- Remote Control
- Power Adapter
- User Manual (this document)

Image: The Ematic EPJ590WH Portable Projector shown with its accompanying remote control, illustrating the main unit and a key accessory.
4. Product Features
- Adjustable Screen Size: Project an image from 50 inches up to 200 inches diagonally.
- Native Resolution: 800 x 480 pixels, supporting up to 1080p video input.
- Built-in Speakers: Integrated audio for convenient playback without external speakers.
- Multiple Connectivity Options: Includes HDMI, VGA, USB, and AUX ports for broad compatibility.
- Portable Design: Compact and lightweight for easy transport and setup.
5. Product Overview
5.1 Top View and Controls

Image: Top view of the Ematic EPJ590WH projector, highlighting the focus and keystone adjustment dials, along with the navigation and selection buttons on the control panel.
The top panel of the projector features the following controls:
- Focus Ring: Adjusts the clarity of the projected image.
- Keystone Correction: Corrects trapezoidal distortion of the image.
- Navigation Buttons (Up, Down, Left, Right): Used to navigate menus and adjust settings.
- OK Button: Confirms selections in menus.
- Source Button: Selects the input source (HDMI, VGA, USB, etc.).
- Menu Button: Accesses the projector's main menu.
- Power Button: Turns the projector on or off.
5.2 Rear and Side Views with Ports

Image: Rear view of the Ematic EPJ590WH projector, displaying its array of input ports including AUX, AV, MicroSD, two HDMI ports, and a USB port, along with the power input.
The rear and side panels provide various connection ports:
- HDMI Ports (x2): For connecting devices like laptops, gaming consoles, and streaming sticks.
- USB Port: For connecting USB drives to play media files.
- VGA Port: For connecting older computers or devices.
- AUX (3.5mm Audio Out): For connecting external speakers or headphones.
- AV Port: For connecting devices using composite video and stereo audio cables.
- MicroSD Card Slot: For playing media files directly from a MicroSD card.
- DC IN: Power input port.

Image: Side view of the Ematic EPJ590WH projector, highlighting the VGA port and indicating its approximate height of 3 inches.
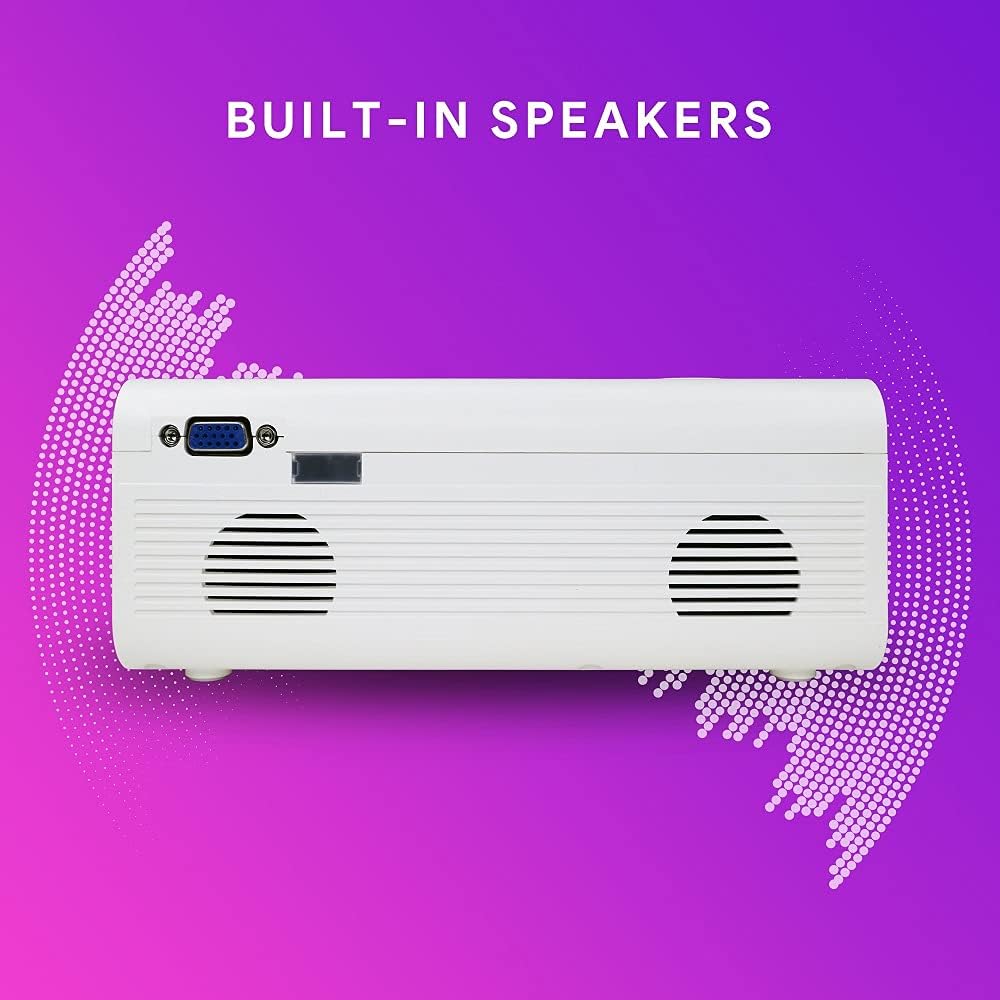
Image: Side view of the Ematic EPJ590WH projector, illustrating the location of the built-in speakers on the side panel.
6. Setup
6.1 Placement
Choose a flat, stable surface for the projector. For optimal image quality, place the projector perpendicular to the projection surface (wall or screen). The projection distance will determine the image size. Ensure there is sufficient space for ventilation around the projector.
6.2 Power Connection
- Connect the power adapter to the DC IN port on the projector.
- Plug the other end of the power adapter into a standard electrical outlet.
- The power indicator light on the projector will illuminate.
6.3 Connecting Devices
Connect your desired input device (e.g., laptop, gaming console, USB drive) to the appropriate port on the projector.
- HDMI: Use an HDMI cable to connect to an HDMI port.
- VGA: Use a VGA cable to connect to the VGA port.
- USB: Insert a USB flash drive into the USB port.
- AV: Use an AV cable (not included) to connect to the AV port.
- MicroSD: Insert a MicroSD card into the MicroSD slot.
6.4 Focus and Keystone Adjustment
After powering on the projector and selecting an input source:
- Focus: Rotate the focus ring near the lens until the projected image is clear and sharp.
- Keystone: If the image appears trapezoidal (wider at the top or bottom), adjust the keystone correction dial until the image is rectangular.
7. Operating Instructions
7.1 Power On/Off
- To Power On: Press the Power button on the projector or the remote control. The indicator light will turn blue.
- To Power Off: Press the Power button again. The indicator light will turn red.
7.2 Input Source Selection
After connecting your device, you need to select the correct input source:
- Press the "Source" button on the projector or remote control.
- Use the navigation buttons to select the desired input (e.g., HDMI1, HDMI2, VGA, USB, AV, MicroSD).
- Press "OK" to confirm your selection.
7.3 Menu Navigation
To access and adjust projector settings:
- Press the "Menu" button on the projector or remote control.
- Use the navigation buttons to move through menu options (Picture, Sound, Time, Option).
- Press "OK" to enter a sub-menu or confirm a setting.
- Press "Menu" again to exit the menu.
7.4 Audio Output
The projector has built-in speakers. For external audio, connect headphones or external speakers to the AUX (3.5mm audio out) port.
8. Maintenance
8.1 Cleaning
- Projector Casing: Use a soft, dry cloth to wipe the surface. Do not use abrasive cleaners or solvents.
- Lens: Use a lens cleaning cloth or specialized lens paper. Avoid touching the lens with your fingers.
- Ventilation Openings: Periodically clean the ventilation openings with a soft brush or compressed air to prevent dust buildup, which can affect performance and lifespan.
8.2 Storage
When not in use for extended periods, store the projector in a cool, dry place, away from direct sunlight and extreme temperatures. It is recommended to use the original packaging or a protective case to prevent dust and damage.
9. Troubleshooting
| Problem | Possible Cause | Solution |
|---|---|---|
| No image projected |
|
|
| Image is blurry |
|
|
| Image is trapezoidal |
|
|
| No sound |
|
|
10. Specifications
| Feature | Detail |
|---|---|
| Model | EPJ590WH |
| Display Technology | LCD |
| Native Resolution | 800 x 480 pixels |
| Supported Resolution | Up to 1920 x 1080 (1080p) |
| Image Contrast Ratio | 1000:1 |
| Projection Size | 50 to 200 inches |
| Connectivity | HDMI (x2), VGA, USB, AV, MicroSD, AUX (3.5mm Audio Out) |
| Built-in Speakers | Yes |
| Power Consumption | 10 watts |
| Dimensions (L x W x H) | 33.2 x 22.3 x 11.91 cm |
| Weight | 1.38 kg |
11. Warranty and Support
For warranty information and technical support, please refer to the warranty card included with your product or visit the official Ematic website. Keep your purchase receipt as proof of purchase for warranty claims.
For further assistance, you may contact Ematic customer service through their official channels.


