
Logitech R500s
Logitech Wireless Presenter R500s User Manual
Model: R500s (910-006518) | Brand: Logitech
Introduction
The Logitech Wireless Presenter R500s is designed to help you deliver impactful presentations with ease. Its intuitive controls and bright red laser pointer allow for seamless navigation and highlighting of key points, boosting your confidence during any presentation. With 2.4 GHz wireless connectivity, you can move freely up to 20 meters from the receiver, engaging with your audience without being tethered to your computer. The plug-and-play design ensures quick setup, making it ready for use whenever you are.
Key Features
- Intuitive Controls: Easy-to-find touch-keys for smooth slideshow navigation (forward/backward).
- Bright Red Laser Pointer: Class 1 laser for clear highlighting against most backgrounds.
- Extended Wireless Range: Up to 20 meters (65 feet) for freedom of movement.
- Plug-and-Play Connectivity: No software installation required; simply plug the USB receiver into a port.
- Dual Connectivity: Connects via USB-A receiver or Bluetooth.
- Ergonomic Design: Comfortable to hold for extended periods.
- Smart Automatic On/Off: Helps conserve battery life.
- Storable USB Receiver: Conveniently stores inside the presenter.
- Long Battery Life: Up to 12 months on a single set of AAA batteries.
- Universal Compatibility: Works with Windows 10, 11 or later, macOS, and iOS.
Setup Guide
1. Install Batteries
The R500s requires two AAA batteries. Open the battery compartment, insert the batteries according to the polarity indicators, and close the compartment securely.

Image: The Logitech R500s Wireless Presenter shown with its accompanying USB receiver.

Image: The R500s presenter with the USB receiver detached, ready for connection.
2. Connect the USB Receiver
Remove the USB receiver from its storage slot within the presenter. Plug the USB receiver into an available USB-A port on your computer. The system will automatically detect and install the necessary drivers. No additional software is required for basic functionality.
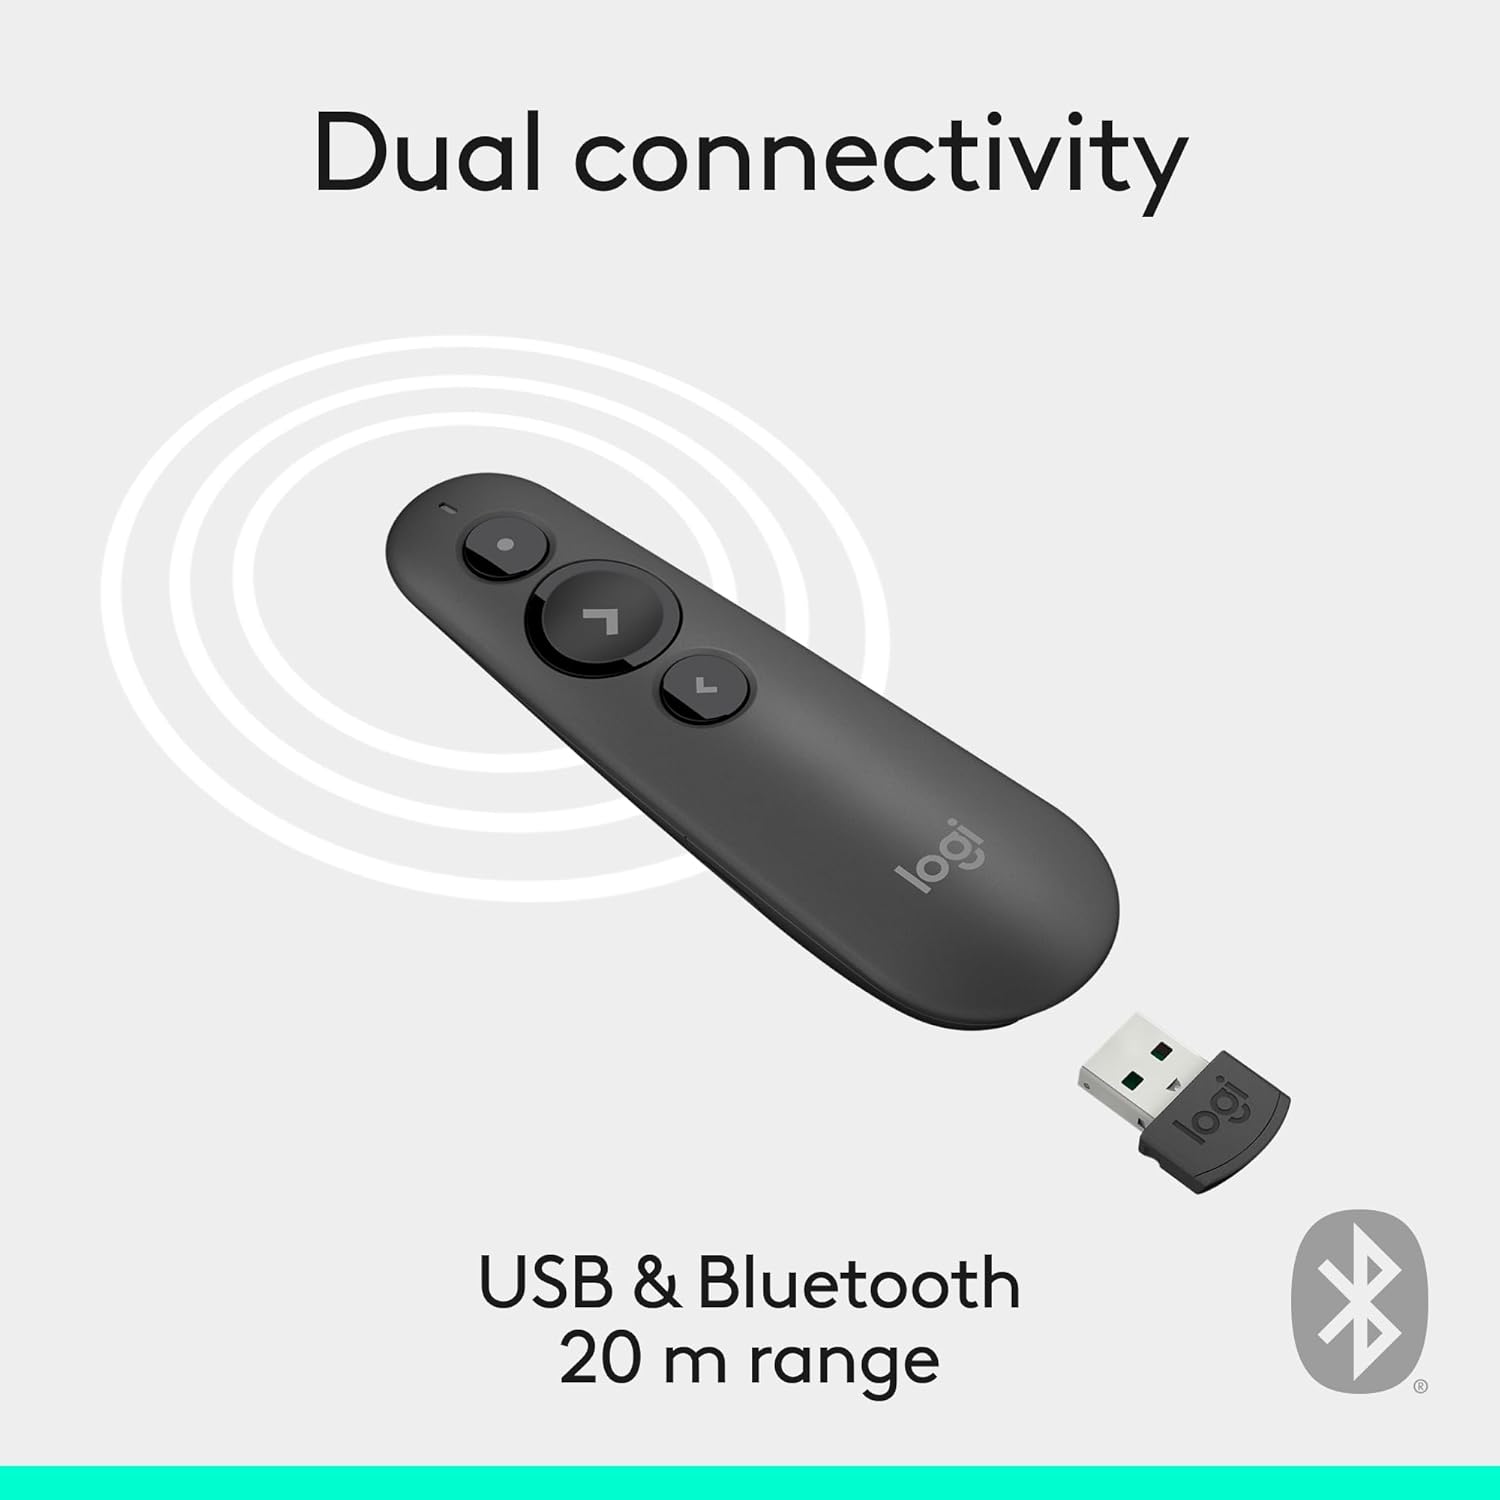
Image: Illustration of the R500s offering dual connectivity options: USB and Bluetooth.
3. Power On the Presenter
Locate the power switch on the side of the presenter and slide it to the 'On' position. The presenter is now ready for use.

Image: The R500s presenter positioned near a laptop, demonstrating its smart automatic on/off feature.
Operating Instructions
Slide Navigation
The R500s features intuitive buttons for controlling your presentation slides:
- Forward Button (Large Arrow): Press to advance to the next slide.
- Backward Button (Small Arrow): Press to return to the previous slide.

Image: A hand comfortably holding the R500s presenter, highlighting its ergonomic design and button placement.
Laser Pointer Usage
To activate the red laser pointer, press and hold the dedicated laser button (usually a small dot icon). Release the button to turn off the laser.

Image: The R500s presenter projecting its red laser pointer onto a presentation graph, illustrating its use for highlighting.
Customizable Buttons
The R500s offers customizable buttons for enhanced control. You can configure long-press actions for specific functions such as starting a presentation or blacking out the screen. Refer to the Logitech Presentation Software (available for download from the official Logitech website) for detailed customization options.

Image: A laptop screen displaying the Logitech software interface for customizing the R500s buttons and timer settings.
Maintenance
Battery Replacement
When the battery indicator on the presenter or in the Logitech software shows low power, replace the two AAA batteries. Ensure correct polarity when inserting new batteries.
Cleaning
Wipe the presenter with a soft, dry cloth. Avoid using abrasive cleaners or solvents.
Troubleshooting
- Presenter Not Responding:
- Ensure the USB receiver is securely plugged into a working USB port.
- Check if the presenter is powered on.
- Replace the batteries if they are low or depleted.
- Try plugging the USB receiver into a different USB port.
- For Bluetooth connection, ensure Bluetooth is enabled on your computer and the presenter is paired.
- Laser Pointer Not Working:
- Ensure the laser button is being pressed firmly.
- Check battery level.
- Note that laser visibility can vary on different screen types (e.g., some projection screens or large TVs may reduce visibility).
- Intermittent Connectivity:
- Ensure you are within the 20-meter wireless range.
- Minimize obstructions between the presenter and the receiver.
- Avoid strong electromagnetic interference from other devices.
Specifications
| Brand | Logitech |
| Model Name | R500s |
| Item Model Number | 910-006518 |
| Connectivity Technology | 2.4GHz RF Wireless, Bluetooth |
| Wireless Range | Up to 20 meters (65 feet) |
| Laser Type | Class 1 Red Laser |
| Battery Type | 2 x AAA batteries (included) |
| Average Battery Life | 12 months |
| Operating System Compatibility | Windows 10, 11 or later; macOS; iOS |
| Hardware Platform | PC, Mac |
| Item Weight | 0.2 ounces |
| Product Dimensions (LxWxH) | 1 x 1.4 x 4.9 inches |
Warranty and Support
Logitech products typically come with a limited hardware warranty. For specific warranty details, registration, and technical support, please visit the official Logitech support website or refer to the warranty card included with your product. You can also find FAQs and troubleshooting guides online.
For additional assistance, visit the Logitech Store on Amazon.
Related documentsR500s


Ask a question about this manual
Ask about setup, troubleshooting, compatibility, parts, safety, or missing instructions. Manuals+ will review the question and use this page’s manual context to help answer it.