1. Introduction
Welcome to the world of robotics and coding with the Makeblock mBot Ultimate Robot Kit. This versatile 10-in-1 kit is designed to provide an engaging and educational experience in STEM (Science, Technology, Engineering, and Mathematics) for users aged 8 and above. With its robust aluminum construction, powerful motors, and flexible programming options, the mBot Ultimate allows you to build various robotic forms and bring them to life through graphical, Arduino, or Python programming.
2. What's in the Box
Your Makeblock mBot Ultimate Robot Kit includes all the necessary components to assemble 10 different robotic forms. Carefully unpack the box and ensure all parts are present. The kit typically contains:
- Main Control Board (CyberPi)
- Three powerful encoder motors
- Anodized 6061 aluminum mechanical parts
- Various sensors (e.g., ultrasonic sensor, line-following sensor)
- Wireless Bluetooth Controller
- Wheels, tracks, and other structural components
- Cables and connectors
- Screwdriver and other assembly tools
- User Manual (this document)

Image: All components of the Makeblock mBot Ultimate Robot Kit, including the main control board, motors, mechanical parts, and tools.
3. Setup
3.1 Assembly
The mBot Ultimate Robot Kit features a threaded-slot design for easy assembly. Follow the detailed instructions provided in the included user manual to construct your desired robot form. Pay close attention to the connection of cables and ensure all components are securely fastened. A screwdriver is included for your convenience.

Image: An exploded view of the robot, highlighting the main control board and various mechanical and electronic components.
3.2 Initial Power-On
Once assembled, locate the power switch on the side of the main control board. Flip the switch to the 'ON' position. The robot's display will light up, indicating it is ready for operation. You can navigate the basic menu using the joystick and buttons on the control board.
Video: This video demonstrates the initial power-on sequence of the mBot, showing the location of the power switch and basic menu navigation on the control board.
4. Operating
4.1 Control with Wireless Bluetooth Controller
The kit includes a wireless Bluetooth controller for direct control of your mBot Ultimate. Insert 2x AA batteries into the controller. Power on the robot and the controller. The controller allows for directional control, mode selection, and activation of pre-programmed motion tricks.

Image: The Makeblock Bluetooth remote controller, showing buttons for mode, power, direction control, and motion tricks.
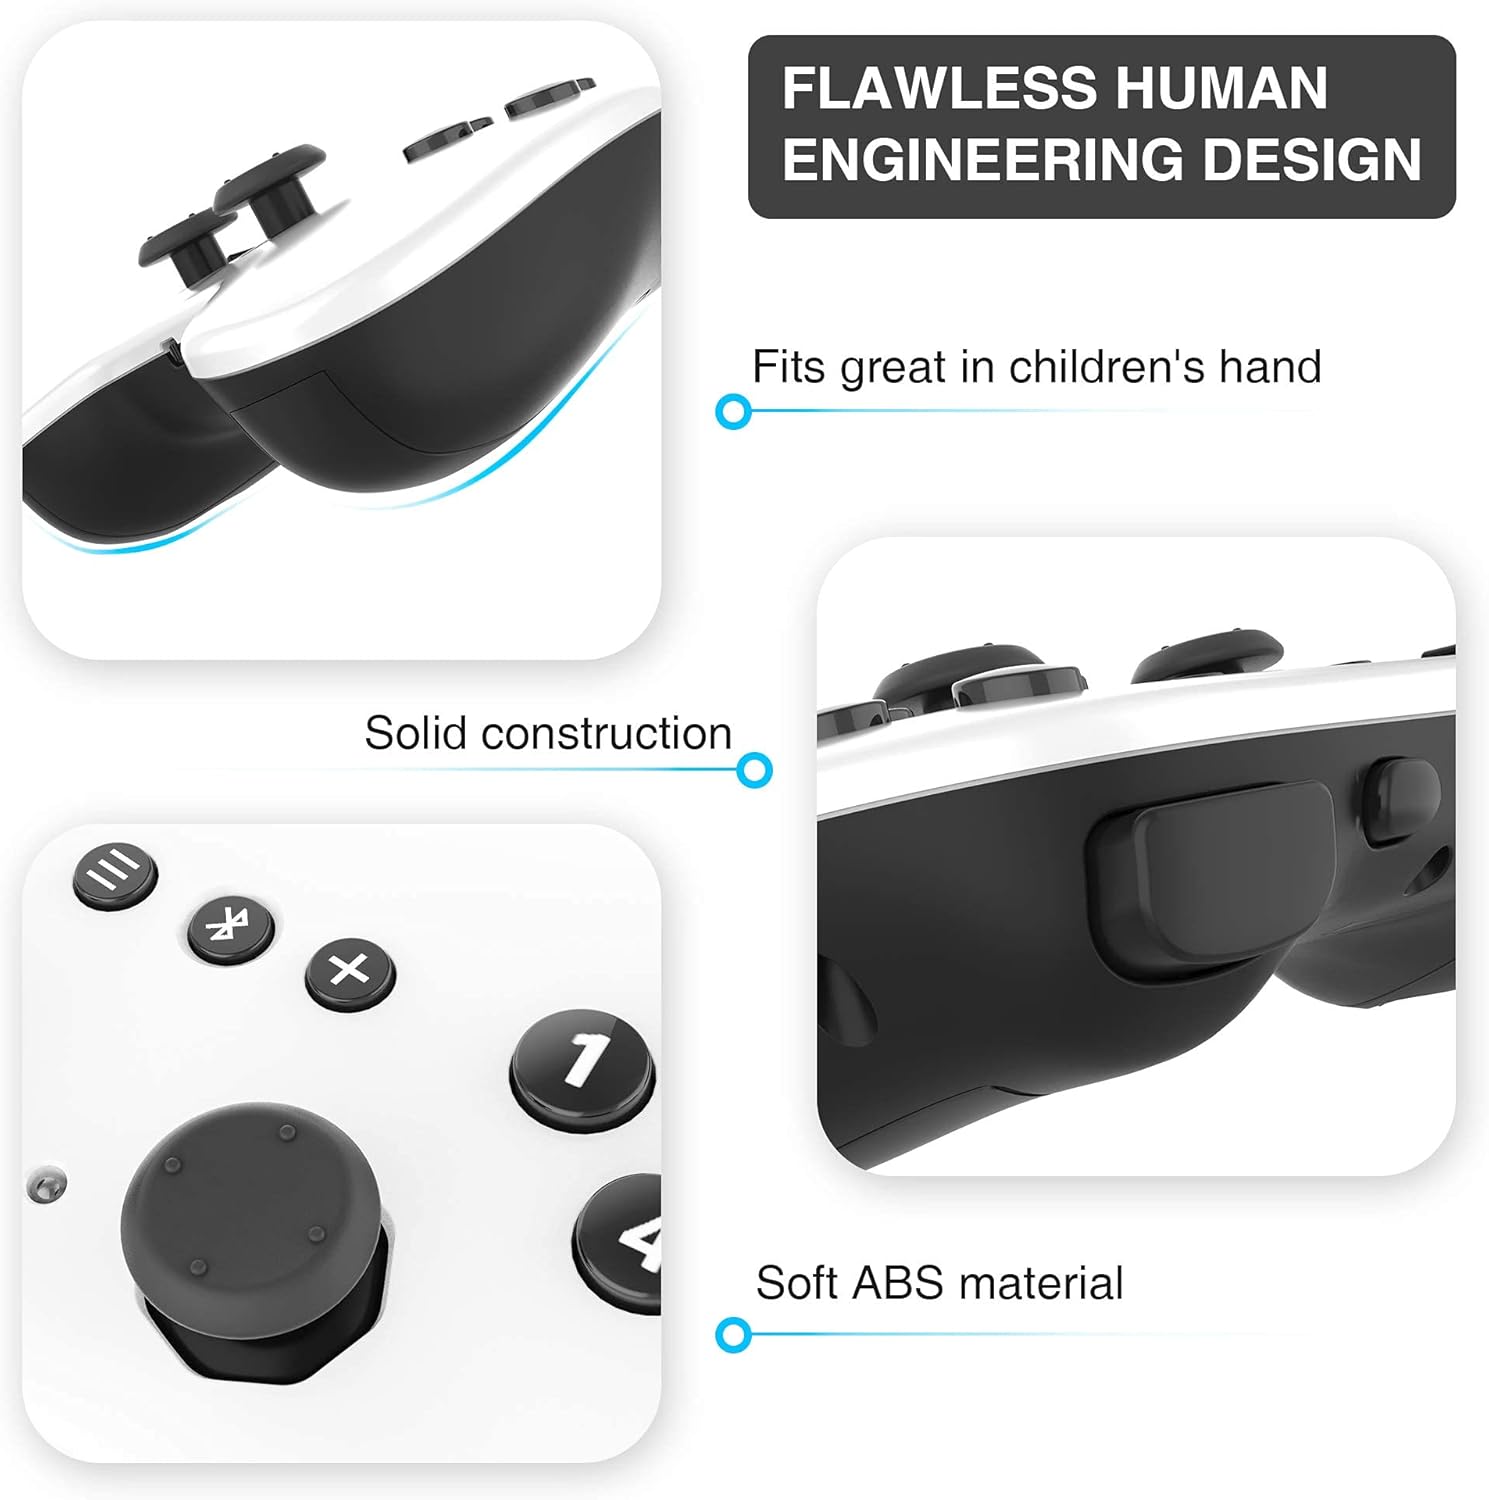
Image: Close-up of the Makeblock Bluetooth controller, emphasizing its ergonomic design, solid construction, and soft ABS material for comfortable use.
4.2 Control with Makeblock App
Download the official Makeblock App on your smartphone or tablet. Ensure Bluetooth is enabled on your device. Bring your device close to the mBot Ultimate to establish a connection. The app offers various play modes:
- Drive: Use your device as a joystick to control the robot's movement.
- Draw and Run: Draw a path on your screen, and the robot will follow it.
- Musician: Play pre-recorded tunes or compose your own using a virtual keyboard.
- Voice Control: Command the robot using voice commands.
Video: This video demonstrates various control modes available through the Makeblock App, including driving, drawing paths, playing music, and voice commands.
4.3 Programming with mBlock Software
For advanced control and custom behaviors, download the mBlock 5 software from the Makeblock website onto your Windows or Mac computer. Connect the CyberPi (main control board) to your computer via a USB-C cable. mBlock 5 supports block-based coding (similar to Scratch) and Python programming, allowing you to create complex algorithms and unlock the full potential of your mBot Ultimate.

Image: A person and child programming the robot on a laptop, illustrating the graphical programming interface.
5. Maintenance
- Cleaning: Use a soft, dry cloth to clean the robot. Avoid using water or harsh chemicals.
- Storage: Store the robot and its components in a cool, dry place away from direct sunlight and extreme temperatures.
- Battery Care: Always use the recommended AA batteries for the controller. Remove batteries if the robot will not be used for an extended period to prevent leakage.
- Component Check: Periodically inspect all connections and mechanical parts to ensure they are secure and undamaged.
6. Troubleshooting
- Robot not powering on: Check battery connections and ensure the power switch is fully in the 'ON' position.
- Bluetooth connection issues: Ensure Bluetooth is enabled on your device and the robot is within range. Restart both the robot and your device.
- Robot not moving as expected: Verify all motor and sensor connections. Check your code or app commands for errors. Ensure batteries are not low.
- Parts missing or damaged: Refer to the 'What's in the Box' section and contact Makeblock support for assistance.
7. Specifications
- Model: mBot Ultimate
- Brand: Makeblock
- ASIN: B096XRT62K
- Recommended Age: 8+ years
- Building Forms: 10-in-1 configurable designs
- Control: Wireless Bluetooth Controller, Makeblock App, mBlock Software
- Motors: Three powerful encoder motors
- Materials: Anodized 6061 aluminum mechanical parts
- Programming Languages: Graphical programming, Arduino programming, Python programming
8. Warranty & Support
For warranty information, detailed assembly instructions, or technical support, please refer to the official Makeblock website or contact their customer service directly. Assembly instructions are provided within the kit to guide you through the building process.


