1. Introduction
This manual provides detailed instructions for the safe and efficient operation of your Walfront 6L Degassing Ultrasonic Cleaner. This device is designed for professional and industrial cleaning applications, utilizing ultrasonic waves for thorough and effective cleaning of various items. Please read this manual carefully before initial use and retain it for future reference.

Figure 1: Front view of the Walfront 6L Degassing Ultrasonic Cleaner, showing the control panel and stainless steel tank.
2. Safety Precautions
To ensure safe operation and prevent damage to the unit or injury, observe the following precautions:
- Electrical Safety: Always disconnect the power source before filling or emptying the tank. Ensure the power plug is securely inserted into a grounded outlet. Do not operate with wet hands.
- Water Level: Never operate the cleaner without sufficient water in the tank. The water level should always be above the minimum fill line and below the maximum fill line.
- Heating Function: Do not keep the heating function on without water in the tank. Monitor the temperature and ensure it does not exceed safe limits.
- Supervision: Do not leave the unit unattended during operation, especially when heating.
- Drainage: Always disconnect the power and allow the unit to cool to normal temperature before draining the tank.
- Chemicals: Use only cleaning solutions recommended for ultrasonic cleaners. Avoid flammable, corrosive, or abrasive solutions.
- Ventilation: Ensure adequate ventilation in the operating area.
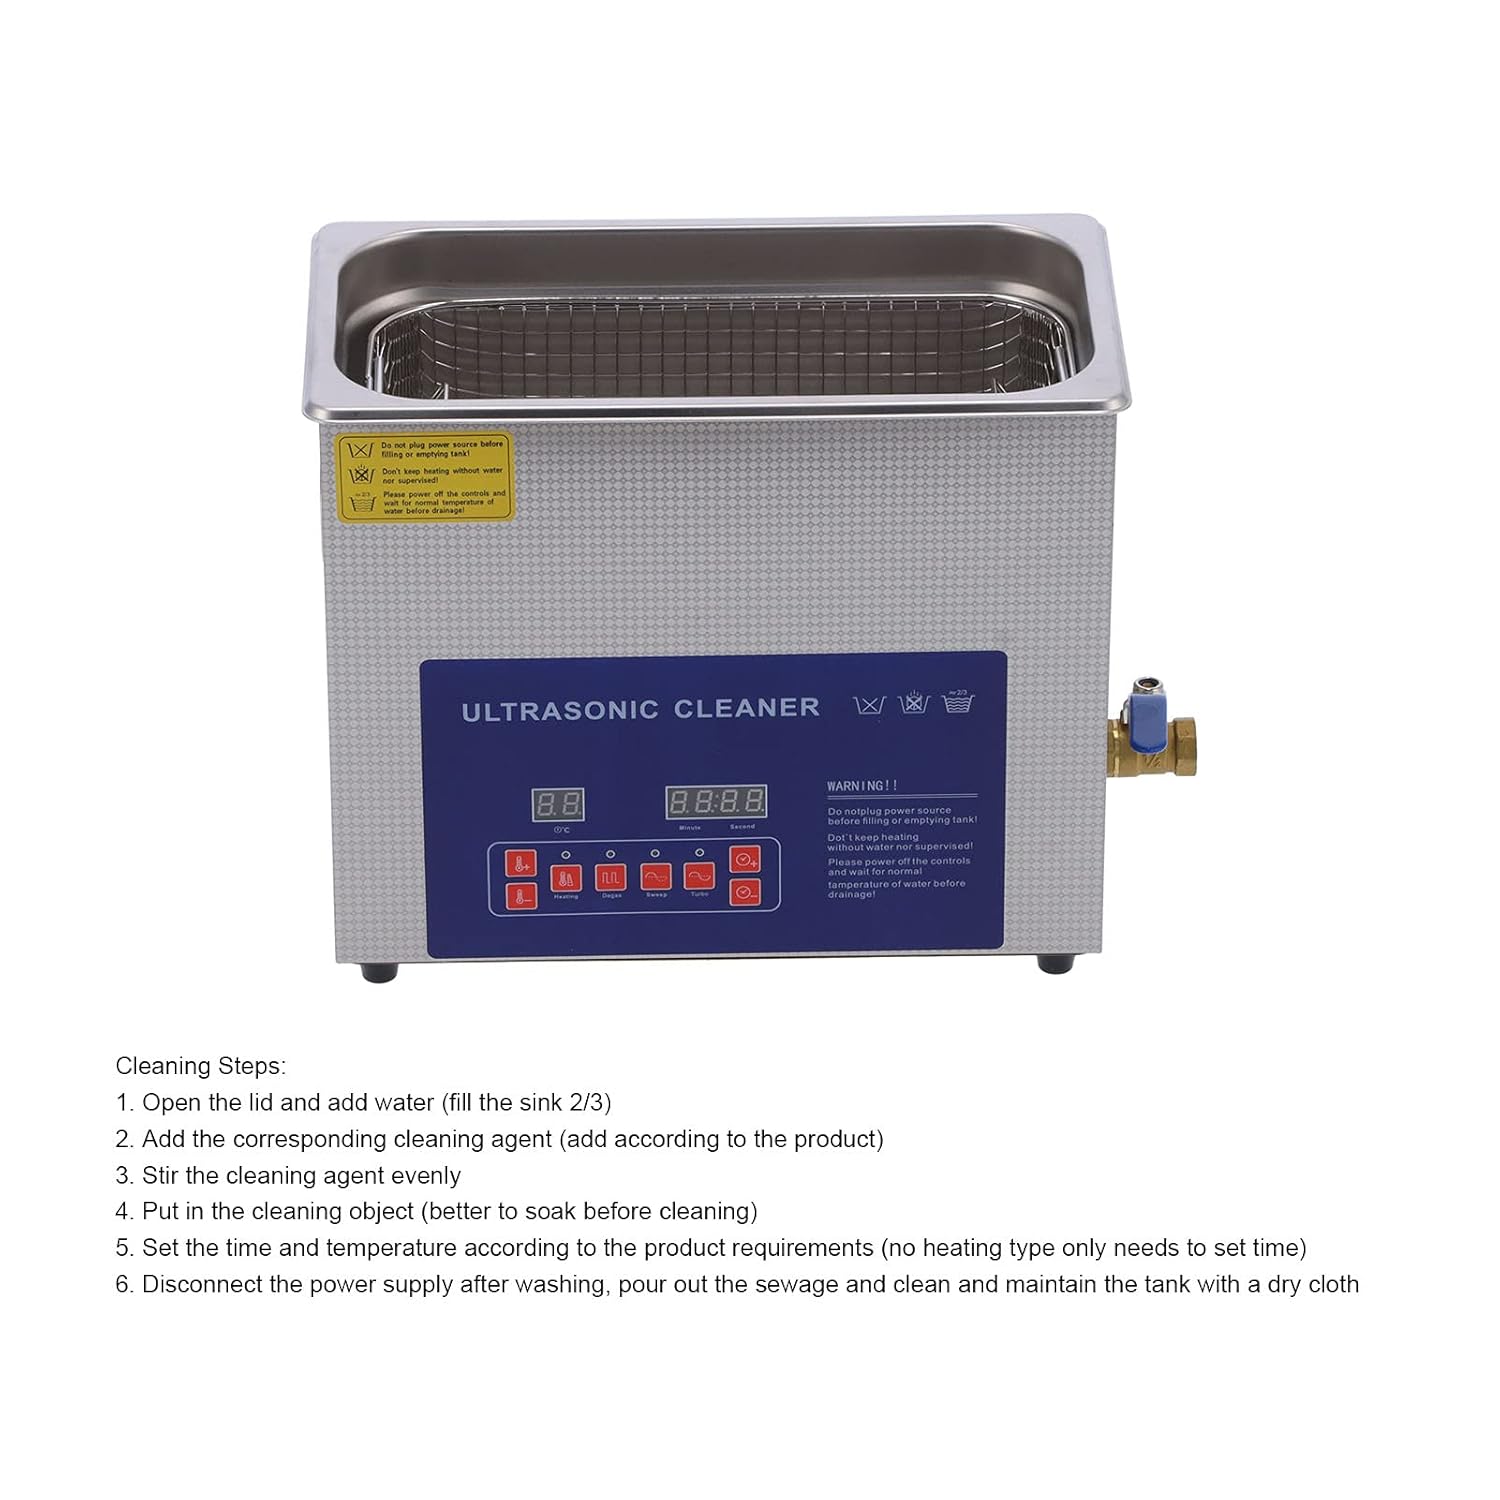
Figure 2: Close-up of the warning labels on the unit, emphasizing critical safety instructions regarding power, water levels, and heating.
3. Product Specifications
| Feature | Specification |
|---|---|
| Capacity | 6 Liters |
| Ultrasonic Frequency | 40kHz / 33kHz (Digital Display) |
| Functions | Degassing, Timer, Heater |
| Power Supply | AC110V (US Plug) |
| Package Dimensions | 16 x 13.5 x 10 inches |
| Weight | 10.75 Pounds |
| Manufacturer | Walfront |
| Model Number | MH-031S |

Figure 3: Diagram showing the external dimensions of the ultrasonic cleaner and its cleaning basket.
4. Product Components
The Walfront 6L Degassing Ultrasonic Cleaner typically includes the following components:
- Main Ultrasonic Cleaner Unit with Stainless Steel Tank
- Stainless Steel Cleaning Basket
- Stainless Steel Lid
- Power Cord (US Plug AC110V)
- Drain Valve (pre-installed)
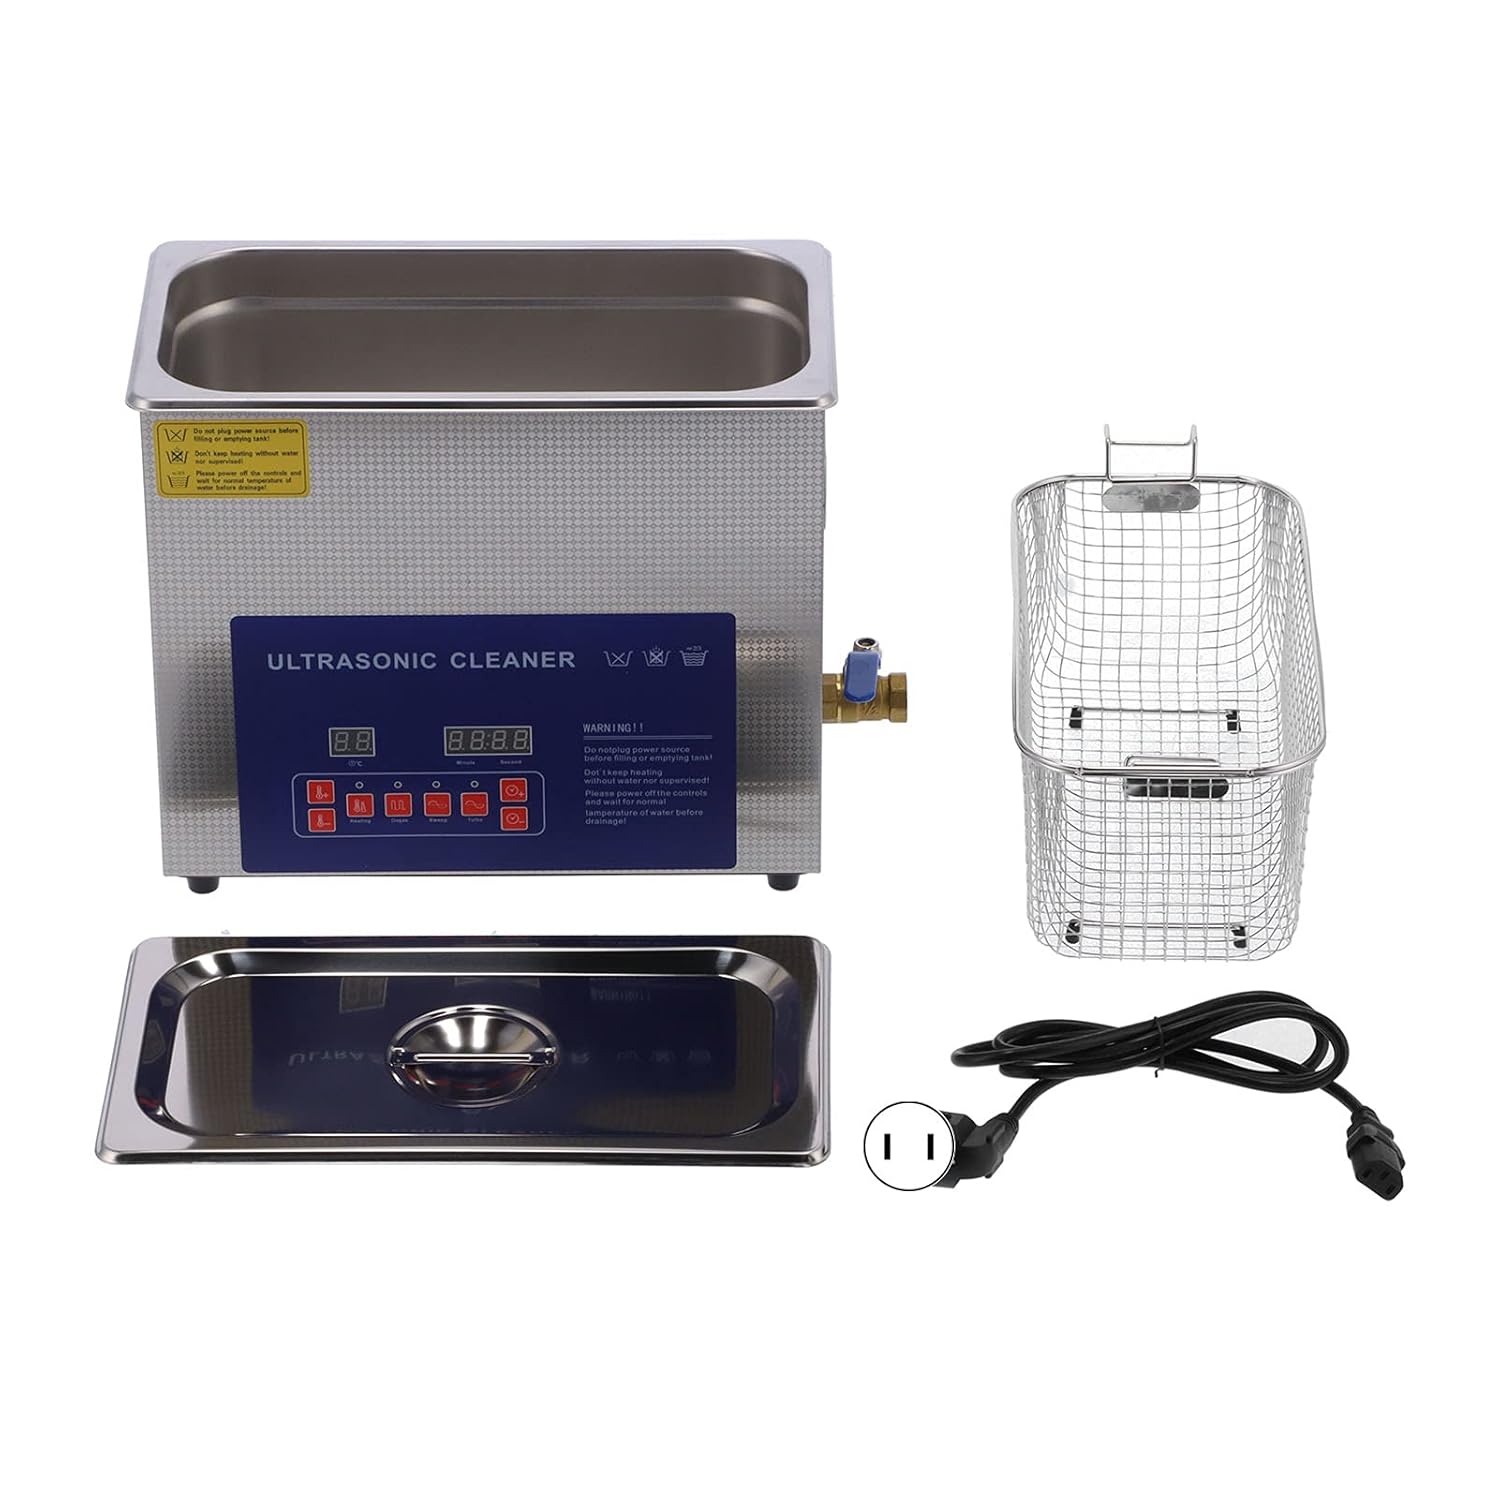
Figure 4: All included components: the main ultrasonic cleaner unit, the cleaning basket, the lid, and the power cord.
5. Setup and Preparation
- Unpacking: Carefully remove all components from the packaging. Inspect for any shipping damage.
- Placement: Place the ultrasonic cleaner on a stable, level, and dry surface, away from direct sunlight and heat sources. Ensure adequate space around the unit for ventilation.
- Power Connection: Ensure the unit is unplugged before proceeding.
- Fill Tank: Open the lid and fill the stainless steel tank with water or an appropriate cleaning solution. The liquid level should be approximately 2/3 full, ensuring it covers the items to be cleaned but does not exceed the maximum fill line.
- Add Cleaning Agent (Optional): If using a cleaning agent, add the corresponding agent according to the product's instructions. Stir the cleaning agent evenly to ensure proper mixing.
- Connect Power: Plug the power cord into a grounded AC110V outlet.

Figure 5: View of the stainless steel tank interior, showing the cleaning basket in place.
6. Operating Instructions
Follow these steps for effective cleaning:
- Prepare Items: Place the items to be cleaned into the cleaning basket. For heavily soiled items, pre-soaking may be beneficial.
- Place Basket: Carefully lower the cleaning basket with items into the tank, ensuring items are fully submerged but not touching the bottom of the tank directly.
- Set Temperature (if applicable): Use the temperature controls on the digital display to set the desired cleaning temperature. Allow time for the liquid to heat up.
- Set Cleaning Time: Use the timer controls on the digital display to set the desired cleaning duration. Cleaning times vary based on the item and level of dirt.
- Select Frequency (40kHz/33kHz): Choose the appropriate ultrasonic frequency for your cleaning task. 40kHz is generally suitable for delicate items and general cleaning, while 33kHz may offer more powerful cleaning for robust items.
- Activate Degassing: If your unit has a degassing function, activate it before starting the cleaning cycle. Degassing removes dissolved gases from the cleaning solution, which can improve ultrasonic cleaning efficiency.
- Start Cleaning: Press the start button to begin the ultrasonic cleaning cycle.
- Monitor Progress: The digital display will show the remaining time and current temperature.
- Completion: Once the cycle is complete, the unit will stop automatically.
- Remove Items: Carefully lift the cleaning basket from the tank. Rinse the cleaned items with clean water and dry them thoroughly.

Figure 6: Examples of items that can be cleaned, including laboratory glassware, dental tools, metal parts, jewelry, and silverware.
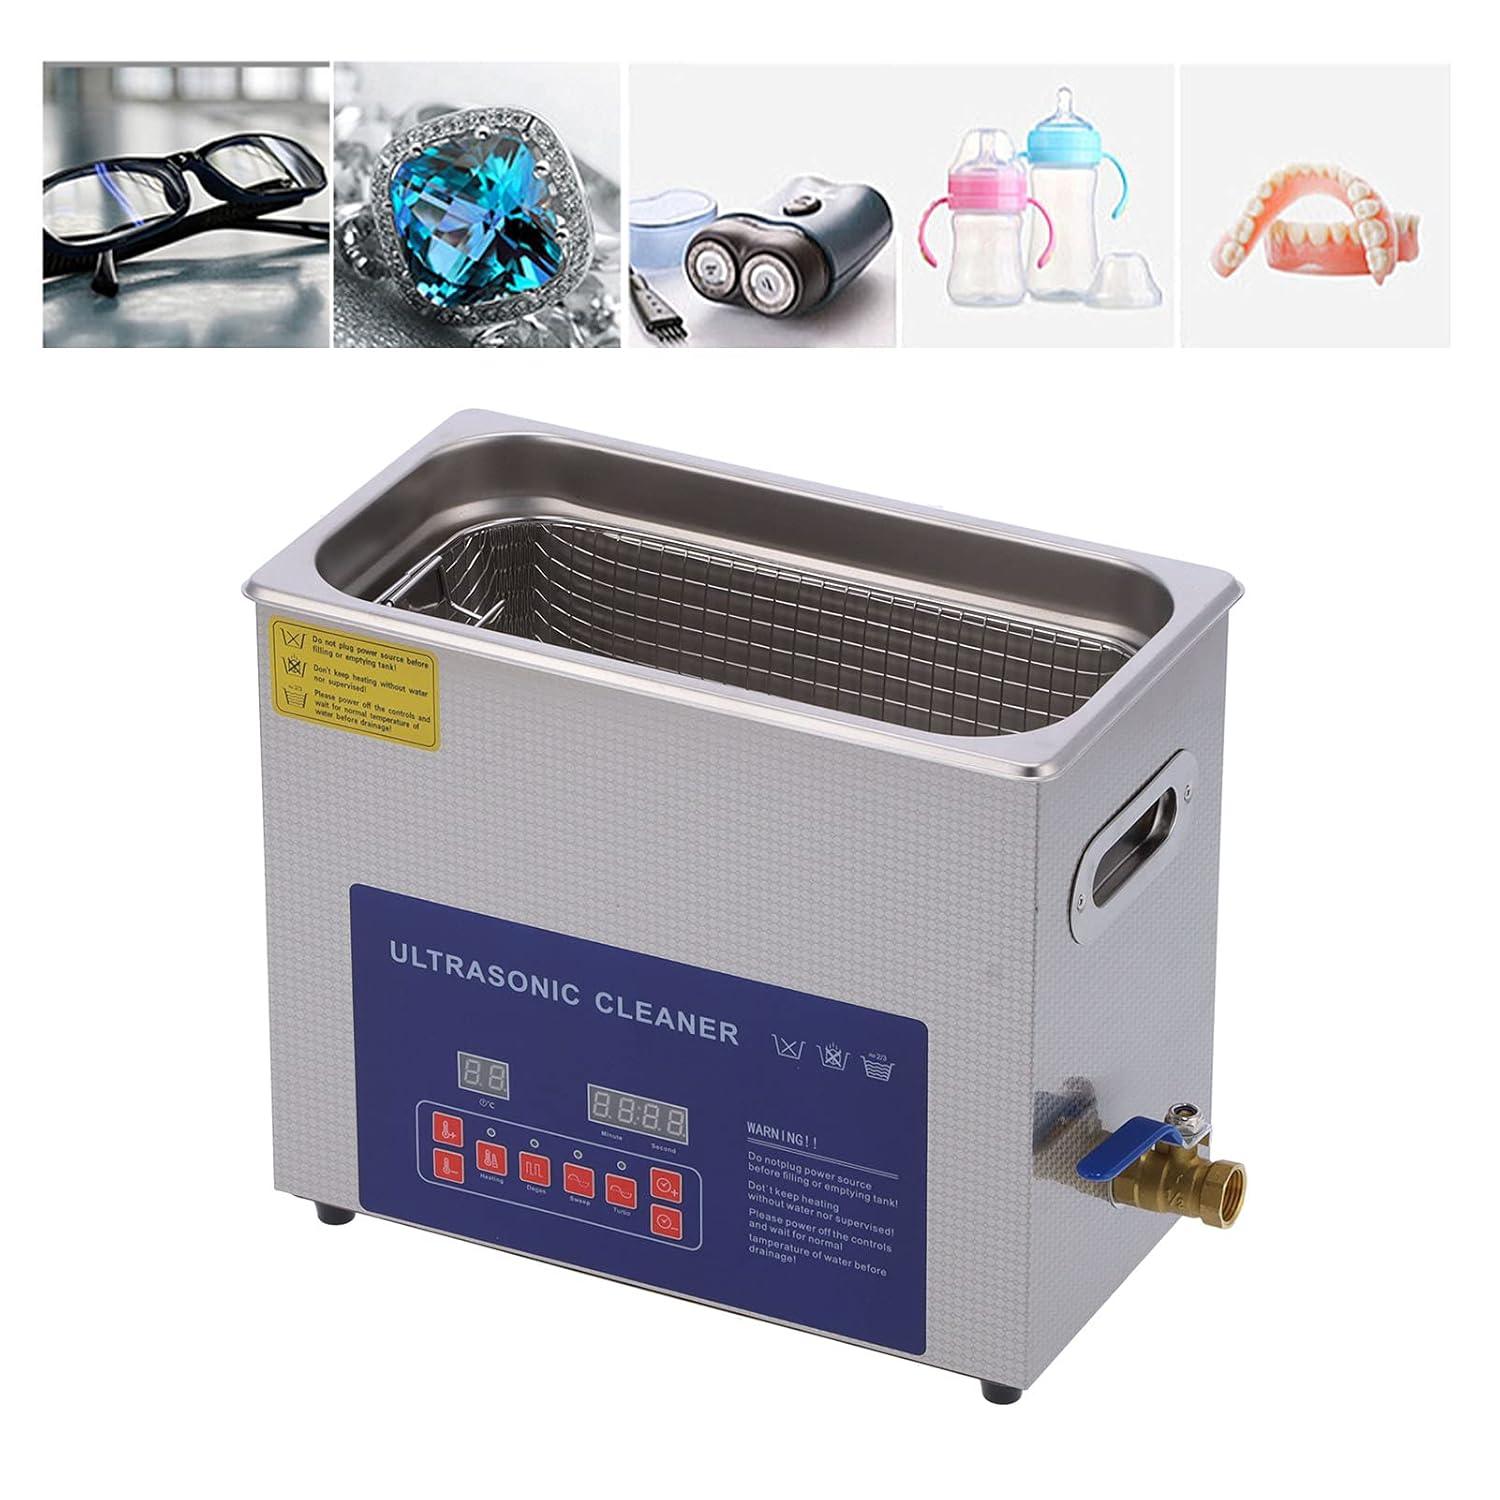
Figure 7: Additional examples of items suitable for cleaning, such as eyeglasses, intricate jewelry, electric shaver heads, baby bottles, and dentures.
7. Maintenance and Care
Proper maintenance ensures the longevity and optimal performance of your ultrasonic cleaner:
- Draining the Tank: After each use, or when the cleaning solution becomes dirty, disconnect the power supply. Allow the unit to cool down. Open the drain valve to empty the tank.
- Cleaning the Tank: Rinse the tank with clean water. Wipe the interior and exterior surfaces with a soft, damp cloth. Do not use abrasive cleaners or harsh chemicals.
- Storage: Store the unit in a cool, dry place when not in use. Ensure the tank is completely dry before storage.
- Drain Valve: Periodically check the drain valve for any blockages or leaks.

Figure 8: Close-up view of the drain valve located on the side of the ultrasonic cleaner for easy liquid disposal.
8. Troubleshooting
If you encounter issues with your ultrasonic cleaner, refer to the following common problems and solutions:
| Problem | Possible Cause | Solution |
|---|---|---|
| Unit does not power on. | No power supply; loose power cord; faulty outlet. | Check power cord connection; try a different outlet; ensure power switch is ON. |
| No ultrasonic sound/action. | Insufficient water level; unit not started; internal malfunction. | Ensure water level is adequate; press start button; contact support if problem persists. |
| Poor cleaning results. | Incorrect cleaning solution; insufficient cleaning time; items too crowded; solution needs changing. | Use appropriate solution; increase time; clean fewer items at once; replace old solution. |
| Heating function not working. | Heating element issue; temperature not set. | Ensure temperature is set; contact support if problem persists. |
9. Warranty and Support
For warranty information, technical support, or service inquiries, please contact Walfront customer service through the retailer where the product was purchased or refer to the official Walfront website for contact details. Please have your model number (MH-031S) and purchase date available when contacting support.
Walfront Official Store: Visit Walfront Store on Amazon


