
Introduction
This manual provides essential instructions for the proper setup and operation of your Hotsmtbang replacement remote control. This remote is designed to be compatible with various Sharp air conditioner models as listed above. It is pre-programmed and requires no additional setup beyond battery installation.
Product Overview
The Hotsmtbang replacement remote control is a direct substitute for your original Sharp AC remote. It features a standard button layout for easy access to common air conditioner functions.

Figure 1: Front view of the remote control.

Figure 2: Back view of the remote control with the battery compartment closed.
Setup
Battery Installation
To begin using your remote control, you must first install the batteries. Two AAA alkaline batteries are required (not included).
- Locate the battery compartment on the back of the remote control.
- Slide the battery compartment cover downwards or press the tab and lift to open it.
- Insert two new AAA alkaline batteries, ensuring the positive (+) and negative (-) terminals match the diagrams inside the compartment.
- Replace the battery compartment cover by sliding it back into place until it clicks securely.
Warning: Do not dispose of batteries in fire. Batteries may explode or leak. Use only specified battery type (AAA 1.5V x 2).
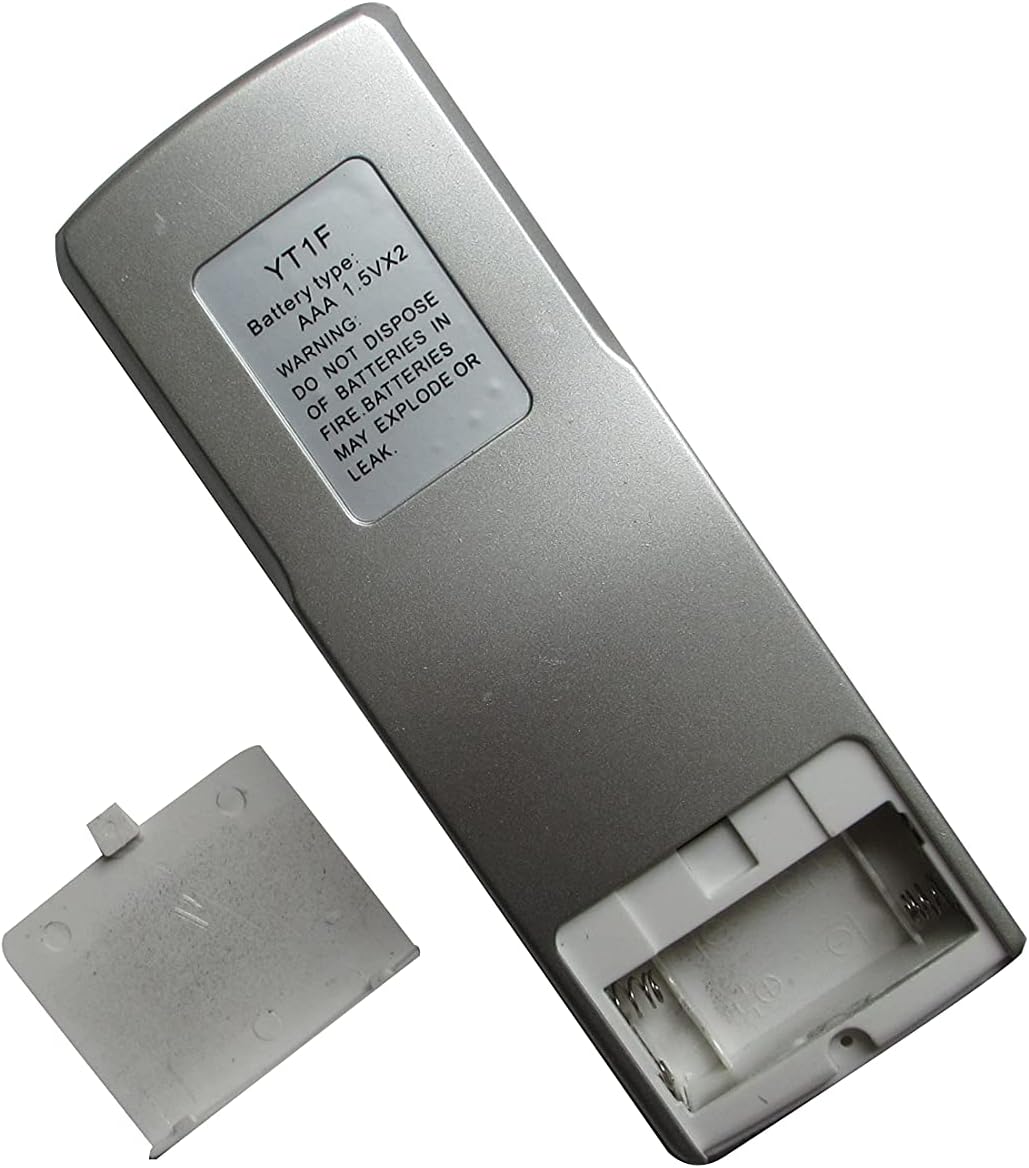
Figure 3: Battery compartment open, showing battery placement.
Operating Instructions
Once batteries are installed, the remote control is ready for immediate use with your compatible Sharp air conditioner. No programming is required.
Basic Functions
- Power Button: Press to turn the air conditioner ON or OFF.
- Mode Button: Cycles through operating modes such as Cool, Heat, Fan, Dry, Auto.
- Temperature Up/Down Buttons (▲/▼): Adjusts the desired temperature setting.
- Fan Speed Button: Adjusts the fan speed (e.g., Low, Medium, High, Auto).
- Timer Button: Sets the ON/OFF timer for the air conditioner. Refer to your air conditioner's manual for specific timer functions.
- Swing/Louvre Button: Controls the direction of the airflow.
Note: Specific button labels and functions may vary slightly depending on your air conditioner model. Refer to your air conditioner's original manual for detailed function descriptions.
Maintenance
Battery Replacement
Replace batteries when the remote control's range decreases or if the air conditioner does not respond to commands. Always replace both batteries simultaneously with new AAA alkaline batteries.
Cleaning
Wipe the remote control with a soft, dry cloth. Do not use liquid cleaners or abrasive materials, as these can damage the remote's surface or internal components.
Troubleshooting
- Remote not working:
- Ensure batteries are inserted correctly with the correct polarity.
- Replace old batteries with new AAA alkaline batteries.
- Check for any obstructions between the remote and the air conditioner's receiver.
- Ensure you are within the effective range of the air conditioner's infrared receiver.
- Air conditioner not responding to specific buttons:
- Some advanced functions may not be supported by all Sharp AC models. Refer to your air conditioner's original manual.
- Ensure the remote is pointed directly at the air conditioner's receiver.
Specifications
| Brand | Hotsmtbang |
| Compatible Devices | Sharp Air Conditioners |
| Connectivity Technology | Infrared |
| Controller Type | Button Control |
| Special Feature | No Programming Required |
| Battery Type | 2 x AAA Alkaline Batteries (not included) |
Warranty and Support
This product is a replacement remote control. For specific warranty information or technical support, please refer to the seller or manufacturer directly. Ensure you retain your purchase receipt for any warranty claims.
