
Introduction
This manual provides detailed instructions for the assembly, operation, and maintenance of your Simple Trending Double Rod Clothing Garment Rack. Designed for efficient clothing organization, this rack features a double rod design, adjustable height and width, and rolling wheels for mobility. Please read this manual thoroughly before use to ensure proper setup and longevity of your product.
Safety Information
- Read all instructions carefully before assembling and using the garment rack.
- Do not exceed the maximum load capacity of 150 pounds (68 kg) to prevent damage or injury.
- Ensure all connections are securely tightened before placing items on the rack.
- Keep small parts away from children during assembly to avoid choking hazards.
- Assemble and use the rack on a flat, stable, and level surface.
- Exercise caution when moving the rack, especially when fully loaded, to prevent tipping.
Package Contents
Before assembly, carefully unpack all components and verify that all parts are present and undamaged. Refer to the included parts list (not provided in this manual) for detailed identification. The components are typically organized in individual bags for convenience.

Image: The Simple Trending Double Rod Clothing Garment Rack, fully assembled and loaded with various clothing items, showcasing its double hanging rods and rolling wheels. A small basket is placed on the bottom bar.
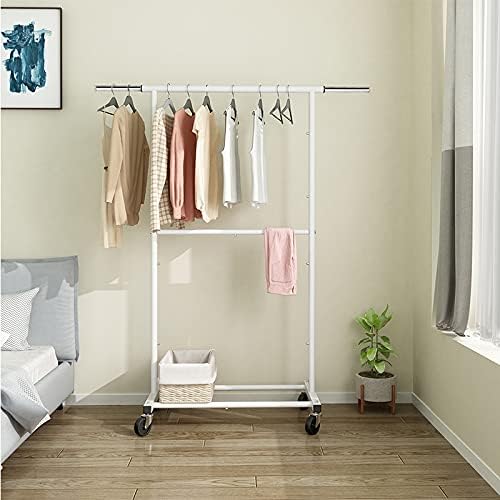
Image: The Simple Trending Double Rod Clothing Garment Rack positioned in a room, demonstrating its use as a clothes organizer. The rack is white and holds several garments.
Assembly Instructions
Follow these steps to assemble your Simple Trending Double Rod Clothing Garment Rack. No special tools are required beyond what is provided in the package.
Step 1: Unpack and Identify Components
Carefully remove all parts from the packaging. Check against the parts list to ensure everything is present. The components are typically organized in individual bags.
Video: A user unboxes the Simple Trending Double Rod Clothing Rack, showing the neatly organized components and included tools. This video demonstrates the initial unboxing process and the contents of the package.
Step 2: Attach Wheels to Base
Secure the wheels to the base frame using the provided screws and tools. Ensure they are firmly attached for stability.

Image: A close-up view of hands connecting two metal tubes, illustrating the