
1. Introduction
Thank you for choosing the YEAHOME 6-in-1 Heavy Duty Staple Gun. This versatile tool is designed for a wide range of fastening tasks, from upholstery to carpentry, offering reliability and ease of use for both professionals and DIY enthusiasts. This manual provides essential information for safe and effective operation, setup, maintenance, and troubleshooting.
Product Features:
- 6-in-1 Fastening Capability: Compatible with T50, JT21, T20, T25 staples, 18 gauge Brad nails, and PIN staples.
- Power Adjustment: Features a High/Low power lever for adapting to various material densities.
- Double Modes Switch: Allows selection between different staple types (T50/T20 or JT21/T25/Brad/PIN).
- Ergonomic Design: Includes a non-slip handle with an ergonomic hand groove for comfortable use and reduced hand stress.
- Quick-Jam Clean Mechanism: Designed for easy clearing of jammed staples.
- Bottom Loading Design: Ensures quick and easy staple reloading.
- Handle Lock Design: Retractable handle for compact storage.
Package Contents:
- YEAHOME 6-in-1 Staple Gun
- 1000 x T50 Staples
- 1000 x T20 Staples
- 1000 x JT21 Staples
- 1000 x T25 Staples
- 1000 x 18 Gauge Brad Nails

Figure 1: YEAHOME 6-in-1 Staple Gun and included staple assortment.
2. Safety Instructions
Always follow these safety guidelines to prevent injury and ensure proper operation of your staple gun:
- Wear Eye Protection: Always wear safety glasses or goggles to protect your eyes from flying debris.
- Keep Hands Clear: Never place your hands or fingers near the staple discharge area.
- Disconnect When Not in Use: Always engage the handle lock and remove staples when the tool is not in use, or when performing maintenance.
- Proper Grip: Maintain a firm grip on the tool during operation.
- Work Area: Ensure your work area is well-lit and free of clutter. Keep bystanders, especially children, away from the work area.
- Inspect Tool: Before each use, inspect the staple gun for any damage or loose parts. Do not use if damaged.
- Use Correct Staples: Only use the specified staple types and sizes for this tool.
- Do Not Modify: Never attempt to modify the tool or its components.
3. Setup
3.1 Loading Staples
- Ensure the handle is locked for safety.
- Locate the magazine release latch at the bottom rear of the staple gun. Press the latch and pull out the staple magazine.
- Insert the desired strip of staples into the magazine with the staple crowns facing upwards.
- Push the magazine back into the staple gun until it clicks securely into place.

Figure 2: Loading staples into the bottom-loading magazine.
3.2 Power Adjustment
The staple gun features a High/Low power adjustment lever located near the handle. Adjust this lever based on the hardness of the material you are working with:
- High Power: For harder materials like dense wood.
- Low Power: For softer materials or delicate surfaces, such as upholstery or thin fabrics.

Figure 3: Power adjustment lever for High/Low settings.
3.3 Double Modes Switch
This switch allows you to select the appropriate mode for different staple types:
- Adjust the button up for T50 and T20 staples.
- Adjust the button down for JT21, T25, 18 gauge Brad staples, and PIN staples.

Figure 4: Overview of staple gun features, including the Double Modes Switch.
4. Operating Instructions
Once the staple gun is loaded and adjusted:
- Unlock the handle by pulling it outward from the locked position.
- Place the nose of the staple gun firmly against the material where you wish to fasten. Ensure the tool is perpendicular to the surface for optimal staple penetration.
- Squeeze the handle firmly and completely to drive the staple.
- Release the handle. The tool is now ready for the next fastening.
Applications:
The YEAHOME 6-in-1 Staple Gun is suitable for a variety of home projects and crafts, including but not limited to:
- Upholstery and fabric work
- Fixing material to wood
- Crafting projects
- Carpentry and decoration DIY
- Weather stripping and insulation
- Small fencing repairs
- Attaching wires (with appropriate staples)
- Hanging light decorations

Figure 5: Versatile applications of the staple gun.
5. Maintenance
5.1 Clearing Jams
If a staple jam occurs, follow these steps:
- Ensure the handle is locked and remove any remaining staples from the magazine.
- Hold the staple gun upside down. Press the magazine release latch and pull the magazine open.
- Carefully check for any jammed staples within the magazine or the firing channel and remove them using pliers or a small tool.
- Replace the magazine and push the slide closed until the latch engages.
- Reload staples and test the tool.

Figure 6: Steps for clearing a staple jam.
5.2 Storage
To store the staple gun:
- Always remove all staples from the magazine before storing.
- Press the handle to the bottom and then pull the handle outward to engage the handle lock. This saves space and prevents accidental firing.
- Store the tool in a dry, clean place, away from direct sunlight and extreme temperatures.
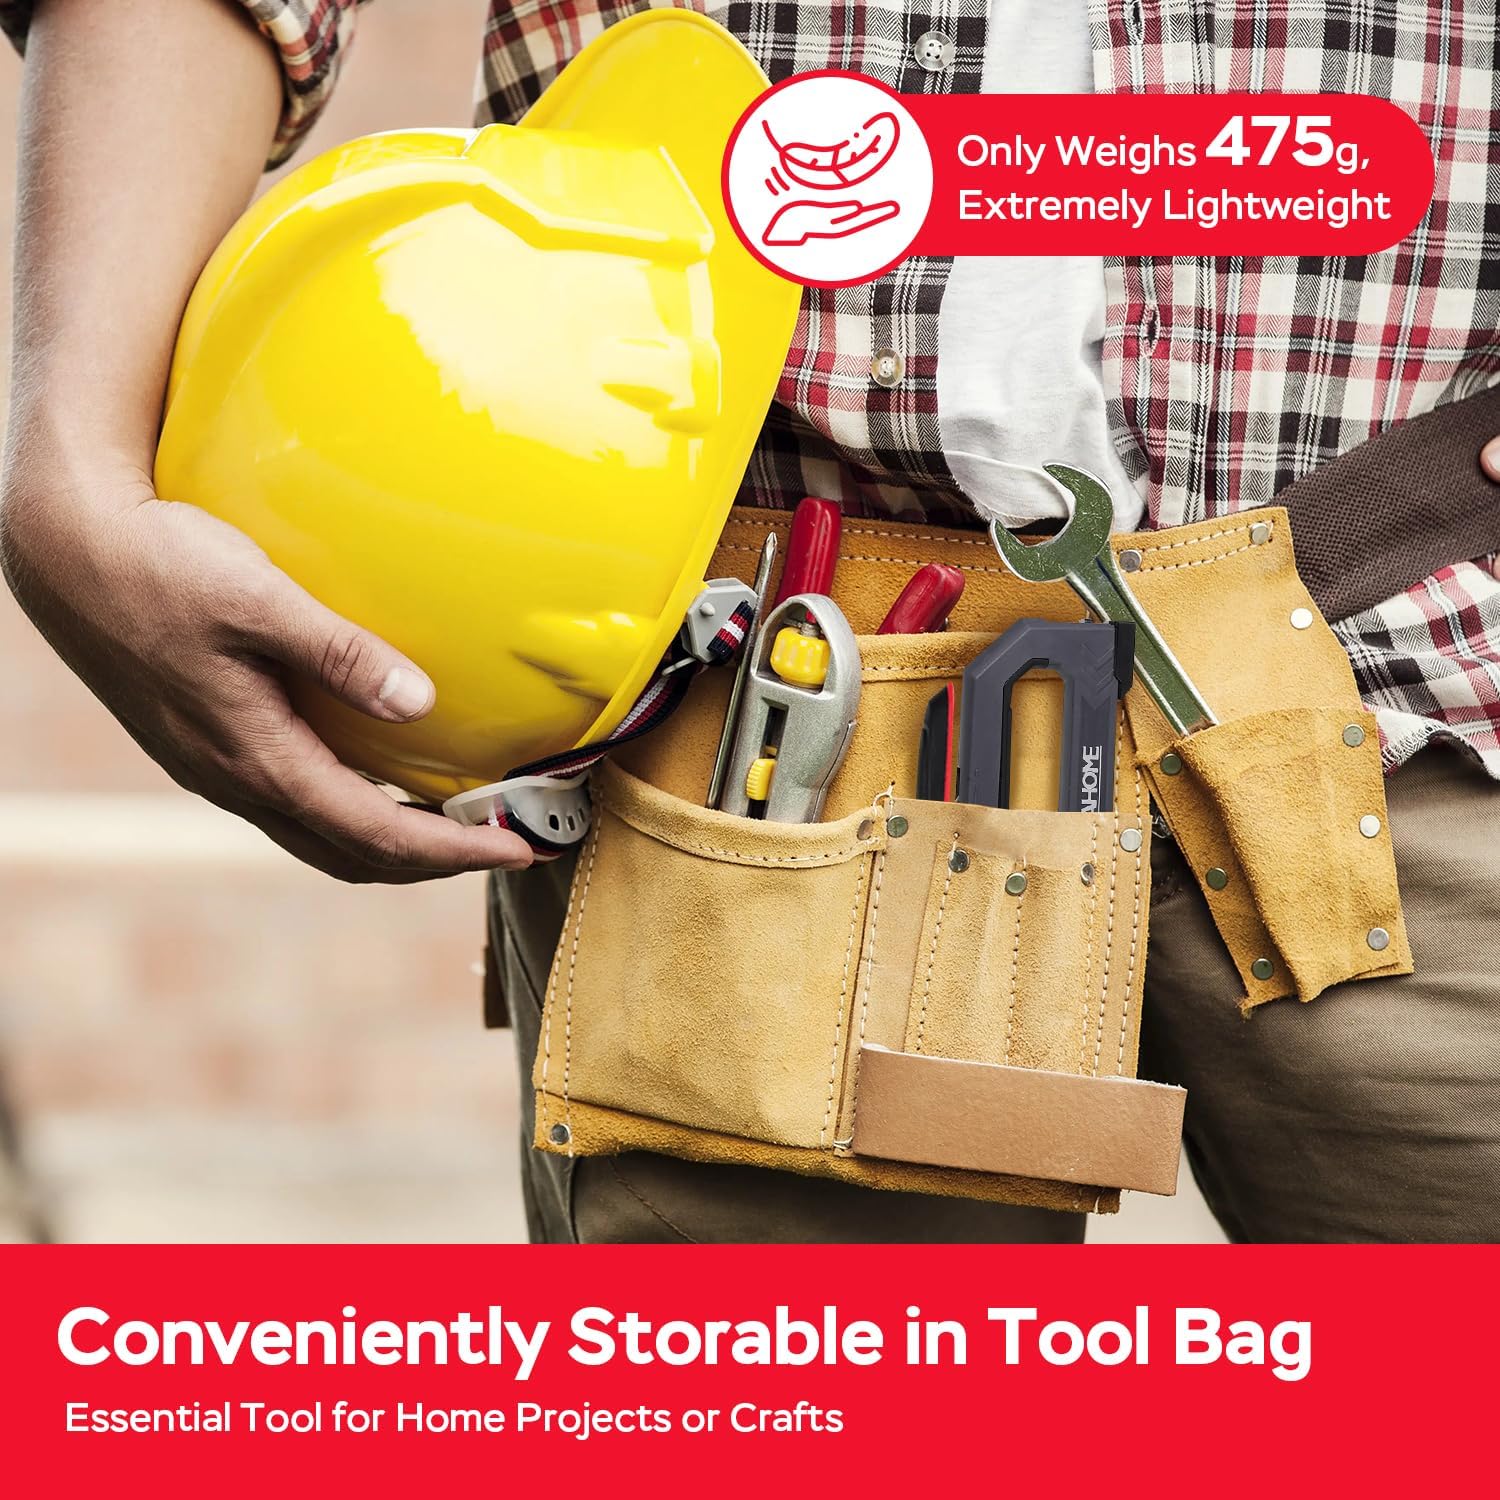
Figure 7: The staple gun's compact size makes it easily storable.
6. Troubleshooting
| Problem | Possible Cause | Solution |
|---|---|---|
| Staples not firing or jamming frequently. |
|
|
| Staples not fully penetrating material. |
|
|
| Staples bending or deforming. |
|
|
7. Specifications
| Brand: | YEAHOME |
| Model Number: | YEAHOME |
| Item Weight: | 2.35 pounds (approx. 1.07 kg) |
| Product Dimensions: | 8.13 x 1.54 x 0.04 inches (approx. 20.65 x 3.91 x 0.1 cm) |
| Material Type: | Plastic (body), Metal (internal components) |
| Compatible Staples: | T50, JT21, T20, T25, 18 gauge Brad nails, PIN Staples |
| Included Fasteners: | 5000 counts (1000 each of T50, T20, JT21, T25, 18 gauge Brad Nails) |

Figure 8: Comprehensive staple compatibility guide.
8. Warranty and Support
Specific warranty details for the YEAHOME 6-in-1 Staple Gun are not provided in this manual. For warranty information, technical support, or any product-related inquiries, please contact YEAHOME customer service directly or visit their official website. Keep your purchase receipt as proof of purchase.
You can often find contact information on the product packaging or through the retailer where the product was purchased.