
1. Introduction
Thank you for choosing the Sunco 5/6 Inch LED Gimbal Retrofit Recessed Downlight. This manual provides essential information for the safe installation, operation, and maintenance of your new lighting fixture. Please read these instructions thoroughly before installation and retain them for future reference.
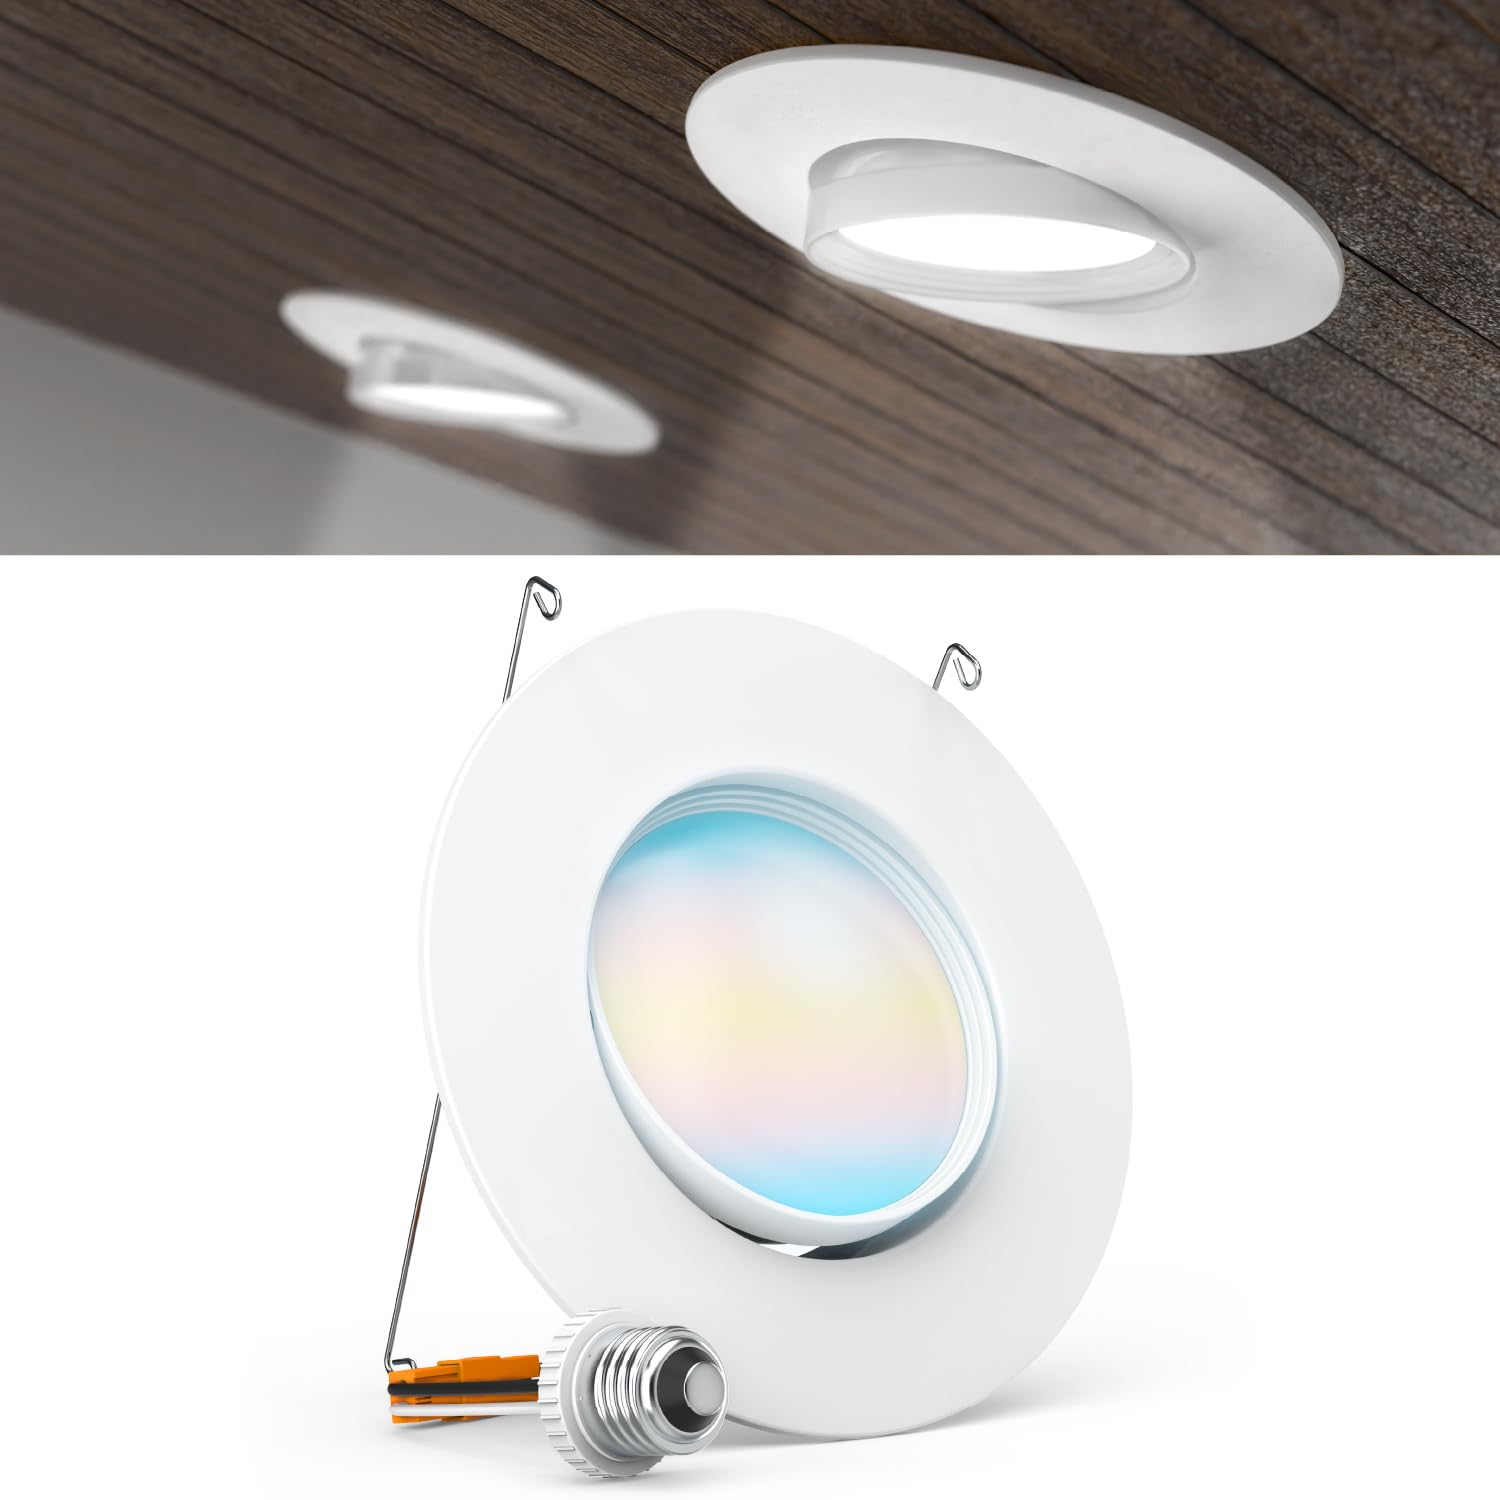
Figure 1: Sunco 5/6 Inch LED Gimbal Retrofit Downlight
2. Important Safety Instructions
WARNING: Risk of fire or electric shock. Installation requires knowledge of luminaires electrical systems. If not qualified, do not attempt installation. Contact a qualified electrician.
- Turn off power at the circuit breaker before installation or servicing.
- Ensure the supply voltage is 120V AC, 60Hz.
- Do not make or alter any open holes in an enclosure of wiring or electrical components during kit installation.
- This fixture is suitable for damp locations. Do not use in areas with direct water exposure.
- To prevent wiring damage or abrasion, do not expose wiring to edges of sheet metal or other sharp objects.
- This device is not intended for use with emergency exits.
- Ensure all connections are secure and properly insulated.
3. Package Contents
Upon opening the package, verify that all components are present and undamaged:
- 1 x Sunco 5/6 Inch LED Gimbal Retrofit Recessed Downlight
- 1 x E26 Adapter
- 1 x TP24 Connector
- Installation Guide (this document)
4. Product Specifications
| Feature | Specification |
|---|---|
| Brand | Sunco Lighting |
| Model Number | DL_G56-12W-27K_5K |
| Size | 5/6 Inch |
| Color | White |
| Material | Polycarbonate |
| Wattage | 12 Watts (60W Equivalent) |
| Brightness | 800 Lumens |
| Voltage | 120 Volts |
| Color Temperature (CCT) | Selectable: 2700K, 3000K, 3500K, 4000K, 5000K |
| Dimmable | Yes (10%-96% dimming range) |
| Gimbal Adjustment | 40° Tilt, 350° Swivel |
| Damp Rated | Yes |
| Certifications | UL, Energy Star, FCC, RoHS |
| Lifespan | 50,000 Hours |
| Dimensions (L x W x H) | 7.3"L x 3.5"W x 7.3"H |

Figure 2: Product Dimensions and Certifications
5. Setup & Installation
5.1 Before You Begin
- Ensure power is OFF at the circuit breaker.
- Confirm your existing recessed can is either 5-inch or 6-inch.
- Gather necessary tools: screwdriver, wire strippers (if needed).
5.2 Step-by-Step Installation
The Sunco Gimbal Downlight is designed for fast and easy installation into existing 5-inch or 6-inch recessed cans.
- Prepare the Recessed Can: Remove the existing bulb and trim from your recessed can. Ensure the wiring inside the can is accessible.
- Select Color Temperature (CCT): Before installation, locate the CCT slider switch on the back of the downlight. Choose your desired color temperature (2700K, 3000K, 3500K, 4000K, or 5000K). This setting can be changed later if needed.
- Connect Power: Your downlight comes with both an E26 adapter and a TP24 connector. Choose the appropriate connector for your recessed can.

Figure 4: E26 Adapter and TP24 Connector
- For E26 Socket: Screw the E26 adapter into the existing E26 socket in the recessed can. Then, connect the downlight's wire to the adapter's connector.
- For TP24 Connector: If your can has a TP24 connector, simply plug the downlight's connector directly into it.
- Insert the Downlight: Gently push the downlight into the recessed can. The spring clips on the sides of the fixture will secure it firmly in place. Ensure the trim sits flush with the ceiling.
- Restore Power: Turn the power back ON at the circuit breaker.

Figure 3: Selectable Color Temperature Switch
5.3 Installation Videos
Overview | 5/6" Gimbal Baffle Selectable
This video provides a comprehensive overview of the 5/6 inch gimbal baffle selectable downlight, including its features and installation process.
Overview | High Lumen Retrofit Lights
Watch this video for an overview of Sunco's high lumen retrofit lights, demonstrating their ease of installation and various applications.
6. Operating Instructions
6.1 Adjusting Light Direction (Gimbal)
The gimbal feature allows you to direct the light beam precisely where needed. This is ideal for accent lighting, highlighting artwork, or improving task lighting.
- Tilt: Gently push the inner light module to tilt it up to 40 degrees in any direction.
- Swivel: The entire inner light module can be swiveled up to 350 degrees to adjust the beam angle.
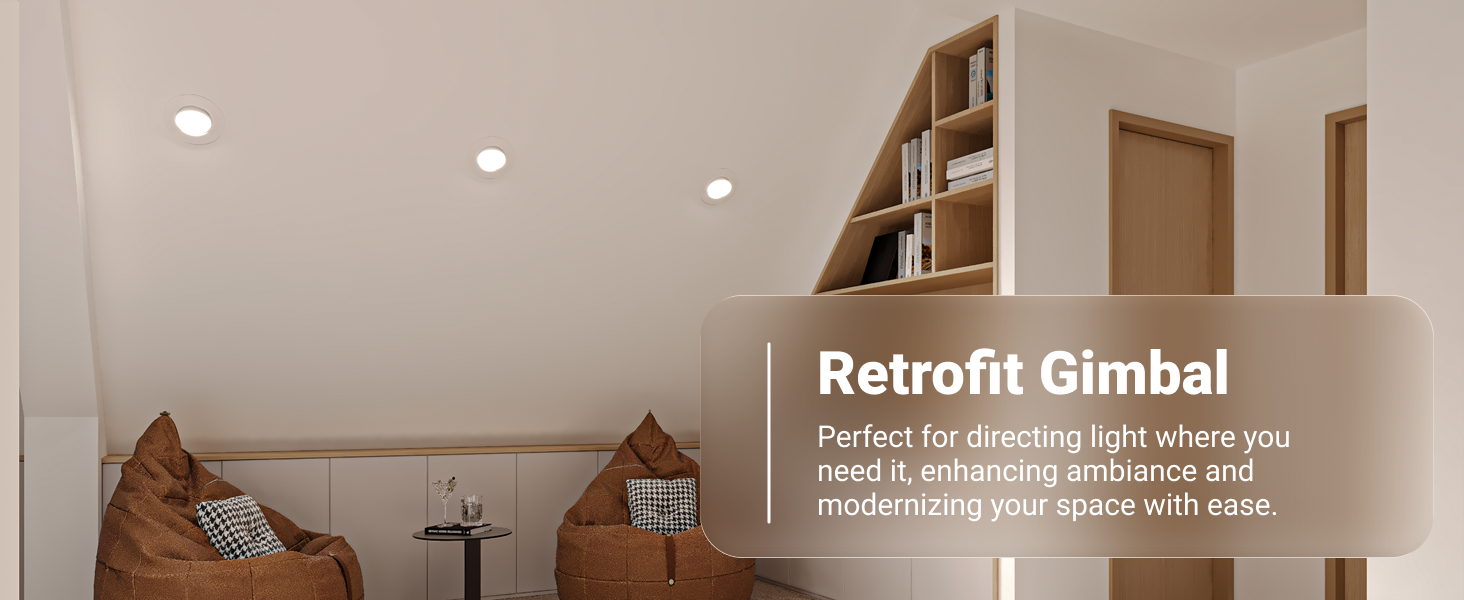
Figure 5: Adjusting the Gimbal Light Direction
6.2 Dimming Function
This downlight is dimmable, allowing you to adjust the light output from 10% to 96% with compatible LED dimmers. Ensure you use an LED-compatible dimmer switch for optimal performance and to avoid flickering or damage.
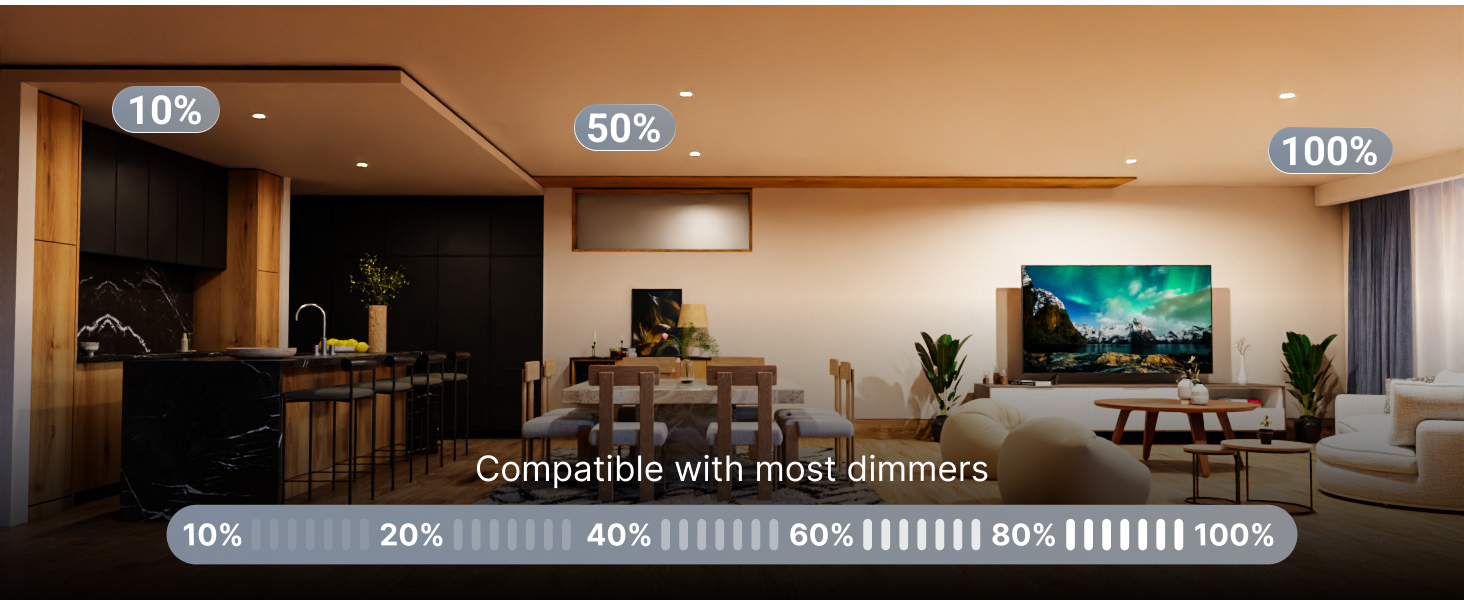
Figure 6: Dimmable Lighting for Various Ambiance
7. Care and Maintenance
To ensure the longevity and optimal performance of your Sunco LED Gimbal Downlight, follow these simple maintenance guidelines:
- Cleaning: Ensure power is off before cleaning. Use a soft, dry, or slightly damp cloth to wipe the surface of the fixture. Avoid abrasive cleaners, solvents, or harsh chemicals, as these can damage the finish or electrical components.
- No User-Serviceable Parts: The LED light source is integrated and not user-replaceable. Do not attempt to open or repair the fixture.
- Inspection: Periodically check the fixture for any signs of damage or loose connections. If any issues are found, turn off power and consult a qualified electrician.
8. Troubleshooting Guide
If you encounter any issues with your downlight, refer to the table below for common problems and solutions:
| Problem | Possible Cause | Solution |
|---|---|---|
| Light does not turn on | No power supply Loose wiring connection Faulty switch | Check circuit breaker and wall switch. Ensure all wiring connections are secure (power off first). Test the switch with another device. |
| Light flickers or dims inconsistently | Incompatible dimmer switch Loose wiring Voltage fluctuations | Ensure an LED-compatible dimmer is used. Check wiring connections (power off first). Consult an electrician if voltage issues persist. |
| Incorrect color temperature | CCT switch set incorrectly | Turn off power, adjust the CCT slider switch on the back of the fixture to the desired setting. |
| Light is not flush with ceiling | Spring clips not fully engaged Obstruction in can | Gently push the fixture further into the can until clips engage. Check for any debris or wires obstructing the fit. |
9. Warranty & Customer Support
9.1 Warranty Information
Sunco Lighting provides a 7-year manufacturer's warranty for this product, covering defects in materials and workmanship under normal use. This warranty is valid from the date of purchase. Please retain your proof of purchase for warranty claims.
9.2 Customer Support
For technical assistance, warranty claims, or any questions regarding your Sunco LED Gimbal Retrofit Recessed Downlight, please contact Sunco Lighting customer support. Our knowledgeable specialists are available to assist you.
Contact Information:
- Visit the Sunco Lighting Store on Amazon for more information.
- Refer to the official Sunco Lighting website for direct contact details.


