
Apollo Genesis X Pro
APOLLO Genesis X Pro Scooter Instruction Manual
Model: Genesis X Pro
1. Introduction
This manual provides essential information for the safe and effective use of your APOLLO Genesis X Pro Scooter. Designed for advanced and professional riders, this stunt scooter is built with durable materials for freestyle tricks and stunts. Please read all instructions carefully before assembly and operation.
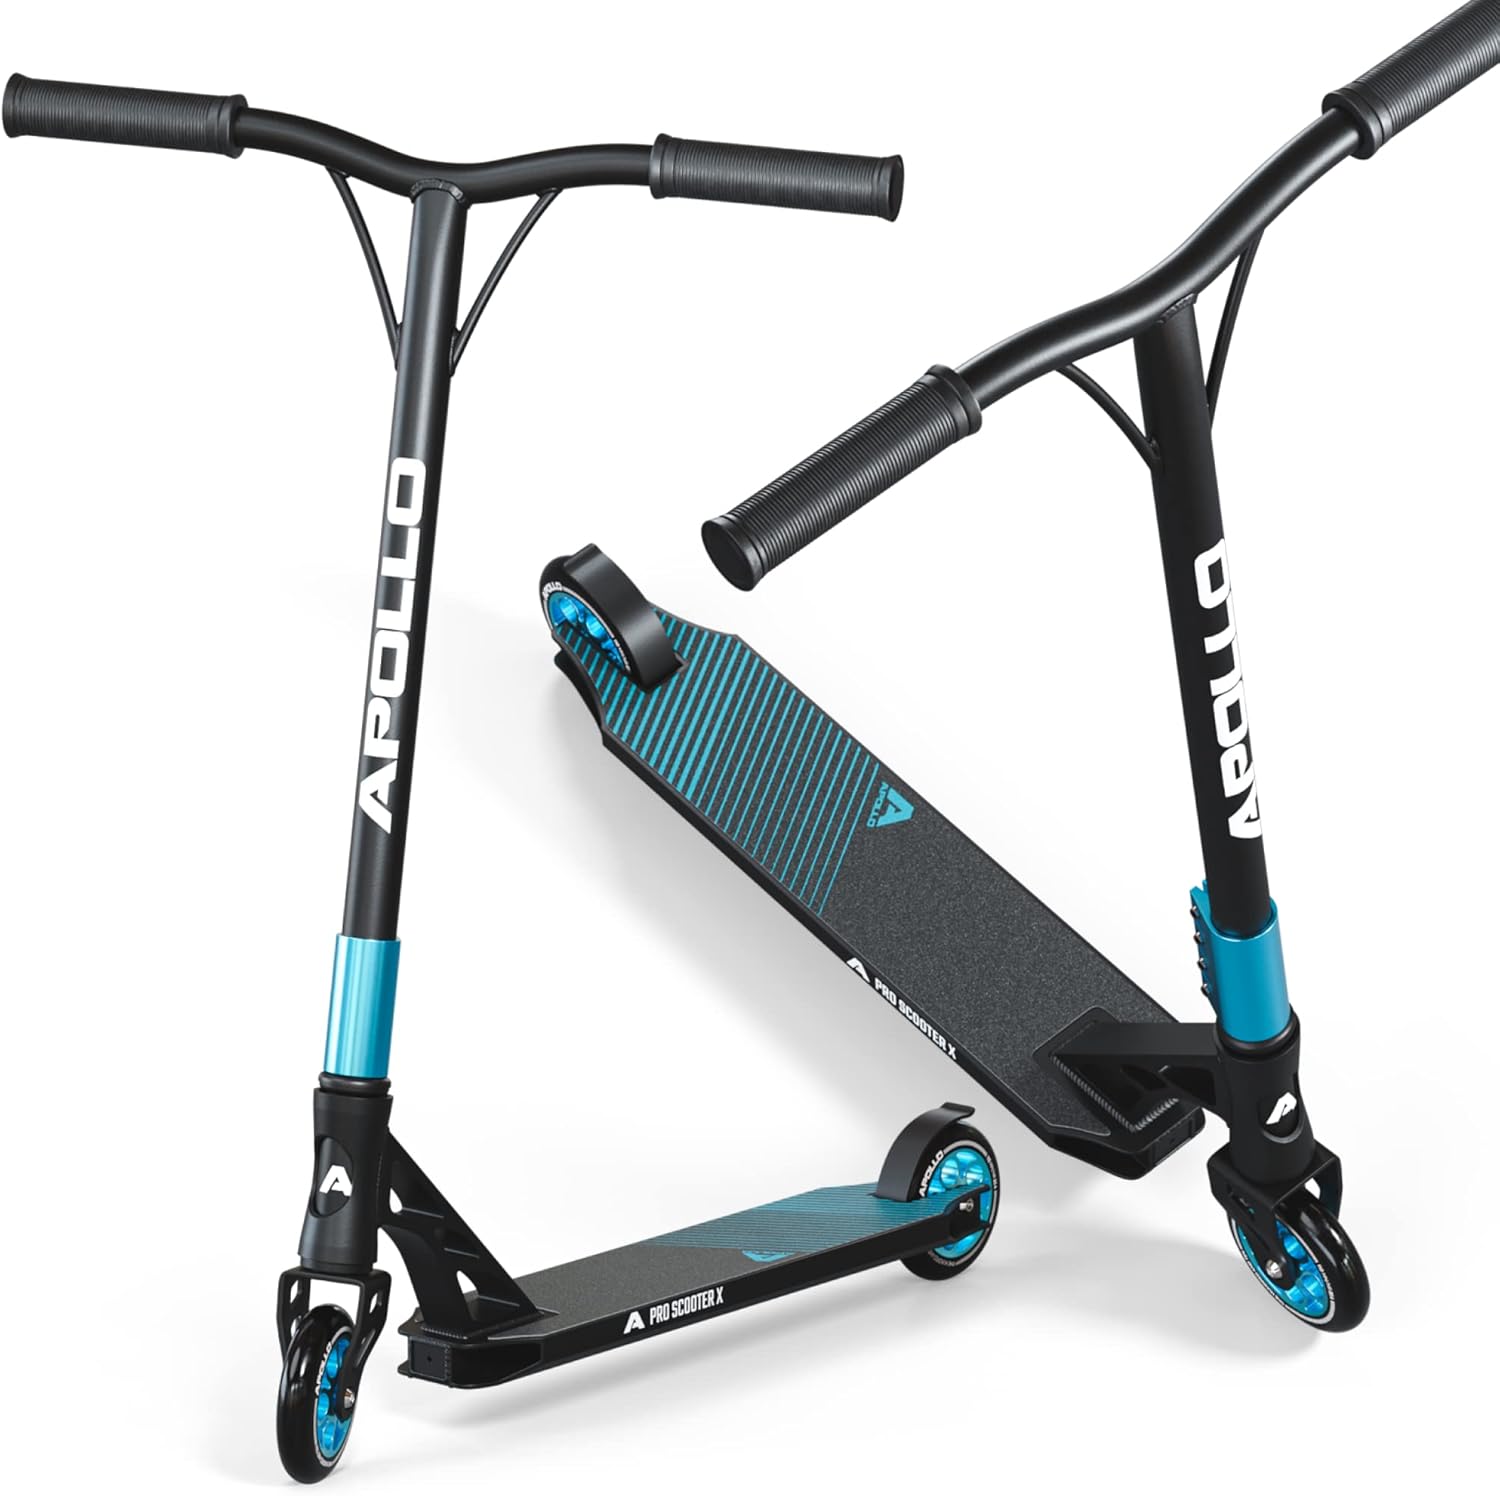
Image 1.1: The APOLLO Genesis X Pro Scooter, showcasing its sleek design and robust construction.
2. Key Features
- Durable Construction: Frame made from high-quality aluminum with steel elements for enhanced strength.
- Optimized for Stunts: Features a T-shaped handlebar with 360° rotation and a 4-screw clamp for secure handling during tricks.
- Enhanced Safety: Non-slip footboard and TRR groove handles provide necessary grip and control.
- High-Performance Wheels: Equipped with 110mm wheels and ABEC 9 ball bearings for smooth rides and firm ground contact.
- Lightweight Design: Constructed with aviation-grade materials for a balance of strength and maneuverability.

Image 2.1: Overview of the APOLLO Genesis X Pro Scooter's key features, including 110mm wheels, lightweight T-bar, wide deck with griptape, and a maximum weight capacity of 220 lbs.
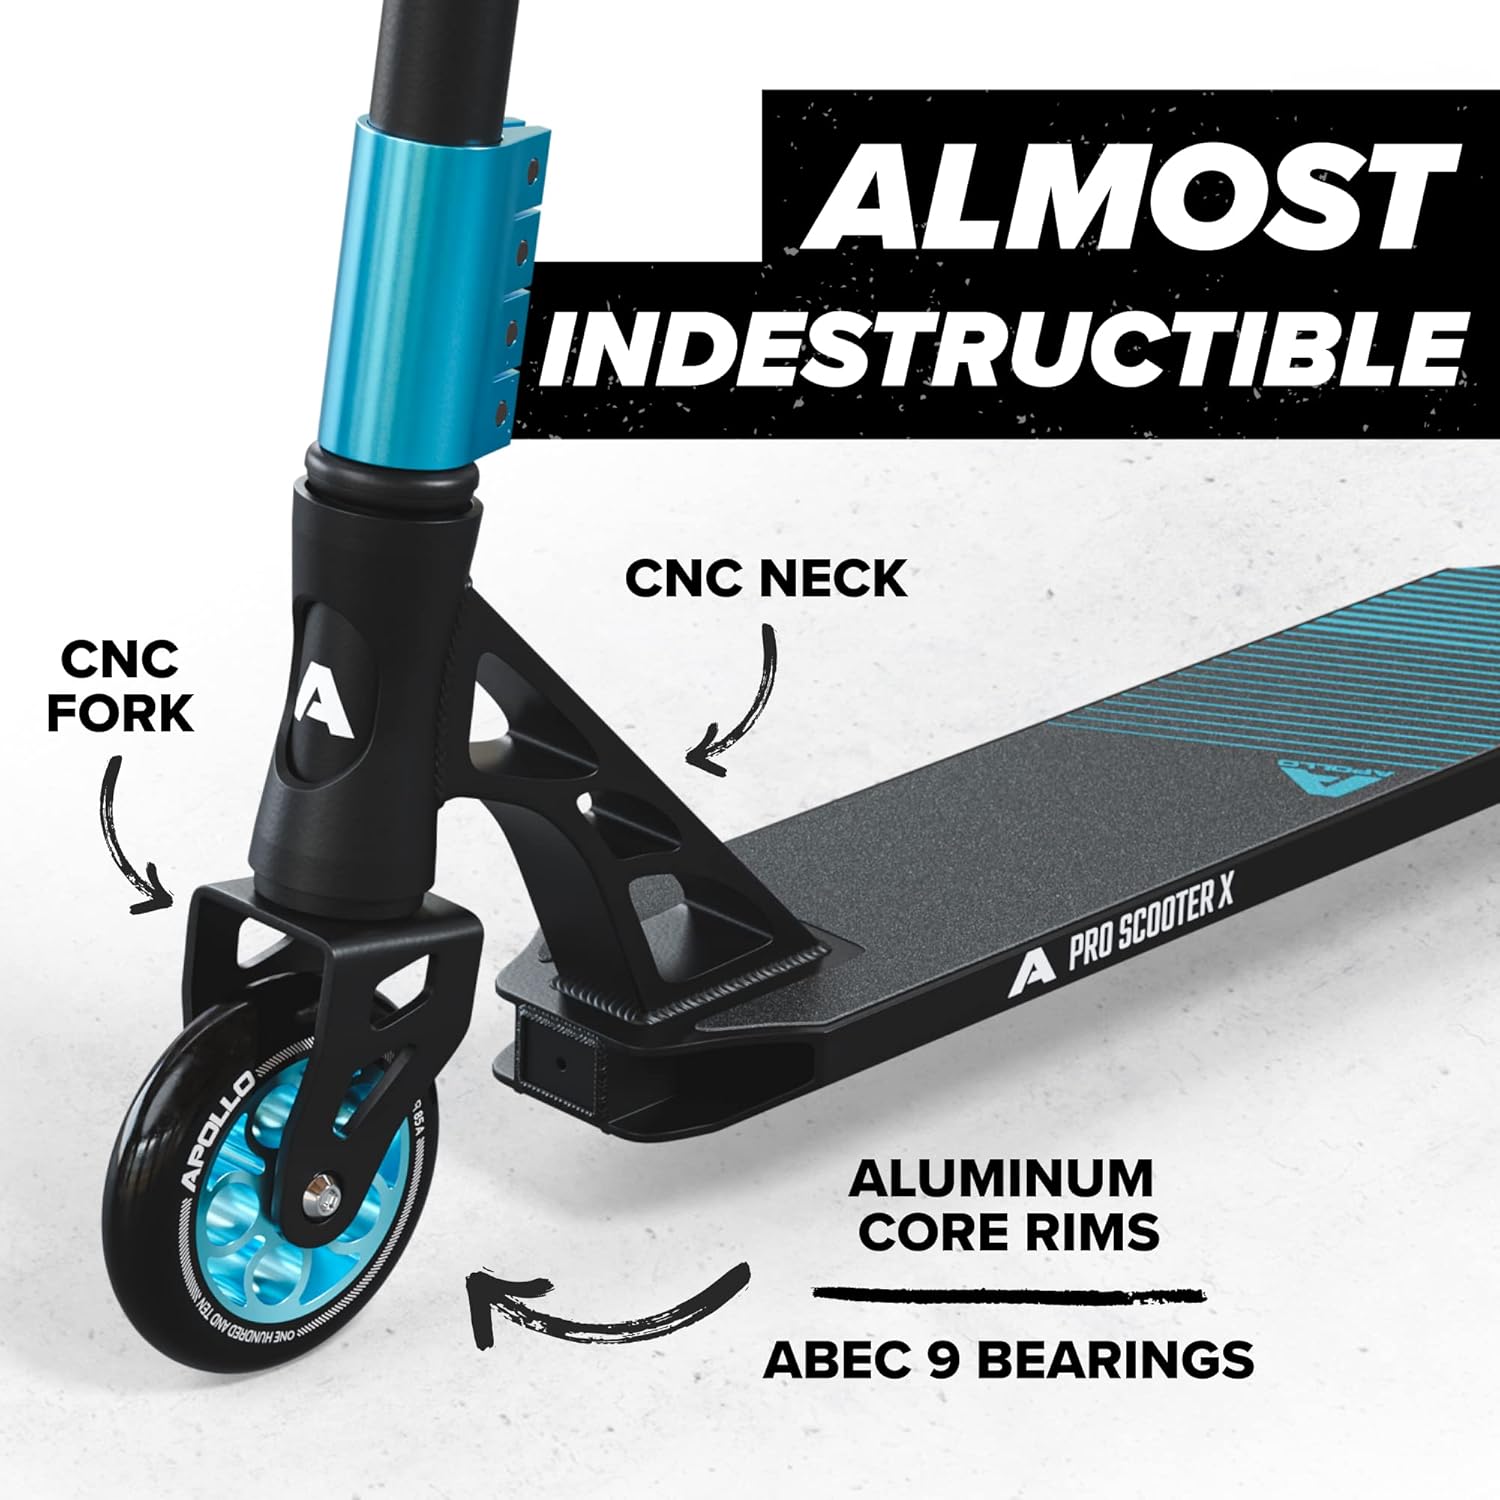
Image 2.2: Close-up view highlighting the CNC fork, CNC neck, aluminum core rims, and ABEC 9 bearings, emphasizing the scooter's robust and precise engineering.
3. Setup and Assembly
The APOLLO Genesis X Pro Scooter comes partially assembled. Final assembly primarily involves attaching and securing the handlebar to the main stem.
3.1 Unboxing
Carefully remove all components from the packaging. Ensure all parts listed in the packing list (not provided, but typically includes deck, handlebar, wheels, clamp, and tools) are present.

Image 3.1: The APOLLO Genesis X Pro Scooter alongside its packaging, indicating the product as it arrives.
3.2 Handlebar Attachment
- Insert the handlebar stem into the fork tube.
- Ensure the handlebar is aligned straight with the front wheel.
- Tighten the four Allen screws on the handlebar clamp securely using the provided T-Tool. Ensure even tightening to prevent slippage during use.
Note: The video demonstrates the secure attachment of the handlebar stem with four Allen screws, crucial for stability during stunts.
Video 3.1: An official product video demonstrating the APOLLO Genesis Pro Scooter in action, highlighting its use for stunts and tricks in a skate park environment. This video showcases the scooter's durability and maneuverability.
4. Operating Instructions
4.1 Safety Precautions
- Always wear appropriate safety gear, including a helmet, knee pads, elbow pads, and wrist guards.
- Ride in designated areas free from traffic and pedestrians.
- Inspect the scooter before each use for any loose parts, damage, or wear.
- Do not exceed the maximum weight limit of 220 pounds.
- Avoid riding in wet conditions or on uneven surfaces.
4.2 Basic Riding
- Place one foot firmly on the deck.
- Push off with your other foot to gain momentum.
- Place both feet on the deck once you have sufficient speed.
- Steer by leaning and gently turning the handlebars.
- To stop, use the rear brake by pressing your foot down on it.
4.3 Performing Tricks
The APOLLO Genesis X Pro Scooter is designed for freestyle tricks and stunts. Practice basic maneuvers in a safe environment before attempting advanced tricks. The 360° rotating handlebar and robust construction support a wide range of movements.

Image 4.1: A collage of images showing riders performing various stunts and tricks with the APOLLO Genesis X Pro Scooter, demonstrating its capability for advanced maneuvers.
5. Maintenance
- Regular Cleaning: Wipe down the scooter with a damp cloth after use to remove dirt and debris. Avoid harsh chemicals.
- Check Fasteners: Periodically check all screws and bolts, especially those on the handlebar clamp and wheels, to ensure they are tight.
- Wheel Inspection: Inspect wheels for wear and tear. Replace worn wheels to maintain optimal performance and safety.
- Bearing Care: Keep ABEC 9 bearings clean and lubricated for smooth operation. Avoid exposing them to excessive water or dirt.
- Brake Functionality: Ensure the rear brake is functioning correctly and provides adequate stopping power.
6. Troubleshooting
| Problem | Possible Cause | Solution |
|---|---|---|
| Handlebar feels loose or wobbly. | Handlebar clamp screws are not tight enough. | Tighten the four Allen screws on the handlebar clamp evenly using the T-Tool. |
| Wheels do not spin freely. | Dirt or debris in bearings; bearings are worn. | Clean bearings or replace them if worn. Ensure wheel bolts are not overtightened. |
| Brake is not effective. | Brake mechanism is worn or misaligned. | Inspect the brake for wear. Adjust or replace if necessary. |
| Unusual noises during riding. | Loose components; worn bearings or wheels. | Check all fasteners. Inspect wheels and bearings for damage or wear. |
7. Specifications
| Feature | Detail |
|---|---|
| Brand | Apollo |
| Model Name | Genesis Pro Black / Mint |
| Age Range (Description) | Adult (suitable for Kids 10+, Teens, Adults) |
| Special Feature | Non-Slip Deck |
| Weight Limit | 220 Pounds |
| Number of Wheels | 2 |
| Wheel Material | Polyurethane |
| Frame Material | Aluminum |
| Handlebar Type | Adjustable T-Bar |
| Wheel Size | 110 Millimeters |
| Brake Style | Rear Braking |
| Included Components | T-Tool for assembly |

Image 7.1: A comparison chart detailing specifications for different APOLLO scooter models, including the Genesis Pro X, highlighting handlebar height, deck size, wheel type, fork material, max weight, bar type, and headset.
8. Warranty Information
The APOLLO Genesis X Pro Scooter comes with a 2-Year Limited Warranty. Please retain your proof of purchase for any warranty claims. For detailed terms and conditions, refer to the official Apollo website or contact customer support.
9. Customer Support
For further assistance, technical support, or to inquire about replacement parts, please visit the official Apollo website or contact their customer service department. Contact information can typically be found on the product packaging or the brand's official online presence.
Visit the Apollo Store for more products and information.
Related documentsGenesis X Pro


Ask a question about this manual
Ask about setup, troubleshooting, compatibility, parts, safety, or missing instructions. Manuals+ will review the question and use this page’s manual context to help answer it.