1. Introduction
Thank you for choosing the ORSKEY S950 Dash Cam. This manual provides detailed instructions for the proper installation, operation, and maintenance of your new dash camera system. Please read this manual thoroughly before use to ensure optimal performance and longevity of the device.

Image: The ORSKEY S950 Dash Cam, showing the main front unit with a 3-inch IPS screen and the separate rear camera.
2. Product Overview
2.1 Package Contents
The ORSKEY S950 Dash Cam package includes the following items:
- ORSKEY S950 Front Dash Camera
- Rear Camera
- Car Charger
- Mounting Bracket (Dashboard Mount)
- Rear Camera Cable
- User Manual
- Memory Card (Included components: Memory Card)
2.2 Key Features
The ORSKEY S950 Dash Cam is equipped with advanced features for comprehensive vehicle surveillance:
- 4K Ultra HD Front Recording: Captures clear, detailed footage.
- 1080P Rear Recording: Provides a wide view of the vehicle's rear.
- Sony Starvis Sensor: Enhances low-light performance for superior night vision.
- 3-inch IPS Screen: Offers a clear and wide viewing angle for playback and settings.
- 170-Degree Wide Field of View: Both front and rear cameras cover multiple lanes.
- Loop Recording: Automatically overwrites the oldest footage when the memory card is full.
- G-Sensor (Emergency Accident Lock): Detects sudden impacts and locks the current video to prevent overwriting.
- Parking Monitoring: Provides surveillance when the vehicle is parked (requires continuous power supply).
- Support for up to 128GB MicroSD Card: Allows for extended recording times.

Image: Visual representation of the ORSKEY S950's powerful functions, including 4K+1080P recording, Sony Sensor, 3" IPS screen, dual 170° FOV, G-Sensor, Loop Recording, Parking Monitoring, Emergency Recording, and Max 128GB support.
3. Setup and Installation
3.1 Inserting the MicroSD Card
- Ensure the dash cam is powered off.
- Locate the MicroSD card slot on the side of the main unit.
- Insert the MicroSD card (Class 10 or higher, up to 128GB) into the slot until it clicks into place.
- Important: Format the MicroSD card within the dash cam's settings menu before first use and periodically thereafter to ensure stable recording.
3.2 Mounting the Front Camera
- Clean the windshield area where you intend to mount the camera.
- Attach the suction cup mount or adhesive mount to the windshield, ensuring it does not obstruct your view.
- Slide the main dash cam unit onto the mounting bracket until it locks securely.
- Adjust the camera lens angle to ensure it captures the road ahead clearly.
3.3 Installing the Rear Camera
- Determine the optimal mounting location for the rear camera, typically on the rear windshield or near the license plate.
- Clean the mounting surface thoroughly.
- Secure the rear camera using the provided adhesive or screws.
- Route the rear camera cable from the rear of the vehicle to the front dash cam unit. Ensure the cable is tucked away neatly to avoid interference with driving.
- Connect the rear camera cable to the designated port on the main dash cam unit.

Image: Illustration of the dual lens dash camera's wide 170° viewing angles for both front and rear, providing comprehensive coverage.
3.4 Power Connection
- Connect the car charger to the dash cam's power input port.
- Plug the other end of the car charger into your vehicle's cigarette lighter socket.
- The dash cam will automatically power on and begin recording when the vehicle's ignition is turned on.
4. Operating Instructions
4.1 Basic Operation
- Power On/Off: The camera powers on/off automatically with the vehicle's ignition. You can also manually power on/off by pressing and holding the power button.
- Recording: Once powered on and with a formatted MicroSD card, the camera will automatically start loop recording. A flashing indicator light usually signifies active recording.
- Screen On/Off: The screen can be set to turn off automatically after a set period to avoid distraction while driving. Recording continues in the background.
4.2 Loop Recording
Loop recording ensures continuous recording by overwriting the oldest unlocked video files when the MicroSD card reaches its capacity. This feature prevents the card from filling up and stopping recording.
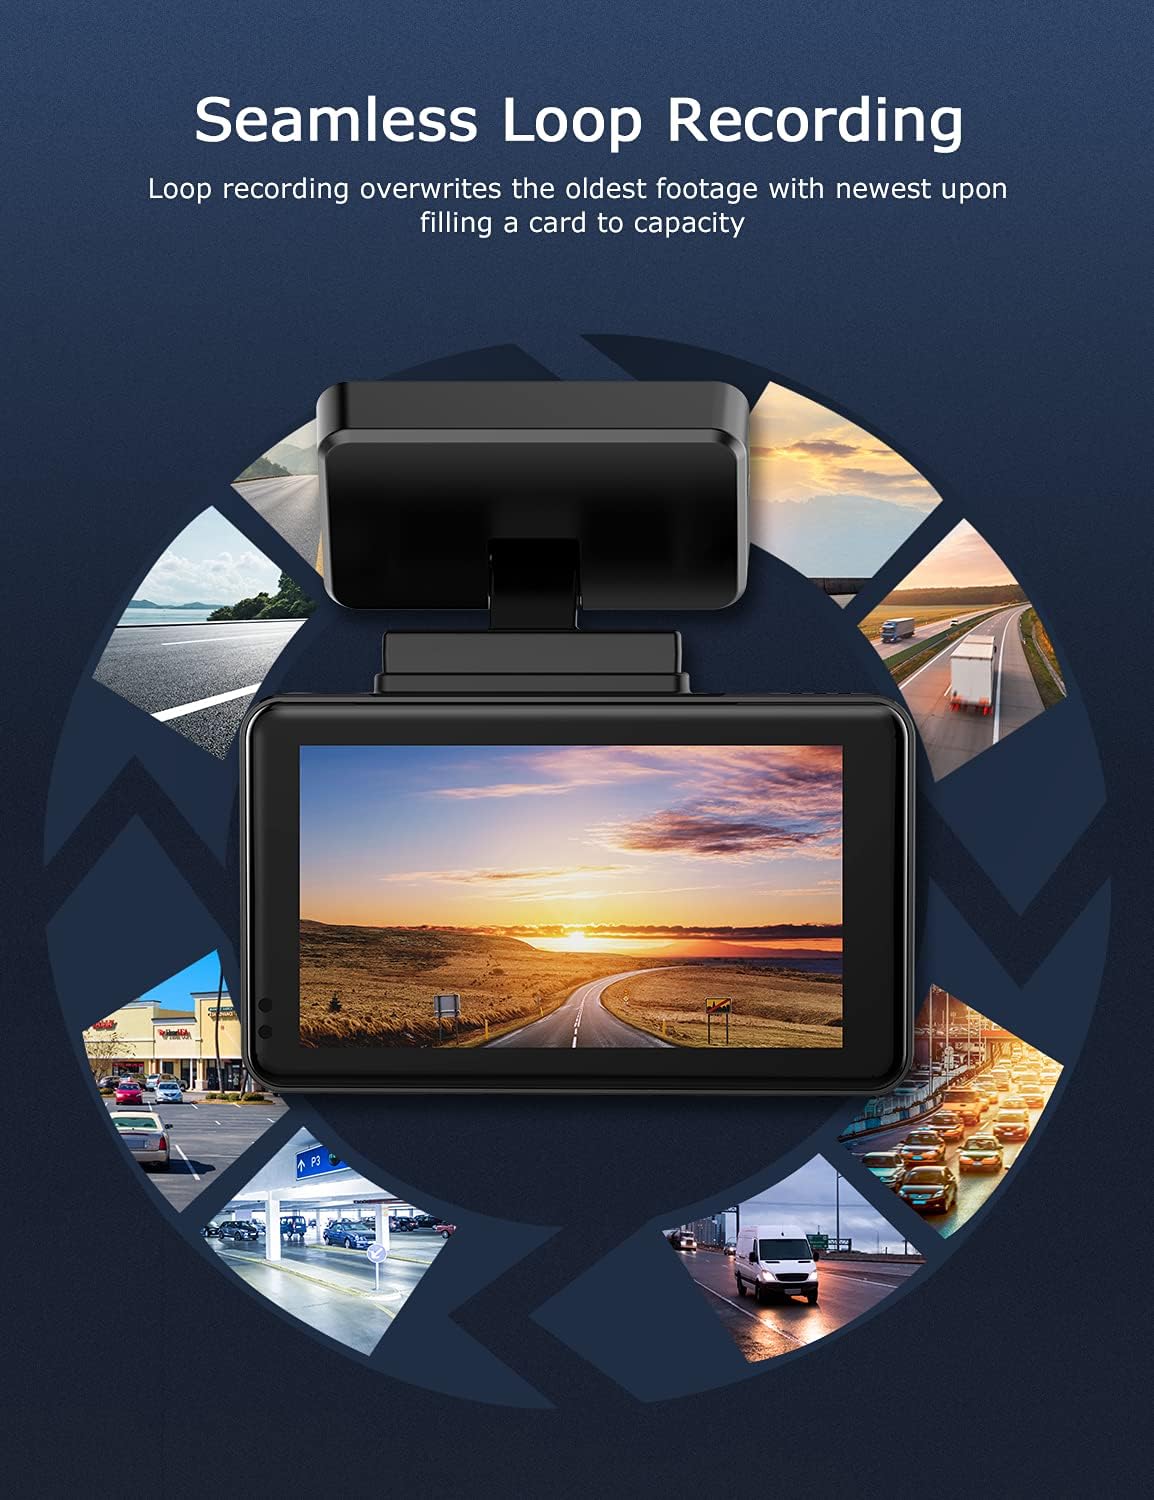
Image: Visual explanation of seamless loop recording, where the dash cam continuously records and overwrites the oldest footage once the memory card is full.
4.3 G-Sensor and Emergency Lock
The built-in G-sensor detects sudden acceleration, braking, or collisions. When triggered, it automatically locks the current video segment, protecting it from being overwritten by loop recording. These locked files are stored in a separate folder on the MicroSD card.

Image: Depiction of the Emergency Accident Lock feature, where the G-sensor detects an impact and automatically locks the video footage as important evidence.
4.4 Parking Monitoring
When enabled, parking monitoring allows the dash cam to automatically record if it detects a collision or vibration while the vehicle is parked. This feature typically requires a hardwire kit (sold separately) for continuous power supply.
4.5 Night Vision
Equipped with a Sony Starvis Sensor, the ORSKEY S950 provides enhanced night vision capabilities, capturing clear video footage even in low-light conditions.
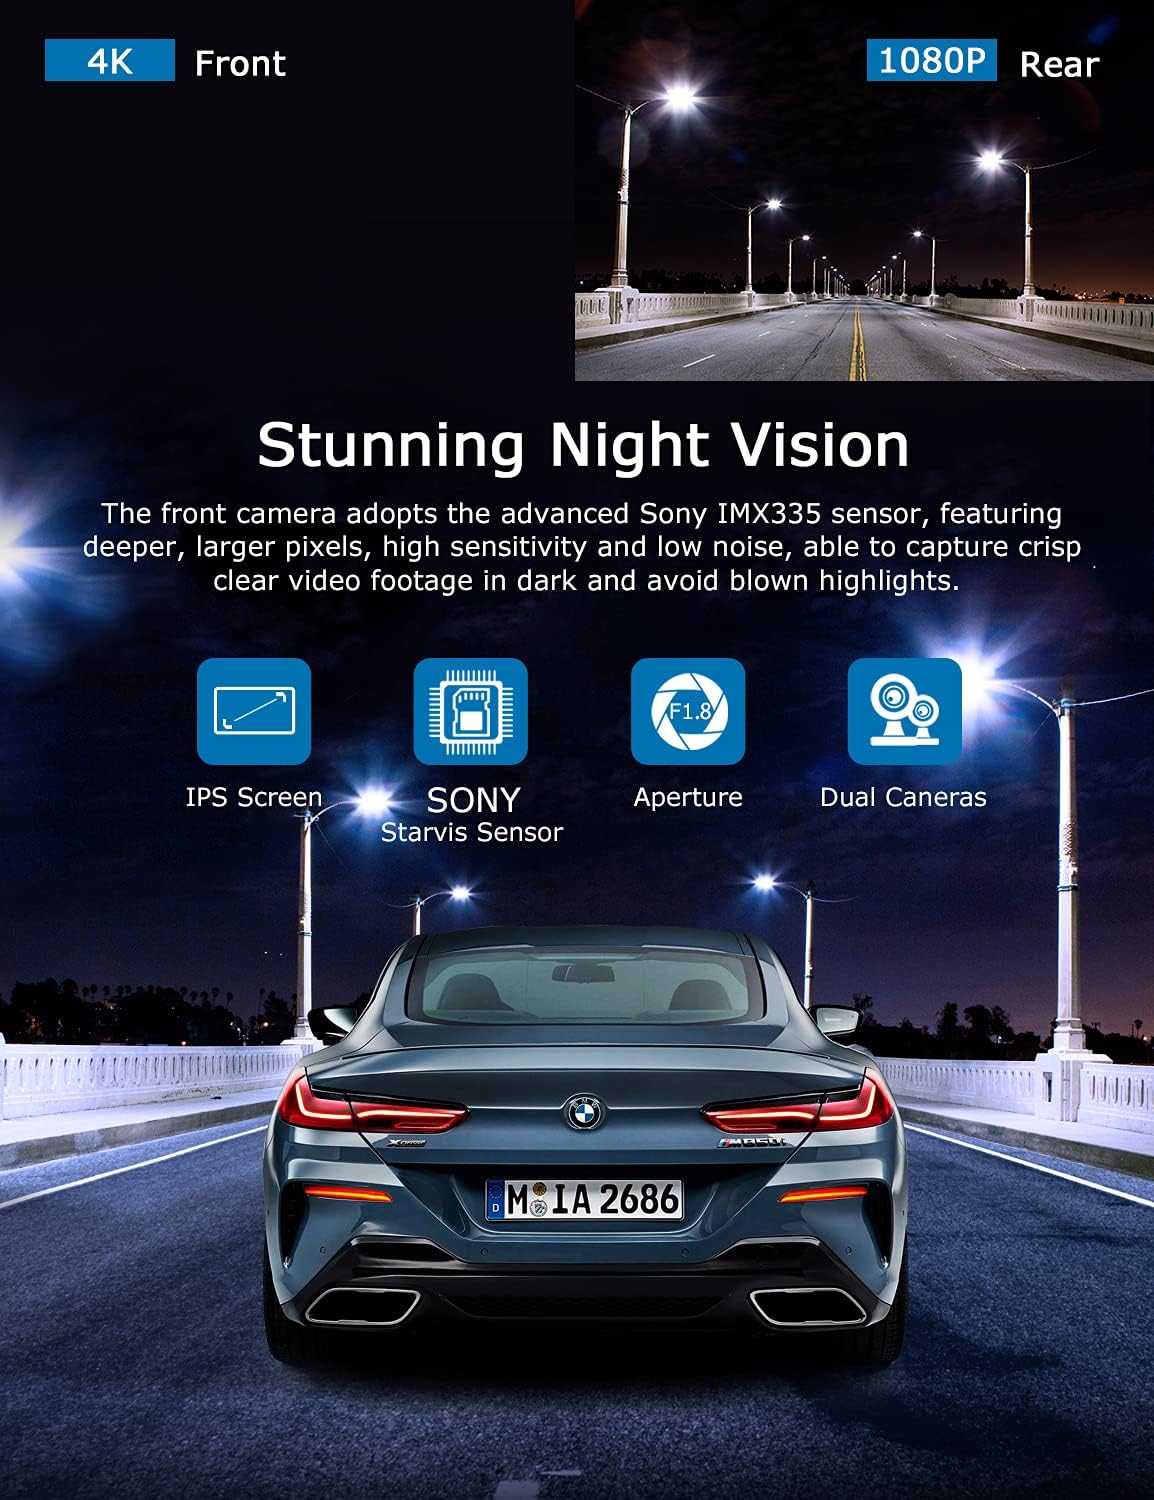
Image: Illustration highlighting the stunning night vision capability of the ORSKEY S950, showing clear footage in dark environments.
4.6 Playback
To review recorded footage:
- Stop recording by pressing the OK button (if currently recording).
- Enter playback mode via the menu options.
- Navigate through video files using the up/down buttons.
- Select a file and press OK to play.
- You can also remove the MicroSD card and view files on a computer using a compatible media player.
5. Maintenance
- MicroSD Card Formatting: Regularly format the MicroSD card (at least once a month) to prevent data corruption and ensure optimal performance. Back up important files before formatting.
- Cleaning: Use a soft, dry cloth to clean the camera lens and screen. Avoid using abrasive cleaners or solvents.
- Temperature: Avoid exposing the dash cam to extreme temperatures for prolonged periods, as this can affect battery life and component integrity.
6. Troubleshooting
| Problem | Possible Cause | Solution |
|---|---|---|
| Camera does not power on. | No power supply; faulty charger; dead battery. | Check car charger connection and vehicle's cigarette lighter. Ensure the camera's internal battery is charged. |
| "Card Error" or recording stops. | MicroSD card not formatted, incompatible, or corrupted. | Format the MicroSD card in the camera. Use a high-quality Class 10 (U3 recommended) MicroSD card from a reputable brand. Try a different card. |
| Video playback is laggy or corrupted. | Slow MicroSD card; file system issues; incompatible player. | Ensure you are using a high-speed MicroSD card (V30/U3). Format the card. Try playing videos with a different media player on your computer. |
| Rear camera image is reversed. | Default setting for mirror view. | Check camera settings for a 'Mirror Image' or 'Flip' option for the rear camera. If not available, this may be intended for reverse assistance rather than recording. |
| G-Sensor is too sensitive/not sensitive enough. | G-Sensor sensitivity setting. | Adjust the G-Sensor sensitivity level in the camera's settings menu. |
7. Specifications
| Feature | Specification |
|---|---|
| Model Number | S950 |
| Video Capture Resolution | 4K (Front), 1080P (Rear) |
| Screen Size | 3-inch IPS Screen |
| Field of View | 170 Degrees (Front & Rear) |
| Special Features | Loop Recording, Night Vision, G-Sensor, Parking Monitoring |
| Storage Support | Up to 128GB MicroSD Card (Class 10/U3 recommended) |
| Control Method | Touch |
| Power Source | Car Charger (1 Lithium Polymer battery included) |
| Product Dimensions | 21 x 15.5 x 4.5 cm; 505 g |
8. Warranty and Support
ORSKEY products are designed for reliability and performance. For warranty information, technical support, or any inquiries regarding your ORSKEY S950 Dash Cam, please refer to the contact details provided on the official ORSKEY website or the product packaging. Keep your purchase receipt as proof of purchase for warranty claims.
For further assistance, you may visit the ORSKEY Store on Amazon: ORSKEY Store


