
1. Introduction
Thank you for purchasing the YYJLX 6-Light Modern Large Crystal Chandelier. This manual provides essential information for the safe installation, operation, and maintenance of your new lighting fixture. Please read these instructions thoroughly before beginning installation and retain them for future reference.
Important Safety Information
- Always turn off the main power supply at the circuit breaker before installing, cleaning, or performing any maintenance on the fixture.
- All electrical connections must be in accordance with local codes, ordinances, and the National Electric Code (NEC). If you are unfamiliar with proper electrical wiring connections, consult a qualified electrician.
- Use only the specified bulb type and wattage (E26 base, 60 watts maximum per bulb).
- Do not connect this fixture to an ungrounded electrical system.
- Handle crystal components with care to prevent breakage.
Video 1: Overview of the YYJLX 6-Light Crystal Chandelier, showcasing its design and illumination.
2. Package Contents
Verify that all components are present and undamaged before beginning installation. If any parts are missing or broken, please contact customer service.
- Chandelier Frame (Black Metal)
- Crystal Pendants and Chains
- Mounting Hardware (including screws, wire nuts, and mounting plate)
- Instruction Manual

Image 1: Product dimensions and key parameters of the chandelier.
3. Specifications
| Feature | Specification |
|---|---|
| Brand | YYJLX |
| Model Number | Y-1012 |
| Color | Black |
| Material | Metal |
| Light Fixture Form | Chandelier |
| Product Dimensions | 21.25"L x 21.25"W x 9.84"H |
| Bulb Base | E26 |
| Number of Light Sources | 6 |
| Maximum Compatible Wattage | 60 Watts (per bulb) |
| Voltage | 110 Volts |
| Installation Type | Semi Flush Mount |
| Special Feature | Dimmable |
| Item Weight | 16.53 Pounds |
4. Setup and Installation
Installation requires basic electrical knowledge. If you are unsure, please consult a qualified electrician. Ensure power is OFF at the circuit breaker before starting.
Installation Steps:
- Prepare the Mounting Plate: Attach the mounting plate to your ceiling junction box using the provided screws. Ensure it is securely fastened.
- Assemble the Chandelier Frame: Connect the main chandelier body to the ceiling canopy using the provided rods and secure them.
- Wiring: Connect the fixture's wires to your household electrical wires. Typically, this involves connecting the black wire to the black (live) wire, the white wire to the white (neutral) wire, and the ground wire to the ground wire. Secure connections with wire nuts.
- Attach the Chandelier to the Mounting Plate: Carefully lift the chandelier and attach it to the mounting plate, securing it with the canopy screws.
- Install Bulbs: Screw six E26 base bulbs (not included, 60W max each) into the sockets.
- Attach Crystal Pendants: This step involves attaching individual crystal chains to the designated hooks on the chandelier frame. Carefully open the small rings on the crystal chains and loop them through the holes. Refer to the detailed component image for guidance.
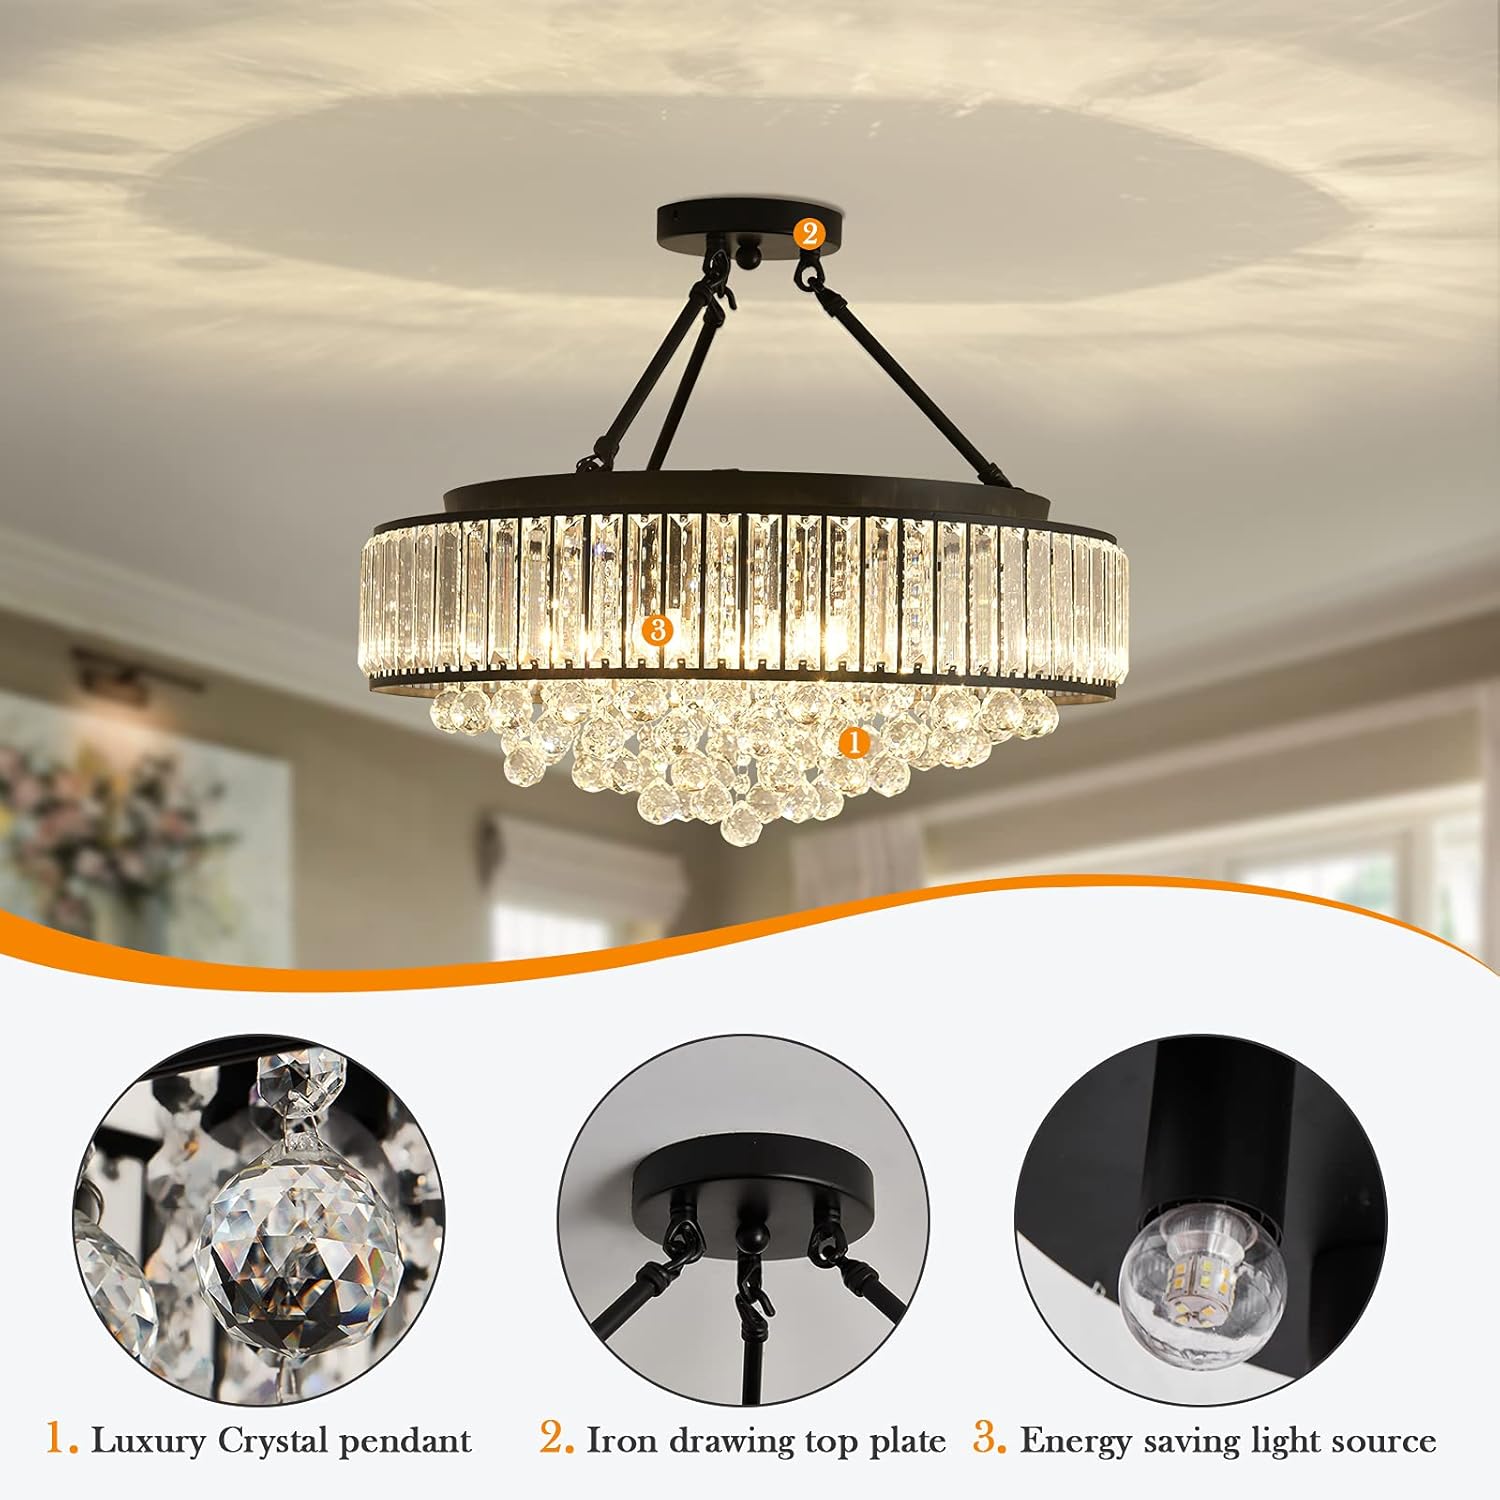
Image 2: Detailed view of chandelier components, including crystal pendants and the top plate.
Video 2: Step-by-step installation guide for the 6-Light Crystal Chandelier.
5. Operating Instructions
Once installed, restore power to the fixture at the circuit breaker. The chandelier is operated via a standard wall switch. If a dimmer switch is installed, ensure it is compatible with the E26 LED bulbs you choose for dimming functionality.
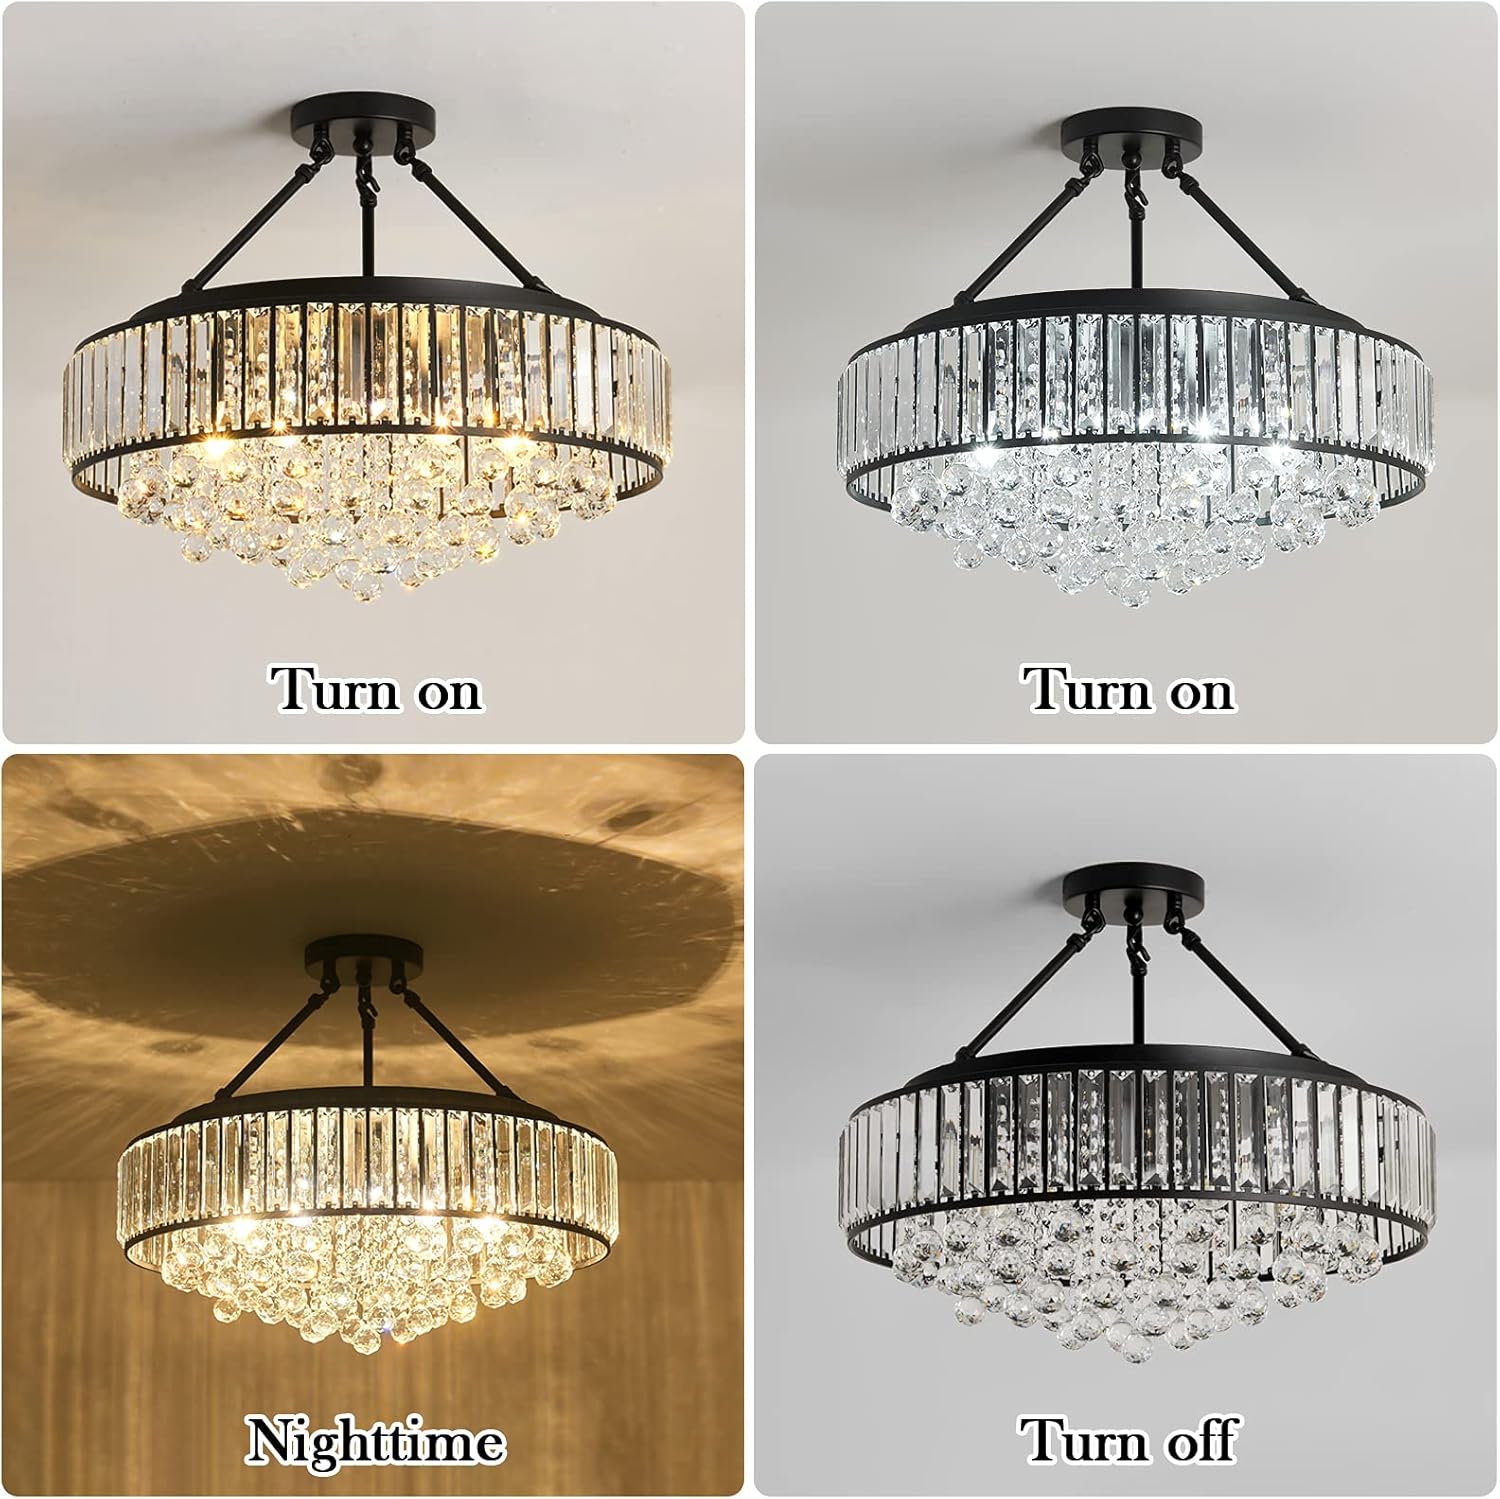
Image 3: Examples of the chandelier's appearance when turned on with different light temperatures and when turned off.
6. Maintenance
Regular cleaning will help maintain the beauty and brilliance of your chandelier.
Cleaning Instructions:
- Always turn off power to the fixture before cleaning.
- For Metal Parts: Wipe with a soft, dry cloth. Do not use abrasive cleaners or polishes as they may damage the finish.
- For Crystal Components: Gently wipe crystals with a soft, lint-free cloth dampened with water or a mild glass cleaner. Avoid spraying cleaner directly onto the fixture to prevent moisture from entering electrical components.
- Periodically check all connections and mounting hardware for tightness.
7. Troubleshooting
If you experience issues with your chandelier, refer to the following common problems and solutions:
| Problem | Possible Cause | Solution |
|---|---|---|
| Light does not turn on | No power to fixture; Loose wiring; Faulty bulb | Check circuit breaker; Verify wire connections; Replace bulb(s) |
| Flickering lights | Loose bulb; Incompatible dimmer switch; Loose wiring | Tighten bulb(s); Ensure dimmer is LED compatible; Check wiring connections |
| Crystals appear dull | Dust or residue buildup | Clean crystals as per maintenance instructions |
8. Warranty and Support
YYJLX provides a worry-free guarantee. If there is any quality issue or you are not satisfied with your purchase, please do not hesitate to contact us. For support, please refer to the contact information provided with your purchase documentation or visit the official YYJLX store on Amazon.
For further assistance, please visit the YYJLX Store.