
1. Introduction and Overview
The Atomos Shinobi 7" 4K HDMI/SDI Monitor is a versatile field monitor designed for professional video production. It features a 7-inch 4K HDMI HDR display with 2200 nits brightness, ensuring visibility even in daylight conditions. The monitor supports 1920 x 1200 resolution with a 16:10 aspect ratio. It includes HDMI 2.0 for 4K DCI p60 input and 3G 2K DCI p60 construction. The AtomOS operating system and AtomHDR technology provide advanced monitoring tools such as Waveform, RGB, Histogram, Analysis Mode, multi-scope view, and 3D LUT support for both monitoring and loop out. Camera control is available with compatible cameras via optional cables.
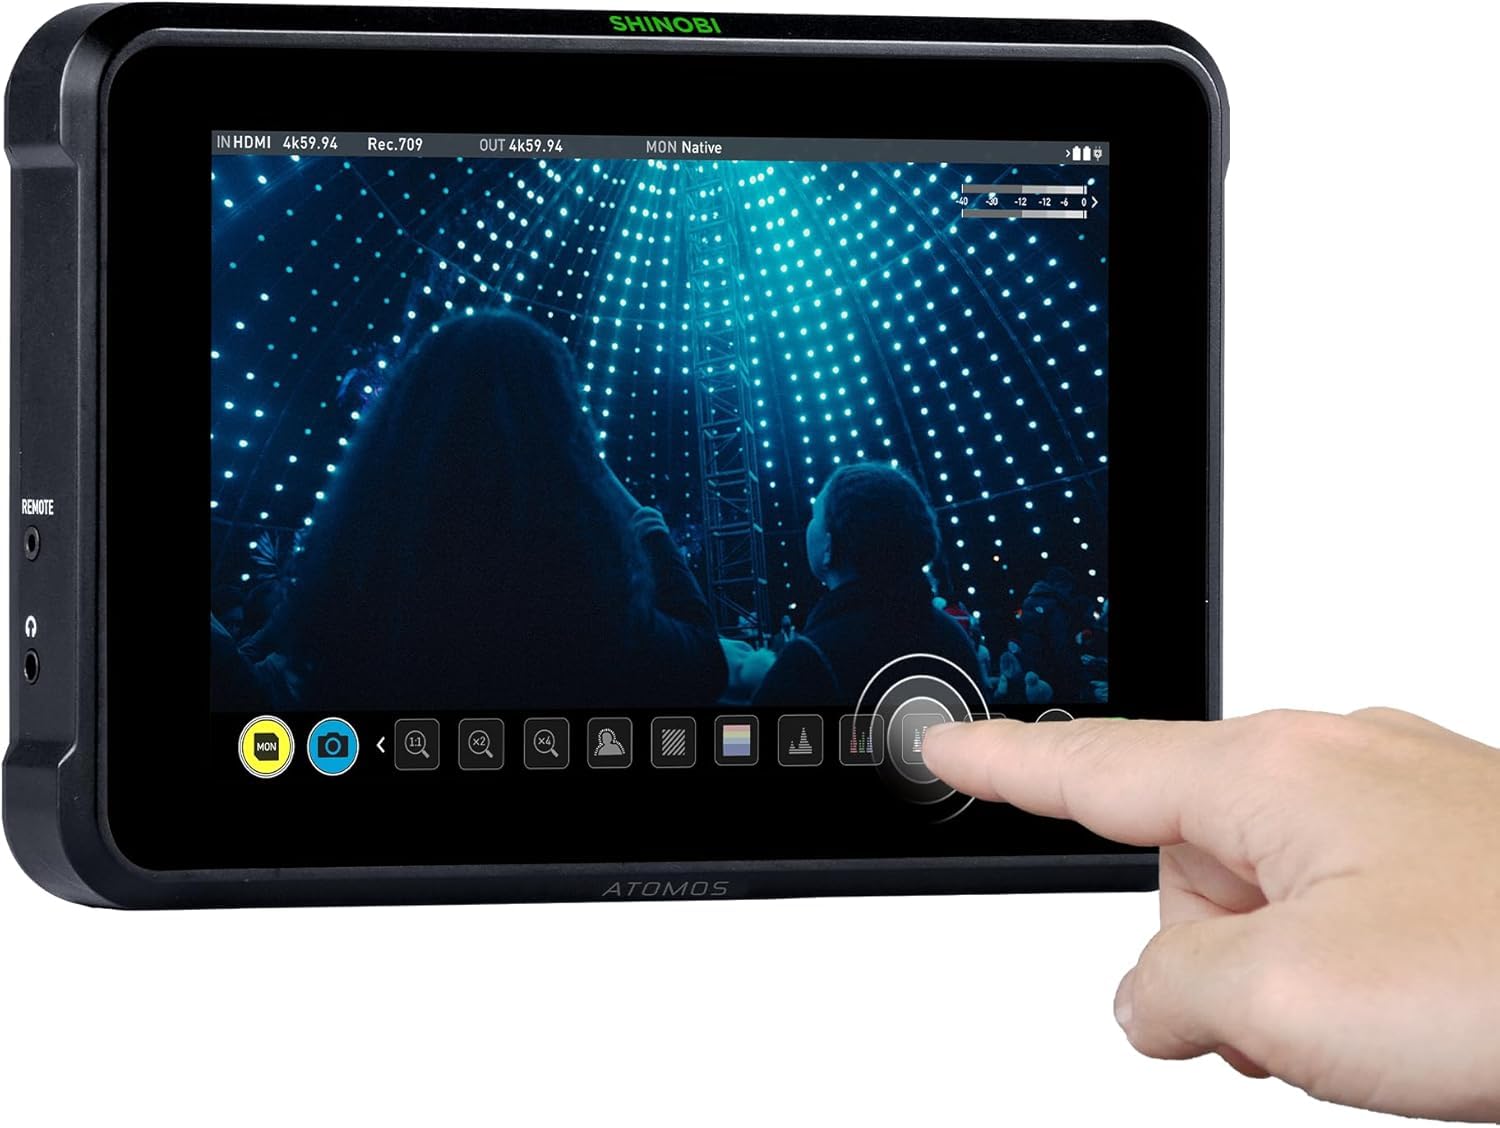
Figure 1: Front view of the Atomos Shinobi 7" monitor displaying a video feed with various monitoring tools.
Key Features:
- 2200 Nits HDR / Daylight viewable display for clear visibility in various lighting conditions.
- HDMI 2.0 support for 4Kp60 and 3G-SDI support up to 2Kp60 for broad camera compatibility.
- Bi-directional HDMI SDI signal cross conversion for flexible signal routing.
- Dual NPF battery slots for extended, continuous power during shoots.
- 3D LUT support with Preview and Loop out for accurate color representation and external display.
2. Setup
2.1 Powering the Monitor
The Shinobi 7 can be powered using either NPF batteries or an external DC power source. The dual NPF battery slots allow for hot-swapping, ensuring uninterrupted operation. Connect the DC power adapter to the 6.2V-16.8V DC input port located on the rear of the monitor.

Figure 2: Rear view of the Atomos Shinobi 7" monitor, highlighting the dual NPF battery slots and power input.
2.2 Connecting to a Camera
Connect your camera's HDMI or SDI output to the corresponding input port on the Shinobi 7. The monitor supports HDMI 2.0 for 4Kp60 and 3G-SDI for 2Kp60. Ensure the cables are securely connected to prevent signal loss.
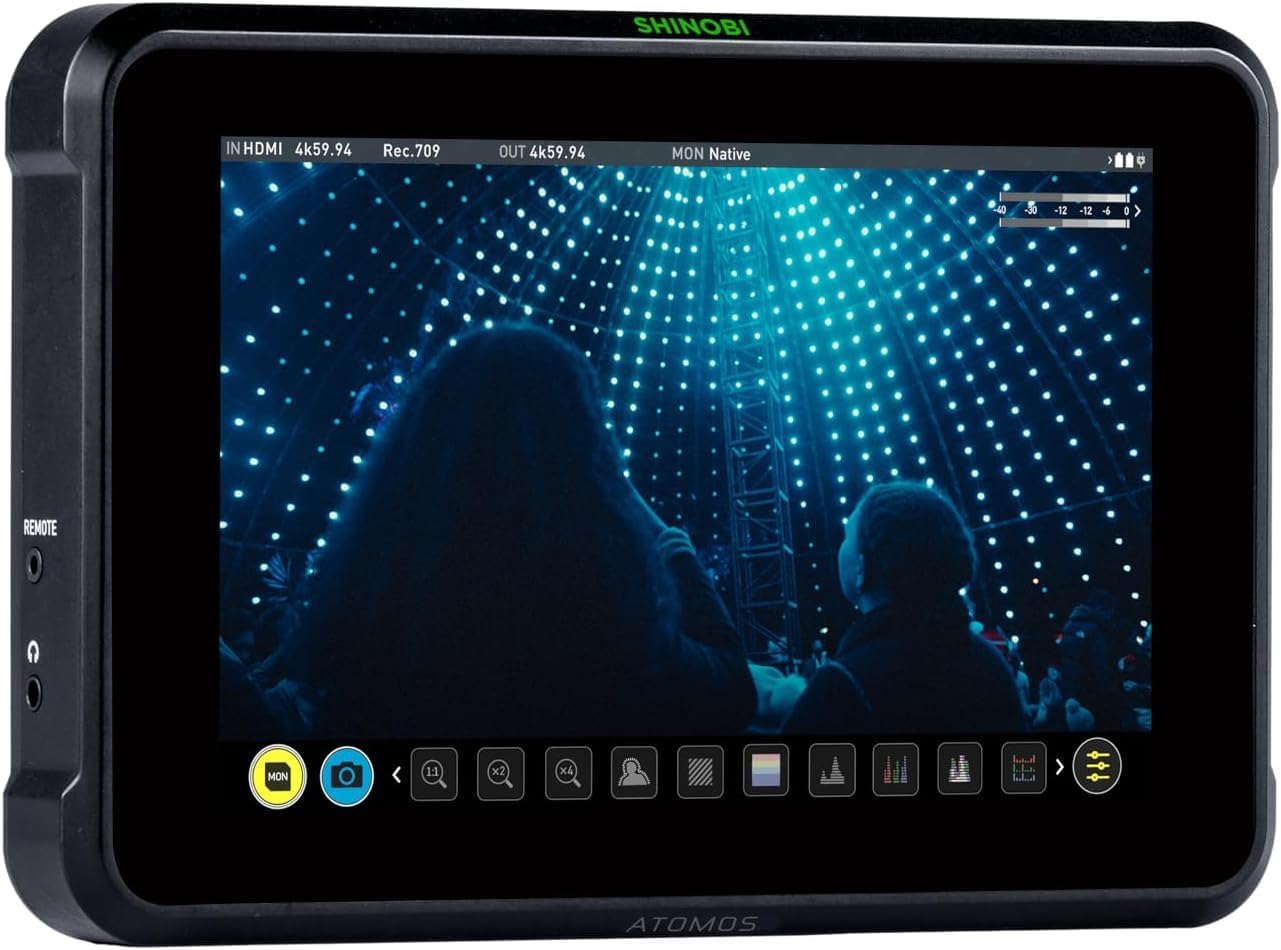
Figure 3: Side view of the Atomos Shinobi 7" monitor, showing HDMI and SDI ports for camera connection.
2.3 Mounting the Monitor
The Shinobi 7 features standard 1/4"-20 mounting points for attaching to camera rigs, arms, or stands. Ensure the monitor is securely mounted to prevent accidental drops or damage.
3. Operating the Monitor
3.1 Basic Operation
Press and hold the power button to turn the monitor on or off. The touchscreen interface allows for intuitive navigation through menus and settings. Swipe gestures and taps are used to access various monitoring tools and adjustments.
3.2 Monitoring Tools
The AtomOS operating system provides a suite of professional monitoring tools:
- Waveform: Displays the luminance and chrominance levels of your video signal.
- RGB Parade: Shows the individual red, green, and blue channel levels.
- Histogram: Visualizes the tonal distribution of your image.
- Focus Peaking: Highlights in-focus areas for precise manual focusing.
- Zebra: Indicates overexposed areas in your image.
- 3D LUTs: Apply custom Look Up Tables for accurate color grading and preview.
- Analysis Mode: Combines multiple monitoring tools for comprehensive image analysis.
3.3 Camera Control
With compatible cameras and optional control cables, the Shinobi 7 can provide direct camera control. This allows adjustment of settings such as white balance, shutter speed, aperture, and ISO directly from the monitor's touchscreen. Refer to the Atomos website for a list of supported cameras and required cables.
4. Maintenance
4.1 Cleaning the Monitor
Use a soft, lint-free cloth to gently wipe the screen and body of the monitor. For stubborn smudges, a small amount of screen cleaning solution can be applied to the cloth (not directly to the screen). Avoid abrasive materials or harsh chemicals.
4.2 Firmware Updates
Periodically check the Atomos website for firmware updates. Updates can improve performance, add new features, and resolve bugs. Follow the instructions provided by Atomos carefully when performing a firmware update.
5. Troubleshooting
5.1 No Signal Displayed
- Ensure all HDMI/SDI cables are securely connected to both the camera and the monitor.
- Verify that the camera's output settings match the monitor's input capabilities (e.g., resolution, frame rate).
- Check the monitor's input source selection to ensure the correct input (HDMI or SDI) is chosen.
5.2 Power Issues
- Confirm NPF batteries are fully charged and correctly inserted.
- If using DC power, ensure the power adapter is functioning and connected to a live outlet.
- Check the power button for proper engagement.
5.3 Overheating
The monitor is designed for high brightness, which can generate heat. Ensure adequate ventilation around the device. If the monitor becomes excessively hot, reduce screen brightness or allow it to cool down.
6. Specifications
| Feature | Specification |
|---|---|
| Screen Size | 7 Inches |
| Resolution | 1920 x 1200 Pixels |
| Aspect Ratio | 16:10 |
| Image Brightness | 2200 cd/m² (Nits) |
| Input/Output | HDMI 2.0 (4Kp60), 3G-SDI (2Kp60) |
| Power Input | Dual NPF Battery Slots, 6.2V-16.8V DC |
| Product Dimensions | 9.6 x 7.2 x 3.9 inches |
| Item Weight | 0.005 ounces |
| Model Number | ATOMSHB002 |
7. Warranty and Support
For detailed warranty information and technical support, please refer to the official Atomos website or contact your local Atomos distributor. Keep your proof of purchase for warranty claims.


