
1. Introduction
This manual provides essential information for the safe and effective operation of your Hantek DSO2C10 Digital Storage Oscilloscope. Please read this manual thoroughly before using the device to ensure proper functionality and to prevent damage or injury.
1.1 Product Overview
The Hantek DSO2C10 is a 2-channel digital storage oscilloscope featuring a 100MHz bandwidth and a 1GSa/s real-time sampling rate (single channel). It is designed for precise waveform analysis and measurement in various electronic applications. Key features include a large memory depth, high resolution, and multiple automatic measurement functions.
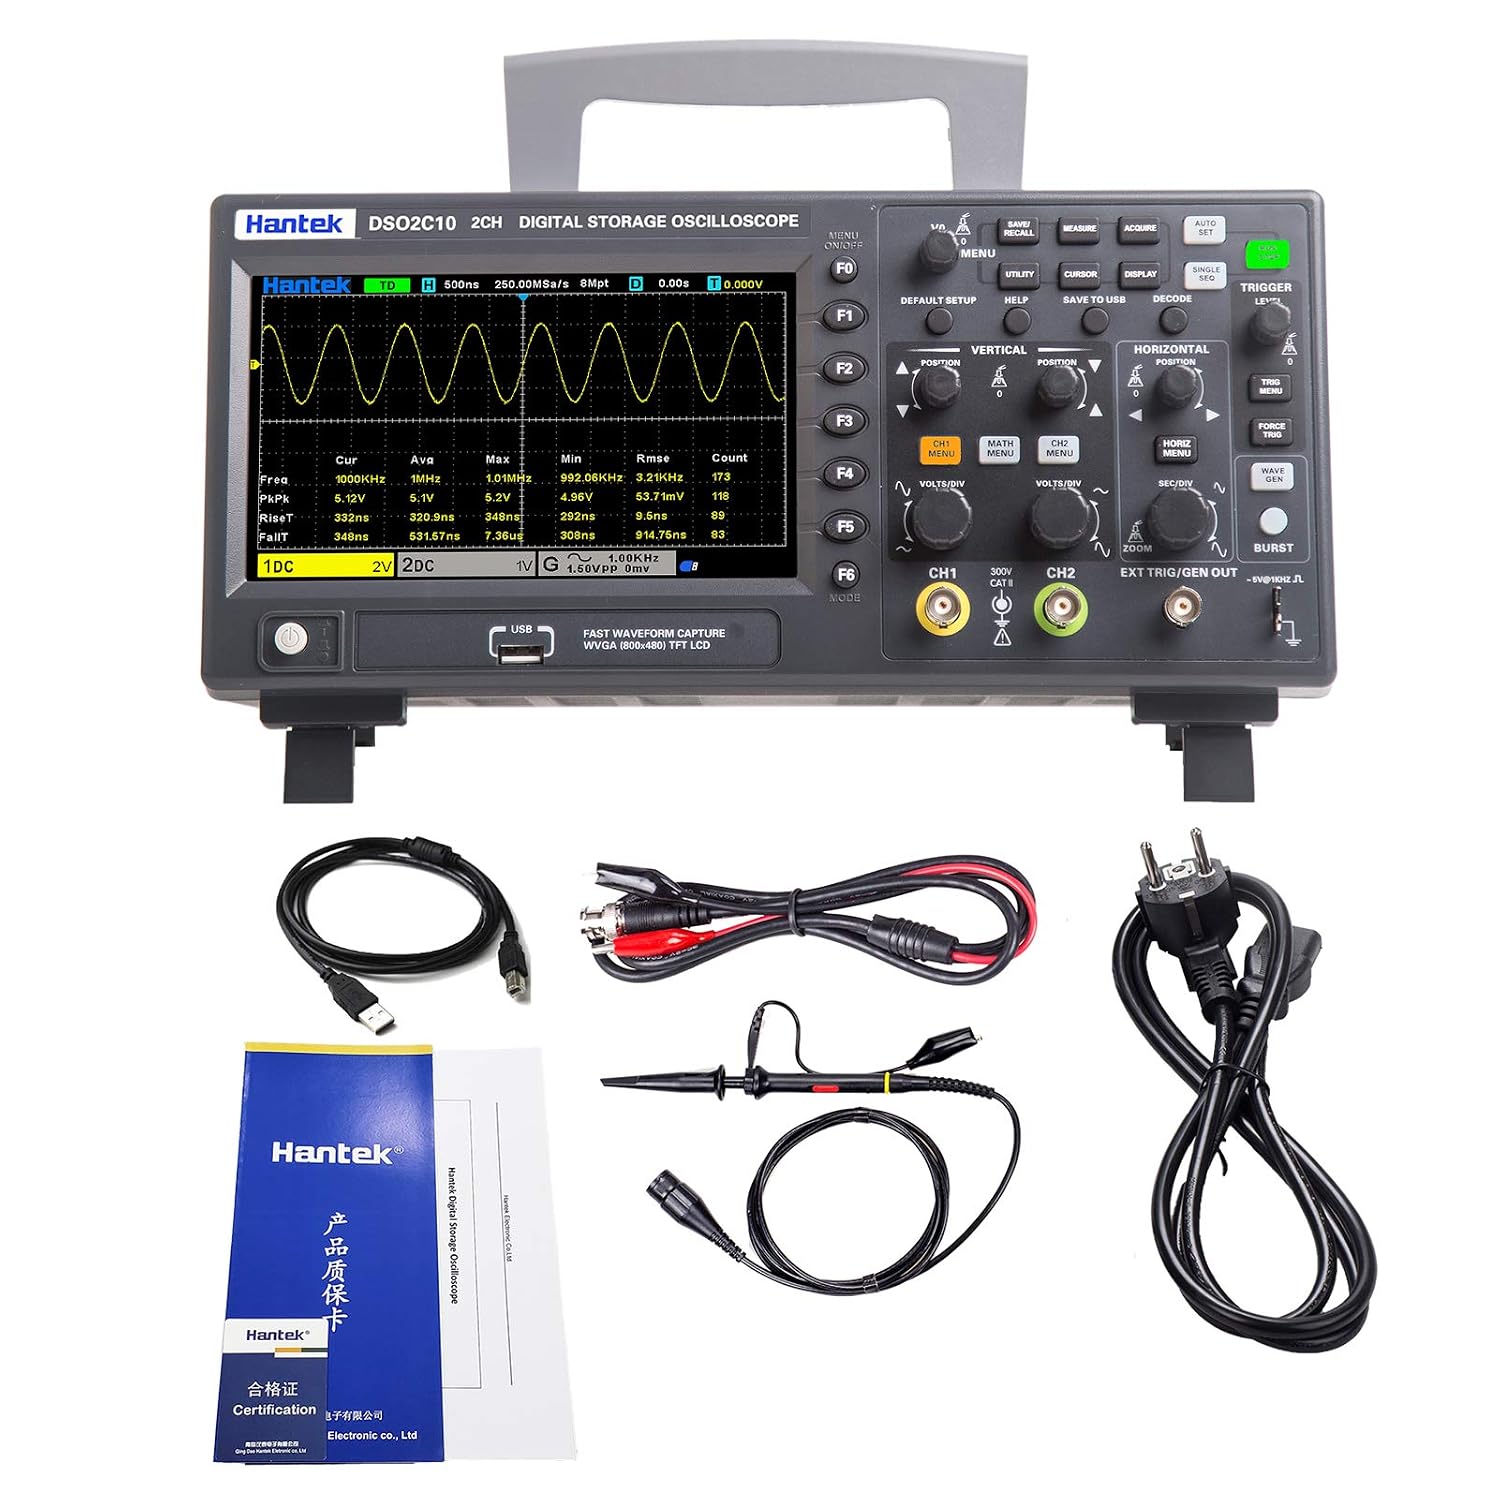
The Hantek DSO2C10 Digital Storage Oscilloscope, showcasing its front panel with the LCD display and control buttons.
1.2 Safety Information
Always observe the following safety precautions to avoid personal injury and prevent damage to the instrument or other connected products:
- Ground the Product: The oscilloscope must be properly grounded to prevent electric shock.
- Connect and Disconnect Properly: Connect the probe output to the circuit under test only after the probe is connected to the oscilloscope. Disconnect the probe from the circuit under test before disconnecting it from the oscilloscope.
- Observe All Terminal Ratings: To prevent fire or shock hazard, observe all ratings and markings on the product. Consult the product manual for more information about ratings before making connections to the instrument.
- Do Not Operate in Wet/Damp Conditions: To avoid electric shock, do not operate this instrument in wet or damp environments.
- Do Not Operate in Explosive Atmosphere: To avoid injury or fire, do not operate this instrument in an explosive atmosphere.
- Keep Product Surfaces Clean and Dry: To avoid electric shock, remove accumulated dust from ventilation openings and keep the instrument dry.
- Maximum Input Voltage: The maximum input voltage is 300VRMS (with 10X probe attenuation). Exceeding this limit can damage the device.
2. What's in the Box
Carefully unpack your Hantek DSO2C10 oscilloscope and verify that all items listed below are present and in good condition. If any items are missing or damaged, please contact your supplier.
- Hantek DSO2C10 Digital Storage Oscilloscope
- USB Data Cable
- Clip Line (for grounding or specific measurements)
- Power Cable
- Warranty Card and Certificate
3. Setup
Follow these steps to set up your oscilloscope for initial use.
3.1 Power Connection
- Ensure the oscilloscope's power switch is in the OFF position.
- Connect the provided power cable to the AC power input port on the rear panel of the oscilloscope.
- Plug the other end of the power cable into a grounded AC power outlet.
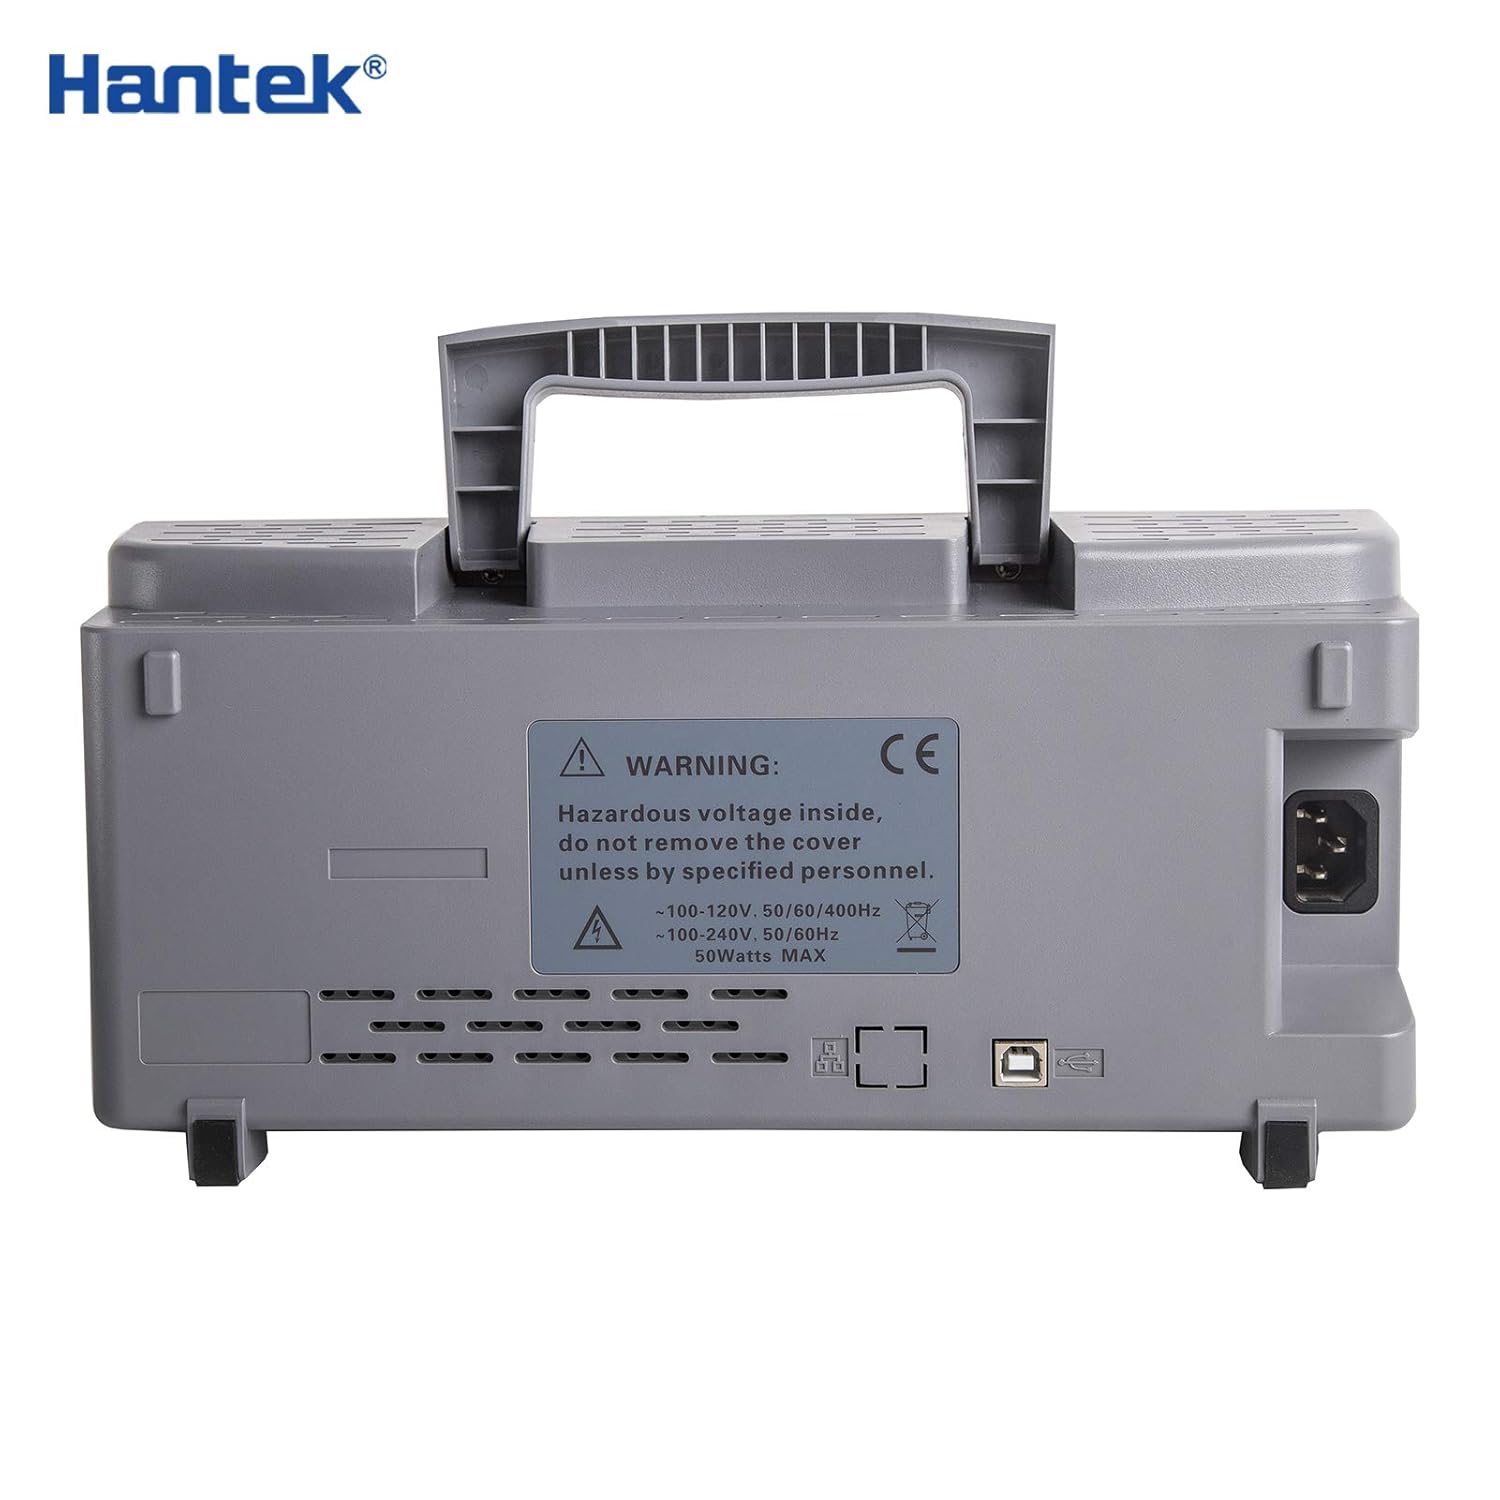
The rear panel of the Hantek DSO2C10 oscilloscope, showing the power input, USB port, and ventilation.
3.2 Probe Connection
- Connect the BNC connector of the oscilloscope probe to one of the Analog Channel Input Signal ports (CH1 or CH2) on the front panel.
- Ensure the probe's ground clip is securely connected to the ground terminal of the circuit under test.
- Set the probe attenuation switch (usually on the probe itself) to the desired setting (e.g., 1X or 10X). Remember to match this setting in the oscilloscope's menu for accurate readings.
A close-up of the Hantek DSO2C10's front panel, with labels pointing to the LCD display, option buttons, executive controls, USB interface, power switch, analog channel input signals, and external trigger input channel.
4. Operating Instructions
This section details the basic and advanced operations of the Hantek DSO2C10 oscilloscope.
4.1 Basic Operations
- Power On/Off: Press the power switch located on the front panel to turn the oscilloscope ON or OFF.
- Navigating the Interface: Use the Option Buttons (F1-F6) and Executive Control knobs to navigate menus and adjust settings. The main menu is accessed via the 'MENU' button.
- Vertical Scale Adjustment: Use the VOLTS/DIV knob for each channel (CH1, CH2) to adjust the vertical scale (voltage per division).
- Horizontal Scale Adjustment: Use the SEC/DIV knob to adjust the horizontal scale (time per division).
- Triggering: The trigger system stabilizes repetitive waveforms. Use the TRIGGER LEVEL knob to set the trigger level. The 'AUTO' button can be used for automatic triggering.
- Input Coupling: Select AC, DC, or GND coupling for each channel via the channel menu. DC coupling shows both AC and DC components, AC coupling blocks DC components, and GND disconnects the input for setting the ground reference.
4.2 Advanced Features
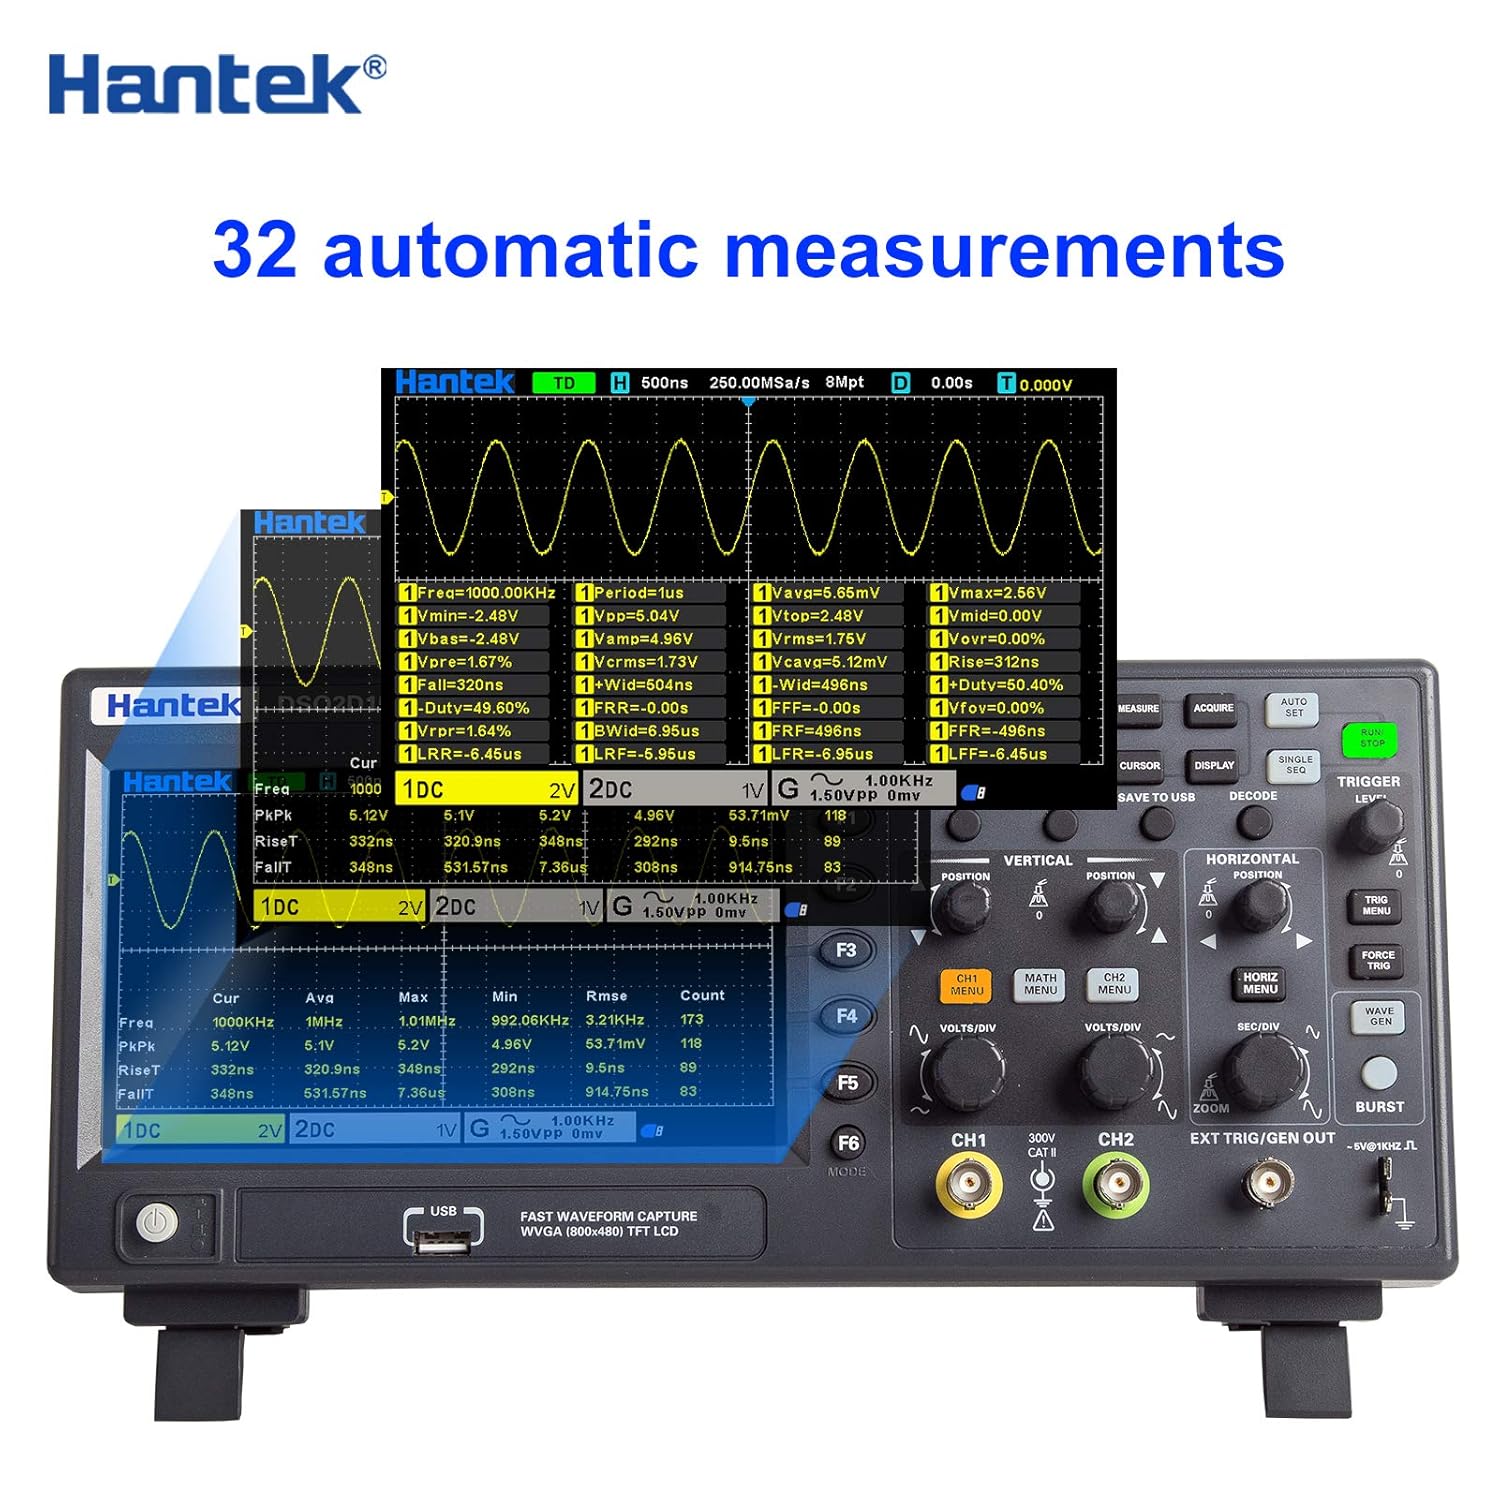
- Automatic Measurements: The DSO2C10 supports 32 types of automatic measurements, including frequency, period, peak-to-peak voltage, RMS voltage, and more. Access these through the 'MEASURE' menu.
- Waveform Storage: The device can save 10 groups of reference waveforms, CSV waveforms, settings, and screenshots. Use the 'SAVE TO USB' button for quick storage to a USB drive.
- DVM Functions: Utilize the dual-channel DVM functions, including a five-digit digital voltmeter and a six-digit frequency counter, for precise voltage and frequency readings.
- Math and FFT Functions: Perform mathematical operations on waveforms (e.g., Add, Subtract, Multiply, Divide) and Fast Fourier Transform (FFT) for frequency domain analysis.
- XY Mode: The XY mode supports dual-window display, allowing for phase relationship analysis between two signals.

The oscilloscope's screen displaying a waveform with 32 different automatic measurement parameters, such as frequency, period, voltage peaks, and RMS values.
5. Maintenance
Proper maintenance ensures the longevity and accuracy of your oscilloscope.
5.1 Cleaning
Clean the instrument regularly. Use a soft cloth dampened with a mild detergent solution to clean the exterior surfaces. Do not use abrasive cleaners or solvents that could damage the plastic parts. Ensure the device is powered off and unplugged before cleaning.
5.2 Firmware Updates
Periodically check the Hantek official website for available firmware updates. Firmware updates can improve performance, add new features, or fix bugs. Follow the instructions provided with the firmware update package carefully to avoid damaging the device.
5.3 General Care
- Store the oscilloscope in a clean, dry environment when not in use.
- Avoid exposing the device to extreme temperatures, humidity, or direct sunlight.
- Handle probes and cables with care to prevent damage.
6. Troubleshooting
This section provides solutions to common issues you might encounter with your Hantek DSO2C10 oscilloscope.
6.1 No Power
- Check if the power cable is securely connected to both the oscilloscope and the power outlet.
- Verify that the power outlet is functional by plugging in another device.
- Ensure the power switch on the oscilloscope is in the ON position.
6.2 No Signal Displayed
- Confirm that the probe is correctly connected to the oscilloscope input and the circuit under test.
- Check the probe's ground clip connection.
- Adjust the vertical (VOLTS/DIV) and horizontal (SEC/DIV) scales to appropriate ranges for the expected signal.
- Ensure the trigger level is set correctly. Try pressing the 'AUTO' button to automatically adjust settings.
- Verify the input coupling (AC/DC/GND) is set appropriately for your signal. If set to GND, no signal will be displayed.
6.3 Distorted or Unstable Waveform
- Adjust the trigger level and trigger mode to stabilize the waveform.
- Check the probe compensation. Most probes have an adjustment screw for compensation; refer to your probe's manual.
- Ensure the probe attenuation setting on the oscilloscope matches the physical switch on the probe.
- Reduce external noise sources if possible.
7. Specifications
The following table outlines the key technical specifications for the Hantek DSO2C10 Digital Storage Oscilloscope.

A table comparing different models in the Hantek DSO2C series, detailing specifications like channels, bandwidth, sample rate, and display type. The DSO2C10 model is highlighted.
| Specification | Value |
|---|---|
| Model | DSO2C10 |
| Channels | 2CH |
| Bandwidth | 100 MHz |
| Sample Rate | 1GSa/S (single channel), 500MSa/s (two channels) |
| Memory Depth | 8M |
| Built-in Signal Source (AFG) | No |
| Resolution | Up to 12 bit |
| Input Coupling | DC, AC, GND |
| Input Impedance | 1MΩ ± 2% || 20pF ± 3pF |
| Probe Attenuation Factor | 1×, 10×, 100×, 1000× |
| Voltage Class | 300V CAT II |
| Max Input Voltage | 300VRMS (10X) |
| Display Type | 7" TFT LCD |
| Oscilloscope Size | 318*140*150mm |
| Power Source | DC |
| Color | Black |
8. Warranty and Support
Your Hantek DSO2C10 oscilloscope comes with a warranty. Please refer to the included Warranty Card and Certificate for specific terms and conditions, including the warranty period and coverage details.
For technical support, troubleshooting assistance beyond this manual, or warranty claims, please contact Hantek customer service or your authorized dealer. Keep your purchase receipt and warranty card handy when seeking support.


