1. Introduction
Thank you for purchasing the IBIZA LIGHT LMH250 DMX Moving Head Light. This compact and powerful LED moving head is designed for various lighting applications, including small clubs, mobile DJ setups, and event ambiance. It features a super powerful 10W 4-in-1 RGBW LED and offers multiple control modes for versatile operation. Please read this manual thoroughly before use to ensure proper setup, operation, and maintenance.
2. Safety Instructions
- Always connect the unit to a grounded power outlet.
- Ensure the voltage matches the unit's requirements (240V).
- Do not open the housing; there are no user-serviceable parts inside. Refer all servicing to qualified personnel.
- Avoid direct eye exposure to the light source.
- Keep the unit away from rain, moisture, and extreme temperatures.
- Ensure adequate ventilation around the unit to prevent overheating.
- Mount the unit securely to prevent accidental falls.
- Disconnect from power before cleaning or maintenance.
3. Package Contents
Verify that all items are present and in good condition upon unpacking:
- IBIZA LIGHT LMH250 DMX Moving Head Light Unit
- Infrared Remote Control
- Power Cable
- User Manual (this document)
4. Product Overview
The LMH250 is a compact moving head light designed for dynamic lighting effects. Below are images illustrating the unit and its components.
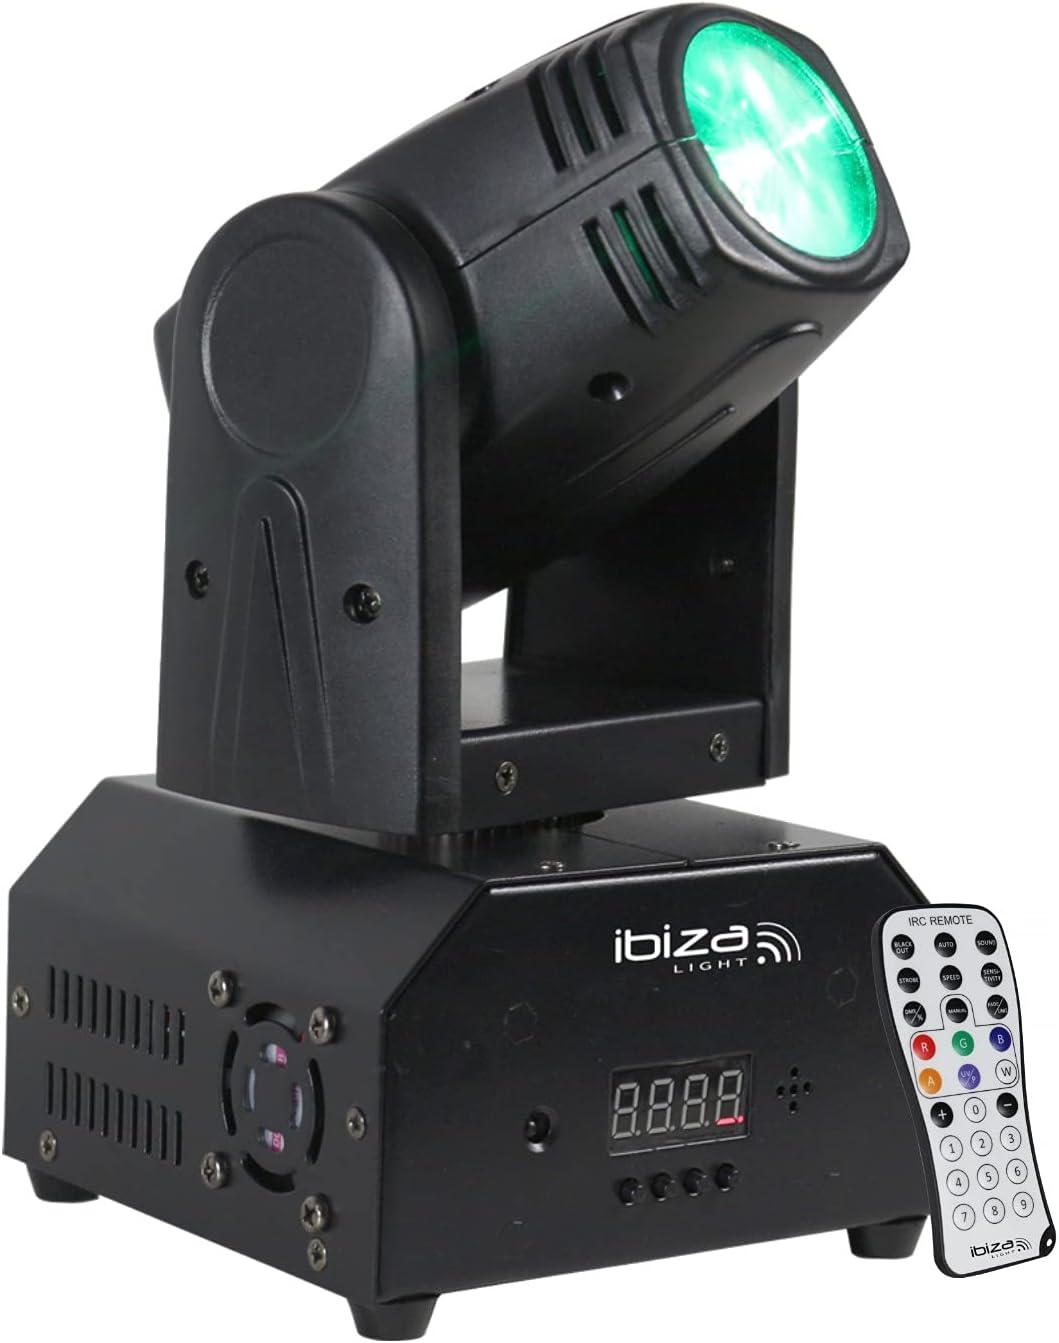
Figure 4.1: Front view of the IBIZA LIGHT LMH250 Moving Head Light, showcasing the main unit with its LED head and base, alongside the included remote control.
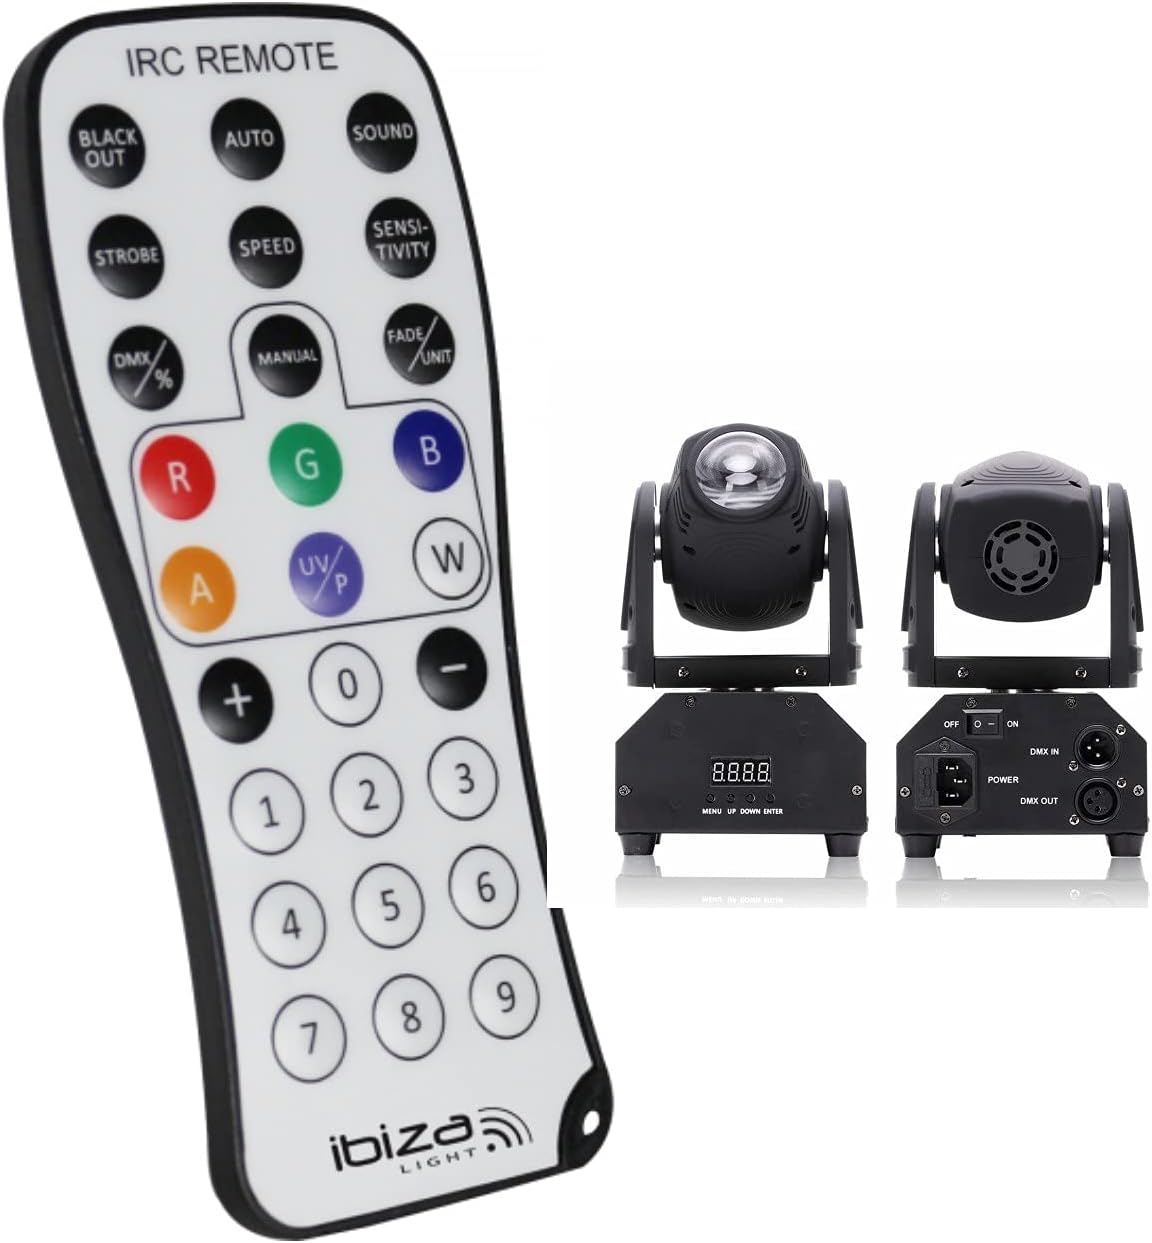
Figure 4.2: Front and rear views of the LMH250 unit. The front displays the control panel and LED display, while the rear shows the DMX IN/OUT ports, power switch, and power input.
5. Setup
5.1 Mounting
The LMH250 is designed for foot mounting. Ensure the unit is placed on a stable, level surface or securely mounted using appropriate clamps and safety cables if suspended. Always check that the mounting surface or structure can support the weight of the fixture (2.5 kg).
5.2 Power Connection
Connect the provided power cable to the power input on the rear of the unit and then to a suitable 240V AC power outlet. Ensure the power switch is in the OFF position before connecting.
5.3 DMX Connection (Optional)
For DMX control, connect a DMX cable from your DMX controller's output to the DMX IN port on the LMH250. If connecting multiple units, daisy-chain them by connecting the DMX OUT of the first unit to the DMX IN of the next, and so on. The last unit in the chain should have a DMX terminator connected to its DMX OUT port.
6. Operating Modes
The LMH250 offers several operating modes, selectable via the unit's control panel or the infrared remote control.
6.1 Automatic Mode
In Automatic mode, the unit cycles through pre-programmed light shows and patterns. This mode is ideal for quick setup without external control.
6.2 Sound-Activated Mode
The Sound-Activated mode allows the light to react to ambient sound or music. The built-in microphone detects sound, and the light patterns change in sync with the beat. Sensitivity can often be adjusted.
6.3 DMX Control Mode
For professional control, the LMH250 can be operated via DMX. It supports either 4 or 13 DMX channels, allowing precise control over Pan, Tilt, color, strobe, dimmer, and other effects. Refer to the DMX Channel Chart in Section 6.5 for detailed channel assignments.
6.4 Master-Slave Mode
In Master-Slave mode, one unit acts as the 'Master' and controls other 'Slave' units. Connect the DMX OUT of the Master unit to the DMX IN of the first Slave, and then daisy-chain subsequent Slaves. The Master unit can be set to Automatic or Sound-Activated mode, and all connected Slave units will synchronize their movements and effects.
6.5 Remote Control Mode
The included infrared remote control provides convenient access to various functions, including mode selection, color changes, strobe effects, and dimmer adjustments.

Figure 6.1: The infrared remote control for the LMH250, showing buttons for Blackout, Auto, Sound, Strobe, Speed, Sensitivity, DMX, Manual, Fade/Unit, and individual color controls (R, G, B, W, A, UV/P).
6.6 DMX Channel Chart (Example for 13-channel mode)
This is an example DMX channel assignment. Refer to the unit's display for specific channel functions if different.
| Channel | Function | Value Range | Description |
|---|---|---|---|
| 1 | Pan Movement | 0-255 | Horizontal movement (0-540 degrees) |
| 2 | Pan Fine | 0-255 | Fine adjustment for Pan |
| 3 | Tilt Movement | 0-255 | Vertical movement (0-270 degrees) |
| 4 | Tilt Fine | 0-255 | Fine adjustment for Tilt |
| 5 | Pan/Tilt Speed | 0-255 | Adjusts speed of Pan/Tilt movement (slow to fast) |
| 6 | Dimmer | 0-255 | Overall intensity (0-100%) |
| 7 | Strobe | 0-255 | Strobe effect (slow to fast, 1-25Hz) |
| 8 | Red LED | 0-255 | Red LED intensity (0-100%) |
| 9 | Green LED | 0-255 | Green LED intensity (0-100%) |
| 10 | Blue LED | 0-255 | Blue LED intensity (0-100%) |
| 11 | White LED | 0-255 | White LED intensity (0-100%) |
| 12 | Color Macros / Effects | 0-255 | Pre-programmed color combinations or effects |
| 13 | Function Mode | 0-255 | Selects auto programs, sound active, etc. |
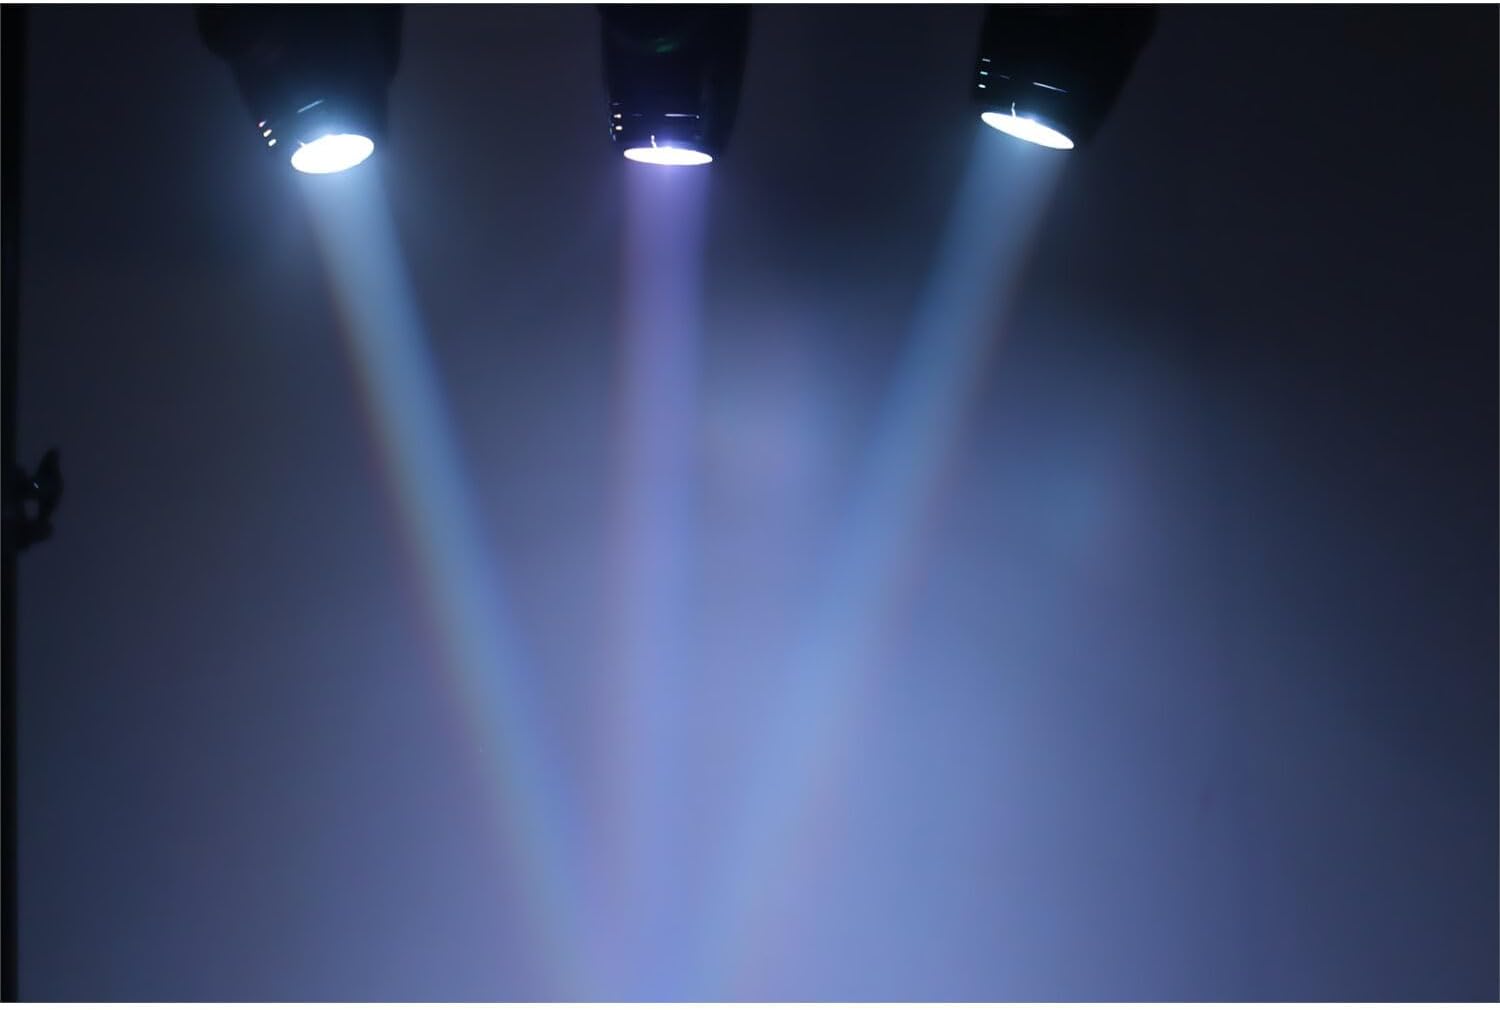
Figure 6.2: Examples of the vibrant colored light beams that can be produced by the LMH250, demonstrating its RGBW capabilities.
7. Maintenance
7.1 Cleaning
Regular cleaning helps maintain optimal light output and extends the unit's lifespan. Use a soft, lint-free cloth to wipe the exterior. For the lens, use a specialized lens cleaning solution and cloth to avoid scratches. Ensure the unit is unplugged before cleaning.
7.2 Storage
When not in use, store the LMH250 in a dry, dust-free environment. If transporting, use appropriate protective casing to prevent damage.
8. Troubleshooting
- No Power: Check the power cable connection, the power outlet, and the unit's power switch. Ensure the voltage supply is correct.
- No Light Output: Verify the dimmer setting is not at 0%. Check if the unit is in blackout mode (if applicable).
- No DMX Control: Ensure DMX cables are correctly connected (IN to OUT, OUT to IN). Check DMX address settings on the unit and controller. Verify a DMX terminator is used on the last unit in the chain.
- Unit Overheating: Ensure adequate ventilation around the unit. Clear any obstructions from cooling vents. Operate in an environment within specified temperature ranges.
- Remote Control Not Working: Check the battery in the remote control. Ensure there are no obstructions between the remote and the unit's IR receiver.
9. Specifications
| Feature | Detail |
|---|---|
| Brand | IBIZA LIGHT |
| Model Number | LMH250 (Reference: 1x15-1246) |
| Dimensions (L x W x H) | 13 x 13 x 24 cm |
| Weight | 2.5 Kilograms |
| Light Source | 1 x 10W 4-in-1 RGBW LED (Red, Green, Blue, White) |
| Power Consumption | 10 Watts |
| Voltage | 240 Volts |
| Control Modes | Automatic, Sound-Activated, DMX (4 or 13 channels), Master-Slave, Remote Control |
| DMX Features | Pan & Tilt movement, Strobe (1-25Hz), 100% linear dimmer, Rainbow effect, Blackout |
| Material | Alloy Steel, Plastic |
| Color | Black |
| Included Components | Remote Control |
10. Warranty and Support
10.1 Warranty
This IBIZA LIGHT LMH250 DMX Moving Head Light comes with a 2-year warranty from the date of purchase, covering manufacturing defects. Please retain your proof of purchase for warranty claims. The warranty does not cover damage caused by misuse, unauthorized modifications, or improper installation.
10.2 Technical Support
For technical assistance or inquiries, please contact our support team:
- Phone: 03-44-02-72-88
- Please have your model number (LMH250) and purchase details ready when contacting support.


