1. Introduction
This manual provides detailed instructions for the safe installation, operation, and maintenance of your Millennium Lighting 4601-CH 2-Light Flushmount Ceiling Light. Please read all instructions carefully before beginning installation and retain this manual for future reference.
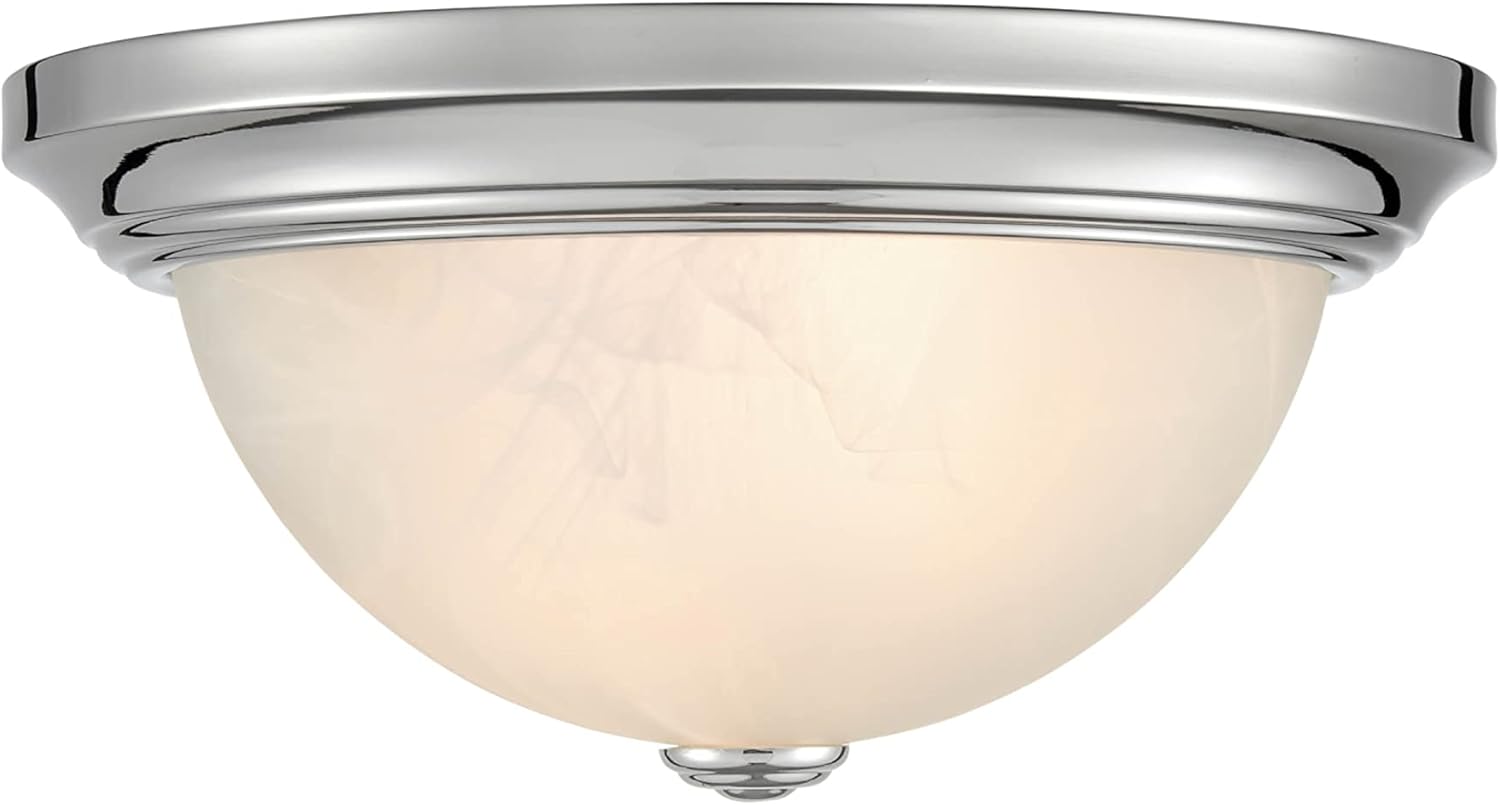
Image 1.1: Millennium Lighting 4601-CH 2-Light Flushmount Ceiling Light, Chrome finish.
2. Important Safety Information
WARNING: RISK OF ELECTRIC SHOCK. Disconnect power at the circuit breaker or fuse box before installation or servicing.
- Read all instructions carefully before installation.
- This product must be installed in accordance with the applicable installation code by a person familiar with the construction and operation of the product and the hazards involved.
- Consult a qualified electrician if you are unsure about the installation process.
- Ensure all electrical connections are made in accordance with local codes, ordinances, and the National Electric Code (NEC).
- This fixture is rated for damp locations. Do not install in areas where it will be directly exposed to water.
- Use only the specified wattage and type of bulbs.
- Do not exceed the maximum wattage indicated on the fixture.
- This item is UL listed and meets CSA standards, ensuring compliance with safety regulations.
3. Package Contents
Verify that all components are present before beginning installation. If any parts are missing or damaged, do not attempt to assemble or install the fixture.
- Flushmount Ceiling Light Fixture (1)
- Mounting Hardware Kit (1)
- Glass Shade (1)
- Finial (1)
- Instruction Manual (1)
Note: Light bulbs are not included and must be purchased separately.
4. Product Specifications
| Feature | Specification |
|---|---|
| Brand | Millennium Lighting |
| Model Number | 4601-CH |
| Color | Chrome |
| Material | Metal |
| Product Dimensions | 11"L x 11"W x 5.5"H |
| Voltage | 120 Volts |
| Max Wattage | 60 watts (per bulb, 2 bulbs total) |
| Mounting Type | Ceiling Mount |
| Indoor/Outdoor Usage | Indoor (Damp Location Rated) |
| Certifications | UL Listed, CSA Standards |
5. Installation Guide
5.1 Tools Required (Not Included)
- Phillips Head Screwdriver
- Flat Head Screwdriver
- Wire Strippers
- Electrical Tape
- Safety Glasses
- Ladder
5.2 Installation Steps
- Turn Off Power: Before starting, ensure the power to the junction box is turned off at the circuit breaker or fuse box.
- Prepare Mounting Plate: Attach the mounting plate to the junction box using the screws provided in the hardware kit. Ensure it is securely fastened.
- Make Electrical Connections:
- Connect the fixture's black wire to the house's black (hot) wire.
- Connect the fixture's white wire to the house's white (neutral) wire.
- Connect the fixture's ground wire to the house's ground wire (or to the mounting plate if no house ground is available).
- Secure all connections with wire nuts and wrap with electrical tape for added safety.
- Mount Fixture Body: Carefully push the wired fixture body up to the mounting plate, aligning the screw holes. Secure the fixture body to the mounting plate using the provided screws.
- Install Light Bulbs: Insert the appropriate light bulbs (not included) into the sockets. Do not exceed 60 watts per bulb.
- Attach Glass Shade: Carefully place the glass shade onto the fixture. Secure it in place using the finial by screwing it onto the threaded rod at the bottom of the fixture. Do not overtighten.
- Restore Power: Once installation is complete and all components are secure, restore power at the circuit breaker or fuse box.
6. Operation
Once installed and power is restored, the Millennium Lighting 4601-CH flushmount ceiling light can be operated using a standard wall switch. This fixture is compatible with standard wall dimmers, allowing you to adjust the light output to your desired level (dimmer switch sold separately).
7. Care and Maintenance
To maintain the appearance and functionality of your light fixture, follow these guidelines:
- Cleaning: Always disconnect power before cleaning. Wipe the fixture with a soft, dry cloth. Do not use abrasive cleaners, solvents, or polishes as they may damage the finish.
- Bulb Replacement: Ensure power is off before replacing bulbs. Allow bulbs to cool completely before handling. Replace with bulbs of the same type and wattage, not exceeding the maximum specified.
- Inspection: Periodically check all connections and mounting hardware to ensure they remain secure.
8. Troubleshooting
If you experience issues with your light fixture, refer to the following common problems and solutions:
| Problem | Possible Cause | Solution |
|---|---|---|
| Light does not turn on | No power to the fixture Loose wire connections Faulty bulb | Check circuit breaker/fuse. Verify all wire connections are secure (ensure power is off first). Replace bulb(s). |
| Light flickers | Loose wire connections Incompatible dimmer switch Faulty bulb | Check wire connections (ensure power is off first). Ensure dimmer switch is compatible with the bulb type. Replace bulb(s). |
| Humming sound from fixture | Incompatible dimmer switch Loose components | Ensure dimmer switch is compatible with the bulb type. Check that all mounting hardware and the glass shade are securely fastened. |
If the problem persists after attempting these solutions, consult a qualified electrician.
9. Warranty and Support
9.1 Warranty Information
This Millennium Lighting fixture is covered by a 1-year limited manufacturer's warranty from the date of purchase. This warranty covers defects in materials and workmanship under normal use. It does not cover damage resulting from improper installation, accident, misuse, abuse, or normal wear and tear.
9.2 Customer Support
For technical assistance, warranty claims, or to inquire about replacement parts, please contact Millennium Lighting customer service. Refer to your purchase documentation or the Millennium Lighting website for current contact information.


