1. Introduction
Thank you for choosing the Hisense BI61111AX Built-in Multifunction Oven. This manual provides essential information for the safe and efficient operation, installation, and maintenance of your new appliance. Please read these instructions carefully before use and keep them for future reference.

Figure 1: Front view of the Hisense BI61111AX Built-in Multifunction Oven.
2. Safety Information
Always follow basic safety precautions when using electrical appliances to reduce the risk of fire, electric shock, burns, or injury. This appliance is intended for domestic use only.
- Electrical Safety: Ensure the oven is correctly earthed and connected to a suitable power supply. Do not use adapters or extension cords.
- Children and Vulnerable Persons: This appliance can be used by children aged 8 years and above and persons with reduced physical, sensory or mental capabilities or lack of experience and knowledge if they have been given supervision or instruction.
- Hot Surfaces: The oven and its accessible parts become hot during use. Care should be taken to avoid touching heating elements. Children less than 8 years of age shall be kept away unless continuously supervised.
- Cleaning: Always disconnect the appliance from the power supply before cleaning.
- Maintenance: Do not attempt to repair or modify the appliance yourself. Contact qualified service personnel for all repairs.
3. What's in the Box
Upon unpacking, please ensure all components are present and undamaged:
- Hisense BI61111AX Oven Unit
- Instruction Manual
- 1 Baking Tray (leccarda)
- 1 Wire Rack (griglia in acciaio)
If any items are missing or damaged, please contact your retailer.
4. Setup and Installation
Installation should be performed by a qualified technician in accordance with local safety regulations. Ensure the appliance is disconnected from the power supply before installation.

Figure 2: Oven dimensions and installation cutout requirements (Depth x Width x Height: 56.4P x 59.5l x 59.5H cm).
Installation Steps:
- Unpacking: Carefully remove the oven from its packaging. Retain packaging materials for potential future transport or recycling.
- Placement: Position the oven into the prepared cabinet opening. Ensure there is adequate ventilation around the appliance as per the installation diagram.
- Electrical Connection: Connect the oven to the main power supply. Verify that the voltage and frequency match the specifications on the appliance rating plate.
- Securing the Oven: Secure the oven to the cabinet using the provided screws.
- First Use: Before first use, clean the oven interior with a damp cloth. Run the oven empty for approximately 30 minutes at 200°C to burn off any manufacturing residues and odors. Ensure the room is well-ventilated during this process.
Video 1: This video demonstrates the general process of installing an oven column. While not specific to the Hisense BI61111AX, it illustrates common installation steps such as unpacking, positioning, and securing the oven. Always refer to the specific instructions provided in your product's manual for precise details.
5. Operating Instructions
Your Hisense BI61111AX oven features intuitive controls for various cooking functions. The front panel includes rotary knobs for function selection and temperature, along with a digital timer.
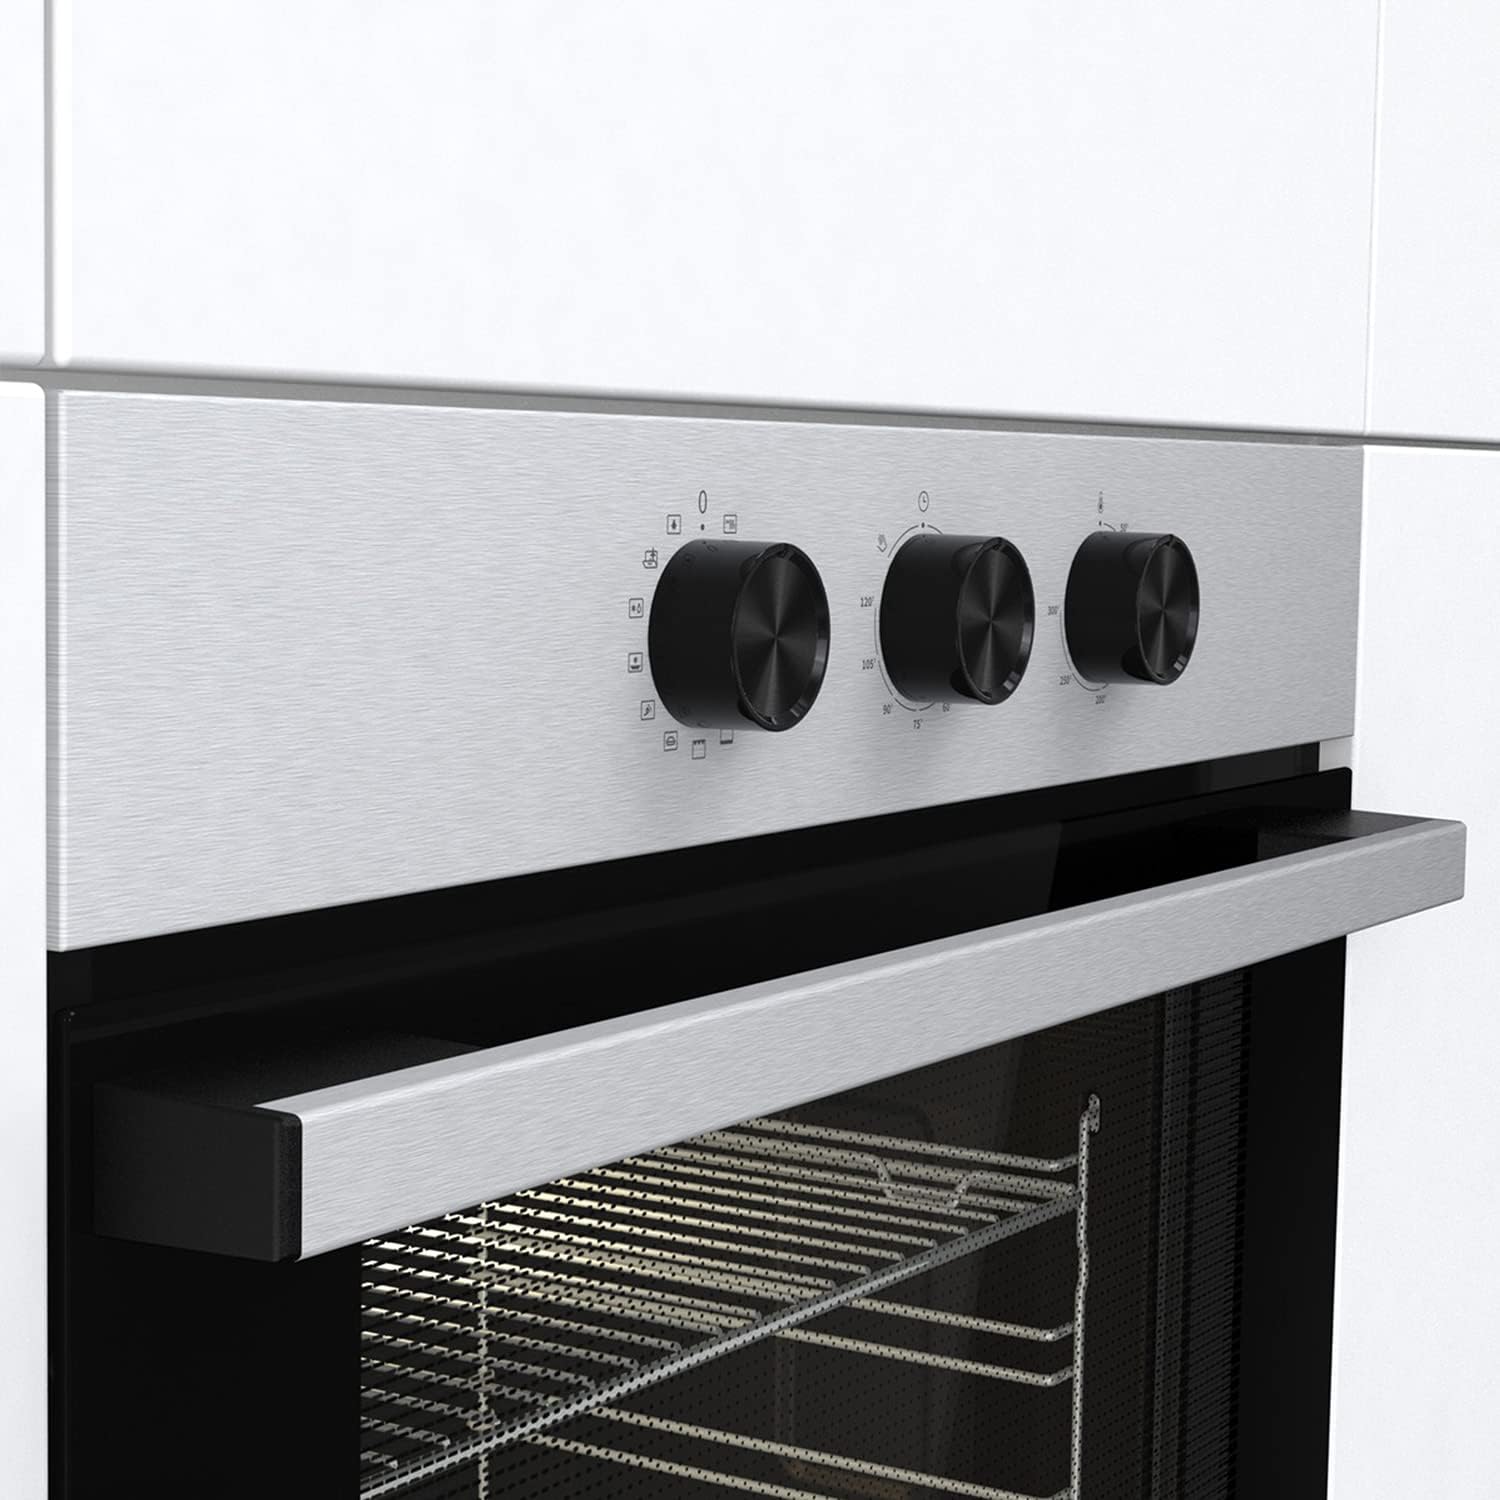
Figure 3: Oven control panel with function and temperature knobs, and digital timer.
Basic Operation:
- Turn On: Rotate the function selector knob to choose your desired cooking mode.
- Set Temperature: Rotate the temperature knob to set the desired cooking temperature.
- Set Timer: Use the timer buttons to set the cooking duration or a delayed start. The oven will automatically turn off once the set time has elapsed.
- Preheating: For best results, preheat the oven to the desired temperature before placing food inside, especially for baking.
Video 2: This video provides a general overview of a Bosch oven's controls, including setting functions and the timer. While not specific to the Hisense BI61111AX, the interface and operation principles are similar for many modern ovens.
6. Special Features
Your Hisense oven is equipped with several advanced features to enhance your cooking experience:
- XXL Cavity (77 Liters) for Multi-level Cooking: The generous 77-liter capacity allows for cooking large dishes or multiple items simultaneously. The Thermo-Ventilation system ensures uniform heat distribution across all levels for consistent results.

Figure 4: Illustration of the oven's 77-liter XXL cavity and multi-level cooking capability.
- Rapid Preheat Function: This function allows the oven to reach 200°C in approximately 6 minutes, significantly reducing waiting times and enabling quicker cooking starts.

Figure 5: Visual representation of the Rapid Preheat function.
- Pizza Function (up to 300°C): A dedicated Pizza 300°C mode ensures a crispy base and even cooking, perfect for homemade pizzas, focaccias, and other baked goods.

Figure 6: Example of a pizza cooked using the dedicated Pizza function.
- AirFry Function for Crispy Cooking: The AirFry mode allows you to achieve golden and crispy foods with little to no oil, ideal for lighter versions of fries, vegetables, and snacks.

Figure 7: Comparison illustrating the crispy results of the AirFry function.
7. Maintenance and Cleaning
Regular cleaning and maintenance will ensure the longevity and optimal performance of your oven.
- Steam Clean Function (Aqua Clean): This function uses steam to soften grease and cooking residues. Pour water into the oven cavity, select the Steam Clean function, and set the temperature to 90°C for approximately 30 minutes. Once the oven has cooled, simply wipe away the softened residues with a soft cloth.

Figure 8: Oven interior during the Steam Clean cycle.
Video 3: This video demonstrates the AquaClean function, showing how to add water to the oven cavity and the steam cleaning process. It highlights the ease of cleaning after the steam cycle.
- General Cleaning: For external surfaces, use a soft cloth and mild detergent. Avoid abrasive cleaners or scouring pads that could damage the stainless steel and glass finish.
- Door Cleaning: The oven door can be removed for thorough cleaning if necessary. Refer to the detailed instructions in the full manual for door removal and reinstallation.
8. Troubleshooting
If you encounter issues with your oven, consult the following table for common problems and solutions. If the problem persists, contact customer support.
| Problem | Possible Cause | Solution |
|---|---|---|
| Oven does not turn on | No power supply; door not closed properly; timer not set. | Check power connection; ensure door is fully closed; set the timer. |
| Uneven cooking results | Incorrect temperature or cooking time; food placed incorrectly. | Adjust temperature/time; ensure food is centered and not overcrowding the oven. |
| Smoke or odor during first use | Manufacturing residues burning off. | This is normal. Ventilate the room well. It should dissipate after initial use. |
9. Specifications
Key technical details for the Hisense BI61111AX Built-in Multifunction Oven:
- Capacity: 77 Liters
- Brand: Hisense
- Model Name: BI61111AX
- Color: Inox (Stainless Steel)
- Heating Method: Convection (Termoventilato)
- Fuel Type: Electric
- Installation Type: Built-in
- Electrical Power: 3500 watts
- Voltage: 220 Volts
- Special Features: Timer, Steam Clean, Pizza 300°C, AirFry, Rapid Preheat
- Dimensions (DxWxH): 56.4P x 59.5l x 59.5H cm
- Item Weight: 29 Kilograms
- Material: Stainless Steel, Glass
- Energy Efficiency Class: A

Figure 9: Energy label for the Hisense BI61111AX oven, indicating Class A efficiency and 77L capacity.
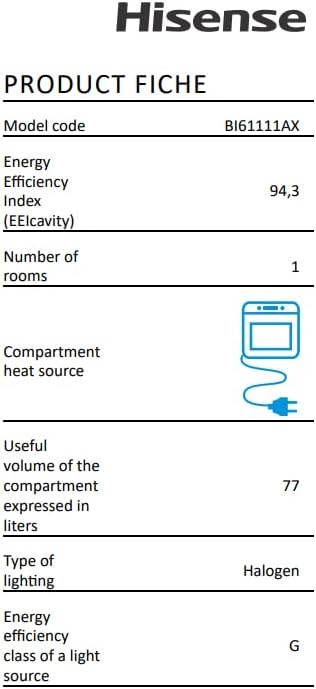
Figure 10: Product Fiche providing additional technical specifications for the Hisense BI61111AX oven.
10. Warranty and Support
Your Hisense BI61111AX oven comes with a 2-year manufacturer's warranty. Please retain your proof of purchase for warranty claims.
For technical assistance, service requests, or to inquire about spare parts, please contact Hisense customer support or your authorized retailer. Refer to the contact information provided in the separate warranty card or on the official Hisense website.


