Introduction
Thank you for choosing the LuFun Flush Mount Ceiling Light. This modern LED fixture is designed to provide efficient and versatile lighting for various indoor spaces, including kitchens, bedrooms, hallways, and living rooms. Featuring dimmable functionality and adjustable color temperatures (3000K, 4000K, 6500K) controlled by a remote, this light combines aesthetic appeal with practical features. This manual provides essential information for safe installation, operation, and maintenance of your new ceiling light.

Figure 1: LuFun Flush Mount Ceiling Light with remote control and various light settings.
Safety Information
Please read all safety instructions carefully before installation and use. Failure to follow these instructions may result in electric shock, fire, or other injuries.
- Always turn off the power at the circuit breaker or fuse box before beginning installation or performing any maintenance.
- Ensure the voltage supply matches the light fixture's requirements (110 Volts AC).
- All electrical connections must be in accordance with local codes, ordinances, or the National Electric Code (NEC).
- If you are unsure about wiring, consult a qualified electrician.
- Do not modify the light fixture in any way.
- This product is designed for indoor use only. Do not expose to water or high humidity.
- Keep the light fixture away from flammable materials.
Package Contents
Verify that all components are present and undamaged before installation.
- LuFun Flush Mount Ceiling Light Fixture (1)
- Remote Control (1)
- Mounting Hardware Kit (screws, wire nuts, etc.) (1 set)
- Instruction Manual (1)

Figure 2: Lamp body size and remote control icon, indicating the light's dimensions (15.7 inches diameter, 1.97 inches thickness).
Setup and Installation
The LuFun ceiling light is designed for quick and easy installation. Follow these steps carefully:
- Preparation: Turn off the power to the light fixture at the circuit breaker. Ensure the power is completely off before proceeding.
- Mounting Bracket Installation: Attach the mounting bracket (included in the hardware kit) to the electrical junction box in the ceiling. Use the provided screws and ensure it is securely fastened.
- Wiring Connections: Connect the electrical wires from the ceiling to the light fixture's wires. Typically, this involves connecting:
- Live (black) wire from ceiling to live wire of fixture.
- Neutral (white) wire from ceiling to neutral wire of fixture.
- Ground (green or bare copper) wire from ceiling to ground wire of fixture.
- Attach Fixture to Bracket: Carefully align the light fixture with the mounting bracket and secure it in place using the provided screws. Ensure the fixture is flush with the ceiling.
- Final Check: Once the fixture is securely mounted, restore power at the circuit breaker.
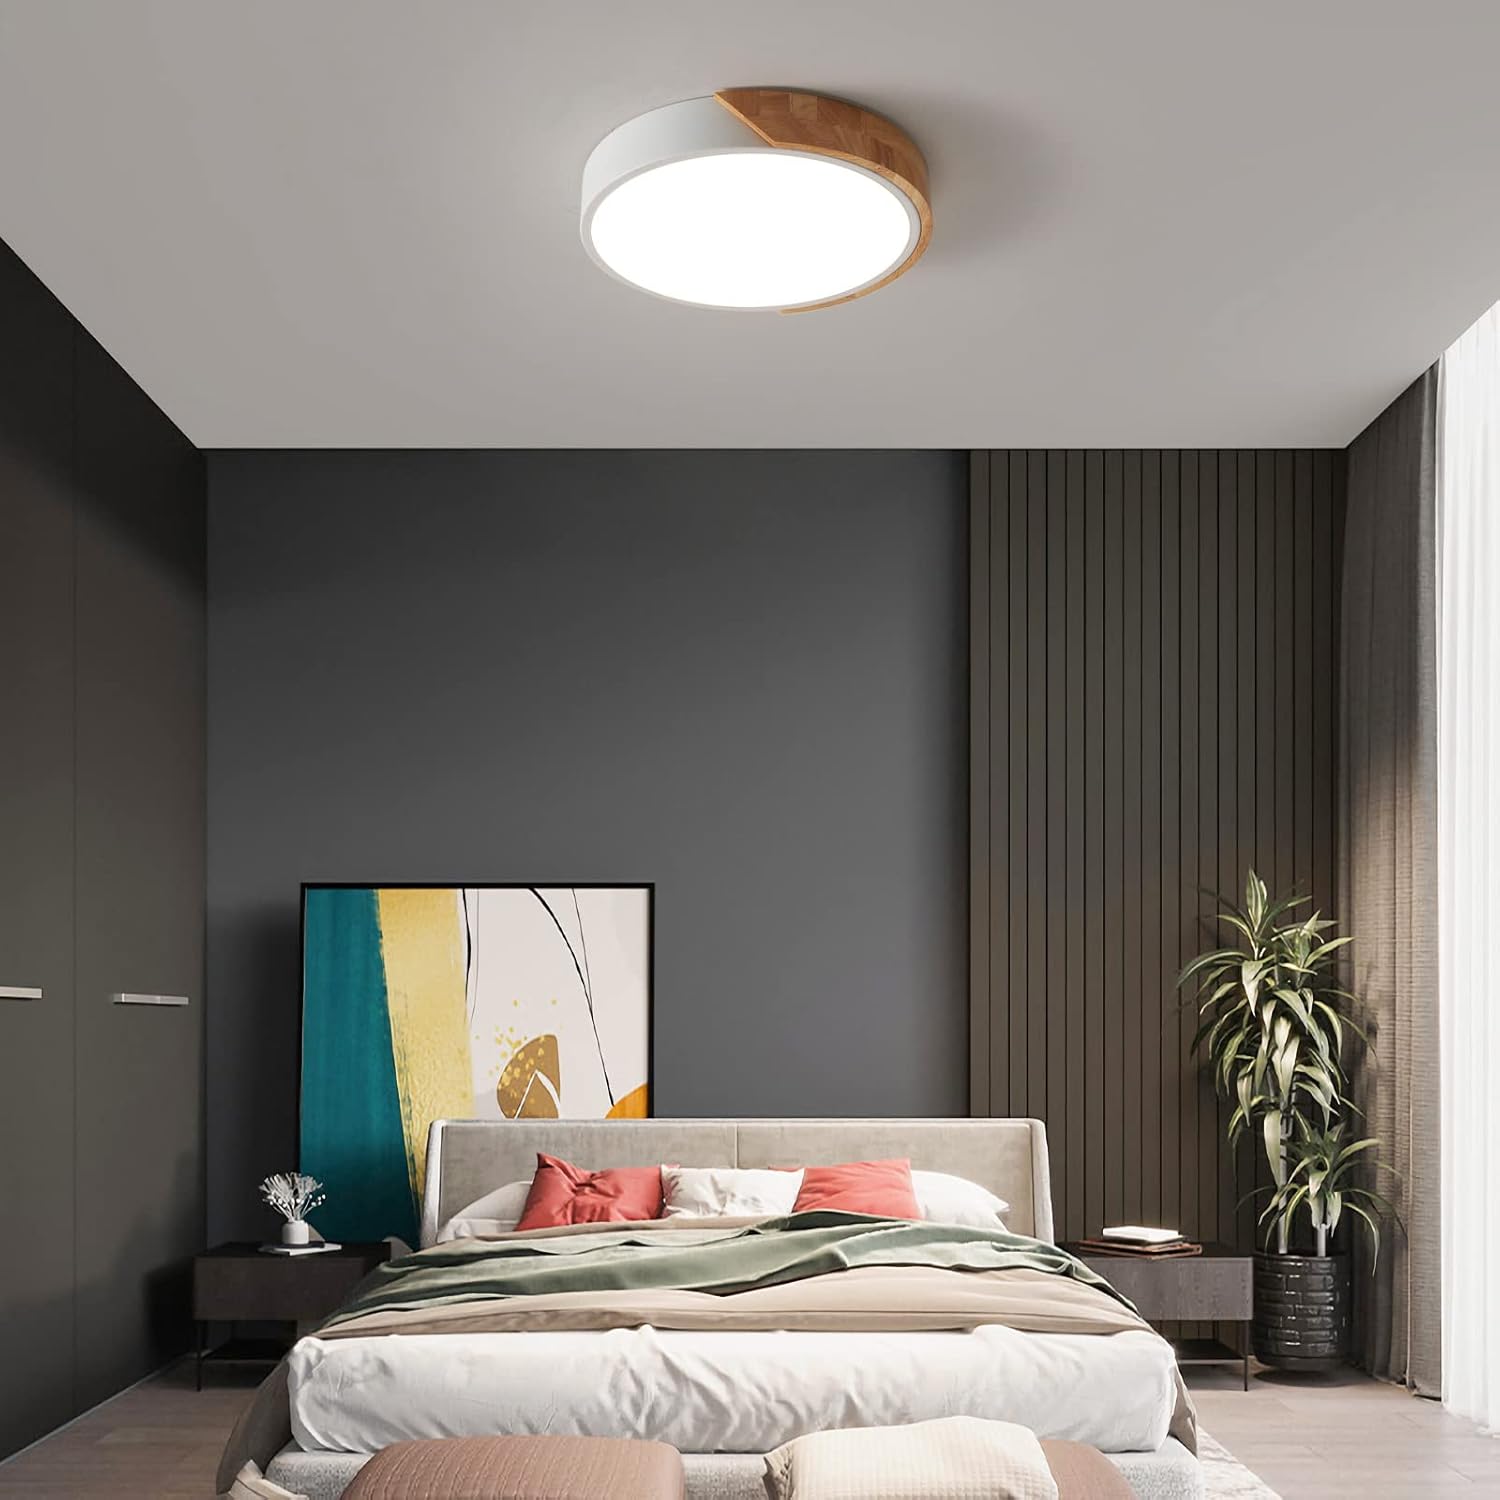
Figure 3: Internal components and wiring connections of the LuFun ceiling light.
Video 1: Official product video demonstrating the LuFun Flush Mount Ceiling Light in a room setting, showcasing its design and light output. This video provides a visual overview of the light's appearance and functionality.
Operating Instructions
Your LuFun ceiling light can be operated using the included remote control or a standard wall switch.
Using the Remote Control
The remote control provides full functionality, including power, dimming, and color temperature adjustment.
- Power ON/OFF: Press the ON or OFF button.
- Brightness Adjustment: Use the brightness gradual change buttons (up/down arrows) to adjust brightness from 10% to 100%.
- Color Temperature Change: Use the color temperature gradual change buttons (left/right arrows) to cycle through 3000K (Warm White), 4000K (Natural Light), and 6500K (Cool White).
- Memory Function: The light has a memory function. When turned off and on again (either by remote or wall switch), it will recall the last brightness and color temperature setting.
- Timer Function: The remote may include timer settings (e.g., 5/30/60 minutes close) to automatically turn off the light.
- Nightlight Mode: Some remotes may feature a dedicated nightlight mode button for a very low light setting.

Figure 4: Remote control layout and function descriptions.

Figure 5: Examples of Cold White, Neutral White, and Warm White light output.
Using a Standard Wall Switch
The light can also be controlled by a standard wall switch. Each time you toggle the wall switch OFF and then ON, the light will cycle through the three color temperatures (3000K, 4000K, 6500K). The light will remember the last setting when turned off for a longer period.

Figure 6: The light can be operated using a normal wall switch.
Maintenance
Regular maintenance ensures the longevity and optimal performance of your ceiling light.
- Cleaning: Before cleaning, ensure the power to the fixture is turned off. Use a soft, dry cloth to wipe the surface of the light fixture. For stubborn marks, a slightly damp cloth can be used, followed by a dry cloth. Do not use abrasive cleaners, solvents, or polishes as they may damage the finish or acrylic diffuser.
- LED Lifespan: The integrated LED lamp beads are designed for long-term use and are not user-replaceable. The fixture is highly energy-efficient and has a long operational life.
- Inspection: Periodically inspect the fixture for any signs of damage or loose connections. If any issues are found, turn off the power and consult a qualified electrician.
Troubleshooting
If you encounter issues with your LuFun ceiling light, refer to the following common problems and solutions:
| Problem | Possible Cause | Solution |
|---|---|---|
| Light does not turn on. | No power supply; loose wiring; faulty switch. | Check circuit breaker. Ensure all wiring connections are secure. Test the wall switch. |
| Remote control not working. | Batteries are dead or incorrectly inserted; remote not paired with light. | Replace remote batteries. To pair the remote: Turn the wall switch ON. Within 3 seconds, press and hold the "1" button (bottom left) on the remote for 3-5 seconds until the light flashes once. Release the "1" button to complete pairing. If issues persist, remove remote batteries for 2 minutes to reset, and turn off the wall switch for 15 seconds to clear the light fixture's memory before re-pairing. |
| Light flickers or dims unexpectedly. | Unstable power supply; loose connection; incompatible dimmer switch (if not using provided remote). | Ensure stable power. Check wiring connections. This light is designed for use with its remote control for dimming; standard dimmer switches may cause issues. |
| Color temperature or brightness settings are not saved. | Power interruption; memory function reset. | The light has a memory function. If power is cut for an extended period, it might reset. Re-adjust settings using the remote. |
Specifications
| Feature | Detail |
|---|---|
| Brand | LuFun |
| Model Name | Minimalist Wood |
| Model Number | AMZ0035 |
| Color | White/Round/Dimmable |
| Material | Wood, Metal, Acrylic |
| Style | Modern |
| Light Fixture Form | Ceiling |
| Room Type | Home Office, Kitchen, Living Room, Bedroom, Hallway |
| Product Dimensions | 15.75"L x 15.75"W x 1.97"H (Ø40*5 CM) |
| Specific Uses | Indoor use only |
| Power Source | AC |
| Installation Type | Flush Mount |
| Special Feature | Dimmable, Remote control |
| Control Method | Remote |
| Light Source Type | LED |
| Wattage | 30 watts |
| Brightness | 2400 Lumen |
| Voltage | 110 Volts (AC) |
| Light Color | 3000K (Warm), 4000K (Natural), 6500K (Cool) |
| Shape | Round |
| Item Weight | 3.3 pounds (1.5 Kilograms) |
Warranty and Support
The LuFun Flush Mount Ceiling Light comes with a 1-year warranty from the date of purchase, covering defects in materials and workmanship under normal use.
For warranty claims, technical support, or any questions regarding your product, please contact LuFun customer service through the retailer's platform or the contact information provided with your purchase documentation. Please have your purchase receipt and model number (AMZ0035) ready when contacting support.