
1. Introduction
This manual provides essential information for the proper setup, operation, and maintenance of your JSL JDTDC JD006 256GB MFi Certified iPhone Flash Drive. Please read this manual thoroughly before using the device to ensure optimal performance and data security.
The JSL JDTDC JD006 is an Apple MFi certified external storage solution designed for seamless data transfer and backup across various devices, including iPhones, iPads, Android phones, Mac, and PC computers. It features Lightning, USB-C, and USB 3.0 connectors for broad compatibility.
2. Product Overview
The JSL JDTDC JD006 Flash Drive offers a secure and convenient way to manage your digital content. Its multi-port design and MFi certification ensure reliable performance and compatibility with Apple devices.
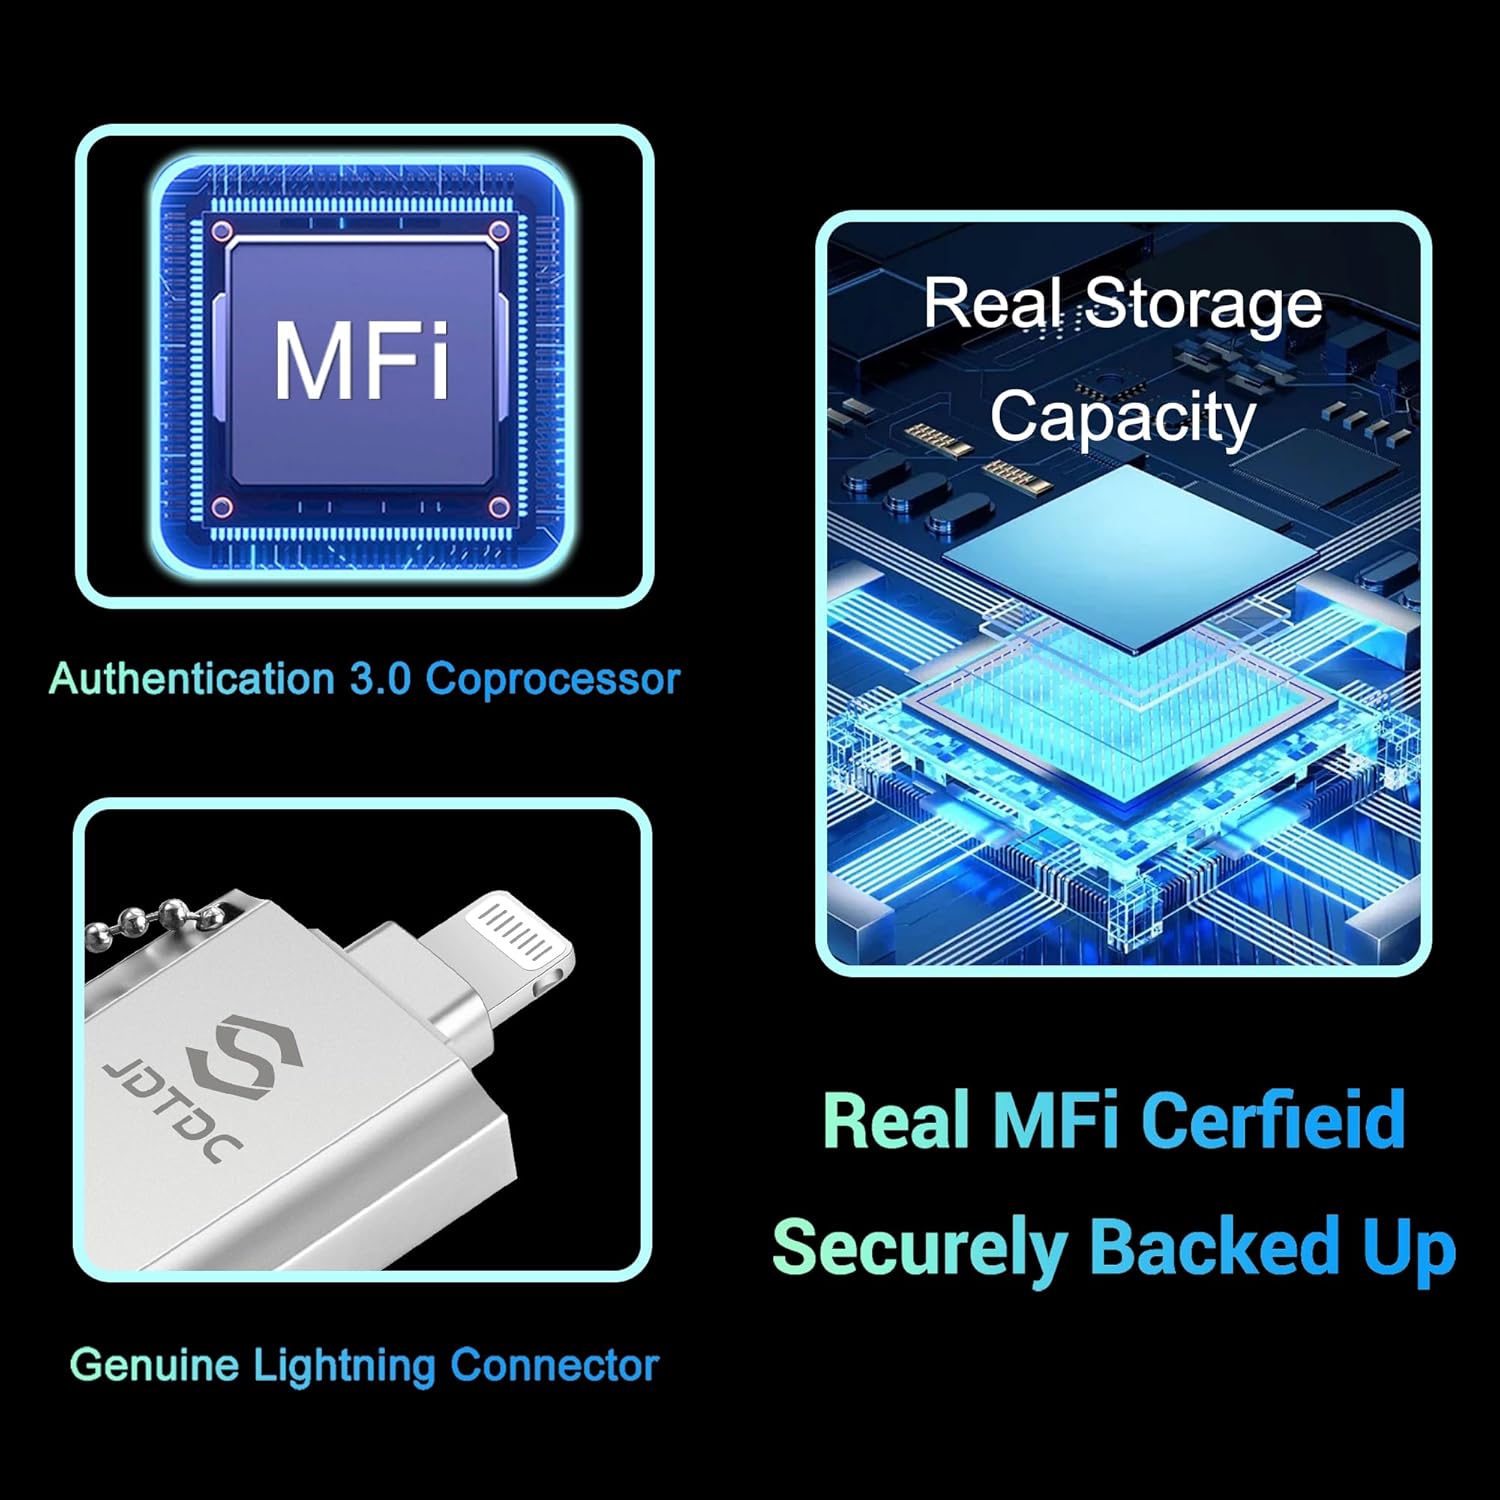
Image: The JSL JDTDC JD006 256GB MFi Certified iPhone Flash Drive, showcasing its compact design and multiple connectors.
Key Features:
- Apple MFi Certified: Ensures 100% compatibility and safe data transfer with Apple devices.
- Real 256GB Capacity: Provides genuine storage space for your files.
- Multi-Port Design: Includes Lightning, USB-C, and USB 3.0 connectors.
- One-Click Backup: Simplifies backing up photos, videos, and contacts via the dedicated app.
- Military-Grade AES 256-bit Encryption: Offers enhanced data security.
- Offline Backup: No internet connection required for backup and transfer.

Image: Diagram highlighting the MFi Authentication 3.0 Coprocessor, Genuine Lightning Connector, and Real Storage Capacity of the device.
3. Setup
Initial Setup for iPhone/iPad:
- Connect the Drive: Plug the Lightning connector of the JSL JDTDC JD006 into your iPhone or iPad.
- Install the App: Upon first connection, your device will prompt you to download the "JD Memory" app from the App Store. Tap "App Store" to proceed with the installation. If no prompt appears, search for "JD Memory" directly in the App Store.
- Grant Permissions: Open the "JD Memory" app. Grant necessary permissions for the app to access your photos, videos, and contacts when prompted.
- Ready for Use: Once the app is installed and permissions are granted, the drive is ready for use.
Video: Demonstrates the initial connection and app installation process for the JSL JDTDC Flash Drive on an iPhone.
Initial Setup for Android/PC/Mac:
No specific app installation is required for Android, PC, or Mac devices. The drive functions as a standard USB storage device (Plug & Play).
- Connect the Drive: Plug the appropriate connector (USB-C for Android/Mac, USB 3.0 for PC/Mac) into your device.
- Access Files: The drive will appear as an external storage device. You can access and manage files using your device's native file manager.
- Android OTG: For Android devices, ensure OTG (On-The-Go) functionality is enabled in your phone's settings if the drive is not recognized immediately.

Image: Illustrates the 4-in-1 design of the flash drive, showing compatibility with iPhone, iPad, Android, Mac, and PC.
4. Operating Instructions
4.1. Using with iPhone/iPad (via JD Memory App)
The "JD Memory" app is your primary interface for managing files on the flash drive with your Apple device.
4.1.1. One-Click Backup (Photos, Videos, Contacts)
- Open App: Connect the flash drive and open the "JD Memory" app.
- Select Backup: Tap on the "Backup" icon.
- Choose Content: Select "Photos," "Videos," or "Contacts" for backup.
- Start Backup: Follow the on-screen prompts to initiate the backup process. The app supports incremental backup, only backing up new files.
Video: Demonstrates the one-click contact backup feature using the JD Memory app on an iPhone.
Video: Shows the one-click photo and video backup process with the JD Memory app.
4.1.2. File Management
- Browse Files: Tap "File/Folder" to view files stored on the flash drive and your iPhone/iPad.
- Transfer Files: Select files and use the app's interface to move them between your device's internal storage and the flash drive.
- Direct Playback: Play music and videos directly from the flash drive within the app without transferring them to your device.

Image: An iPhone displaying the JD Memory app interface for one-click backup of photos and videos, with the flash drive connected.
4.1.3. In-App Camera
The "JD Memory" app allows you to take photos and videos directly, saving them to the flash drive to conserve your device's internal storage.
- Open Camera: Tap the "Camera" icon in the app.
- Capture Content: Take photos or record videos. These will be saved directly to the connected flash drive.

Image: An iPhone connected to the flash drive, showing the ability to shoot and save videos and photos directly to the drive.
4.1.4. Encrypt & Decrypt Files
The app provides military-grade AES 256-bit encryption for your sensitive files.
- Access File/Folder: Navigate to the "File/Folder" section.
- Select File: Choose the file or folder you wish to encrypt.
- Encrypt Option: Select the encryption option and set a password.
- Decrypt: To access encrypted files, you will need to enter the correct password.

Image: Visual representation of military-grade encryption protecting data on the flash drive.
4.2. Using with Android Devices
For Android devices, the flash drive operates as standard external storage. Ensure your device supports OTG functionality.
- Connect the Drive: Plug the USB-C connector into your Android phone.
- Access File Manager: Open your Android device's native file manager (e.g., "My Files" or "Files").
- Locate USB Storage: The flash drive will appear as "USB storage" or similar.
- Manage Files: You can now copy, move, or delete files between your phone's internal storage and the flash drive.

Image: Step-by-step guide on how to use the flash drive with an Android phone's file manager.
4.3. Using with PC/Mac
The flash drive functions as a standard USB drive when connected to a computer.
- Connect the Drive: Plug the USB 3.0 or USB-C connector into an available port on your PC or Mac.
- Access Drive: The drive will appear as a removable disk in "My Computer" (Windows) or on your desktop/Finder (Mac).
- Manage Files: Drag and drop files to transfer them between your computer and the flash drive.

Image: Illustrates the high-speed data transfer capabilities of the USB 3.0 connector when connected to a laptop.
5. Maintenance
- Safe Removal: Always safely eject the flash drive from your computer or mobile device before unplugging to prevent data corruption.
- Physical Care: Keep the drive clean and dry. Avoid exposing it to extreme temperatures, direct sunlight, or strong magnetic fields.
- Firmware Updates: Periodically check the JSL JDTDC official website or the JD Memory app for any available firmware updates to ensure optimal performance and compatibility.
- Data Backup: While the drive is designed for secure storage, it is always recommended to maintain multiple backups of critical data.
6. Troubleshooting
Common Issues and Solutions:
- Drive Not Recognized (iPhone/iPad):
- Ensure the Lightning connector is fully inserted.
- Verify the "JD Memory" app is installed and updated.
- Restart your iPhone/iPad and try again.
- Drive Not Recognized (Android):
- Ensure the USB-C connector is fully inserted.
- Check if your Android device supports OTG and if it's enabled in settings.
- Try connecting to a different USB-C port or another Android device.
- Drive Not Recognized (PC/Mac):
- Ensure the USB 3.0 or USB-C connector is fully inserted.
- Try a different USB port on your computer.
- Check your computer's Disk Management (Windows) or Disk Utility (Mac) to see if the drive is detected but unformatted.
- Slow Transfer Speeds:
- Ensure you are using a USB 3.0 port for optimal speeds on compatible devices.
- Large file transfers can naturally take longer.
- "Storage Full" Error:
- Delete unnecessary files from the flash drive or transfer them to another storage device.
- Ensure the reported capacity matches the product specifications.
7. Specifications
| Feature | Detail |
|---|---|
| Model Name | JD006 |
| Memory Storage Capacity | 256 GB |
| Connectivity Technology | USB, Lightning, USB-C |
| Hardware Interface | USB 3.0 |
| Read Speed | Up to 70 MB/s |
| Write Speed | Up to 35 MB/s (USB 3.0) |
| Compatibility | iPhone (iOS 9.0+), iPad (iPadOS 9.0+), Android (OTG supported), Mac (OS 11.0+), PC |
| Special Feature | 1-Tap Backup, Apple MFi Certified, AES 256-bit Encryption |
| Product Dimensions | 2.95"D x 0.78"W x 0.2"H |
| Item Weight | 2.82 ounces |
8. Warranty and Support
JSL JDTDC offers a lifetime warranty for this product. For technical support, warranty claims, or further assistance, please contact JSL JDTDC customer service through their official website or the contact information provided with your product packaging.
Please retain your purchase receipt for warranty validation.