1. Introduction
The Godox FV200 is a versatile lighting solution designed for professional photography and videography. It combines the functionality of a High-Speed Sync (HSS) flash with a continuous LED light, offering flexibility for various shooting scenarios. This manual provides detailed instructions for the safe and effective use of your FV200 light.
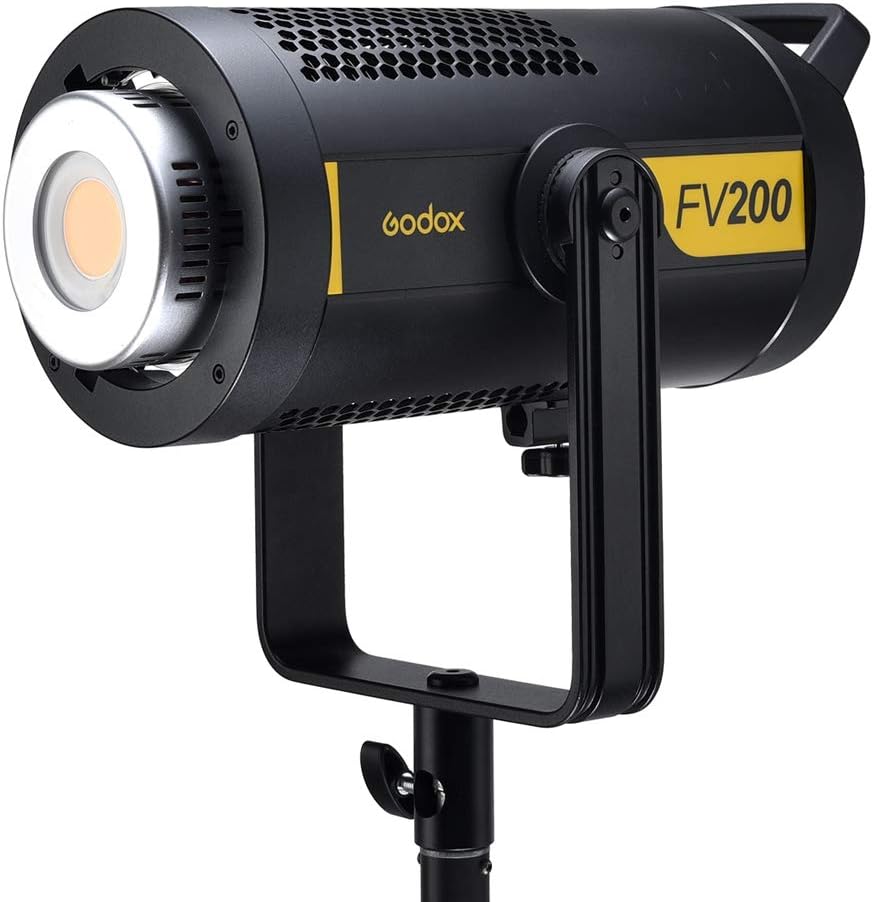
Image 1.1: The Godox FV200 200W HSS Flash and Continuous LED Light.
2. Safety Instructions
Please read and understand all safety instructions before using this product to prevent injury to yourself or others and damage to the unit.
- Do not disassemble or modify this product. Internal repairs should only be performed by authorized service personnel.
- Keep this product dry. Do not handle with wet hands or immerse in water.
- Do not use the unit in the presence of flammable gases, chemicals, or other materials.
- The light source of this luminaire is not replaceable; when the light source reaches its end of life, the entire luminaire shall be replaced.
- Unplug the power cord from the outlet when not in use or before cleaning.
- Ensure the product is securely mounted before operation to prevent accidental falls.
- Avoid direct eye exposure to the light source, as it can cause eye damage.
- Keep out of reach of children.
3. Package Contents
Verify that all items listed below are included in your package. If anything is missing or damaged, please contact your retailer.
- Light Unit x 1
- Power Cord x 1
- Remote Control x 1
- Standard Reflector x 1
- Lamp Cover x 1

Image 3.1: Overview of the items included with the Godox FV200.
4. Product Overview
The Godox FV200 features a robust design with a Bowens mount for compatibility with a wide range of light modifiers. It integrates both continuous LED lighting and HSS flash capabilities.
Key Features:
- Hybrid Functionality: Operates as both a continuous LED light and a High-Speed Sync (HSS) flash.
- High Power Output: 200W with approximately 18000 LUX at 1 meter (100% brightness).
- Color Accuracy: CRI >96 and TLCI >95 for precise color rendering.
- Wireless Control: Built-in Godox 2.4G wireless X system compatible with Canon, Nikon, Sony, Fujifilm, Panasonic, Olympus, and Pentax camera systems.
- Special Effects: 8 built-in FX special effects modes for creative lighting scenarios.
- Bowens Mount: Standard Bowens mount for attaching various light shaping accessories.
- U-Type Bracket: Allows for easy adjustment of lighting angles.
- Efficient Cooling: Designed with excellent heat dissipation for continuous use.
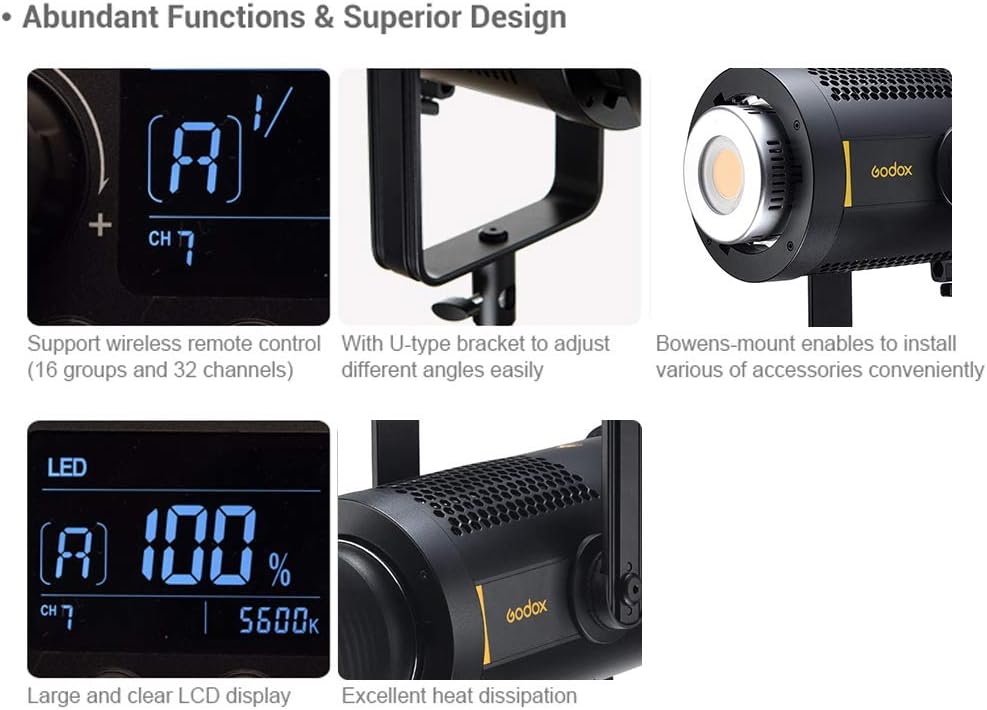
Image 4.1: Design features of the Godox FV200, highlighting its U-type bracket, Bowens mount, LCD, and heat dissipation.
5. Setup
5.1 Mounting the Light
- Attach the FV200 light unit to a sturdy light stand using the integrated U-type bracket.
- Secure the light by tightening the locking knob on the light stand and the bracket adjustment knob on the FV200.
5.2 Attaching Accessories
The FV200 features a Bowens mount for attaching various light modifiers such as reflectors, softboxes, and beauty dishes.
- Align the accessory with the Bowens mount on the front of the light.
- Insert the accessory and rotate it clockwise until it clicks into place, indicating it is securely locked.
- To remove, press the release button on the Bowens mount and rotate the accessory counter-clockwise.

Image 5.1: The Godox FV200 with a standard reflector attached.
5.3 Power Connection
- Connect the provided power cord to the power input port on the back of the FV200 unit.
- Plug the other end of the power cord into a suitable AC power outlet (AC100V-240V, 50/60Hz).
- Press the power button to turn on the unit. The LCD display will illuminate.
6. Operating Instructions
6.1 Continuous LED Light Mode
In LED mode, the FV200 functions as a continuous light source, ideal for video recording or constant lighting setups.
- Brightness Adjustment: Use the control dial to adjust the light brightness from 0% to 100%. The current brightness level will be displayed on the LCD screen.
- FX Special Effects Modes: The FV200 includes 8 built-in special effects modes to simulate various lighting scenarios. Press the 'FX' button to cycle through these modes: Flash 1, Flash 2, Flash 3, Storm 1, Storm 2, Storm 3, TV, and Broken Bulb.

Image 6.1: LED mode features including brightness adjustment and FX effects.
6.2 HSS Flash Mode
The FV200 can also operate as a powerful HSS flash, providing short bursts of intense light for freezing motion and overcoming ambient light.
- Flash Power Adjustment: Adjust the flash power output from 1/8 to 1/1 (or 7.0 to 10.0 in decimal display) using the control dial.
- High-Speed Sync (HSS): Supports shutter speeds up to 1/8000s, allowing you to sync with faster shutter speeds than traditional flash units.
- Flash Frequency: Capable of over 10 continuous flashes per second at full power and 8 continuous flashes per second in HSS mode at 1/2 power output.

Image 6.2: Light effect comparison between LED and Flash modes, illustrating flash's ability to freeze motion.
6.3 Wireless Control
The FV200 features a built-in Godox 2.4G wireless X system for remote control, offering convenience and flexibility in your lighting setup.
- Compatibility: Compatible with Godox XPro, X2, and other 2.4G wireless transmitters for Canon, Nikon, Sony, Fuji, Panasonic, Olympus, and Pentax cameras.
- Group and Channel Settings: The unit supports 16 groups (A-F, 1-9) and 32 channels for individual control of multiple lights. Set the desired group and channel on both the FV200 and your wireless transmitter to establish a connection.

Image 6.3: Wireless control setup and LCD display examples for power and brightness.
7. Specifications
| Feature | Specification (FV200) |
|---|---|
| Power Supply | AC100V-240V (50/60Hz) |
| Power | 200W |
| Color Temperature | 5600K ± 200K |
| 100% Light Brightness (LUX, 1M) | ≈18000 |
| CRI | >96 |
| TLCI | >95 |
| Light Brightness Range of LED Mode | 0%-100% |
| Operation Temperature | -10°C~45°C |
| Power Output (Flash Mode) | 1/8-1/1 or 7.0-10.0 |
| Channel | 32 |
| Group | 16 (A, B, C, D, E, F, 1-9) |
| Dimension (not included standard reflector) | 36.7 x 20 x 16 cm |
| Net Weight | 3.33 Kg |
| Flash Sync Speed | 1/8000s (HSS) |
| Connectivity Technology | Wireless (Godox 2.4G X System) |
Image 7.1: Detailed specifications table for the Godox FV200.
8. Maintenance
Proper maintenance ensures the longevity and optimal performance of your Godox FV200.
- Cleaning: Use a soft, dry cloth to clean the exterior of the light. For stubborn dirt, a slightly damp cloth can be used, followed by immediate drying. Do not use harsh chemicals or abrasive cleaners.
- Lens Care: Gently clean the LED lens with a lens cleaning cloth and solution if necessary. Avoid touching the lens directly with your fingers.
- Storage: Store the unit in a cool, dry place, away from direct sunlight and excessive humidity. Use the lamp cover to protect the LED when not in use.
- Ventilation: Ensure the ventilation holes are clear of dust and obstructions to maintain proper heat dissipation.
9. Troubleshooting
If you encounter issues with your Godox FV200, refer to the following common problems and solutions:
- Light does not turn on:
- Check if the power cord is securely connected to both the light unit and the power outlet.
- Ensure the power outlet is functional.
- Verify the power switch on the unit is in the 'ON' position.
- Flash function not working:
- Ensure the unit is in Flash mode.
- Check the battery level of your wireless trigger (if applicable).
- Verify that the group and channel settings on the light and trigger match.
- Ensure the camera's flash sync speed is within the supported range (e.g., 1/8000s for HSS).
- Light output is inconsistent or flickering:
- Check for stable power supply.
- Ensure the unit is not overheating. Allow it to cool down if necessary.
- If using wireless control, check for interference or ensure the trigger is within range.
10. Warranty and Support
Godox products are designed and manufactured to the highest quality standards. This product is covered by a limited warranty against defects in materials and workmanship from the date of purchase. Please refer to the warranty card included with your product for specific terms and conditions.
For technical support, service, or warranty claims, please contact your authorized Godox dealer or visit the official Godox website for contact information.
Godox Official Website: www.godox.com