
Clarion XR5420
Clarion XR5420 Class D 4-Channel Car Audio Amplifier User Manual
Model: XR5420
1. Introduction
Thank you for choosing the Clarion XR5420 Class D 4-Channel Car Audio Amplifier. This amplifier is designed to enhance your in-car audio experience by providing powerful and clear sound reproduction. This manual provides essential information for the proper installation, operation, and maintenance of your amplifier. Please read it thoroughly before attempting installation or use.
2. Safety Information
To prevent injury or damage to the unit, please observe the following precautions:
- Always disconnect the vehicle's negative battery terminal before making any electrical connections.
- Ensure all wiring is properly routed and secured to prevent pinching or damage.
- Use appropriate gauge wiring for power and ground connections as specified in the installation section.
- Do not mount the amplifier in locations exposed to direct sunlight, excessive heat, moisture, or dust.
- Ensure adequate ventilation around the amplifier to prevent overheating.
- If you are unsure about any part of the installation process, consult a qualified car audio professional.
3. Package Contents
Verify that all items are present in your package:
- Clarion XR5420 Class D 4-Channel Amplifier
- Power Wiring Kit (4 Gauge)
- RCA Interconnect Cables
- Gravity Magnet Phone Holder
- Mounting Hardware
- User Manual (this document)

4. Features
The Clarion XR5420 amplifier incorporates advanced technology for superior audio performance:
- Class D Circuit Design: Achieves high efficiency and compact size while minimizing distortion.
- 4-Channel Configuration: Provides flexible options for powering front, rear, or bridged subwoofer setups.
- 400 Watts Maximum Music Power: Delivers robust power output for dynamic sound.
- 2-Ohm Stability: Capable of driving lower impedance loads for increased power output and speaker compatibility.
- Selectable Gain Control: Allows precise matching of amplifier input sensitivity to the source unit's output.
- Nickel Plated RCA Connectors: Ensures optimal signal transfer and corrosion resistance.
- High Quality Block Terminals: Minimizes electrical and contact resistance for reliable connections.
5. Setup and Installation
Proper installation is crucial for optimal performance and safety. Follow these steps carefully:
5.1 Mounting the Amplifier
Choose a mounting location that is dry, well-ventilated, and protected from direct sunlight or excessive heat. Ensure there is sufficient space around the amplifier for air circulation. Secure the amplifier using the provided mounting hardware.
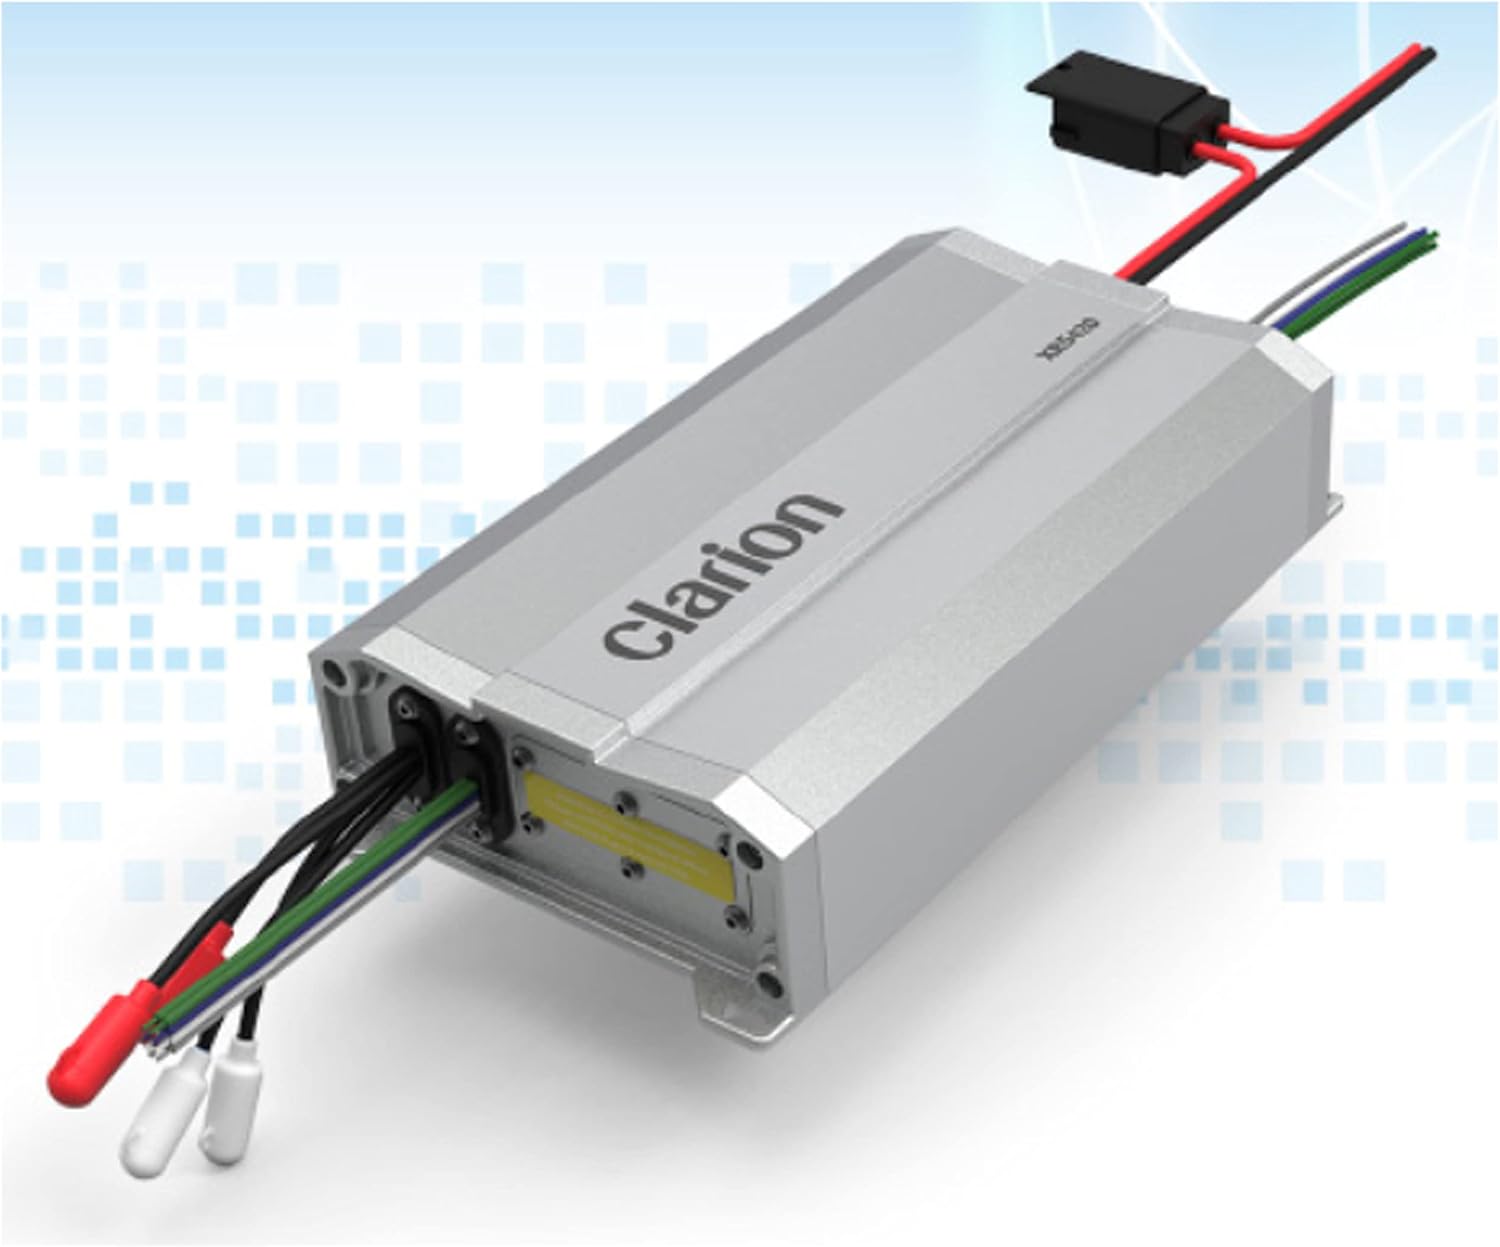
5.2 Power and Ground Connections
- Disconnect Battery: Always disconnect the vehicle's negative battery terminal before proceeding.
- Power Wire (B+): Run the 4-gauge power wire from the positive terminal of the vehicle's battery to the amplifier's "B+" terminal. Install an in-line fuse holder (included in the wiring kit) within 18 inches (45 cm) of the battery.
- Ground Wire (GND): Connect a short 4-gauge ground wire from the amplifier's "GND" terminal to a clean, unpainted metal surface on the vehicle's chassis. Ensure a good electrical connection.
- Remote Turn-On Wire (REM): Connect a remote turn-on wire from your head unit's remote output to the amplifier's "REM" terminal. This wire turns the amplifier on and off with your head unit.
5.3 Audio Input Connections (RCA)
Connect the RCA interconnect cables from your head unit's RCA outputs to the amplifier's RCA input jacks. Ensure correct channel matching (e.g., front left to front left, rear right to rear right).
5.4 Speaker Output Connections
Connect your speakers to the amplifier's speaker output terminals. Pay close attention to polarity (+ and -). The XR5420 is a 4-channel amplifier, allowing for various configurations:
- 4-Channel Stereo: Connect four speakers (front left, front right, rear left, rear right) to the respective amplifier channels.
- 3-Channel (Bridged for Subwoofer): Bridge two channels for a subwoofer and use the remaining two channels for a pair of full-range speakers. Refer to the amplifier's diagram for bridging instructions.
- 2-Channel (Bridged): Bridge both pairs of channels to power two subwoofers or high-power full-range speakers.
Caution: Ensure the total impedance of your speakers matches the amplifier's specifications (2-Ohm stable per channel, 4-Ohm stable when bridged) to prevent damage.
6. Operating the Amplifier
6.1 Initial Power-Up
Once all connections are secure, reconnect the vehicle's negative battery terminal. Turn on your head unit. The amplifier should power on automatically via the remote turn-on wire.
6.2 Gain Control Adjustment
The gain control (input sensitivity) matches the amplifier's input to the output level of your head unit. It is NOT a volume control.
- Turn the amplifier's gain control to its minimum (fully counter-clockwise) setting.
- Play a familiar piece of music with a wide dynamic range through your head unit.
- Increase the head unit's volume to about 75-80% of its maximum level.
- Slowly increase the amplifier's gain control until you hear distortion, then back it off slightly until the sound is clear.
This process ensures maximum clean output from the amplifier without clipping.
7. Maintenance
The Clarion XR5420 amplifier requires minimal maintenance:
- Keep the amplifier clean and free of dust. Use a soft, dry cloth for cleaning.
- Ensure all connections remain tight and free of corrosion. Periodically check wiring for any signs of wear or damage.
- Do not block the amplifier's cooling fins or vents.
8. Troubleshooting
| Problem | Possible Cause | Solution |
|---|---|---|
| No sound | No power, remote wire not connected, RCA cables loose, speaker wires disconnected. | Check power/ground/remote connections, ensure fuse is intact, check RCA and speaker connections. |
| Distorted sound | Gain set too high, damaged speaker, poor ground connection. | Adjust gain control, check speaker condition, verify ground connection. |
| Amplifier overheats | Insufficient ventilation, impedance too low, prolonged high-volume use. | Ensure proper airflow, check speaker impedance, reduce volume. |
| Amplifier turns off randomly | Overheating, low voltage, short circuit in speaker wiring. | Check for overheating, verify power connections, inspect speaker wiring for shorts. |
9. Specifications
Technical specifications for the Clarion XR5420 amplifier:
- Maximum Music Power: 400 Watts
- Continuous Power Output (4-Ohm): 55 Watts x 4 channels
- Continuous Power Output (2-Ohm): 95 Watts x 4 channels
- Bridged Power Output (4-Ohm): 180 Watts x 2 channels
- Number of Channels: 4
- Impedance Stability: 2-Ohm Stable
- Connectors: Nickel Plated RCA
- Dimensions (W x L x H): 8.7 x 4.48 x 1.88 inches
- Item Weight: 10 pounds
10. Warranty and Support
For warranty information and technical support, please refer to the documentation provided with your purchase or visit the official Clarion website. Keep your proof of purchase for any warranty claims.
Manufacturer: CLARION AUDIO
Model Number: XR5420
Date First Available: May 15, 2021
Ask a question about this manual
Ask about setup, troubleshooting, compatibility, parts, safety, or missing instructions. Manuals+ will review the question and use this page’s manual context to help answer it.