
DEWINNER DE-7133A
DEWINNER 710W Electric Corded Impact Drill
Instruction Manual - Model DE-7133A
Your guide to safe and effective operation.
1. Introduction
Thank you for choosing the DEWINNER 710W Electric Corded Impact Drill. This powerful and versatile tool is designed for a variety of drilling tasks in materials such as wood, metal, and masonry. To ensure safe and optimal performance, please read this instruction manual thoroughly before using the drill. Keep this manual for future reference.

Image 1.1: The DEWINNER 710W Electric Corded Impact Drill along with its comprehensive set of accessories.
2. General Safety Instructions
WARNING: Read all safety warnings, instructions, illustrations and specifications provided with this power tool. Failure to follow all instructions listed below may result in electric shock, fire and/or serious injury.
2.1 Work Area Safety
- Keep work area clean and well lit. Cluttered or dark areas invite accidents.
- Do not operate power tools in explosive atmospheres, such as in the presence of flammable liquids, gases or dust. Power tools create sparks which may ignite the dust or fumes.
- Keep children and bystanders away while operating a power tool. Distractions can cause you to lose control.
2.2 Electrical Safety
- Power tool plugs must match the outlet. Never modify the plug in any way.
- Avoid body contact with earthed or grounded surfaces, such as pipes, radiators, ranges and refrigerators. There is an increased risk of electric shock if your body is earthed or grounded.
- Do not expose power tools to rain or wet conditions. Water entering a power tool will increase the risk of electric shock.
- Do not abuse the cord. Never use the cord for carrying, pulling or unplugging the power tool. Keep cord away from heat, oil, sharp edges or moving parts. Damaged or entangled cords increase the risk of electric shock.
2.3 Personal Safety
- Always wear eye protection. Use safety glasses, goggles, or a face shield.
- Wear appropriate personal protective equipment (PPE) such as dust mask, non-skid safety shoes, hard hat, or hearing protection for appropriate conditions.
- Dress properly. Do not wear loose clothing or jewelry. Keep your hair and clothing away from moving parts.
- Stay alert, watch what you are doing and use common sense when operating a power tool.
3. Product Overview
Familiarize yourself with the components of your DEWINNER Impact Drill:

Image 3.1: Key components of the DEWINNER Impact Drill.
- Drill Chuck: Holds the drill bit or accessory securely.
- Auxiliary Handle: Provides additional grip and control during operation.
- Depth Rod: Used to set and measure drilling depth.
- Drill/Hammer Switch: Selects between standard drilling and hammer drilling modes.
- Speed Gear: Internal mechanism for speed regulation.
- On/Off Trigger Switch: Activates and deactivates the drill.
- Lock On Button: Locks the trigger in the ON position for continuous operation.
- Pure Copper Electric Machinery: Indicates the motor's construction for durability and performance.
4. Setup
4.1 Unpacking and Inspection
Carefully remove the drill and all accessories from the carrying case. Inspect for any damage that may have occurred during shipping. Ensure all listed components are present.

Image 4.1: The drill and its accessories stored in the included carrying case.
4.2 Attaching the Auxiliary Handle
The auxiliary handle can be rotated 360° for optimal positioning. Loosen the handle clamp, slide the handle onto the drill's neck, adjust to the desired angle, and tighten the clamp securely.
4.3 Installing/Changing Drill Bits and Accessories
The drill features a 13mm metal chuck. To install or change a drill bit or accessory:
- Insert the chuck key into one of the holes on the chuck.
- Rotate the chuck key counter-clockwise to open the chuck jaws.
- Insert the drill bit or accessory into the chuck, ensuring it is seated as deeply as possible.
- Rotate the chuck key clockwise to tighten the chuck jaws firmly around the bit. Ensure the bit is centered and secure.
- Remove the chuck key before operating the drill.

Image 4.2: Adjusting the drill chuck using the included chuck key.
The drill supports various accessories, including sanding discs and cutting discs, which can be attached using appropriate adapters (included in the 102-piece accessory set).
Video 4.1: Demonstrates changing drill bits, attaching sanding pads, and cutting discs, highlighting the versatility of the drill.
5. Operating the Drill
5.1 Powering On/Off and Variable Speed Control
To start the drill, press the On/Off Trigger Switch. The drill features a variable speed trigger, allowing you to control the drilling speed from 0-3300 RPM based on the pressure applied. For continuous operation, press the Lock On Button while the trigger is depressed. To release, press the trigger again.
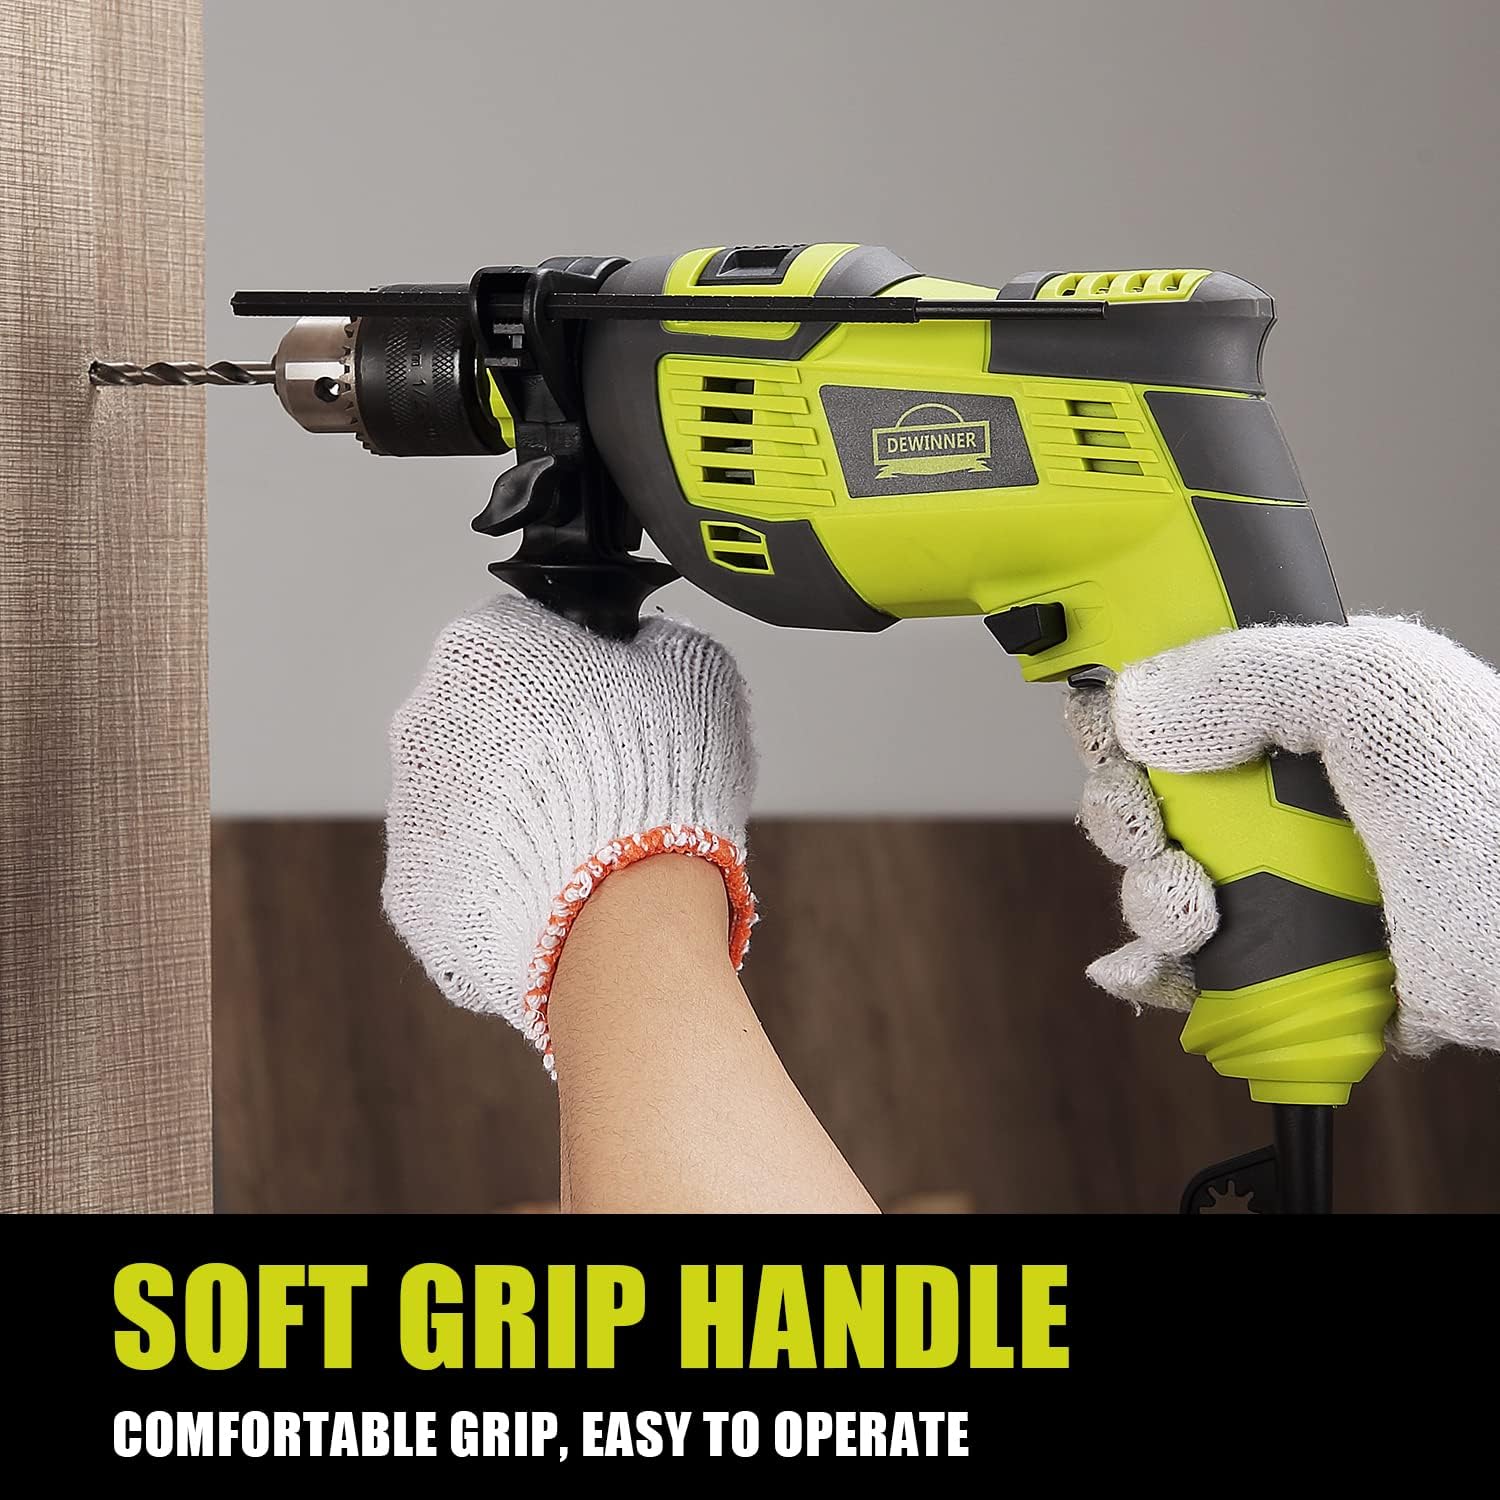
Image 5.1: The speed control knob allows for precise RPM adjustment.
5.2 Hammer and Impact Drill Dual Mode
This drill offers two modes: Drill Mode and Hammer Mode. Use the Drill/Hammer Switch to select the appropriate mode for your task:
- Drill Mode: Ideal for drilling in wood, metal, plastics, and other softer materials.
- Hammer Mode: Activates an impact mechanism, suitable for drilling into hard materials like concrete, brick, and masonry.

Image 5.2: Easily switch between Drill Mode and Hammer Mode.
5.3 Forward/Reverse Switch
The Forward/Reverse switch is located near the trigger. Push it to the left for forward rotation (drilling) and to the right for reverse rotation (removing screws or freeing a stuck drill bit). Always ensure the drill has come to a complete stop before changing the direction of rotation.

Image 5.3: Controls for direction, mode, and continuous operation.
5.4 Drilling Techniques
- General Drilling: Apply steady, even pressure. Do not force the drill. Let the tool do the work.
- Drilling Wood: Use wood-specific drill bits. Start with a pilot hole for larger bits.
- Drilling Metal: Use metal-specific drill bits. Apply cutting oil to cool the bit and improve drilling efficiency.
- Drilling Masonry/Concrete: Use carbide-tipped masonry bits and activate the hammer mode. Apply firm, consistent pressure.
Video 5.1: Shows the drill in action, demonstrating its capability for drilling into wood and concrete surfaces.
6. Maintenance
6.1 Cleaning
- Always unplug the drill before cleaning.
- Clean the ventilation openings regularly to prevent overheating. Use a soft brush or compressed air.
- Wipe the tool housing with a damp cloth. Do not use harsh chemicals or abrasive cleaners.
6.2 Chuck Maintenance
Periodically clean the chuck jaws to ensure proper gripping of bits. A small amount of light machine oil can be applied to the chuck threads to keep it operating smoothly.
6.3 Storage
Store the drill and its accessories in a clean, dry place, out of reach of children. Use the provided carrying case for organized storage and protection.
7. Troubleshooting
| Problem | Possible Cause | Solution |
|---|---|---|
| Drill does not start | No power supply; Damaged power cord; Faulty switch | Check power outlet and cord; Contact qualified service personnel if cord or switch is faulty. |
| Excessive vibration | Bent drill bit; Loose chuck; Internal damage | Replace bent bit; Re-tighten chuck; Discontinue use and seek professional service. |
| Overheating | Blocked ventilation; Overloading the motor | Clean ventilation slots; Reduce load, allow drill to cool. |
| Bit slips in chuck | Chuck not tightened sufficiently; Worn chuck jaws | Re-tighten chuck firmly with key; If problem persists, chuck may need replacement. |
8. Specifications
| Feature | Detail |
|---|---|
| Brand | DEWINNER |
| Model Number | DE-7133A |
| Power Source | Corded Electric |
| Wattage | 710 Watts |
| Voltage | 110 Volts (AC) |
| Maximum Rotational Speed | 3300 RPM |
| Chuck Size | 13mm (1/2 inch) Metal Chuck |
| Special Features | Variable Speed, Hammer & Impact Dual Mode, 360° Rotating Handle, Lock Button |
| Item Weight | 3.77 kg |
| Product Dimensions | 32.9 x 34.6 x 11.3 cm |
9. Warranty and Support
For warranty information and customer support, please refer to the documentation included with your purchase or contact DEWINNER customer service directly. You can also visit the official DEWINNER store on Amazon for more information and support resources:
Ask a question about this manual
Ask about setup, troubleshooting, compatibility, parts, safety, or missing instructions. Manuals+ will review the question and use this page’s manual context to help answer it.