Introduction
This manual provides detailed instructions for the installation, operation, and maintenance of your diymore 0.28" Digital Voltmeter Ammeter. This device is designed for accurate measurement of DC voltage and current in various applications, including automotive, electric vehicles, and battery monitoring systems.
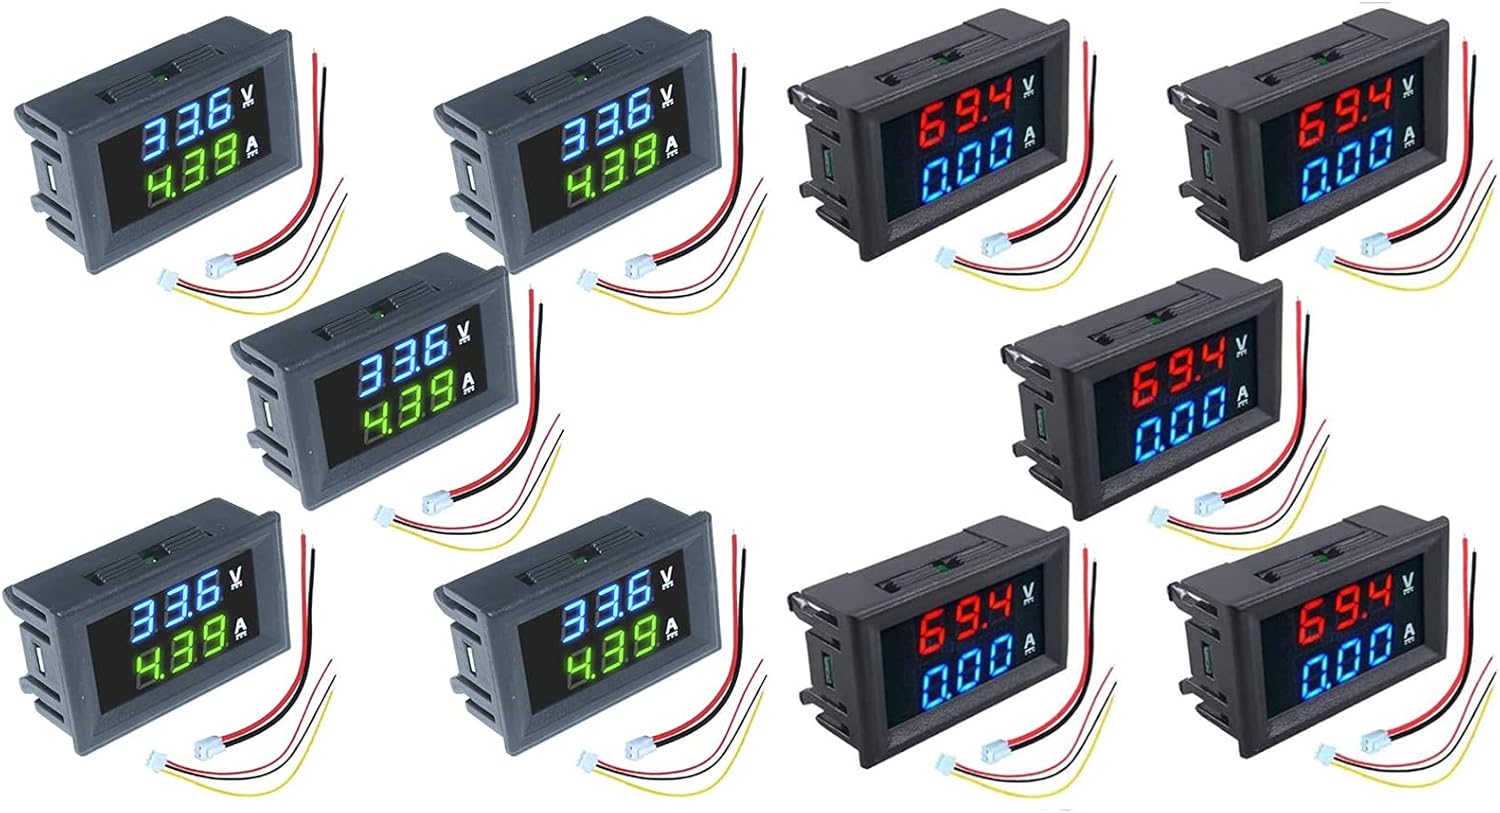
Image: A collection of diymore 0.28" Digital Voltmeter Ammeters, showcasing both red-blue and blue-green display variations. Each unit features a compact design with integrated wiring connectors.
Safety Precautions
- Ensure the working voltage does not exceed DC 30V to prevent damage to the meter.
- Always disconnect power before making any wiring connections.
- Observe correct polarity when connecting the power supply and measurement leads.
- This device is intended for DC circuits only. Do not connect to AC power.
- If you are unsure about any wiring steps, consult a qualified electrician.
Product Features
- Voltage Measuring Range: DC 0 - 100V
- Current Measuring Range: DC 0 - 10A
- Display: 0.28" digital tube (available in Red-Blue and Blue-Green combinations)
- Working Voltage: DC 4-30V (for powering the meter itself)
- Integrated shunt for current measurement up to 10A.
- Compact design suitable for various embedded applications.
Setup and Wiring
Proper wiring is essential for accurate and safe operation. Refer to the diagram below for connection details.
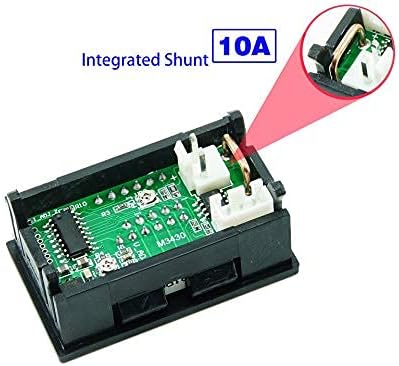
Image: Detailed wiring diagram illustrating the connections for the diymore digital voltmeter ammeter. It shows the power supply input (DC 4-30V) for the meter, the voltage measurement input (DC 0-100V), and the current measurement path (0-10A) in series with the load.
Wiring Connections:
- Power Supply for Meter (Thin Wires):
- Red (Thin): Connect to the positive (+) terminal of a DC 4-30V power source.
- Black (Thin): Connect to the negative (-) terminal of the DC 4-30V power source. This also serves as the common ground for the meter's power and voltage measurement.
Note: The meter's power supply (DC 4-30V) must be within this range. Exceeding 30V will damage the unit.
- Voltage Measurement (Yellow Wire):
- Yellow (Thin): Connect to the positive (+) point of the circuit where you want to measure voltage (DC 0-100V). The black thin wire is the common negative for voltage measurement.
- Current Measurement (Thick Wires):
- Red (Thick): Connect in series with the positive (+) side of the load.
- Black (Thick): Connect in series with the negative (-) side of the load.
Note: The current measurement wires must be connected in series with the load. Do not connect them directly across the power source. The meter has an integrated shunt for current measurement up to 10A.

Image: A close-up view of the two wiring harnesses provided with the diymore digital voltmeter ammeter. One harness typically contains thin wires for power and voltage sensing, while the other contains thicker wires for current measurement.

Image: An internal view of the diymore digital voltmeter ammeter, highlighting the integrated shunt. This component is crucial for measuring current up to 10A without requiring an external shunt resistor.
Operating Instructions
Once correctly wired and powered, the diymore Digital Voltmeter Ammeter will automatically display the measured voltage and current on its 0.28" digital tube display.
- The upper display (e.g., Red or Blue) indicates the voltage in Volts (V).
- The lower display (e.g., Blue or Green) indicates the current in Amperes (A).
- The display updates continuously, providing real-time readings.

Image: A set of five diymore digital voltmeter ammeters, each displaying voltage in red and current in blue. This illustrates one of the available color combinations for the dual display.

Image: A set of five diymore digital voltmeter ammeters, each displaying voltage in blue and current in green. This illustrates another available color combination for the dual display.
Maintenance
- Keep the device clean and free from dust and moisture. Use a soft, dry cloth for cleaning.
- Avoid exposing the meter to extreme temperatures or direct sunlight for prolonged periods.
- Do not attempt to open the casing unless you are a qualified technician, as this may void any potential warranty and risk damage to internal components.
- Regularly check wiring connections to ensure they are secure and free from corrosion.
Troubleshooting
Common Issues and Solutions:
- No Display:
- Check the power supply to the meter (thin red and black wires). Ensure it is within the DC 4-30V range and connected with correct polarity.
- Verify that the power source is active.
- Incorrect Voltage Reading:
- Ensure the thin yellow wire is securely connected to the positive point of the circuit being measured.
- Confirm the black thin wire is connected to the common ground of both the meter's power and the circuit being measured.
- Verify the measured voltage is within the DC 0-100V range.
- Incorrect Current Reading (or 0.00A):
- Ensure the thick red and black wires are connected correctly in series with the load. Current measurement requires the meter to be part of the circuit path.
- Verify the measured current is within the DC 0-10A range.
- Check for loose connections in the current measurement path.
- Meter Damaged / Burned Out:
- This typically occurs if the meter's power supply (thin red/black wires) exceeded 30V DC. Always ensure the input voltage for the meter's operation is within the specified 4-30V range.
Specifications
| Feature | Specification |
|---|---|
| Voltage Measuring Range | DC 0 - 100V |
| Current Measuring Range | DC 0 - 10A |
| Display Type | 0.28" Digital Tube |
| Display Colors | Red-Blue, Blue-Green |
| Working Voltage (Meter Power) | DC 4-30V (Max input voltage not to exceed 30V) |
| Measurement Type | Ammeter, Voltmeter |
| Integrated Shunt | Yes (for 10A current measurement) |
Warranty and Support
Specific warranty information for the diymore 0.28" Digital Voltmeter Ammeter is not provided in this manual. For warranty details, technical support, or further inquiries, please refer to the retailer where the product was purchased or visit the official diymore brand store:


