1. Product Overview
The SMONET Wireless Security Camera System provides comprehensive surveillance for your property. This system includes an 8-channel Network Video Recorder (NVR) with a pre-installed 3TB hard drive and 8 Full HD 1080P wireless cameras. Designed for both indoor and outdoor use, the cameras feature night vision, motion detection, and remote access capabilities.

Image 1.1: Overview of the SMONET Wireless Security Camera System, showing the NVR unit and eight wireless cameras.
2. System Components
- NVR (Network Video Recorder): 8-channel unit with 3TB pre-installed hard drive.
- Wireless Cameras: 8 units, 1080P Full HD, IP66 waterproof, with night vision.
- Power Adapters: For NVR and each camera.
- USB Mouse: For NVR operation.
- HDMI/VGA Cable: (May be included or purchased separately for monitor connection).
- Ethernet Cable: For NVR internet connection.
3. Setup Instructions
3.1 Initial Connection
- Connect NVR to Monitor: Use an HDMI or VGA cable to connect the NVR to a PC monitor or TV.
- Connect NVR to Power: Plug the NVR power adapter into the NVR and a power outlet.
- Connect USB Mouse: Plug the included USB mouse into a USB port on the NVR.
- Power On Cameras: Connect each camera to its respective power adapter and plug into a power outlet. The cameras are not battery-powered and require continuous power for 24/7 operation. Camera power cables are 6.56 feet long. Consider power extension cords (e.g., B01MU074HF for 16.4 ft, B01N2TGTHD for 32.8 ft) if needed.
- Verify Video Feed: Once powered, the cameras and NVR are pre-matched and should display video automatically on the connected monitor.

Image 3.1: Illustration of the NVR connected to a display and a camera connected to its power source, demonstrating the plug-and-play setup.
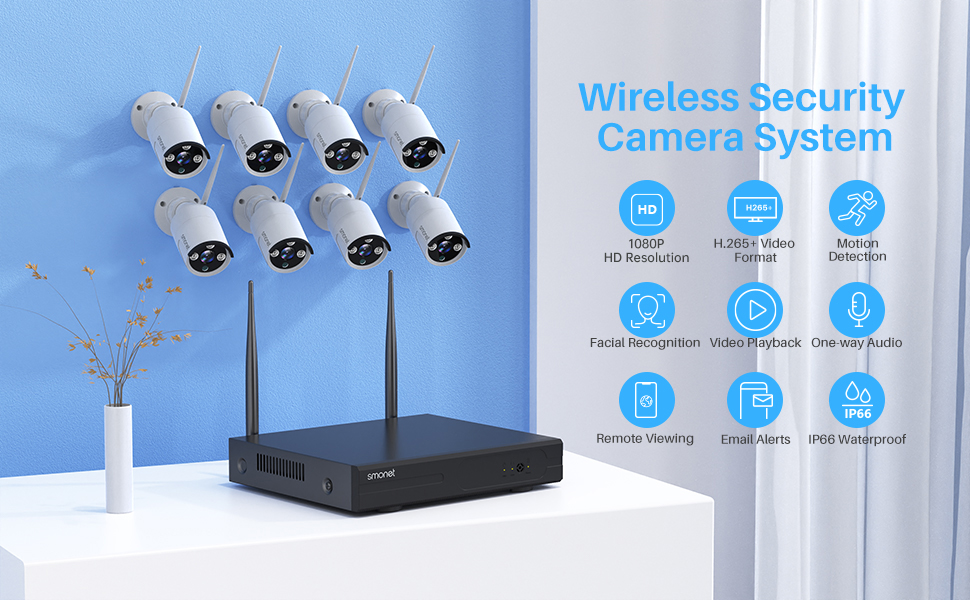
Image 3.2: Example camera placement within a home, indicating wall and ceiling mountable options for optimal coverage.
3.2 Network Connection for Remote Access
To enable remote viewing and alerts, connect the NVR to your home router using an Ethernet cable. The cameras communicate wirelessly with the NVR via its dedicated 2.4GHz signal, not your home Wi-Fi network. Therefore, an internet connection is only required for remote access features.

Image 3.3: Detailed diagram of the NVR's rear panel, illustrating connections for VGA, HDMI, USB backup, mouse, power supply, and network port.
4. Operating the System
4.1 Local Viewing and Recording
Once the NVR and cameras are powered on and connected to a monitor, the system will automatically begin recording to the pre-installed 3TB hard drive. The system supports 24/7 continuous recording. The H.265+ video compression technology optimizes storage space, allowing for extended recording periods.
4.2 Remote Access and Mobile App
Download the free "XMeye Pro" application on your iOS or Android smartphone or tablet. Follow the in-app instructions to add your NVR system for remote viewing. This allows you to:
- View live video feeds from all cameras.
- Access recorded footage (sync-playback).
- Receive AI human detection alerts and email notifications.
- Utilize one-way audio to listen to the camera's surroundings.
For PC access, contact SMONET support to inquire about the "VMS" software.

Image 4.1: Remote viewing of camera feeds on various smart devices, demonstrating accessibility from anywhere.

Image 4.2: A smartphone displaying an alert for human detection, alongside options for email and push notifications.

Image 4.3: A mobile app interface showing a live camera view with an active audio feature, allowing users to listen to the environment.
4.3 Video Quality and Night Vision
The cameras provide 1080P (1920x1080P) resolution, offering clearer images compared to 720P systems. Equipped with 3 infrared LEDs, the cameras deliver up to 65 feet of night vision in dark conditions.

Image 4.4: Visual comparison demonstrating the enhanced clarity of 1080P resolution versus 720P, particularly for details like license plates.
5. Maintenance
5.1 Camera Durability and Placement
The cameras feature an IP66 waterproof metal housing, making them suitable for both indoor and outdoor environments. They are designed to operate in temperatures ranging from -20℃ to +55℃ (14°F to 131°F). Ensure cameras are placed in locations with consistent power access.

Image 5.1: An outdoor camera shown in a rainy environment, emphasizing its IP66 waterproof construction.
5.2 General Care
- Periodically clean camera lenses with a soft, damp cloth to ensure clear image quality.
- Ensure all power connections are secure and free from damage.
- Keep the NVR in a well-ventilated area to prevent overheating.
6. Troubleshooting
6.1 Signal Strength and Connectivity
The SMONET system includes an "Auto Repeat" function. Cameras experiencing a weak signal will automatically attempt to connect through other cameras with stronger signals, optimizing the transmission path. This feature enhances the 2.4GHz signal's transmission distance and anti-interference capabilities.
- If a camera loses connection, check its power supply and ensure it is within range of the NVR or another camera with a strong signal.
- Ensure the NVR is connected to your router via Ethernet for remote access functionality.
6.2 Remote Access Issues
- Verify the NVR is connected to the internet.
- Ensure the "XMeye Pro" app is updated to the latest version.
- Check your smartphone's internet connection.
7. Specifications
| Feature | Detail |
|---|---|
| Brand | SMONET |
| Model Number | SMUS-W882M3TA-XM-X |
| Connectivity Technology | Wireless |
| Video Capture Resolution | 1080p |
| Number of Channels | 8 |
| Memory Storage Capacity | 3 TB (Hard Drive) |
| Power Source | Corded Electric |
| Item Dimensions (L x W x H) | 12 x 11 x 6 inches |
| Compatible Devices | Personal Computers, Smartphones |
| Low Light Technology | Night Vision |
| Night Vision Range | 65 Feet |
| Frame Rate | 12fps |
| Recording Mode | Continuous Motion Detection |
| Hardware Interface | 802.11 ac/b/g/n |
| Lens Type | Wide Angle |
| Video Input | VGA, HDMI |
| Viewing Angle | 90 Degrees |
| Item Weight | 10.5 pounds |
| Date First Available | May 11, 2021 |
8. Warranty and Support
SMONET provides the following support for this product:
- 1-Year Free Warranty: Covers manufacturing defects and malfunctions under normal use.
- 30-Day Return Guarantee: Allows for returns within 30 days of purchase.
- Lifetime Technical Assistance: Ongoing support for product inquiries and troubleshooting.
For technical assistance, please contact SMONET customer support.


