1. Introduction
Thank you for choosing the Woowind DP3 Portable Tire Inflator. This device is engineered for efficient and convenient inflation of various items, including car, bicycle, and motorcycle tires, as well as sports balls. Its compact design, powerful performance, and user-friendly features make it an essential tool for maintaining optimal pressure wherever you are.
Please read this manual thoroughly before operation to ensure safe and proper use, and retain it for future reference.
2. Safety Information
- Do not leave the inflator unattended during operation.
- Keep out of reach of children.
- Avoid prolonged continuous operation to prevent overheating. Allow the device to cool down if it becomes hot.
- Do not expose the device to rain or moisture.
- Ensure the correct pressure setting for the item being inflated to prevent over-inflation, which can cause damage or injury.
- Use only the provided accessories and charging cables.
- Do not disassemble or attempt to repair the device yourself. Contact customer support for assistance.
3. Package Contents
Verify that all items listed below are included in your package:
- Woowind DP3 Tire Inflator Unit
- Flexible Hose (Schrader valve compatible)
- Presta/Dunlop Valve Adapter
- Swimming Ring Nozzle
- Ball Needle
- 12V Car Cigarette Lighter Cable
- USB Charging Cable
- Storage Case
- User Manual (this document)

Image: All components included in the Woowind DP3 package.
4. Product Overview
The Woowind DP3 features a compact design with an intuitive interface for easy operation.

Image: Front view of the Woowind DP3 Air Compressor, highlighting its digital display and control buttons.
Key Components:
- Digital Display: Shows real-time pressure, target pressure, and battery level.
- Power Button: Turns the device on/off.
- Unit Button: Toggles between pressure units (PSI, BAR, KPA, kg/cm²).
- Mode Button: Cycles through preset inflation modes (Car, Motorcycle, Bicycle, Ball, Custom).
- '+' and '-' Buttons: Adjust target pressure.
- Inflation Port: Where the flexible hose connects.
- LED Light: Provides illumination in low-light conditions.
5. Setup
5.1 Charging the Device
Before first use, fully charge the Woowind DP3. The device can be charged using the included USB charging cable or the 12V car cigarette lighter cable.
- Connect the USB charging cable to the inflator's charging port and to a USB power adapter (not included) or a computer USB port.
- Alternatively, connect the 12V car cigarette lighter cable to the inflator and your vehicle's 12V accessory socket.
- The battery indicator on the digital display will show charging progress. A full charge is indicated when all battery segments are lit.
5.2 Attaching the Air Hose and Adapters
The flexible hose comes with a Schrader valve connector. Use the appropriate adapter for other valve types.
- Screw the flexible hose firmly onto the inflation port of the DP3.
- For Presta or Dunlop valves, screw the corresponding adapter onto the Schrader valve connector of the flexible hose.
- For balls, attach the ball needle to the Schrader valve connector.
- For swimming rings or other inflatables, attach the swimming ring nozzle.
6. Operating Instructions
6.1 Powering On and Connecting
- Press and hold the Power button (⏻) to turn on the inflator. The digital display will light up.
- Connect the flexible hose (with appropriate adapter if needed) securely to the valve of the item you wish to inflate. The display will show the current pressure of the item.
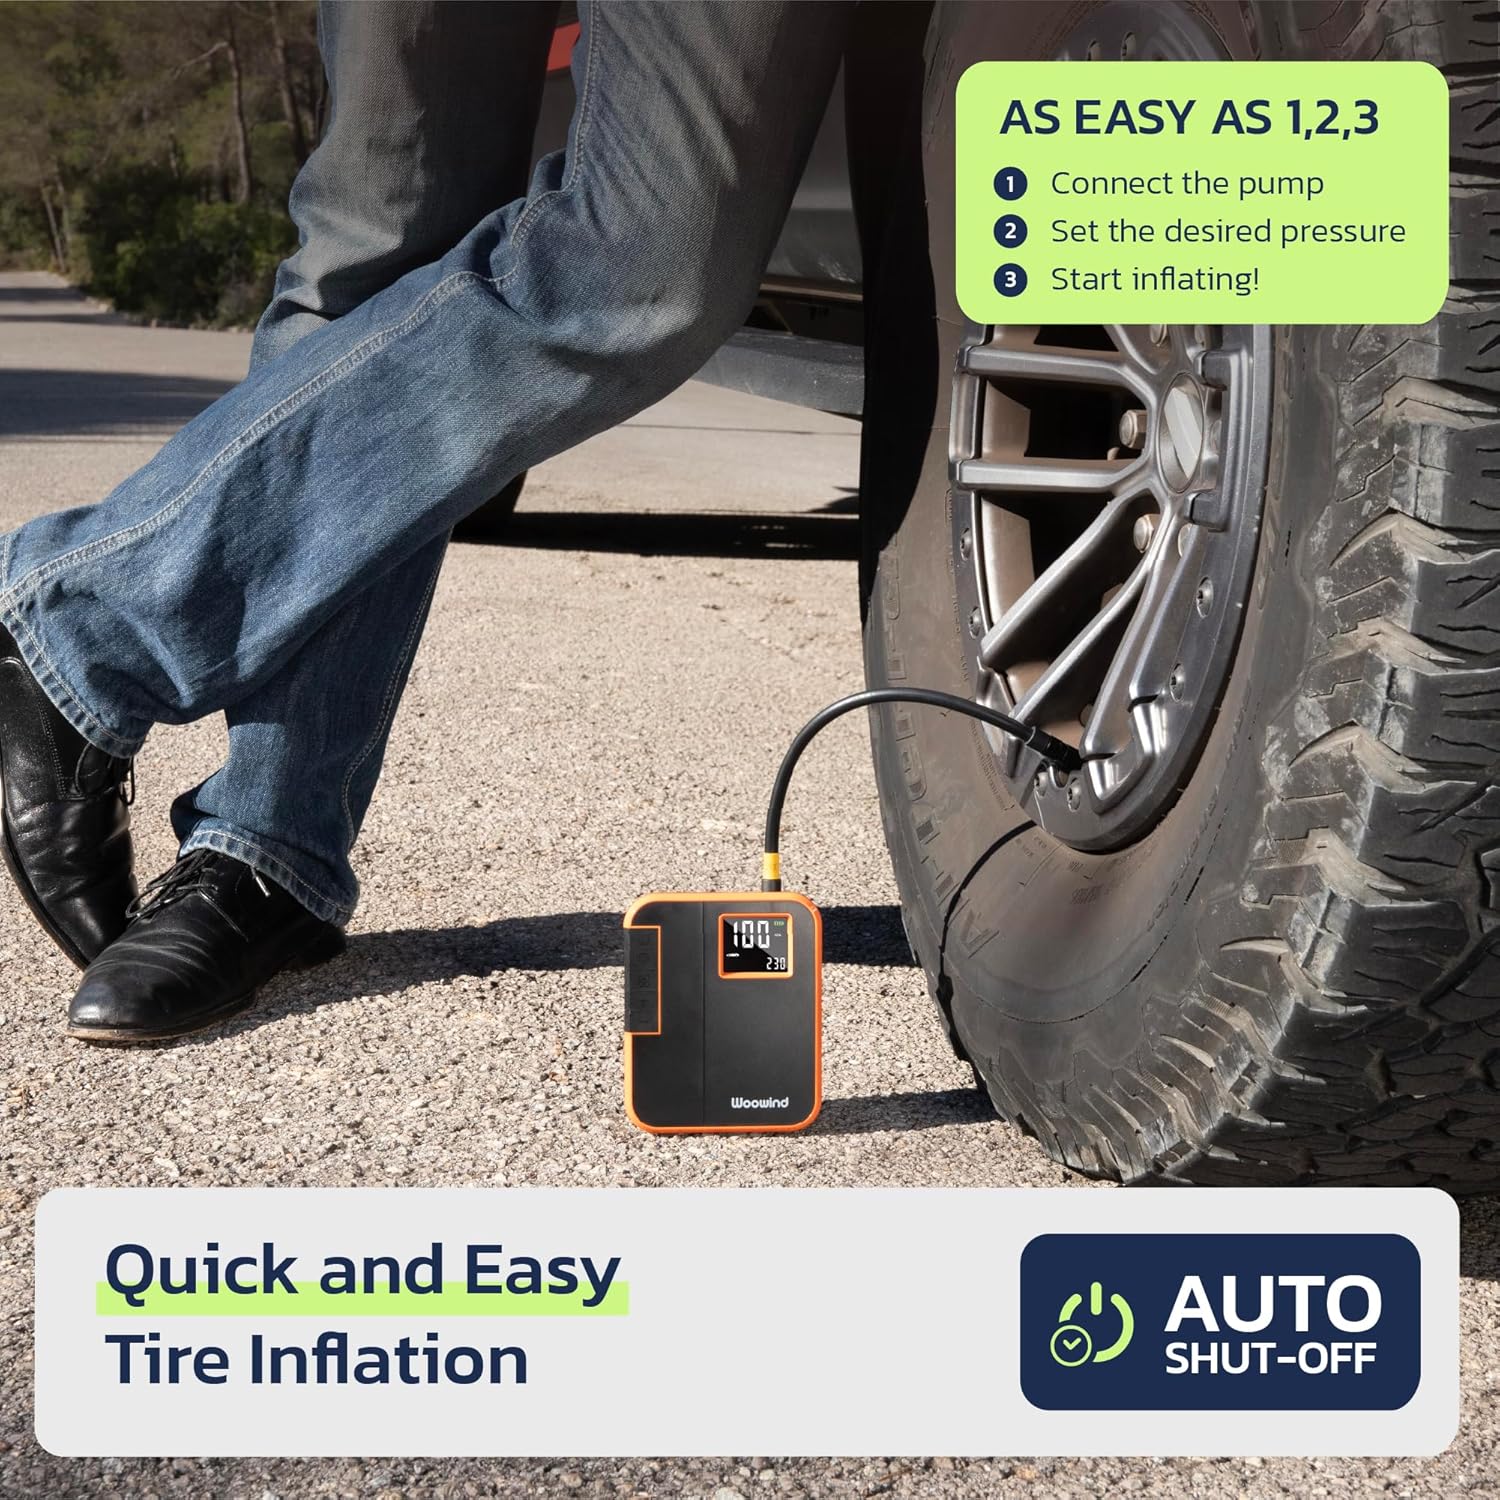
Image: Connecting the inflator to a tire valve is a simple process.
6.2 Setting Desired Pressure
- Press the Unit button to select your preferred pressure unit (PSI, BAR, KPA, or kg/cm²).
- Press the Mode button to cycle through the preset modes (Car, Motorcycle, Bicycle, Ball). Each mode has a default pressure range.
- To set a custom target pressure, use the '+' and '-' buttons. The target pressure will flash as you adjust it.
6.3 Starting and Stopping Inflation
- Once the desired pressure is set, press the Power button (⏻) again to start inflation. The pump will begin operating, and the real-time pressure will be displayed.
- The inflator will automatically shut off once the target pressure is reached.
- To manually stop inflation at any time, press the Power button (⏻).

Image: The digital display provides precise real-time pressure readings during inflation.
6.4 Using the LED Light
Press the Light button (💡) to turn on the integrated LED light for illumination in dark environments.
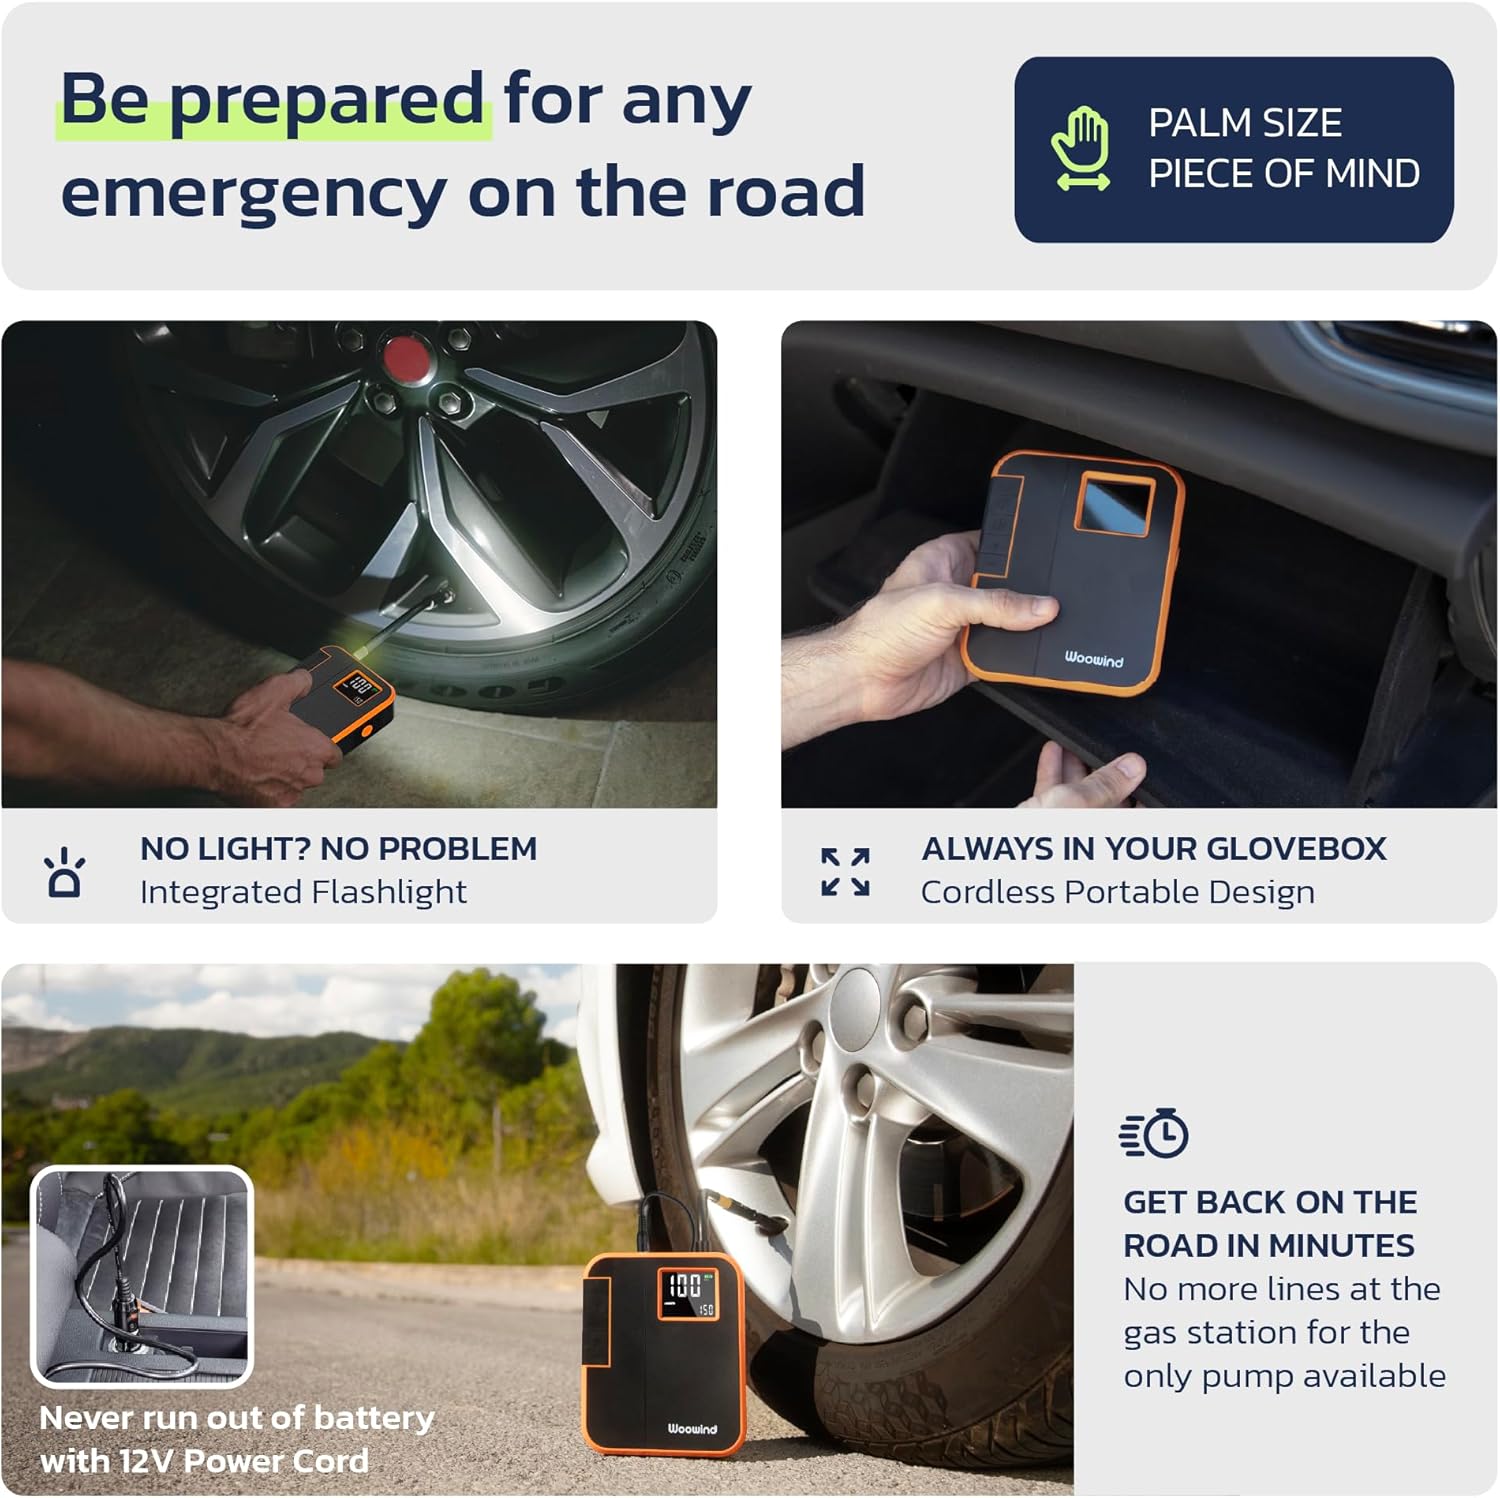
Image: The built-in LED light assists with visibility during nighttime use.
7. Maintenance
7.1 Cleaning
- Wipe the exterior of the inflator with a soft, damp cloth. Do not use harsh chemicals or abrasive cleaners.
- Ensure the device is completely dry before storing.
7.2 Storage
- Store the inflator and all accessories in the provided storage case to protect them from dust and damage.
- Store in a cool, dry place, away from direct sunlight and extreme temperatures.
- For long-term storage, charge the battery to approximately 50-70% every 3-6 months to prolong battery life.
8. Troubleshooting
| Problem | Possible Cause | Solution |
|---|---|---|
| Inflator does not turn on. | Low battery. | Charge the device fully. |
| Inflator does not inflate. | Hose not securely connected; Target pressure already reached; Blocked nozzle. | Ensure hose is tightly screwed; Check current pressure against target; Clear any obstructions from the nozzle. |
| Inaccurate pressure reading. | Loose connection; Incorrect unit selected. | Ensure hose is securely connected to valve; Press Unit button to select correct pressure unit. |
| Device overheats and shuts off. | Prolonged continuous use. | Allow the device to cool down for at least 10-15 minutes before resuming use. |
9. Specifications
| Feature | Detail |
|---|---|
| Model Number | DP3-O |
| Maximum Pressure | 150 PSI |
| Air Flow Capacity | 40 LPM |
| Power Source | Battery Powered (3x2000mAh Li-ion) / 12V DC Car Cigarette Lighter |
| Voltage | 12 Volts |
| Wattage | 60 watts |
| Product Dimensions | 13.8 x 11.5 x 4.5 cm |
| Item Weight | 564 g |
| Sound Level | 85 dB |
| Material | Acrylonitrile Butadiene Styrene |
| Special Features | Portable, Cordless, Digital Display, LED Light, Auto Shut-off |

Image: Detailed dimensions of the Woowind DP3 Air Compressor.
10. Warranty and Support
10.1 Warranty Information
The Woowind DP3 Portable Tire Inflator comes with a 1-year warranty from the date of purchase. This warranty covers manufacturing defects and malfunctions under normal use. It does not cover damage caused by misuse, accidents, unauthorized modifications, or failure to follow the instructions in this manual.
10.2 Customer Support
For technical support, warranty claims, or any questions regarding your Woowind DP3, please contact Woowind customer service. Refer to the contact information provided on the product packaging or the official Woowind website.
Please have your model number (DP3-O) and proof of purchase ready when contacting support.


