1. Introduction
The Rowin Nano Looper Pedal is a compact and durable effect pedal designed for electric guitarists. It offers up to 10 minutes of clear looping with unlimited overdubbing capabilities, utilizing 48KHz 24-bit uncompressed high-quality audio. This manual provides detailed instructions for setup, operation, and maintenance of your looper pedal.
2. Safety Information
- Use only the specified DC 9V power adapter with negative center polarity. Using an incorrect power supply may damage the unit and void the warranty.
- Do not expose the unit to water, moisture, or extreme temperatures.
- Avoid dropping or subjecting the pedal to strong impacts.
- Do not attempt to disassemble or modify the unit. Refer all servicing to qualified personnel.
3. Product Overview
The Rowin Nano Looper Pedal features a robust zinc alloy casing and intuitive controls for ease of use.

Figure 1: Front view of the Rowin Nano Looper Pedal.

Figure 2: Angled view showing input and output jacks.
Components:
- DC 9V Input: Power connection port (negative in the center).
- LEVEL Knob: Adjusts the playback output volume of the recorded loop.
- LED Indicator: Illuminates to indicate effect status (on/off) or bypass.
- USB Port: For connecting to a computer to upload or download audio files.
- INPUT Jack: 1/4” mono audio jack for connecting your guitar or other instrument.
- OUTPUT Jack: 1/4” mono audio jack for connecting to an amplifier or other effects.
- True Bypass Footswitch: Activates/deactivates the looper effect and controls recording/playback functions.
4. Setup
Follow these steps to connect your Rowin Nano Looper Pedal:
- Power Connection: Connect a DC 9V power adapter (negative center) to the DC 9V input jack on the pedal.
- Instrument Connection: Connect your guitar or instrument to the INPUT jack of the looper pedal using a 1/4" mono audio cable.
- Amplifier Connection: Connect the OUTPUT jack of the looper pedal to your amplifier or the input of another effect pedal using a 1/4" mono audio cable.
- Power On: Once all connections are secure, plug the power adapter into an electrical outlet. The LED indicator will illuminate.
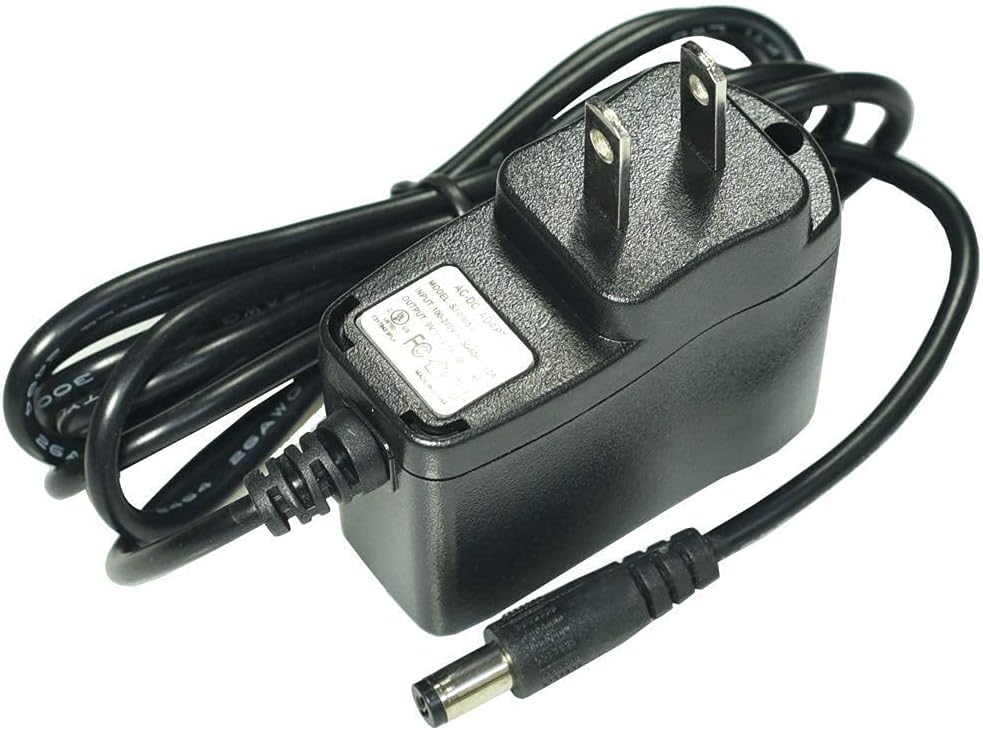
Figure 3: Compatible 9V DC power adapter.
The pedal features True Bypass, meaning that when the effect is disengaged, your instrument's signal passes directly through the pedal without any tonal alteration.
5. Operating Instructions
The Rowin Nano Looper Pedal is designed for simple, one-key operation using the footswitch.
Basic Looping Functions:
- Record: Press the footswitch once to start recording. The LED will turn red.
- Play/Overdub: After recording, press the footswitch once again to switch to playback mode. The LED will turn green. To overdub (add another layer to your loop), press the footswitch once during playback. The LED will flash red.
- Stop: Double-press the footswitch quickly to stop playback. The LED will turn green and remain solid.
- Play (from stopped): Press the footswitch once when the loop is stopped to resume playback.
- Undo: During playback or overdubbing, press and hold the footswitch for approximately 2 seconds to undo the last recorded layer. The LED will flash green.
- Redo: After performing an undo, press and hold the footswitch for approximately 2 seconds again to redo the undone layer. The LED will flash green.
- Delete: Double-press and hold the footswitch for approximately 2 seconds to delete the current loop. The LED will flash red rapidly, then turn off.
Adjusting Playback Volume:
Use the LEVEL knob to adjust the output volume of the recorded loop. Turn clockwise to increase volume, counter-clockwise to decrease.
6. USB Connectivity and File Management
The Rowin Nano Looper Pedal allows you to import and export audio files to and from your computer via USB. This function is supported only on Windows operating systems.
Steps for File Transfer:
- Download Software: Obtain the necessary program from the official Rowin website.
- Power the Looper: Ensure the looper pedal is connected to a 9V power supply.
- Enter SAVE MODE: The looper must be in SAVE MODE. This is indicated by a solid green LED (not blinking).
- Connect to PC: Use the provided USB cable to connect the looper pedal to your computer.
- Transfer Files: Use the downloaded software to upload or download audio files.
Important Notes:
- Only WAV audio files can be uploaded to the looper from the computer.
- Do not attempt to update or upgrade the pedal's firmware directly without following specific instructions from the official Rowin website. Incorrect updates can damage the device.
7. Specifications
| Working Current | 22mA |
| Audio Quality | 48KHz, 24-bit uncompressed |
| Recording Time | Up to 10 minutes |
| Overdubs | Unlimited |
| Input/Output Jacks | 1/4” mono audio jack |
| Power Supply | DC 9V (negative in the center) |
| Material | Zinc Alloy |
| Hardware Interface | USB |
| Signal Format | Analog |
8. Troubleshooting
- No Sound Output:
- Ensure the power adapter is correctly connected and supplying 9V DC (negative center).
- Check all audio cable connections (guitar to INPUT, OUTPUT to amplifier).
- Verify the LEVEL knob is not set to minimum.
- Confirm the amplifier is on and its volume is up.
- Cannot Connect to PC for File Transfer:
- Ensure the looper pedal is powered by a 9V adapter.
- Confirm the looper is in SAVE MODE (solid green LED).
- Verify you are using the correct software downloaded from the official Rowin website.
- Check USB cable connection.
- Poor Audio Quality / Loop Distortion:
- Ensure input signal levels are not too high, causing clipping.
- When uploading files, ensure they are in WAV format.
9. Maintenance
- Clean the pedal with a soft, dry cloth. Do not use abrasive cleaners or solvents.
- Store the pedal in a dry environment away from direct sunlight and extreme temperatures.
- Disconnect power when not in use for extended periods.
10. Support
For further assistance, software updates, or additional product information, please visit the official Rowin website.


