
Waterco 25500
Waterco Waterking Chlorinator Model 25500 User Manual
Model: 25500
Introduction
The Waterco Waterking Chlorinator Model 25500 is designed to provide efficient and consistent chlorination for your pool or spa, ensuring clean and safe water. This manual provides detailed instructions for installation, operation, maintenance, and troubleshooting to help you get the most out of your chlorinator.

Image: Front view of the Waterco Waterking Chlorinator Model 25500, showing the main body, lid, and plumbing connections.
Safety Information
Please read and adhere to all safety warnings and precautions before installing, operating, or maintaining the chlorinator.
- Always read and understand all instructions before installing or operating this product.
- Wear appropriate personal protective equipment (PPE), including gloves and eye protection, when handling chlorine or other pool chemicals.
- Ensure the chlorinator is installed by a qualified professional in accordance with local codes and regulations.
- Keep out of reach of children and pets.
- Do not mix different types of chlorine or other chemicals in the chlorinator. This can cause dangerous reactions.
- Always turn off the pool pump and close all isolation valves before opening the chlorinator or performing any maintenance.
- Never open the chlorinator while the pump is running or the system is under pressure.
Setup and Installation
- Unpacking: Carefully unpack all components and verify them against the packing list.
- Location Selection: Choose a suitable location for installation. The chlorinator should typically be installed after the pool filter and heater (if present), but before any other equipment that could be damaged by concentrated chlorine. Ensure there is adequate space for maintenance and refilling.
- Plumbing Connections: The Waterking Chlorinator is designed for inline installation. Ensure proper plumbing connections using appropriate PVC cement and primer for secure, leak-free joints. Pay attention to the flow direction indicated on the unit.
- Curing Time: Allow sufficient curing time for all plumbing connections as per the adhesive manufacturer's instructions before pressurizing the system.
- Pressure Testing: After curing, slowly open isolation valves to pressurize the system and check for any leaks.

Image: Side view of the chlorinator, highlighting the "FLOW" arrow indicating the correct water flow direction for installation.
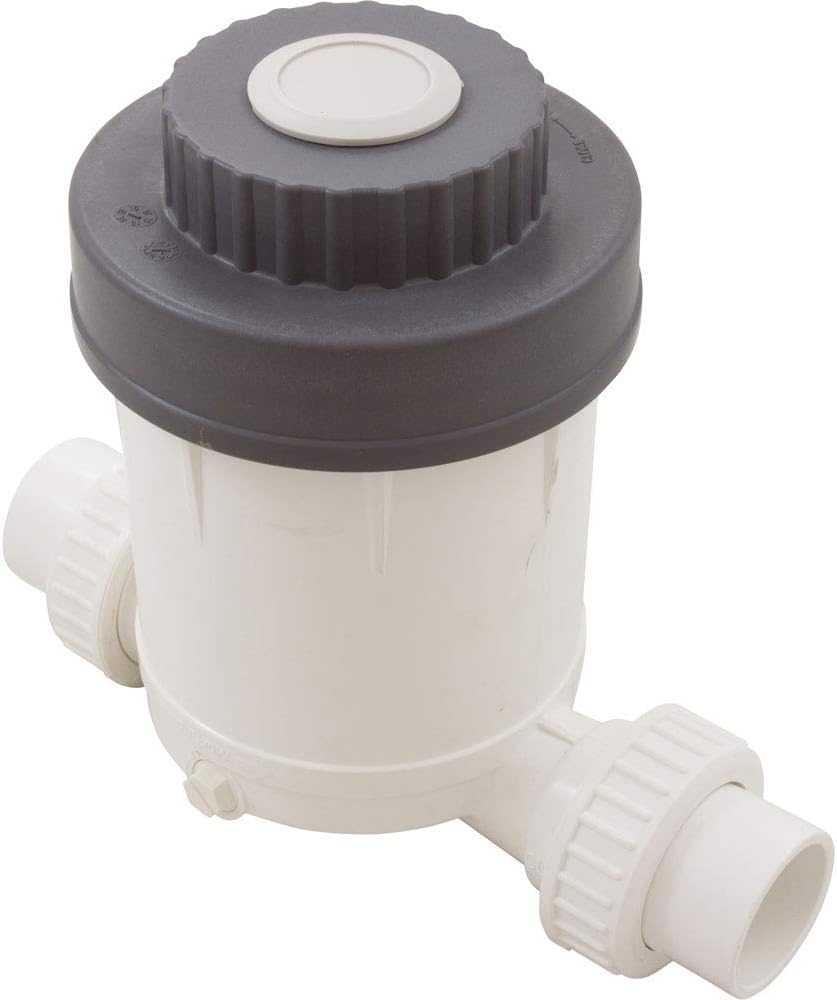
Image: Side view of the Waterco Waterking Chlorinator, showing the inlet and outlet connections.
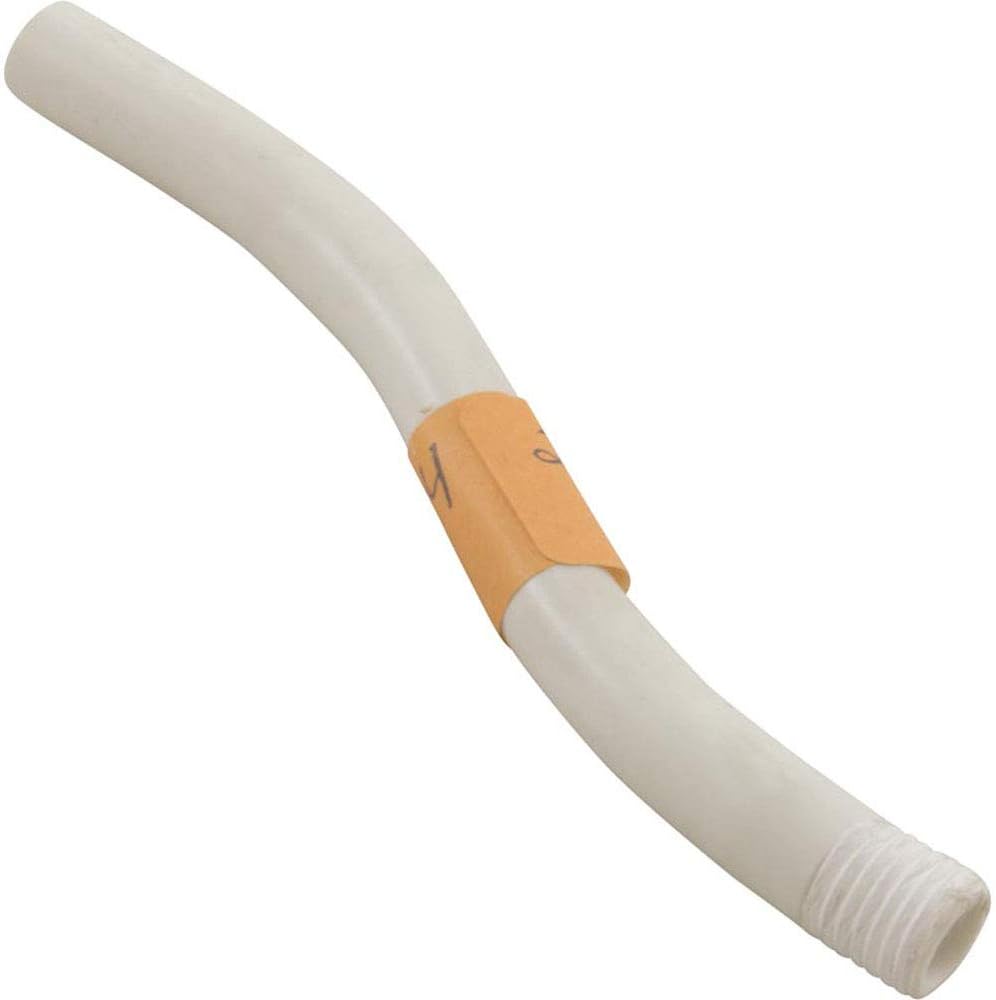
Image: An example of a plumbing accessory or pipe section that may be used during installation of the chlorinator.
Operating Instructions
- Prepare for Filling: Ensure the pool pump is turned off and the system is depressurized. Turn the chlorinator's control dial to the "OFF" position.
- Open Lid: Carefully unscrew the lid of the chlorinator. Be aware of any residual chlorine fumes.
- Add Chlorine: Add only slow-dissolving trichlor tablets or sticks to the chlorinator chamber. Do not use granular chlorine, calcium hypochlorite, or other chemicals, as this can cause damage or dangerous reactions. Fill to the recommended level, typically not exceeding 80% capacity.
- Secure Lid: Replace the lid securely, ensuring the O-ring is properly seated to create a watertight seal. Hand-tighten only.
- Set Feed Rate: Turn the control dial to the desired "RATE OF FEED" setting. Start with a lower setting (e.g., 1 or 2) and adjust as needed based on your pool's chlorine demand and water testing results.
- Start Pump: Turn on your pool pump. The chlorinator will now begin dispensing chlorine into your pool water.
- Monitor Water Chemistry: Regularly test your pool water for chlorine levels and pH. Adjust the feed rate dial as necessary to maintain optimal water chemistry (typically 1-3 ppm free chlorine and pH 7.4-7.6).

Image: Close-up view of the chlorinator's control dial, showing settings from "OFF" to "HI" for adjusting the chlorine feed rate.
Maintenance
- Regular Inspection: Periodically inspect the chlorinator for any signs of wear, damage, or leaks. Check plumbing connections for integrity.
- Cleaning: Clean the chlorinator chamber as needed to remove any residue or buildup from dissolved tablets. Always ensure the system is off, depressurized, and drained before cleaning. Rinse thoroughly with water.
- O-Ring Maintenance: Inspect the lid O-ring for cracks, tears, or deterioration. Apply a silicone-based lubricant to the O-ring periodically to keep it pliable and ensure a good seal. Replace the O-ring if it shows signs of wear.
- Winterization: In climates where pools are winterized, ensure all water is drained from the chlorinator to prevent freezing and damage. Store the chlorinator in a dry, protected area if it is removed from the plumbing.
Troubleshooting
| Problem | Possible Cause | Solution |
|---|---|---|
| Low Chlorine Output |
|
|
| Water Leaking from Lid |
|
|
| Chlorinator Clogging |
|
|
Specifications
| Attribute | Detail |
|---|---|
| Brand | Waterco |
| Model Name | 25500 |
| Manufacturer | Waterco |
| Package Dimensions | 11 x 10 x 7 inches |
| Item Weight | 5 pounds |
| ASIN | B094J66SVZ |
| Item Model Number | 25500 |
Warranty and Support
For specific warranty information regarding your Waterco Waterking Chlorinator Model 25500, please refer to the documentation included with your purchase or visit the official Waterco website. Keep your purchase receipt as proof of purchase for warranty claims.
For technical support, troubleshooting assistance beyond this manual, or to inquire about replacement parts, please contact Waterco customer service directly. Contact details can typically be found on the manufacturer's website or on the product packaging.
Related documents25500


Ask a question about this manual
Ask about setup, troubleshooting, compatibility, parts, safety, or missing instructions. Manuals+ will review the question and use this page’s manual context to help answer it.