Introduction
The Sightmark Mini Shot A-Spec M3 is a compact and durable reflex sight designed for rapid target acquisition in various shooting scenarios, particularly for home defense and short-to-mid range applications. Engineered for compatibility with pistols featuring a Shield RMS-C footprint, this optic provides a clear red auto-brightness control reticle for optimal visibility in any lighting condition. Its robust aluminum alloy housing ensures resilience against shock and water, making it a reliable choice for demanding environments.

Figure 1: Sightmark Mini Shot A-Spec Reflex Sight, showing its compact design and optical lens.
Safety Information
- Always ensure the firearm is unloaded and safe before installing or adjusting the sight.
- Do not look directly into the sun or any bright light source through the sight, as this may cause permanent eye damage.
- Keep batteries out of reach of children. If swallowed, seek immediate medical attention.
- Handle the sight with care to prevent damage. Avoid dropping or subjecting it to severe impacts.
- Store the sight in a cool, dry place away from direct sunlight when not in use.
Package Contents
Verify that all items are present in the package:
- Sightmark Mini Shot A-Spec M3 Reflex Sight
- Rubber Cover
- Low-Profile Fixed Mount
- CR2032 Battery
- Mounting Screws
- Hex Wrench
- User Manual (this document)

Figure 2: Included accessories with the Sightmark Mini Shot A-Spec M3, showing the sight, protective cover, mount, battery, and tools.
Product Overview
The Sightmark Mini Shot A-Spec M3 is designed for ease of use and durability. Key features include:
- Red Auto-Brightness Control Reticle: Automatically adjusts reticle brightness based on ambient light conditions.
- Durable Aluminum Alloy Housing: Provides robust protection against impacts.
- IP55 Water-Resistant: Protects against dust and water splashes.
- Shockproof: Designed to withstand recoil up to .375 caliber.
- Extended Battery Life: Up to 100,000 hours on a single CR2032 battery.
- Co-Witness Capability: Allows for co-witnessing with standard pistol sights.
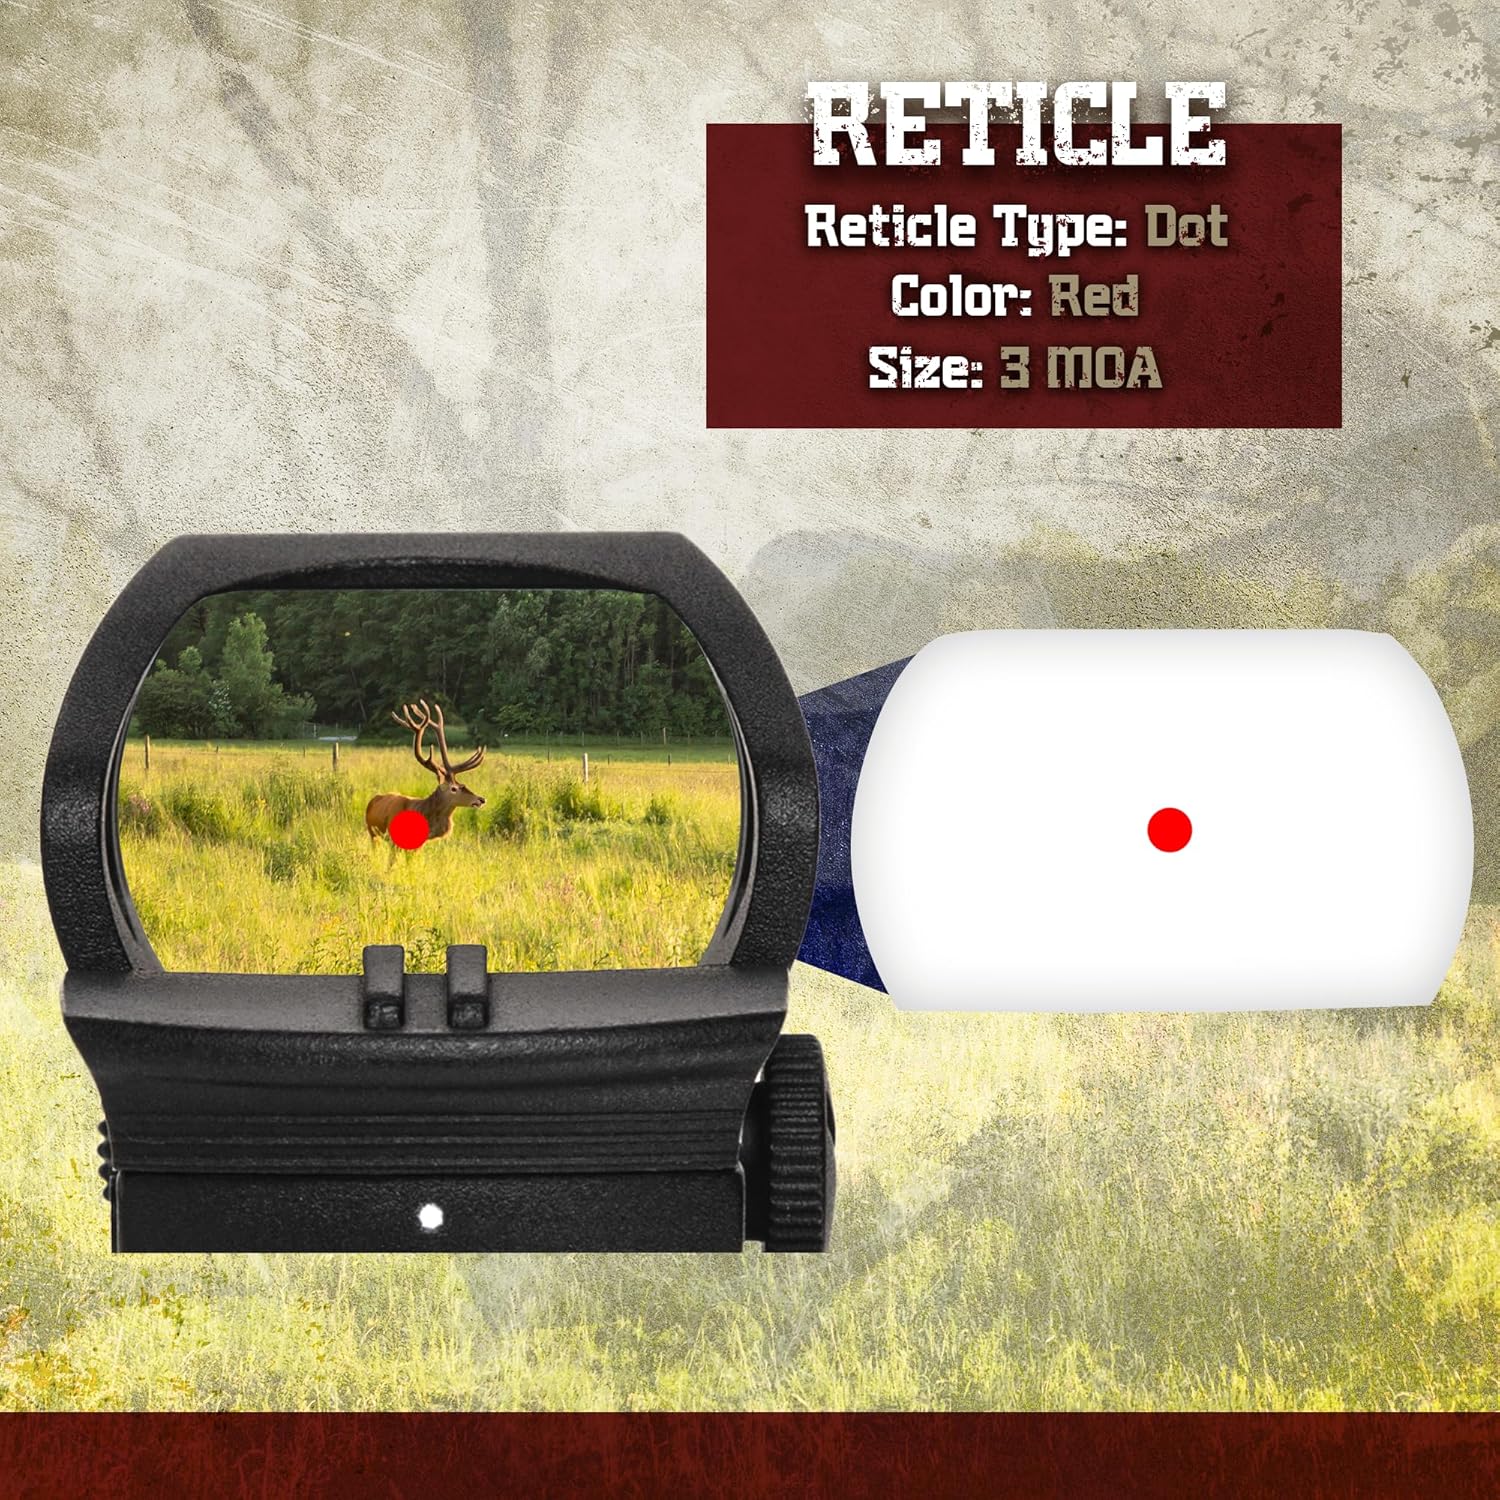
Figure 3: View through the sight showing the red dot reticle, demonstrating its clarity and target acquisition capability.

Figure 4: Illustration of the sight's battery type (CR2032) and extended battery life, highlighting its efficiency for day and night use.

Figure 5: Depiction of the sight's IP55 weatherproof rating, showing its resistance to dust and water.

Figure 6: Visual representation of the sight's shockproof design, illustrating its durability against impacts and recoil.
Setup and Installation
1. Battery Installation
- Locate the battery compartment on the side or bottom of the sight.
- Using a small screwdriver or coin, carefully open the battery cap.
- Insert one CR2032 battery with the positive (+) side facing up.
- Securely close the battery cap.
2. Mounting the Sight
The Sightmark Mini Shot A-Spec M3 is designed for Shield RMS-C footprint compatible pistols and includes a low-profile fixed mount for Weaver/Picatinny rails.
- Ensure the firearm is unloaded and safe.
- If using the included low-profile mount, attach the sight to the mount using the provided screws and hex wrench.
- Align the sight/mount assembly with the appropriate rail or footprint on your firearm.
- Insert the mounting screws and tighten them securely, but do not overtighten. Refer to your firearm's manual for specific torque specifications if available.
- Verify that the sight is firmly attached and does not wobble.

Figure 7: Illustration of the sight's mounting footprint (Shield RMS-C) and compatibility with Weaver/Picatinny rails via the included mount.

Figure 8: Example of the sight's co-witness capability with standard pistol sights, showing how the red dot aligns with iron sights.
Operating Instructions
1. Powering On/Off
The Mini Shot A-Spec M3 features an auto-brightness control system. The sight will automatically power on when exposed to light and power off when placed in darkness (e.g., with the protective cover installed) to conserve battery life.
- To activate: Remove the protective cover or expose the sight to ambient light.
- To deactivate: Place the protective cover over the sight or store it in a dark environment.
2. Reticle Brightness
The reticle brightness is automatically adjusted by the sight's sensor to match the surrounding light conditions, ensuring optimal visibility in both bright daylight and low-light environments.
3. Zeroing the Sight
Zeroing the sight is crucial for accuracy. This process involves adjusting the reticle to align with your point of impact at a specific distance.
- Mount the sight securely to your firearm.
- Set up a target at your desired zeroing distance (e.g., 10-25 yards for pistols).
- Fire a group of shots (e.g., 3-5 rounds) to determine your point of impact.
- Identify the windage (horizontal) and elevation (vertical) adjustment screws on the sight.
- Using a small flathead screwdriver or the provided hex wrench (if applicable), make adjustments:
- To move the point of impact UP, turn the elevation screw counter-clockwise.
- To move the point of impact DOWN, turn the elevation screw clockwise.
- To move the point of impact RIGHT, turn the windage screw counter-clockwise.
- To move the point of impact LEFT, turn the windage screw clockwise.
- Make small adjustments and fire another group of shots to confirm. Repeat until your point of impact matches your point of aim.
Maintenance
1. Cleaning
- Use a soft, lint-free cloth to wipe down the exterior of the sight.
- For lenses, use a lens cleaning pen or a soft lens cloth with a small amount of lens cleaning solution. Avoid using abrasive materials or harsh chemicals.
- Remove any dirt or debris from the mounting area to ensure a secure fit.
2. Storage
- When not in use, place the protective rubber cover over the sight to protect the lenses and conserve battery life.
- Store the sight in a cool, dry place, away from direct sunlight and extreme temperatures.
- If storing for an extended period (several months or more), it is recommended to remove the battery to prevent leakage.
3. Battery Replacement
When the reticle appears dim or flickers, it may be time to replace the battery. Follow the battery installation steps outlined in the "Setup and Installation" section.
Troubleshooting
| Problem | Possible Cause | Solution |
|---|---|---|
| Reticle is dim or not visible. | Low battery; Sight covered or in dark environment; Sensor obstructed. | Replace battery; Ensure sight is exposed to light; Clean sensor area. |
| Sight does not hold zero. | Mounting screws loose; Improper mounting; Damaged sight. | Tighten mounting screws; Re-mount sight correctly; Contact customer support if damaged. |
| Reticle appears distorted or blurry. | Lens is dirty; Eye relief incorrect; Optical defect. | Clean lenses; Adjust head position for optimal eye relief; Contact customer support. |
| Sight is not turning off. | Sight is exposed to light; Sensor malfunction. | Ensure protective cover is fully on or sight is in a dark place; Contact customer support. |
Specifications
| Feature | Detail |
|---|---|
| Model Number | SM26049 |
| Reticle Type | Dot |
| Reticle Color | Red |
| Reticle Size | 3 MOA |
| Brightness Control | Auto-Brightness |
| Magnification | 1x |
| Material | Aluminum Alloy |
| Water Resistance | IP55 (Dust and Water Resistant) |
| Shockproof | Yes, up to .375 caliber |
| Battery Type | CR2032 |
| Battery Life | Up to 100,000 hours |
| Operating Temperature | -22°F to 122°F (-30°C to 50°C) |
| Dimensions | 4.06 x 2.29 x 2.26 cm |
| Weight | 22.68 g (0.05 lbs) |
| Mounting Type | Shield RMS-C Footprint, Weaver/Picatinny (with included mount) |
Warranty and Support
Sightmark products are backed by a limited lifetime warranty. For detailed warranty information, product registration, or technical support, please visit the official Sightmark website or contact their customer service department.
Website: www.sightmark.com
Contact Information: Refer to the website for the most current contact details (phone, email).


