1. Introduction
This manual provides detailed instructions for the installation, operation, and maintenance of your Nextbase 222XR Dash Cam. This device is designed to record high-definition video of your journeys, offering enhanced security and peace of mind on the road. Please read this manual thoroughly before using the product to ensure proper functionality and safety.
2. Safety Information
- Ensure the dash cam is installed in a position that does not obstruct the driver's view of the road or interfere with the operation of vehicle controls.
- Do not operate the dash cam while driving. Adjust settings or review footage only when the vehicle is safely parked.
- Avoid exposing the device to extreme temperatures, direct sunlight for prolonged periods, or excessive moisture.
- Use only the power cable and accessories supplied with the dash cam. Using unauthorized accessories may damage the device and void the warranty.
- Keep the lens clean to ensure clear video recordings.
3. Package Contents
The Nextbase 222XR Dash Cam package includes the following items:
- Nextbase 222XR Dash Cam (Front Camera)
- Rear Wired Window Camera
- 6m cable for Rear Wired Window Camera connection
- Click&Go PRO Mount
- Power Cable (for vehicle 12V socket)
- Memory Card (as per product specifications, though some listings may vary)
Note: A Nextbase 128GB SD Card is recommended for optimal performance, but not always included in the standard package.
4. Product Overview
The Nextbase 222XR is a comprehensive dash cam system designed for all-round vehicle protection.

The Nextbase 222XR system, featuring the main front dash cam and the compact rear camera.

Connect & Go: Easily connect your dash cam with the 6.5m cable, designed to be hidden for a tidy installation.

1080p 30 FPS Recording: Records in Full HD with a 140-degree viewing angle, capturing pavements and road signs clearly.
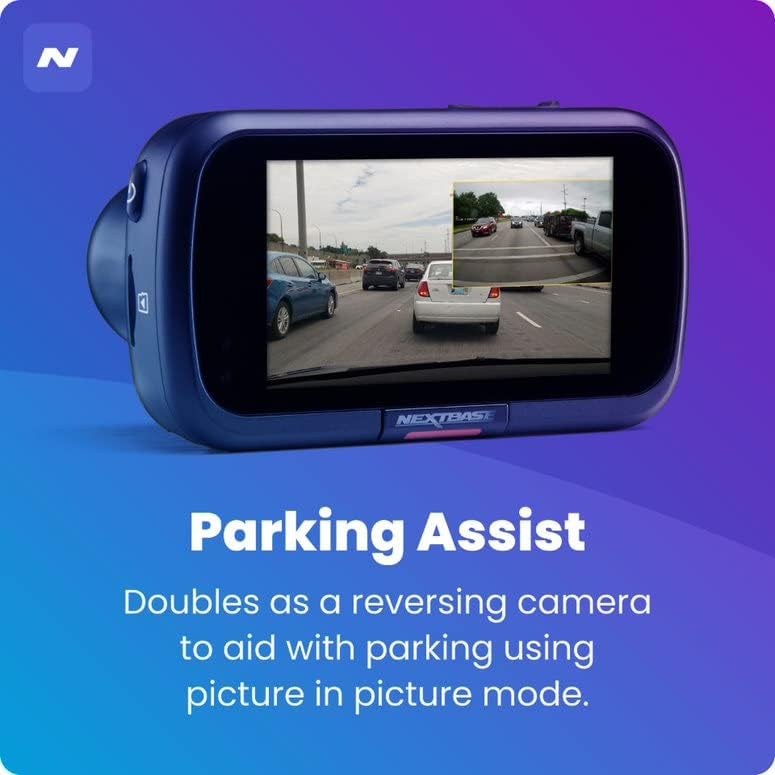
Parking Assist: The rear camera doubles as a reversing camera, aiding with parking using picture-in-picture mode.
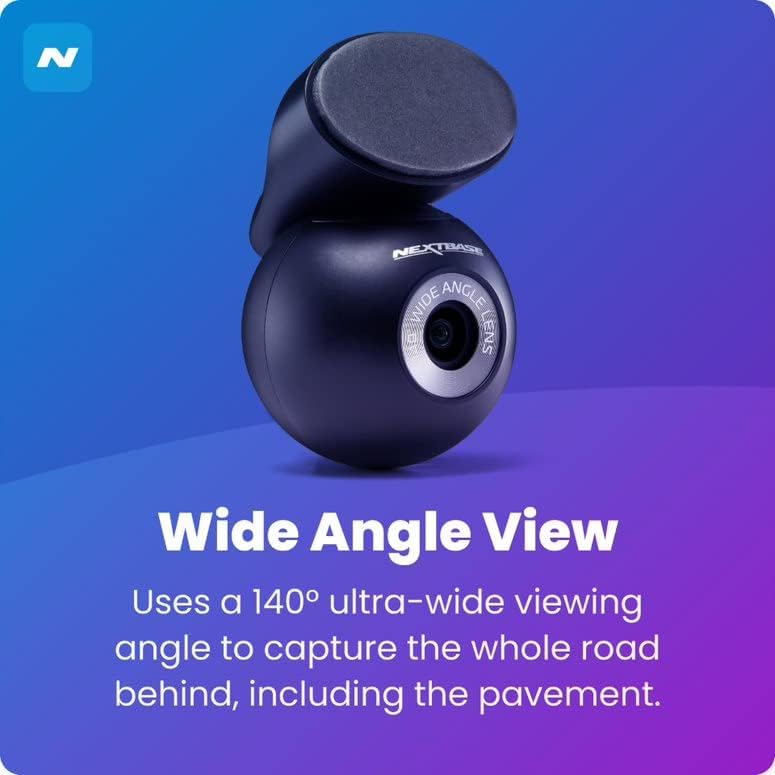
Wide Angle View: The rear camera uses a 140-degree ultra-wide viewing angle to capture the entire road behind, including the pavement.
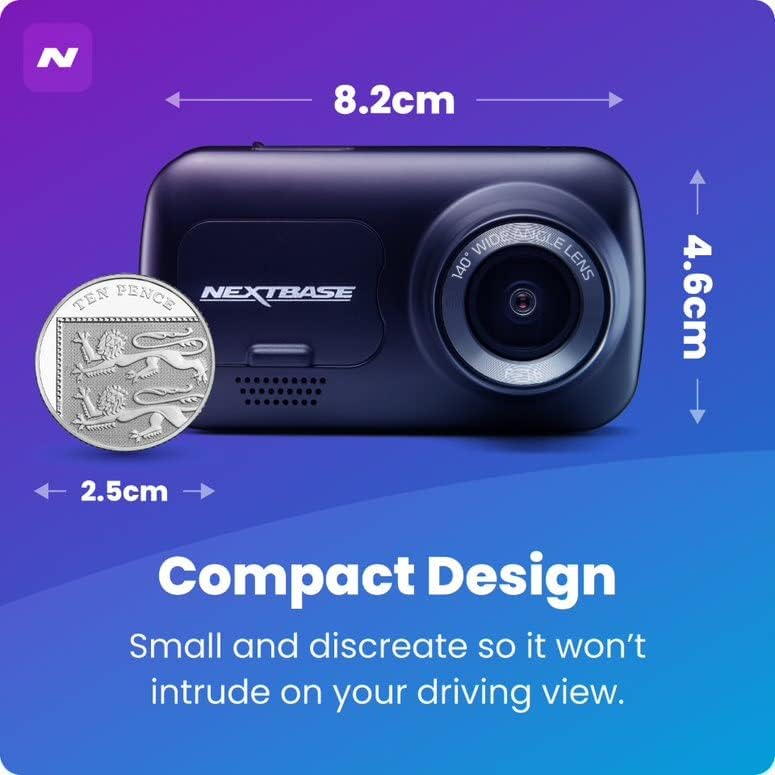
Compact Design: Small and discreet, ensuring it does not intrude on your driving view.

Intelligent Parking Mode: Records any bump or physical movement on the vehicle when left unattended. Requires Nextbase Hardwire Kit (sold separately).

Click&Go PRO: Exclusive mount clips on and charges your dash cam via magnetic connection for easy removal and reattachment.
5. Setup
Installation Guide
For a visual guide on installing your Nextbase Dash Cam, please refer to the official fitting video below:
Official Nextbase Fitting Video: This video demonstrates the step-by-step process for installing your Nextbase Dash Cam, including mounting and cable management.
Initial Setup Steps:
- Prepare the Windscreen: Clean the area where the mount will be attached using the provided wet and dry wipes to ensure a strong adhesive bond.
- Attach Mount to Dash Cam: Connect the Click&Go PRO mount to the dash cam. The strong magnet will hold it securely in place.
- Position the Dash Cam: Temporarily position the dash cam on the windscreen to find an optimal location. Ensure the 'Protect' button is accessible and the driver's view is not obstructed. Note the exact position.
- Attach 3M Pad: Remove the protective film from the 3M adhesive pad on the mount. Align the keyway on the pad to the bottom left-hand side. Push the pad firmly towards the windscreen for 5-10 seconds to ensure maximum contact.
- Connect Power: Connect the USB power cable to the mount.
- Mount Dash Cam: Slide the dash cam onto the mount until it clicks into place. Ensure it is correctly positioned and powers on.
- Install Rear Camera: Attach the bespoke Rear Wired Window Camera to the main unit via the supplied 6m cable. Position it on the rear window for optimal rear view recording.
- Insert SD Card: Insert a compatible Micro SD card (Class 10 or U1, up to 128GB recommended) into the dash cam's slot.
6. Operating Instructions
Basic Operation:
- Automatic Recording: The dash cam will automatically power on and begin recording when connected to a power source and the vehicle ignition is turned on.
- Loop Recording: The device features automatic loop recording, which continuously records video. When the memory card is full, the oldest files are overwritten to make space for new recordings.
- File Protection: In the event of an impact or sudden braking, the G-sensor will automatically lock the current recording, preventing it from being overwritten. You can also manually protect a file by pressing the 'Protect' button during recording.
- Parking Mode: When enabled, the Intelligent Parking Mode will automatically start recording if any physical movement or impact is detected while your vehicle is parked and the ignition is off.
- MyNextbase Cloud & Player: Utilize the MyNextbase Cloud for free storage of your important footage and the MyNextbase Player software for easy playback and management of your recordings on a computer.
7. Maintenance
- Cleaning: Regularly clean the dash cam's lens and screen with a soft, lint-free cloth. Do not use abrasive cleaners or solvents.
- SD Card Management: Format your Micro SD card regularly (e.g., monthly) within the dash cam's settings to maintain optimal performance and prevent data corruption. Always use a high-quality, branded Class 10 or U1 Micro SD card.
- Firmware Updates: Check the Nextbase website periodically for firmware updates. Keeping your dash cam's firmware up-to-date ensures you have the latest features and bug fixes.
- Cable Inspection: Periodically inspect all cables for any signs of wear or damage. Replace damaged cables immediately to prevent malfunction or safety hazards.
8. Troubleshooting
| Problem | Possible Cause | Solution |
|---|---|---|
| Dash cam does not power on. | No power supply; faulty cable; loose connection. | Check power cable connection to the vehicle's 12V socket and the dash cam. Ensure the vehicle's ignition is on. Try a different power source if available. |
| Recordings are not saving or are being deleted unexpectedly. | SD card issue (not compatible, full, corrupted); loop recording settings. | Ensure you are using a compatible Class 10 or U1 Micro SD card. Format the SD card within the dash cam's settings. If issues persist, try a new Nextbase branded SD card. |
| Video quality is poor or blurry. | Dirty lens; protective film still on lens; incorrect resolution settings. | Clean the lens with a soft cloth. Check if any protective film remains on the lens. Verify video resolution settings in the menu. |
| Dash cam freezes or becomes unresponsive. | Software glitch; SD card issue. | Perform a soft reset (refer to device manual for specific button combination). Format or replace the SD card. Update firmware if available. |
9. Specifications
- Product Dimensions: 1.85 x 3.27 x 2.05 inches
- Item Weight: 14.1 ounces
- Model Name: 222XR
- Batteries: 1 Lithium Ion battery required
- Connectivity Technologies: USB
- Special Features: Compact Design, Parking Mode, Night Vision, Automatic Loop Recording, File Protection
- Color: Black
- Video Capture Resolution: 1080p (Front), 720p (Rear)
- Mounting Type: Magnetic Mount (Click&Go PRO)
- Max SD Card Support: Up to 128GB Micro SD cards
10. Warranty and Support
Nextbase products are designed for reliability and durability. For specific warranty information, please refer to the documentation included with your product or visit the official Nextbase website.
Optional protection plans may be available for extended coverage:
- 2-Year Protection Plan
- 3-Year Protection Plan
- Complete Protect (monthly plan)
For technical support, troubleshooting assistance, or to inquire about replacement parts, please contact Nextbase customer service through their official channels. Always provide your product model number (NBDVR222XRWC) when seeking support.


