Introduction
The Preciva Digital Wood Moisture Meter MT19050 is a professional instrument designed for quickly and accurately measuring the moisture content of wood and various building materials. This device is an essential tool for woodworkers, construction professionals, and homeowners to prevent issues like cracking, warping, and mold growth caused by improper moisture levels. It features a clear LCD display with backlight, a data hold function, and automatic power-off for convenience and efficiency.
This manual provides detailed instructions on how to set up, operate, and maintain your moisture meter to ensure optimal performance and longevity.
1. Setup
1.1 Unboxing and Components
Carefully remove the moisture meter and its accessories from the packaging. Ensure all components are present:
- Preciva Digital Wood Moisture Meter MT19050
- Protective cap for pins
- User Manual
- 2 x AAA 1.5V batteries (may be pre-installed or included separately)
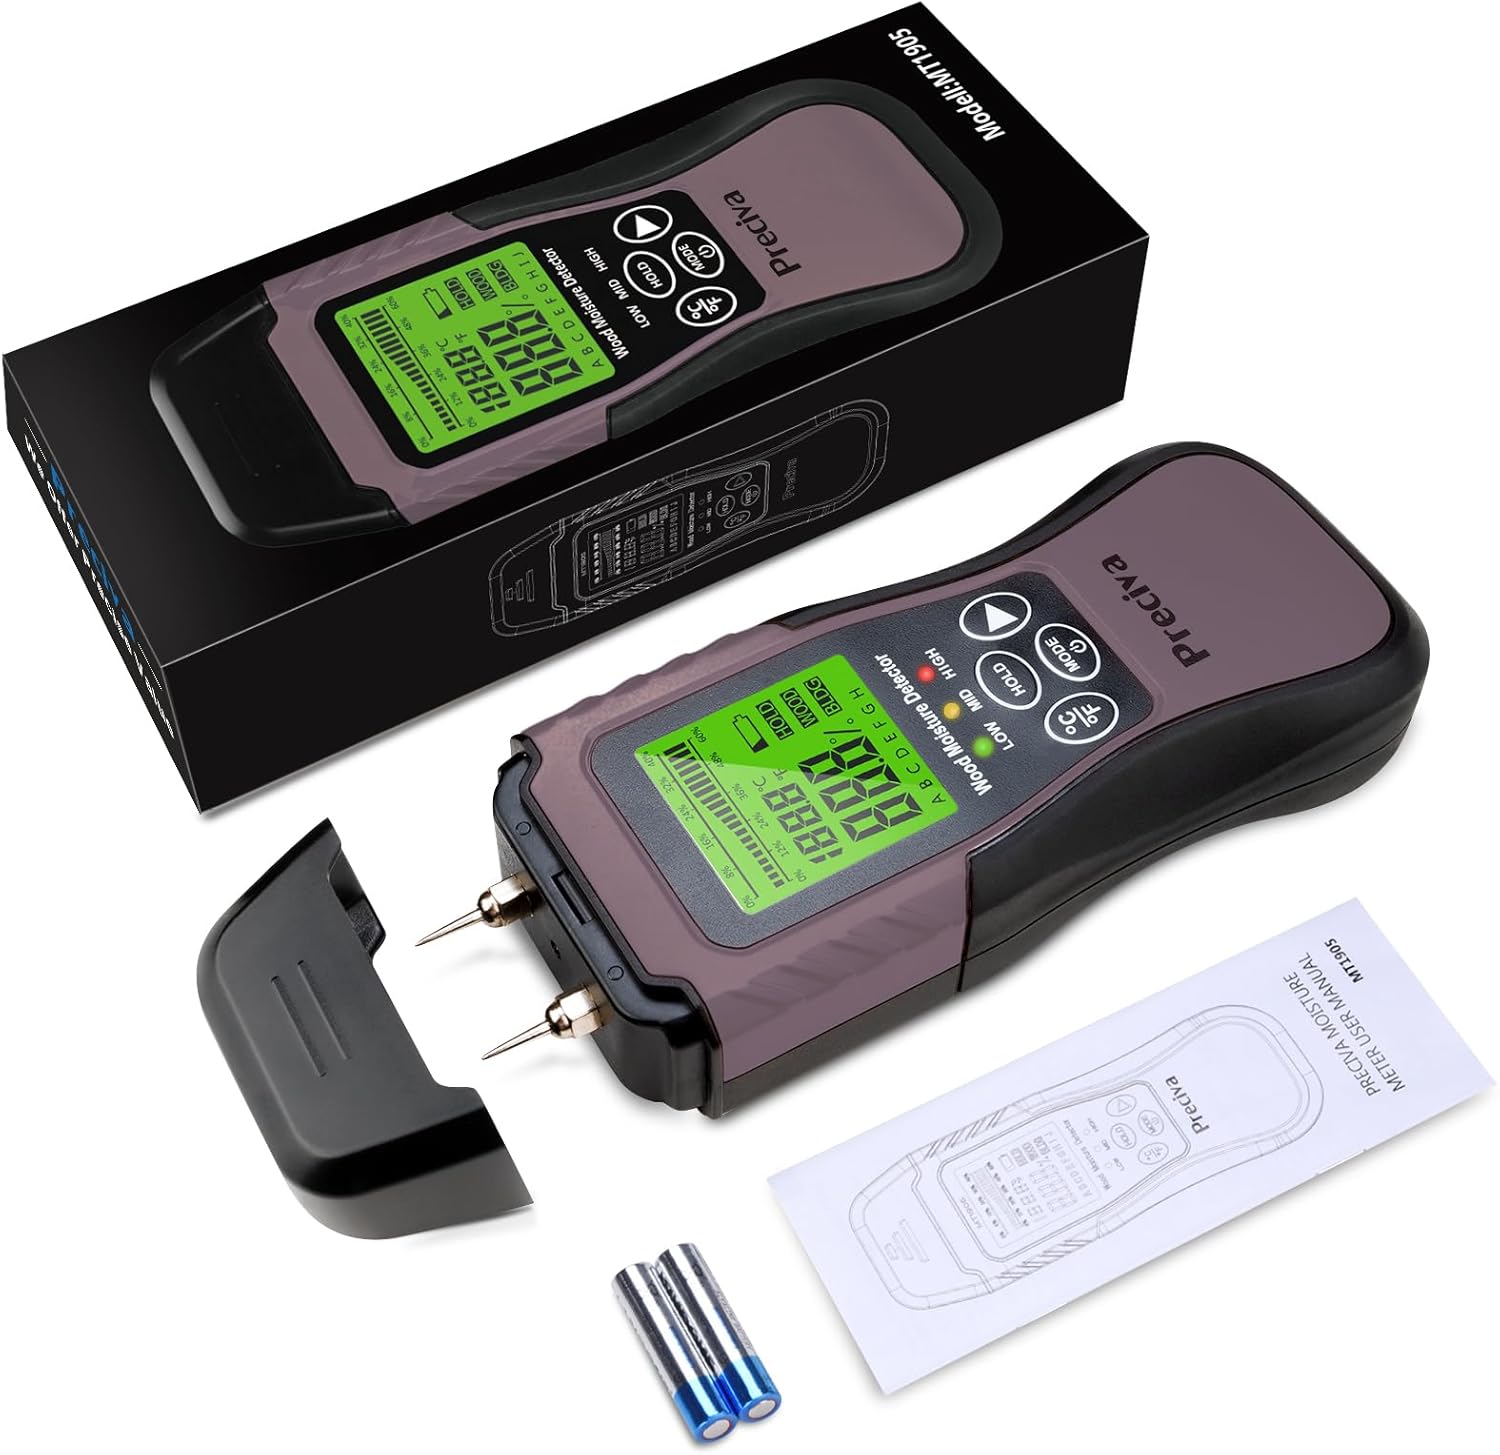
Image: The Preciva MT19050 moisture meter, its protective cap, two AAA batteries, and the user manual laid out next to the product packaging.
1.2 Battery Installation
- Locate the battery compartment cover on the back of the device.
- Slide or unclip the cover to open it.
- Insert two AAA 1.5V batteries, ensuring correct polarity (+ and - terminals).
- Close the battery compartment cover securely.
The device is powered by 2 x AAA 1.5V batteries. A low battery indicator will appear on the display when the battery voltage drops below 2.2V, signaling that the batteries need replacement.
1.3 Pin Protection
The meter comes with a protective cap covering the measurement pins. Remove this cap before taking measurements. Always replace the cap after use to protect the pins from damage and prevent injury.

Image: A detailed view of the meter's two stainless steel pins, designed for accurate sensing and durability.
2. Operating Instructions
2.1 Power On/Off
Press the MODE button (which also serves as the power button) to turn the device on. The LCD display will illuminate. To turn off the device, press and hold the MODE button, or allow it to automatically shut off after 3 minutes of inactivity to conserve battery life.

Image: The meter's display indicating the automatic power-off feature, which activates after 3 minutes of no operation.
2.2 Mode Selection (Wood / Building Material)
The meter offers two primary measurement modes: Wood and Building Material. Press the MODE button repeatedly to toggle between these two modes. The selected mode will be indicated on the LCD display (e.g., "WOOD" or "BLDG").

Image: The meter demonstrating its two measurement modes: Wood (6%-60% range) and Building Material (1.5%-33% range), along with temperature readings.
2.3 Wood Type Selection (A-H)
When in Wood mode, the meter provides 8 calibration scales (A, B, C, D, E, F, G, H) to accommodate different wood types. Refer to the specific wood type chart (usually found in the full manual or product documentation) to select the appropriate group for your wood. Use the arrow buttons to cycle through the wood groups (A-H) on the display.

Image: The meter's display highlighting its functions, including the "ABCDEFGH" indicator for selecting one of the 8 wood calibration settings.
2.4 Taking a Measurement
- Ensure the protective cap is removed from the pins.
- Select the correct measurement mode (Wood or Building Material) and, if applicable, the correct wood group.
- Firmly press the two measurement pins into the material you wish to test. Ensure both pins penetrate the surface to get an accurate reading.
- The moisture content percentage (%MC) will be displayed on the LCD screen. The device also shows temperature in Celsius or Fahrenheit.

Image: The meter in use, measuring moisture in a stack of wooden planks, with its backlit display clearly visible.
2.5 Reading the Display and HOLD Function
The large LCD display shows the moisture content percentage, temperature (C/F), and the selected wood group or material type. It also features a bar graph for a quick visual indication of moisture levels (Low, Mid, High).
- Moisture Content: Displayed as a percentage.
- Temperature: Switch between Celsius (°C) and Fahrenheit (°F) by pressing the °C/°F button.
- Bar Graph: Provides a visual range: Low (<12%), Mid (12-15.9%), High (16-60% for wood).
- HOLD Function: Press the HOLD button to freeze the current measurement on the display. This is useful for taking readings in hard-to-reach areas. Press HOLD again to release the reading.

Image: The meter's display detailing its measurement accuracy (0.1% resolution, ±2% accuracy) and the specific measurement ranges for wood (6%-60%) and building materials (1.5%-33%).

Image: A close-up of the meter's display showing a numerical moisture content reading.
2.6 Self-Test and Calibration
The device includes a self-test and calibration function to ensure accuracy. To perform a self-test, refer to the detailed instructions in the full user manual. Typically, this involves shorting the pins or using a reference block. Regular calibration ensures reliable measurements.

Image: The meter's display indicating its self-test and calibration capability, crucial for maintaining measurement accuracy.
3. Maintenance
3.1 Cleaning
Wipe the device with a soft, dry cloth. Do not use abrasive cleaners or solvents. Ensure no moisture enters the device's internal components.
3.2 Pin Care
The stainless steel pins are durable but can be damaged if mishandled. Always replace the protective cap over the pins when the meter is not in use to prevent bending or dulling. If the pins become dirty, gently clean them with a dry cloth. Do not attempt to sharpen or modify the pins.
3.3 Battery Replacement
When the low battery indicator appears, replace both AAA 1.5V batteries promptly. Remove old batteries and dispose of them according to local regulations. Insert new batteries, observing correct polarity.
3.4 Storage
Store the moisture meter in a cool, dry place, away from direct sunlight and extreme temperatures. Always ensure the protective cap is on the pins during storage. If storing for extended periods, remove the batteries to prevent leakage.
4. Troubleshooting
| Problem | Possible Cause | Solution |
|---|---|---|
| Device does not power on. | Dead or incorrectly installed batteries. | Check battery polarity. Replace batteries with new AAA 1.5V batteries. |
| Inaccurate or inconsistent readings. | Incorrect mode/wood group selected; pins not fully inserted; pins dirty or damaged; device needs calibration. | Ensure correct mode and wood group. Press pins firmly into material. Clean pins. Perform self-test/calibration. |
| Display is dim or flickering. | Low battery power. | Replace batteries. |
| "HOLD" function is active unexpectedly. | HOLD button was pressed. | Press the HOLD button again to release the reading. |
If you encounter issues not listed here or if the problem persists, please contact Preciva customer support for assistance.
5. Specifications
| Model Number | MT19050 |
| Brand | Preciva |
| Measurement Range (Wood) | 6% - 60% |
| Measurement Range (Building Material) | 1.5% - 33% |
| Resolution | 0.1% |
| Accuracy | ±2% |
| Temperature Range | 0-50°C (32-122°F) |
| Power Supply | 2 x AAA 1.5V batteries |
| Automatic Shut-off | Approx. 3 minutes of inactivity |
| Dimensions (L x W x H) | 17 x 6 x 4 cm |
| Weight | 150 grams |
6. Warranty Information
Preciva products are manufactured to high-quality standards. This product comes with a standard limited warranty against defects in materials and workmanship from the date of purchase. Please retain your proof of purchase for warranty claims.
The warranty does not cover damage caused by misuse, unauthorized modification, accident, neglect, or improper maintenance. For specific warranty terms and conditions, please refer to the documentation included with your product or contact Preciva customer support.
7. Customer Support
If you have any questions, require technical assistance, or need to make a warranty claim, please contact Preciva customer support. You can typically find contact information on the official Preciva website or through the retailer where you purchased the product.
When contacting support, please have your product model number (MT19050) and proof of purchase readily available.