
1. Introduction
This manual provides essential information and instructions for the installation and care of your A-MIND Touch Screen Digitizer Replacement for the Onn ONA19TB007 10.1-inch tablet. This product is designed to replace a faulty, cracked, or non-responsive touch screen digitizer.
2. Compatibility
This replacement screen is specifically designed for the Onn ONA19TB007 10.1-inch tablet. It is crucial to verify your tablet's model number before attempting installation. Using an incorrect model screen may result in damage to your device.
3. Package Contents
Your package should contain the following items:
- 1x Touch Screen Digitizer Replacement
- 1x Opening Tools Kit (various tools for disassembly)
- 1x Adhesive Tape

Image 1: Contents of the A-MIND Touch Screen Digitizer Replacement kit, including the screen and various repair tools.
4. Important Installation Notes
Please read these notes carefully before proceeding with installation.
- Professional Installation Recommended: If you lack experience in repairing electronic equipment, it is strongly advised to seek assistance from a professional repair service. Attempting self-repair without adequate knowledge may lead to further damage to your device and void the product warranty.
- Battery Disconnection: Before beginning the installation process, ensure the tablet's battery is disconnected. This prevents potential short circuits or damage to the device components during screen replacement.
- Pre-Installation Testing: Prior to permanently adhering the new screen, connect it to the tablet's motherboard and test its functionality. Power on the tablet and verify that the touch response, display, and all other screen functions operate correctly. Do not remove protective films or apply adhesive until the screen is confirmed to be fully functional.
- Fragile Component: The screen digitizer is made of glass and is fragile. Handle it with extreme care during unpacking and installation to prevent damage.
- Quality Control: All products undergo strict quality control testing before shipment to ensure optimal performance.
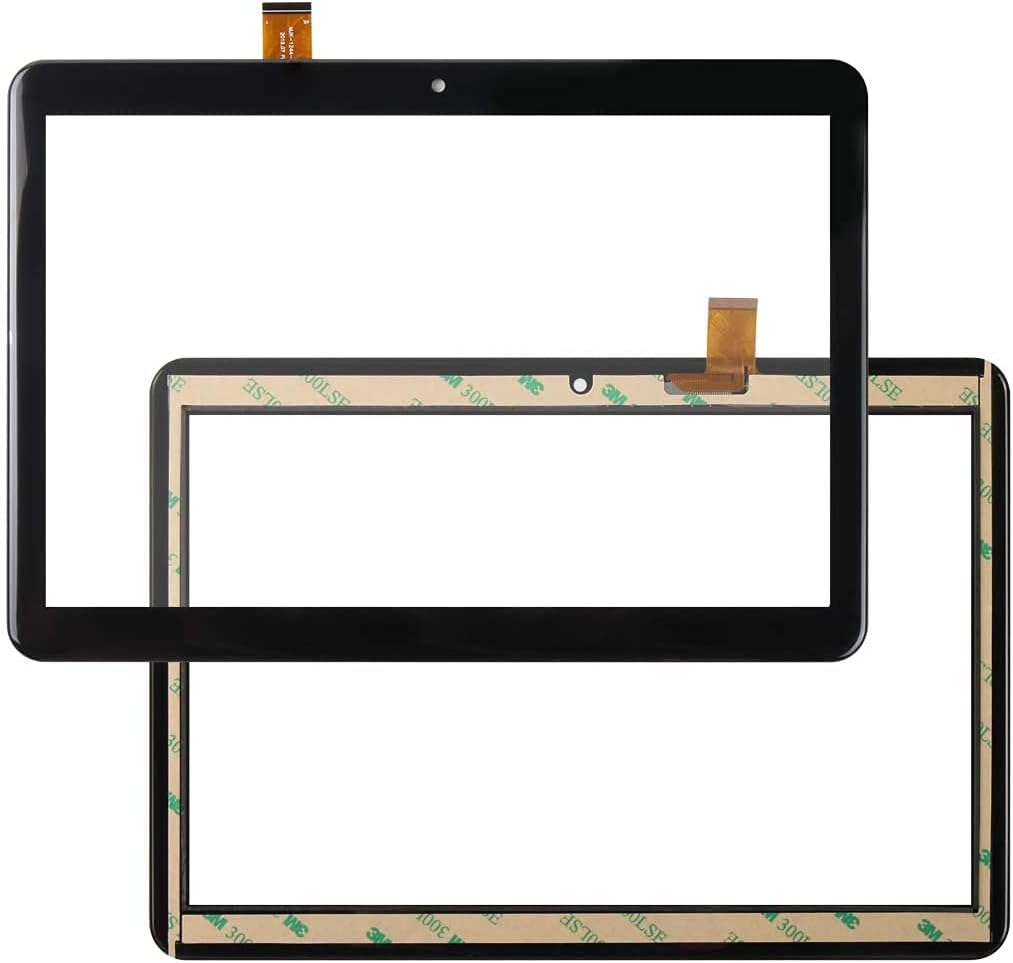
Image 2: The reverse side of the touch screen digitizer, showing the pre-applied adhesive tape for secure installation.
5. Installation (Setup)
The installation of a touch screen digitizer requires precision and technical knowledge. This section provides a general overview; however, detailed step-by-step instructions are typically found in device-specific repair guides or videos.
- Preparation: Gather all necessary tools from the included kit. Ensure your workspace is clean, well-lit, and static-free.
- Disassembly: Carefully open the tablet casing using the provided opening tools. Locate and disconnect the battery.
- Remove Old Screen: Gently detach the damaged screen digitizer, being mindful of any connected flex cables. Clean any residual adhesive from the tablet frame.
- Connect New Screen: Connect the flex cable of the new digitizer to the corresponding connector on the tablet's motherboard.
- Test Functionality: Reconnect the battery temporarily and power on the tablet to test the new screen's touch response and display.
- Secure Installation: If the screen functions correctly, disconnect the battery again. Remove any protective films from the new screen and its adhesive. Carefully align and press the new screen into the tablet frame, ensuring a secure fit.
- Reassembly: Reconnect the battery permanently and reassemble the tablet casing.

Image 3: Detail of the flex cable, which connects the touch screen digitizer to the tablet's main board.
6. Operation
Once successfully installed, the A-MIND Touch Screen Digitizer Replacement will restore the full touch functionality and display capabilities of your Onn ONA19TB007 tablet. The tablet will operate as it did with its original screen.
7. Maintenance
To ensure the longevity and optimal performance of your new screen, follow these general maintenance guidelines:
- Cleaning: Use a soft, lint-free cloth specifically designed for electronics to clean the screen. Avoid harsh chemicals or abrasive materials.
- Protection: Consider using a screen protector or a protective case for your tablet to prevent future scratches or damage.
- Handling: Avoid dropping the tablet or subjecting it to excessive pressure, as this can damage the screen.

Image 4: The screen digitizer is designed to be scratch-proof and provide high-definition clarity.
8. Troubleshooting
If you encounter issues after installation, consider the following:
- No Display or Touch Response: Double-check all flex cable connections to ensure they are securely seated. A loose connection is a common cause of such issues.
- Inconsistent Touch: Ensure there is no debris or foreign material between the screen and the tablet frame. Re-test the screen before final adhesion.
- Physical Damage: If the screen was damaged during installation, it may not function correctly. Physical damage is typically not covered under warranty.
For persistent issues, please refer to the Warranty and Support section for contact information.
9. Specifications
- Model Number: DP101740-F2-A (Compatible with Onn ONA19TB007 / 100005209)
- Screen Size: 10.1 inches
- Type: Touch Screen Digitizer Glass Panel
- Color: Black
- Item Weight: Approximately 8.8 ounces
- Package Dimensions: 10.87 x 8.58 x 1.26 inches
- Manufacturer: A-MIND
10. Warranty and Support
A-MIND provides a 6-month warranty for this product. The warranty covers manufacturing defects and functional failures under normal use. It does not cover damage resulting from improper installation, accidental breakage, or any other man-made or physical damage.
If you experience any issues with your product or require assistance, please do not hesitate to contact our customer service team. We are committed to providing support within 24 hours.
Contact: Please use the Amazon messaging system to reach our customer service team.