
Pipishell PISF1, PIMF2
Contents
Pipishell Full Motion TV Monitor Wall Mount User Manual
Models: PISF1 (for 13-42 Inch TVs) & PIMF2 (for 13-55 Inch TVs)

Image: The Pipishell PISF1 and PIMF2 full motion TV wall mounts, designed for various TV sizes and VESA patterns.
1. Introduction
Thank you for choosing the Pipishell Full Motion TV Monitor Wall Mount. This manual provides detailed instructions for the safe and proper installation, operation, and maintenance of your PISF1 or PIMF2 wall mount. Please read this manual thoroughly before installation to ensure correct setup and to prevent damage or injury.
Important Safety Information
- Do not begin installation until you have read and understood all instructions and warnings contained in this manual.
- Ensure the mounting surface can safely support the combined weight of the mount and the display.
- Always use a stud finder to locate wood studs. Do not mount to drywall alone.
- If mounting to concrete or brick, ensure appropriate anchors are used and the wall is structurally sound.
- Use all provided hardware. Do not substitute parts.
- If you have any questions or require assistance, contact Pipishell customer support.
2. Product Features
The Pipishell Full Motion TV Monitor Wall Mounts (PISF1 & PIMF2) offer versatile viewing options and robust construction.
- Multi-Viewing Angle: Allows for tilt adjustment (5° upward, 15° downward) to reduce glare and swivel (up to 90° left or right, depending on TV size) for optimal viewing from various positions.
- Extend and Retract: Extends the TV up to 17 inches from the wall and retracts back to 2.2 inches, providing flexibility for viewing and space-saving.
- Stable and Reliable Construction: Constructed with premium alloy steel materials, featuring ultra-strong arms for durability and flexibility. Stress-tested to hold 4 times its rated weight capacity.
- Universal TV Compatibility:
- PISF1: Compatible with most 13"-42" TVs/monitors with VESA patterns from 75x75mm to 200x200mm. Max. weight capacity up to 44 lbs.
- PIMF2: Compatible with most 13"-55" TVs with VESA patterns from 75x75mm to 400x400mm. Max. weight capacity up to 66 lbs.
- Diverse Wall Compatibility: Can be mounted to single wood stud walls and solid concrete/brick walls (anchors included). Do not mount to drywall alone.
- Easy Installation: Designed for quick and straightforward installation with provided hardware and a detailed graphical guide.

Image: Key design details of the PIMF2 mount, emphasizing its sturdy build and single stud compatibility.
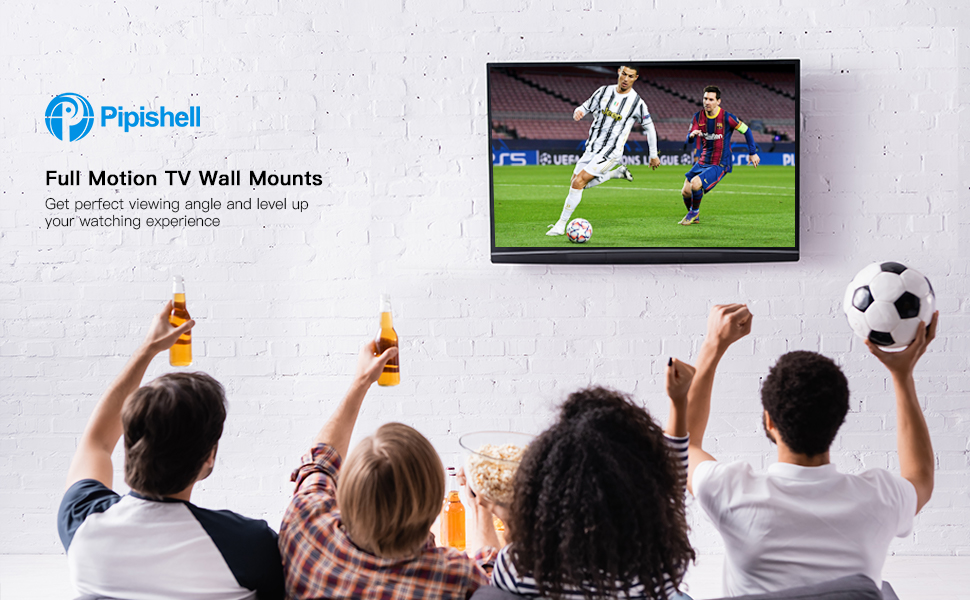
Image: A group of people enjoying a soccer game on a TV mounted with a Pipishell full motion mount, showcasing the enhanced viewing experience.
3. Package Contents
Please verify that all components are present and undamaged before proceeding with installation. If any parts are missing or damaged, do not attempt to install and contact customer support.
Typical Components Included:
- Wall Plate Assembly (x1)
- TV Bracket Arms (x2 or x4, depending on model)
- Mounting Hardware Kit (various screws, washers, spacers for TV and wall)
- Concrete/Brick Anchors (if applicable)
- Bubble Level (x1)
- Hex Key / Wrench (x1)
- Installation Manual (this document)
4. Installation Guide
Follow these steps carefully for a secure and successful installation.
4.1 Pre-Installation Checks
- Check TV Compatibility: Verify your TV's size, weight, and VESA pattern (the four mounting holes on the back of your TV) are within the limits of your specific Pipishell mount model (PISF1 or PIMF2).
- PISF1 VESA: 75x75mm, 100x100mm, 100x200mm, 200x100mm, 200x200mm. Max 44 lbs.
- PIMF2 VESA: 75x75mm, 100x100mm, 200x100mm, 200x200mm, 300x200mm, 300x300mm, 400x200mm, 400x300mm, 400x400mm. Max 66 lbs.
- Determine Wall Type: Identify if your wall is a wood stud wall, solid concrete, or brick. This will determine the appropriate mounting hardware and procedure.
- Gather Tools: You will need a drill, stud finder (for wood studs), level, pencil, and a Phillips head screwdriver.

Image: VESA compatibility chart for the PISF1 mount, indicating supported hole patterns and maximum weight/size.

Image: VESA compatibility chart for the PIMF2 mount, detailing various supported hole patterns.
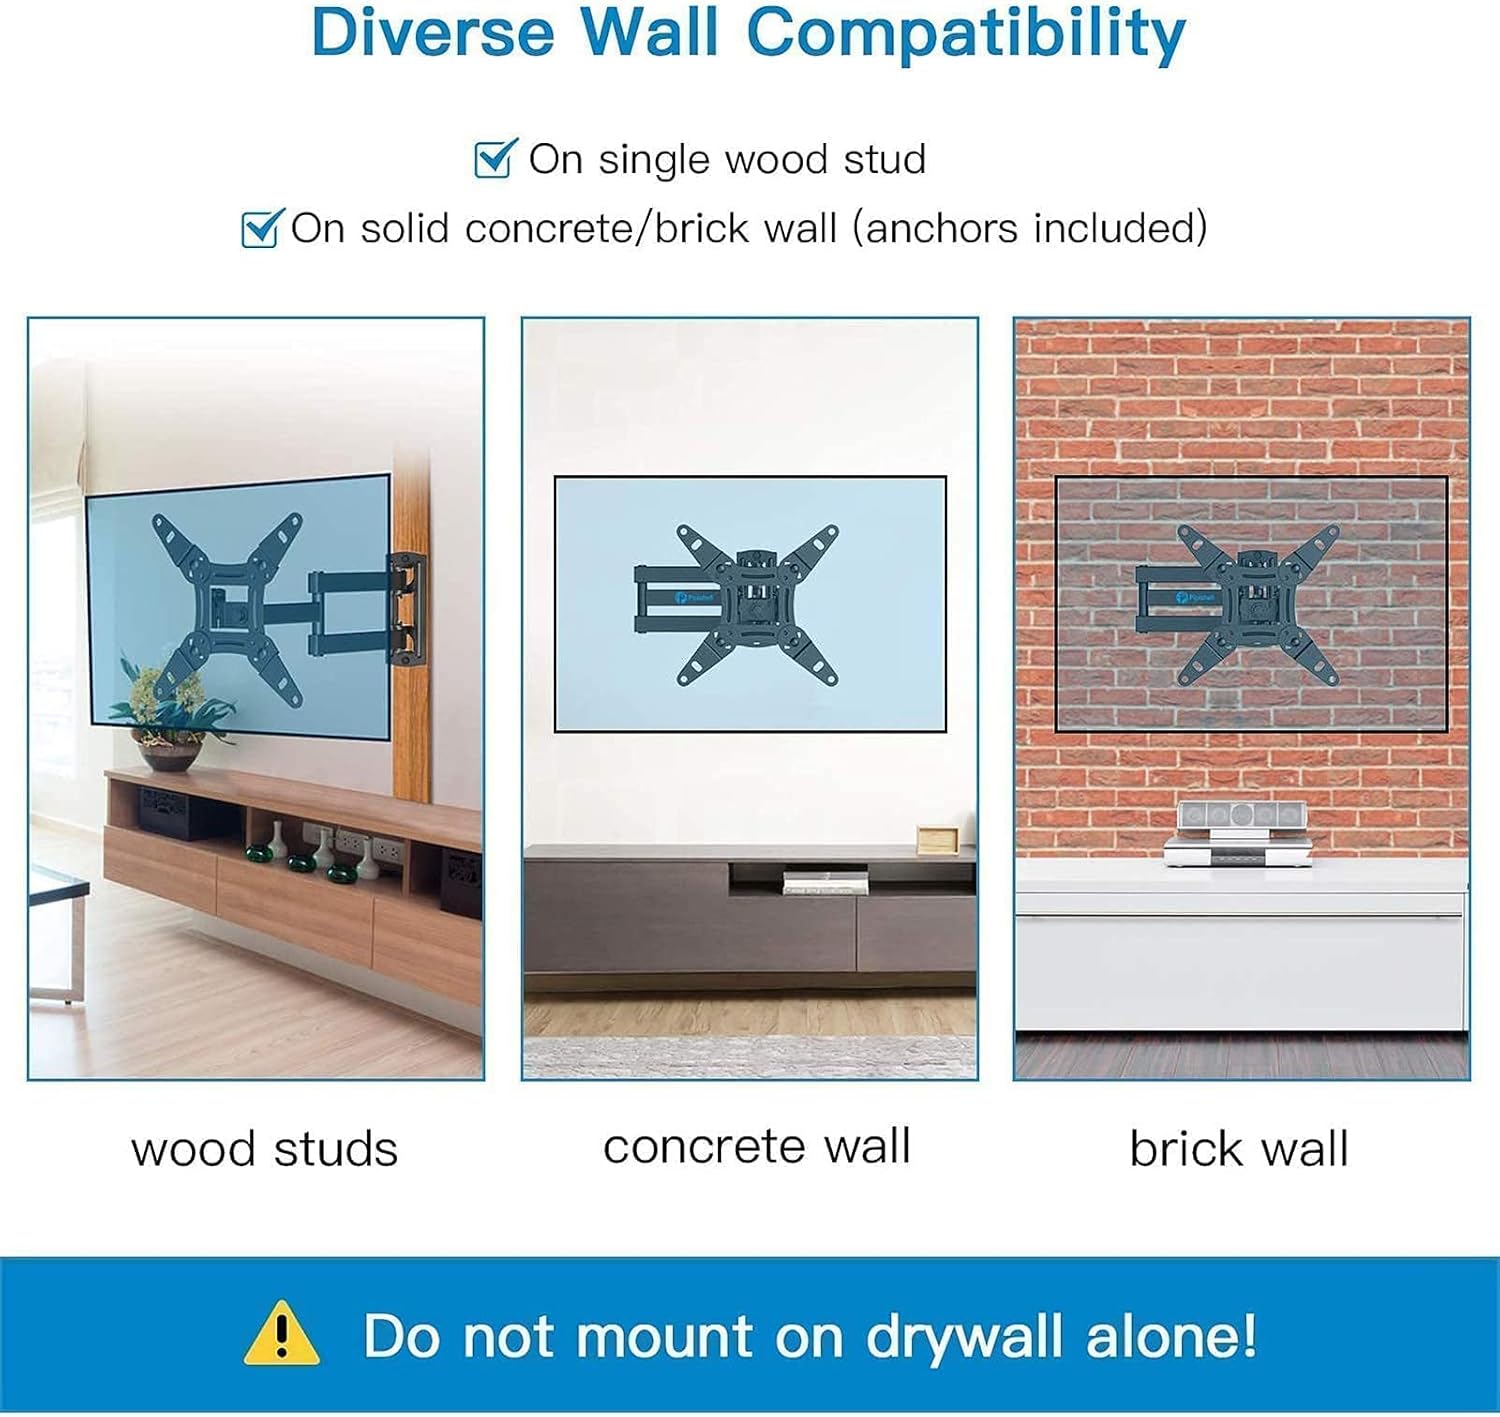
Image: Examples of PISF1 mount installation on different wall types: wood studs, concrete, and brick. A warning states not to mount on drywall alone.
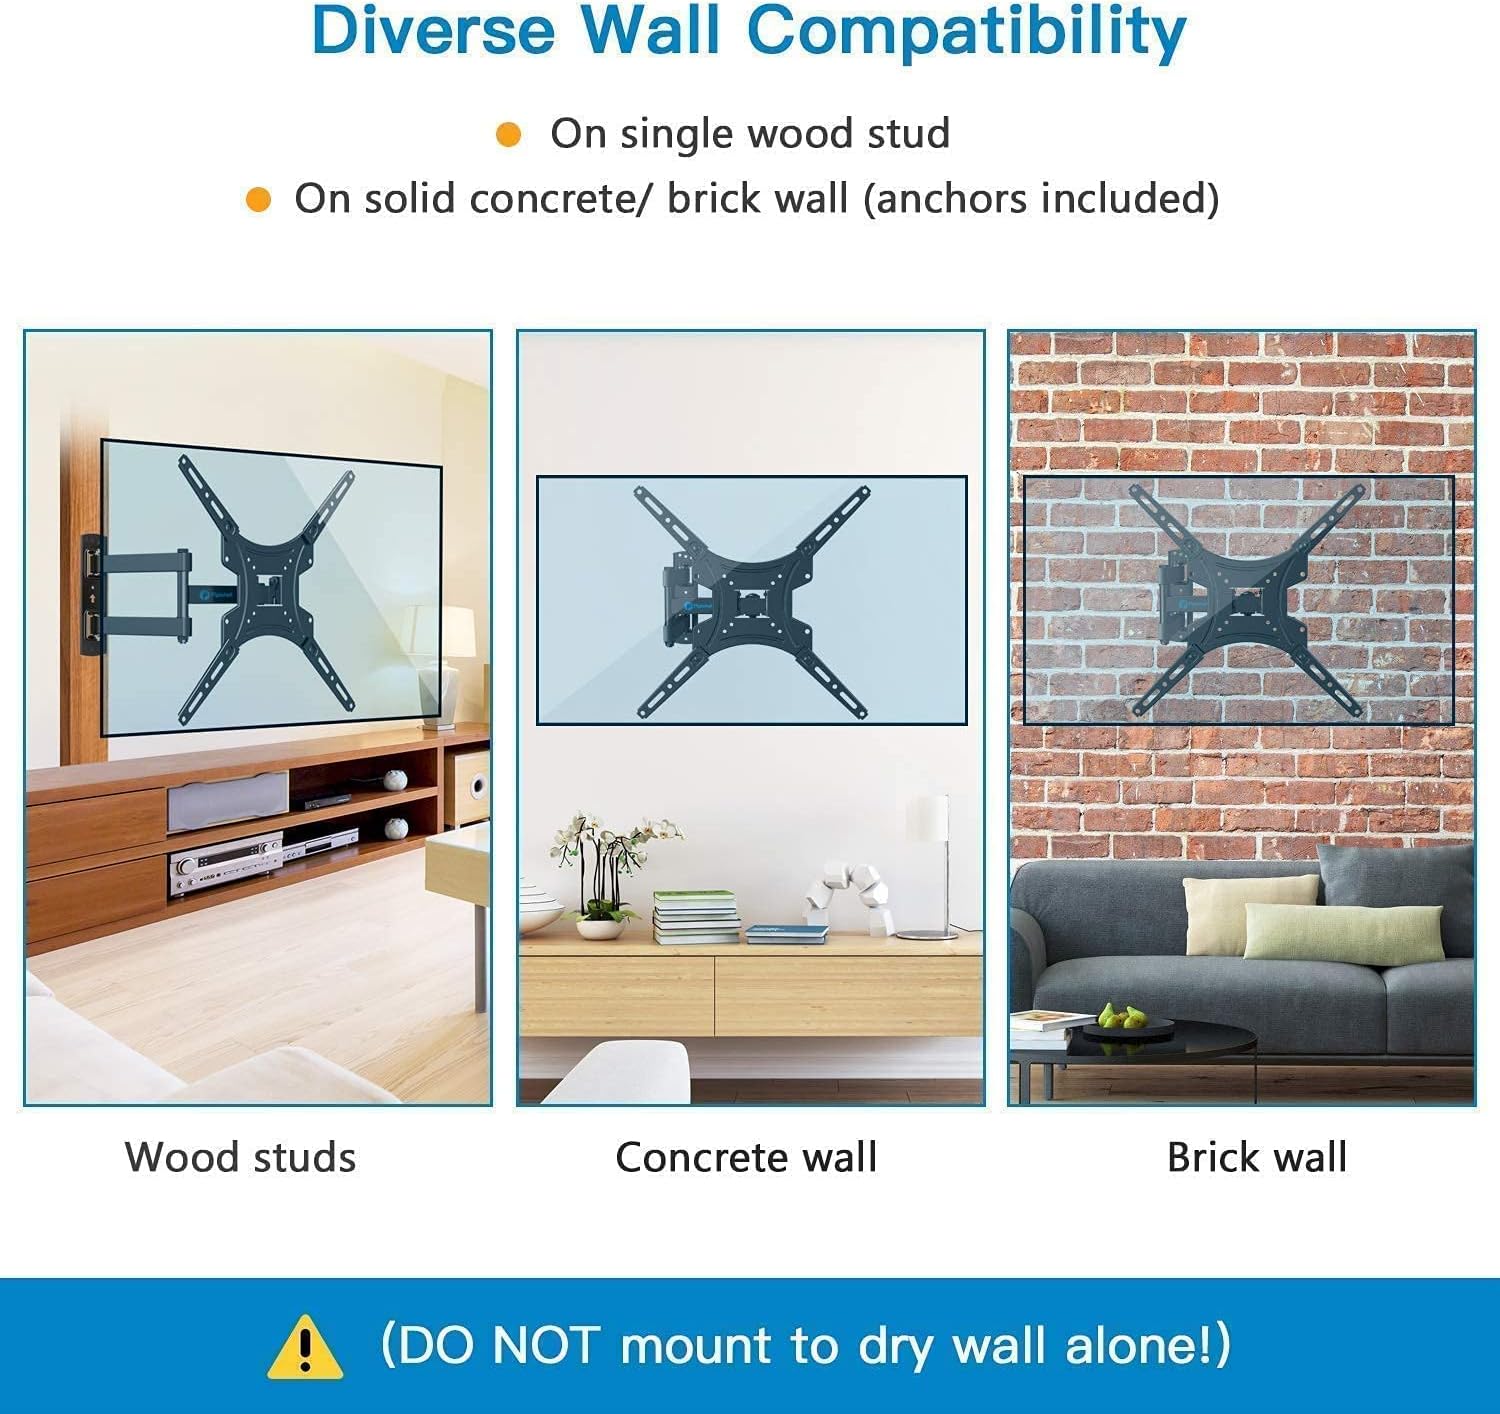
Image: Examples of PIMF2 mount installation on different wall types: wood studs, concrete, and brick. A warning states not to mount on drywall alone.
4.2 Mounting Steps (3-in-1 Easy Installation)
The installation process is simplified into three main steps:

Image: A visual guide to the three-step installation process: attaching brackets to the TV, installing the wall plate, and hanging the TV onto the wall plate.
- Attach Brackets to TV: Carefully place your TV face down on a soft, clean surface. Align the TV bracket arms with the VESA mounting holes on the back of your TV. Select the correct screws, washers, and spacers from the hardware kit that fit your TV. Secure the brackets to the TV, ensuring they are firmly attached but do not overtighten.
- Install Wall Plate:
- For Wood Stud Walls: Use a stud finder to locate the center of a single wood stud at your desired mounting height. Mark the drill holes. Drill pilot holes (refer to manual for specific drill bit size). Secure the wall plate to the stud using the provided lag bolts and washers. Use a level to ensure the wall plate is perfectly horizontal before tightening all bolts.
- For Concrete/Brick Walls: Mark the drill holes at your desired mounting height. Drill pilot holes (refer to manual for specific drill bit size). Insert the concrete anchors into the drilled holes. Secure the wall plate to the wall using the provided lag bolts and washers, ensuring the anchors are fully engaged. Use a level to ensure the wall plate is perfectly horizontal before tightening all bolts.
- Hang TV: With assistance, carefully lift the TV with the attached brackets and hook them onto the wall plate. Ensure the TV is securely seated on the wall plate. Some models may have safety screws or locking mechanisms to prevent accidental dislodging; engage these as per the specific instructions for your mount.
5. Operating Your TV Mount
Your Pipishell full motion mount allows for various adjustments to achieve the best viewing experience.
5.1 Adjusting Viewing Angles
- Tilt Adjustment: The mount allows for tilting the TV 5° upward and 15° downward. Loosen the tilt adjustment knobs/bolts on the TV brackets, adjust to the desired angle to reduce glare, and then re-tighten securely.
- Swivel Adjustment: The articulating arm allows you to swivel the TV left or right up to 90° (maximum angle depends on TV size and distance from wall). Gently push or pull the TV to the desired swivel position.
- Extension and Retraction: Extend the TV away from the wall for greater flexibility or retract it back to a minimum distance of 2.2 inches to save space. Gently pull or push the TV to extend or retract the arm.

Image: Illustrations demonstrating the 360° rotation capability for portrait or landscape viewing and the 180° swivel for flexible positioning.

Image: Visual representation of the mount's extension range (2.2" to 14.5") and tilt adjustment (+5° to -15°) for anti-glare viewing.

Image: Detailed view of the PIMF2 mount's full motion capabilities, including extension up to 17 inches, tilt from +5° to -15°, and 90° swivel.
6. Maintenance
Regular maintenance ensures the longevity and safe operation of your TV mount.
- Cleaning: Dust the mount regularly with a soft, dry cloth. For stubborn marks, use a slightly damp cloth and mild detergent, then wipe dry. Avoid abrasive cleaners or solvents.
- Check Connections: Periodically (e.g., every 6 months) check all screws and bolts to ensure they are still tight and secure. Do not overtighten.
- Inspect for Damage: Visually inspect the mount for any signs of wear, corrosion, or damage. If any damage is found, do not use the mount and contact customer support.
7. Troubleshooting
If you encounter issues during or after installation, refer to the following common problems and solutions.
| Problem | Possible Cause | Solution |
|---|---|---|
| TV is not level after installation. | Wall plate not level; TV brackets not adjusted correctly. | Ensure the wall plate is perfectly level during installation. Some mounts have a post-installation leveling adjustment feature on the TV brackets; consult your specific model's instructions. |
| Mount feels loose or wobbly. | Mounting bolts not fully tightened; incorrect wall anchors used; wall not strong enough. | Re-check and tighten all mounting bolts. Ensure correct anchors were used for your wall type. If the wall is insufficient, consult a professional. |
| TV does not fit the mount. | Incorrect VESA pattern; TV too heavy or too large. | Verify your TV's VESA pattern, weight, and size against the mount's specifications. Ensure you have the correct Pipishell model (PISF1 or PIMF2) for your TV. |
| Difficulty adjusting tilt/swivel. | Adjustment bolts are too tight. | Slightly loosen the adjustment bolts/knobs, make the adjustment, then re-tighten to secure the position. Do not loosen excessively. |
8. Specifications
| Feature | Specification |
|---|---|
| Brand | Pipishell |
| Models Covered | PISF1, PIMF2 |
| Mounting Type | Wall Mount |
| Movement Type | Swivel, Tilt, Articulating |
| Material | Alloy Steel |
| Color | Black |
| Minimum Compatible Size | 13 Inches |
| Maximum Compatible Size (PISF1) | 42 Inches |
| Maximum Compatible Size (PIMF2) | 55 Inches |
| Max. Weight Capacity (PISF1) | 44 lbs |
| Max. Weight Capacity (PIMF2) | 66 lbs |
| VESA Compatibility (PISF1) | 75x75mm to 200x200mm |
| VESA Compatibility (PIMF2) | 75x75mm to 400x400mm |
| Tilt Angle | +5° to -15° |
| Swivel Angle | Up to 90° left/right (TV size dependent) |
| Extension from Wall | 2.2 inches (retracted) to 17 inches (extended) |
| Compatible Devices | Monitor, Television |
9. Warranty Information
Pipishell products are manufactured with quality and care. This product is covered by a limited warranty against defects in materials and workmanship. For specific warranty terms and conditions, please refer to the warranty card included with your product or visit the official Pipishell website. Keep your purchase receipt as proof of purchase.
10. Customer Support
If you have any questions, require technical assistance, or need to report missing/damaged parts, please contact Pipishell customer support. Our team is available to help you with your product.
- Website: Visit the official Pipishell website for FAQs and support resources.
- Email: Refer to your product packaging or the Pipishell website for customer service email contact.
- Phone: Refer to your product packaging or the Pipishell website for customer service phone contact.
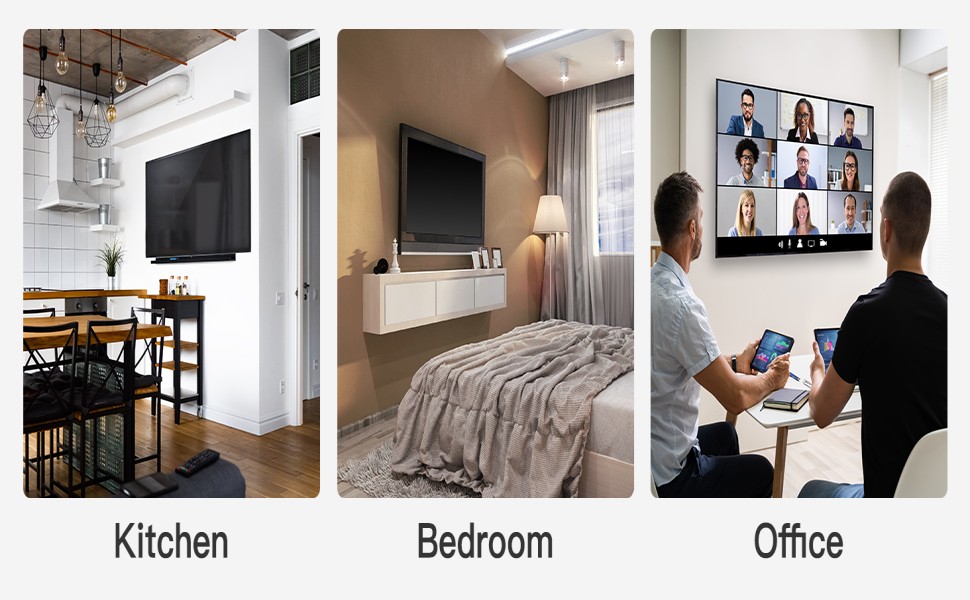
Image: Examples of Pipishell TV mounts in various home and office settings, demonstrating their versatility.
Ask a question about this manual
Ask about setup, troubleshooting, compatibility, parts, safety, or missing instructions. Manuals+ will review the question and use this page’s manual context to help answer it.