1. Introduction
The Seco-Larm SK-1011-SDQ Enforcer Access Control Keypad is a robust and versatile solution designed for secure access management. This keypad supports up to 1,000 user codes and 50 temporary visitor codes, offering flexible control over entry points. Its durable stainless-steel faceplate ensures longevity, while features like programmable output activation and a real-time clock enhance security and convenience. This manual provides detailed instructions for installation, programming, operation, and maintenance of your SK-1011-SDQ keypad.
2. Safety Information
- Read all instructions carefully before installation and operation.
- Ensure power is disconnected before performing any wiring or maintenance to prevent electric shock.
- This device is intended for indoor use or protected outdoor environments. Avoid direct exposure to extreme weather conditions unless properly shielded.
- Only qualified personnel should perform installation and service.
- Use only the specified power supply (12~24 VDC/VAC) to avoid damage to the unit.
3. Package Contents
Please check the package to ensure all items are present:
- Seco-Larm SK-1011-SDQ Access Control Keypad
- Surface-mount back box
- Mounting screws and hardware
- Wiring harness
- Instruction Manual (this document)
4. Key Features
- Supports up to 1,000 user codes (4-8 digits).
- Output can be programmed to activate for up to 99,999 seconds (nearly 28 hours).
- Up to 50 temporary visitor codes (01-50), programmable for one-time or limited-time use (1-99 hours).
- Durable and attractive stainless-steel faceplate.
- Programmable delayed egress input for easy exit without code entry.
- EEPROM Memory protects programmed information in case of power loss.
- 12~24 VDC/VAC Auto-adjusting operation.
- Mounts to a standard single-gang back box (surface-mount back box included).
- Programmable wrong-code lockout feature.
- Real-time clock to auto-disable access at specific times.
- All features are programmed directly from the keypad; no external programmer required.
5. Setup and Installation
5.1 Mounting the Keypad
The SK-1011-SDQ keypad is designed to mount to a standard single-gang back box. A surface-mount back box is included for convenience. Ensure the mounting surface is flat and secure.
- Carefully remove the keypad from its back box.
- Mount the back box to the desired location using the provided screws. Ensure proper alignment and stability.
- Route the wiring through the opening in the back box.
5.2 Wiring Connections
Refer to the wiring diagram provided with your unit for specific connections. General wiring steps include:
- Power Connection: Connect the keypad to a 12~24 VDC/VAC power source. Observe polarity for DC connections.
- Relay Output: Connect the relay output (Form C) to your access control device (e.g., electric strike, magnetic lock).
- Egress Input: Connect the N.O. ground egress input for exit button functionality.
- Tamper Output: Connect the tamper output to an alarm system if desired.
After wiring, carefully secure the keypad to the mounted back box.
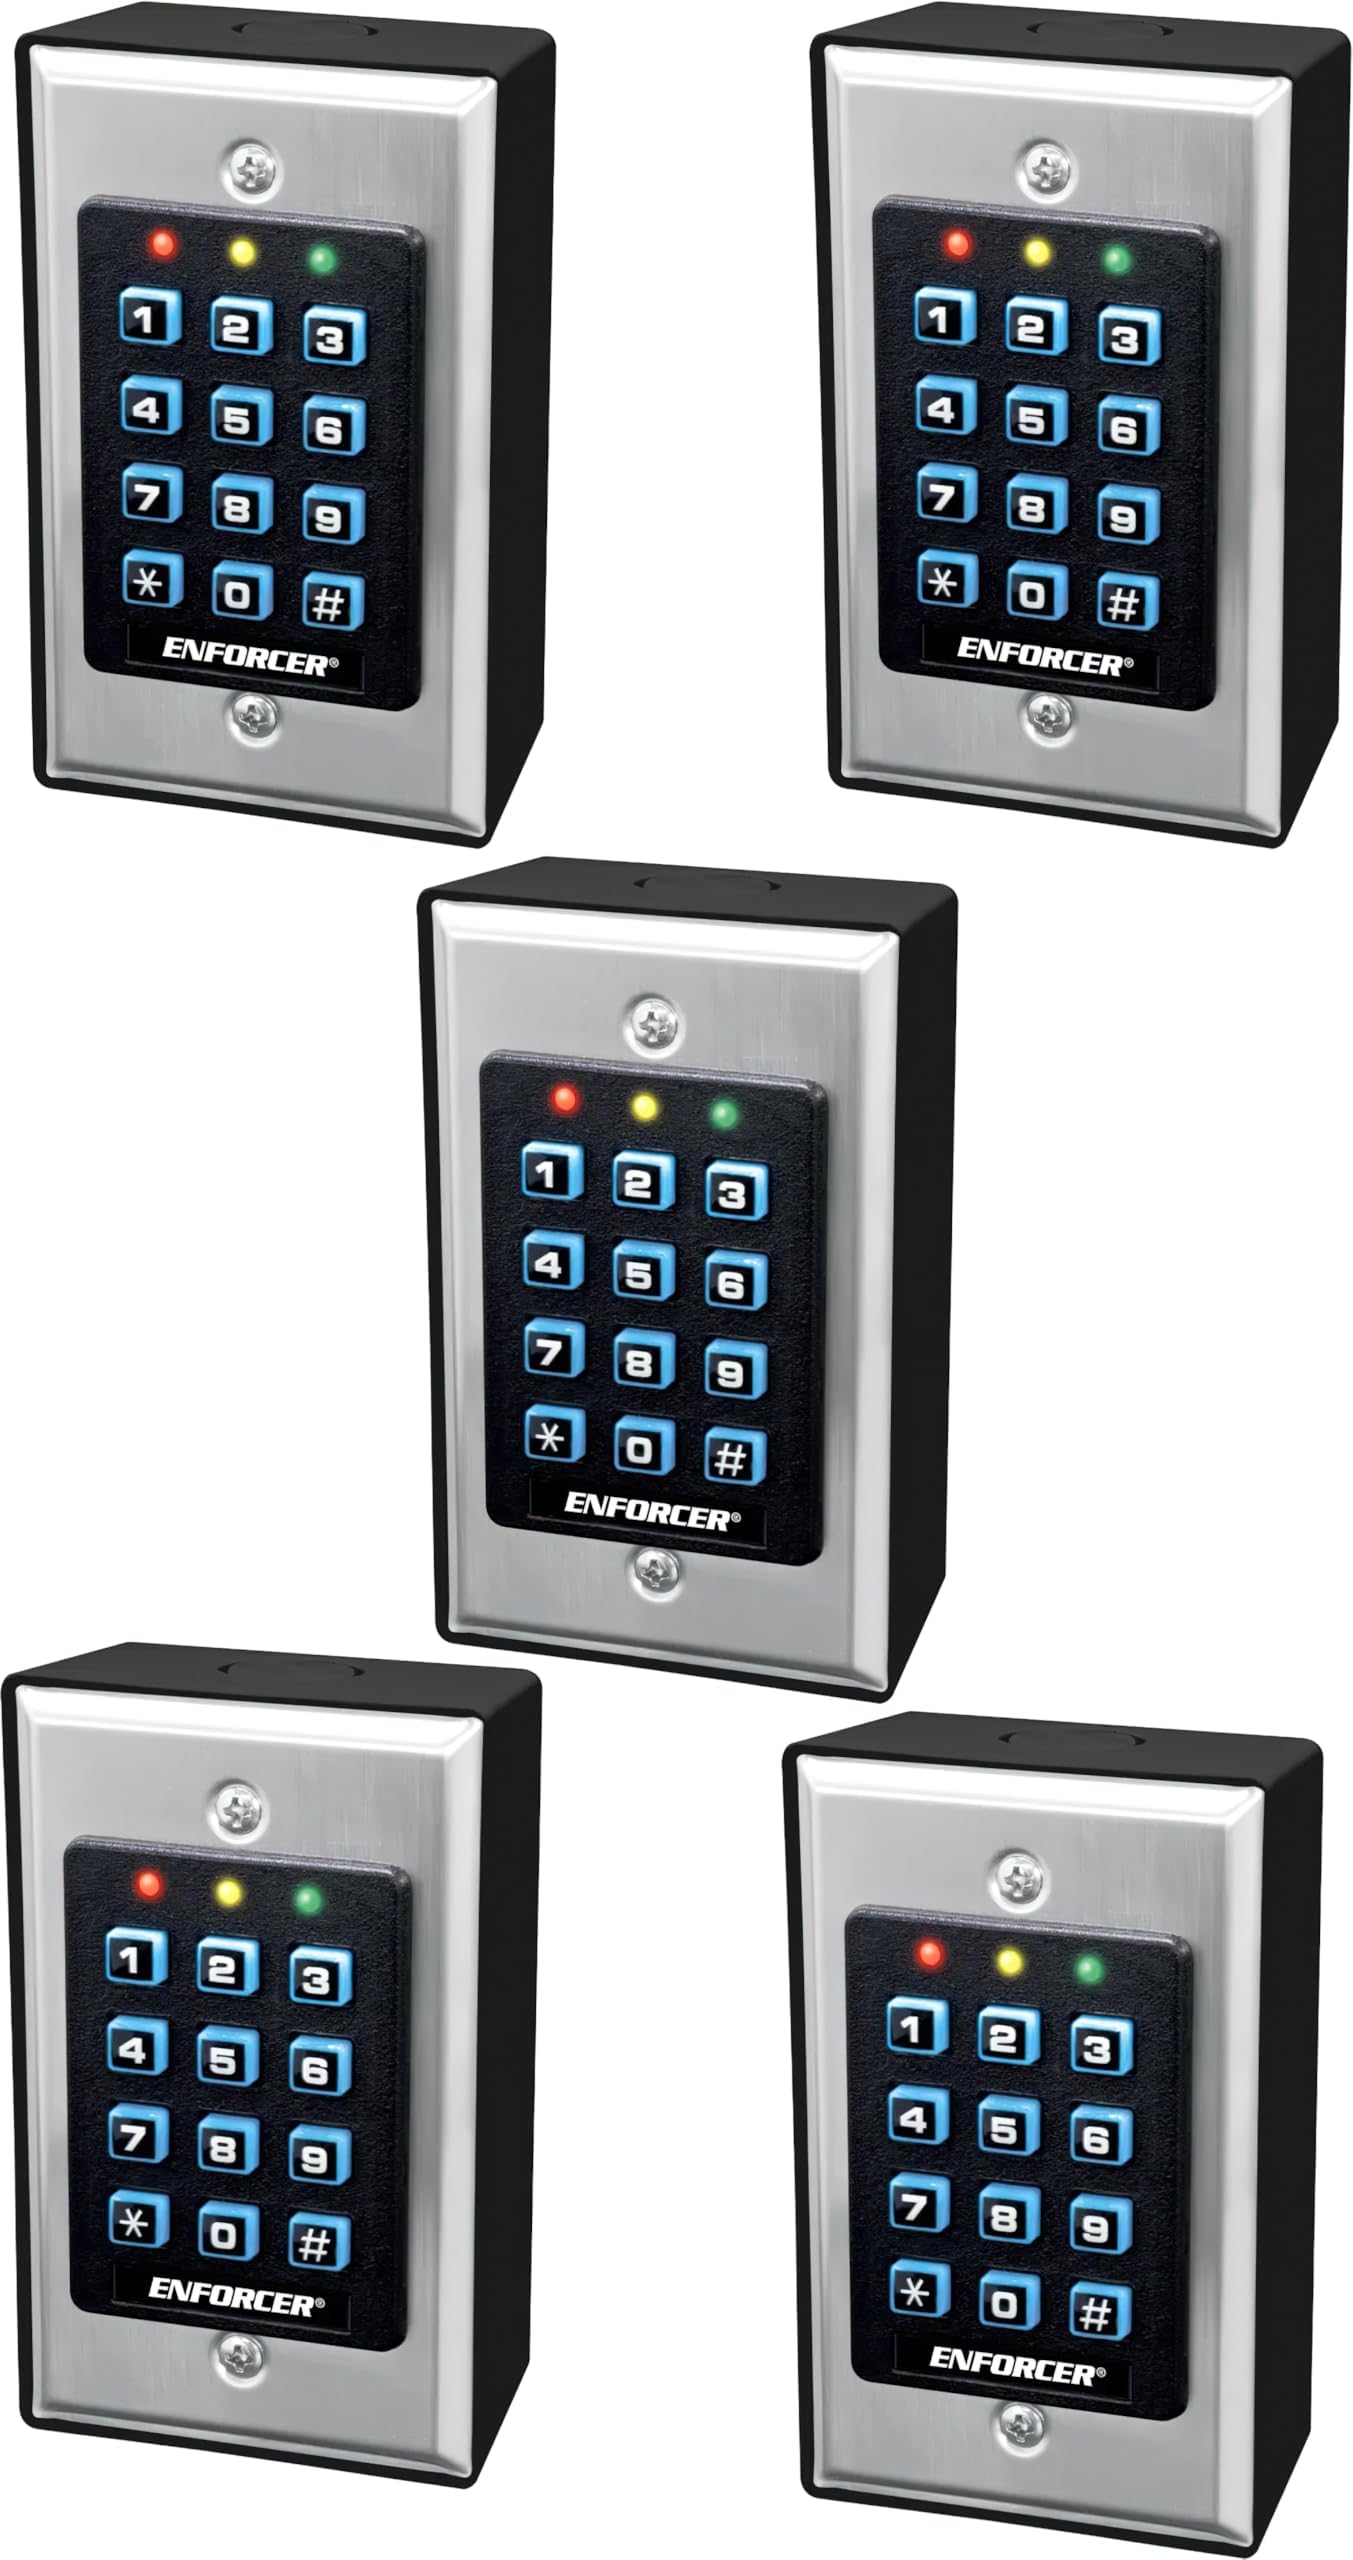
Image 1: Seco-Larm SK-1011-SDQ Enforcer Access Control Keypad. This image shows the front view of the keypad with its stainless-steel faceplate and backlit buttons.
6. Operating Instructions
6.1 Basic Operation
To gain access, enter a valid 4-8 digit user code followed by the '#' key. If the code is correct, the output relay will activate for the programmed duration, and the green LED will illuminate.
6.2 LED Status Indicators
- Red LED: Indicates inhibit/lockout mode.
- Amber LED: Flashes to show keypad status (e.g., programming mode, waiting for input).
- Green LED: Illuminates when any output is activated (e.g., successful code entry).
7. Programming
All programming is done directly through the keypad. The default Master Code is typically 1234. It is highly recommended to change this immediately after installation.
7.1 Entering/Exiting Programming Mode
To enter programming mode, press * followed by the Master Code, then #. The Amber LED will flash rapidly. To exit programming mode, press * twice.
7.2 Changing the Master Code
- Enter Programming Mode.
- Press 00#.
- Enter the new 4-8 digit Master Code, then press #.
- Re-enter the new Master Code, then press # to confirm.
- Exit Programming Mode.
7.3 Adding User Codes
The keypad supports up to 1,000 user codes (000-999).
- Enter Programming Mode.
- Press 01#.
- Enter the 3-digit User ID (e.g., 001 for the first user), then press #.
- Enter the 4-8 digit User Code, then press #.
- Repeat steps 3-4 for additional users, or exit Programming Mode.
7.4 Adding Temporary Visitor Codes
Up to 50 temporary visitor codes (01-50) can be programmed for one-time or limited-time use (1-99 hours).
- Enter Programming Mode.
- Press 02#.
- Enter the 2-digit Visitor ID (e.g., 01), then press #.
- Enter the 4-8 digit Visitor Code, then press #.
- Enter the usage duration in hours (01-99) or 00 for one-time use, then press #.
- Repeat steps 3-5 for additional visitor codes, or exit Programming Mode.
7.5 Setting Output Activation Time
The output relay can be programmed to activate for 1 to 99,999 seconds.
- Enter Programming Mode.
- Press 03#.
- Enter the desired activation time in seconds (00001-99999), then press #.
- Exit Programming Mode.
7.6 Wrong-Code Lockout
This feature locks out the keypad for a set period after multiple incorrect code entries.
- Enter Programming Mode.
- Press 04#.
- Enter the number of incorrect attempts (e.g., 03 for 3 attempts), then press #.
- Enter the lockout duration in minutes (e.g., 05 for 5 minutes), then press #.
- Exit Programming Mode.
7.7 Real-Time Clock and Auto-Disable Access
The keypad features a real-time clock that allows for programming specific times when access is disabled. Refer to the full programming guide for detailed instructions on setting the clock and configuring time-based access restrictions.
8. Maintenance
The Seco-Larm SK-1011-SDQ keypad requires minimal maintenance.
- Cleaning: Wipe the stainless-steel faceplate with a soft, damp cloth. Avoid abrasive cleaners or solvents that could damage the finish or keypad buttons.
- Inspection: Periodically check wiring connections for any signs of wear or corrosion. Ensure the keypad is securely mounted.
- Power: Ensure a stable power supply is maintained. The EEPROM memory protects programmed data during power loss, but consistent power is crucial for continuous operation.
9. Troubleshooting
| Problem | Possible Cause | Solution |
|---|---|---|
| Keypad does not power on. | No power supply or incorrect wiring. | Check power connections and ensure correct voltage (12~24 VDC/VAC). Verify wiring according to the diagram. |
| Code entered, but access is denied. | Incorrect code, code not programmed, or keypad in lockout mode. | Verify the code is correct. Ensure the code is properly programmed. Wait for lockout period to expire if Red LED is on. |
| Output relay does not activate. | Incorrect wiring to the access device, faulty relay, or incorrect output activation time. | Check wiring to the access device. Test the relay if possible. Verify the output activation time setting in programming. |
| Cannot enter programming mode. | Incorrect Master Code or incorrect sequence. | Ensure you are using the correct Master Code. Follow the sequence: * + Master Code + #. |
| Keypad buttons are unresponsive. | Physical damage or internal fault. | Inspect for physical damage. If the issue persists, contact technical support. |
10. Specifications
| Parameter | Value |
|---|---|
| Operating Voltage | 12~24 VDC/VAC |
| Current Draw - Standby | 15mA@12VDC |
| Current Draw - Keypress | 30mA@12VDC |
| Current Draw - 1 Relay Active | 55mA@12VDC |
| Current Draw - Total Max | 90mA@12VDC |
| Relay Output #1 | 1A@30VDC, Form C |
| Tamper Output | 50mA@24VDC |
| Egress Inputs | N.O. ground |
| Operating Temperature | -4°~158°F (-20°~70°C) |
| Operating Humidity | 5~95% Non-condensing |
| Dimensions (L x W x H) | 4-5/8" x 2-7/8" x 1-1/2" (117 x 73 x 38 mm) |
| Weight | 6 oz (170g) |
11. Warranty and Support
Seco-Larm products are backed by a limited warranty against defects in material and workmanship. For specific warranty terms and conditions, please refer to the warranty card included with your product or visit the official Seco-Larm website. For technical support, troubleshooting assistance, or to inquire about replacement parts, please contact Seco-Larm customer service directly. Keep your purchase receipt as proof of purchase for warranty claims.