
BESTTEN USOT-D-2A-L
Contents
BESTTEN 7 Day Outdoor Digital Programmable Timer
Model: USOT-D-2A-L
Introduction
This manual provides detailed instructions for the installation, operation, and maintenance of your BESTTEN 7 Day Outdoor Digital Programmable Timer. Designed for both outdoor and indoor use, this timer features dual grounded outlets, multiple programming options, and a durable weatherproof design. Please read this manual thoroughly before use to ensure proper function and safety.

Image: The BESTTEN 7 Day Outdoor Digital Programmable Timer, green in color, with its packaging in the background. It features a digital display and multiple control buttons.
Safety Information
Always follow basic safety precautions when using electrical products to reduce the risk of fire, electric shock, and personal injury.
- Do not immerse the timer in water.
- Ensure the timer is securely plugged into a grounded outlet.
- Do not exceed the maximum electrical rating of the timer. Refer to the Specifications section.
- Keep children away from the timer and connected devices.
- Unplug the timer from the outlet before cleaning or when not in use for extended periods.
- Do not use if the timer or cord is damaged.
- For outdoor use, ensure the timer is installed in a location protected from direct heavy rain or snow, ideally under an eave or covered area.
Product Overview
Familiarize yourself with the components and controls of your BESTTEN digital timer.

Image: A collage showing close-ups of the timer's features: the intuitive digital display, dual grounded outlets, fire-resistant housing, and the mounting hole and loop for secure installation.
Control Buttons:
- PRO/+: Program setting, increase value.
- SET: Confirm setting, move to next parameter.
- -: Decrease value.
- CLOCK: Set current time.
- RANDOM: Activate/deactivate random ON/OFF function.
- MODE: Cycle through operating modes (ON, OFF, AUTO).
- RST/RCL: Reset timer, recall settings.
- DST: Daylight Saving Time quick-set function.
Other Features:
- Digital Display: Shows current time, day, program status, and mode.
- Dual Grounded Outlets: Two outlets for connecting devices.
- 6-Inch Cord with 3-Prong Flat Plug: For connecting to a wall outlet.
- Mounting Hole and Loop: For hanging the timer.
- Internal Battery Backup: Maintains time and settings during power outages.

Image: Diagram illustrating the product dimensions, including the 6-inch cord, 3-prong flat plug, power indicator, digital display, and dual grounded outlets. Dimensions are shown as 4.28" (10.87cm) height, 2.92" (7.42cm) width, and 1.42" (3.61cm) depth.
Setup
Initial Setup:
- Charge Battery: Before first use, plug the timer into a live electrical outlet for at least 30 minutes to charge the internal battery. This ensures settings are retained during power interruptions.
- Clear All Settings: Press the RST/RCL button with a pointed object (like a pen tip) to clear all previous settings and reset the timer. The display will show "0:00" and all segments will flash.
- Set Current Time:
- Press and hold the CLOCK button for 3 seconds until the display flashes.
- Use PRO/+ or - to set the current hour. Press SET to confirm.
- Use PRO/+ or - to set the current minute. Press SET to confirm.
- Use PRO/+ or - to set the current day of the week (MO, TU, WE, TH, FR, SA, SU). Press SET to confirm and exit time setting mode.
- Daylight Saving Time (DST):
- To activate DST, press the DST button. The display will show "DST" and the time will advance by one hour.
- To deactivate DST, press the DST button again. The "DST" indicator will disappear, and the time will revert by one hour.
- 12/24 Hour Mode:
- While in normal clock display mode, press the CLOCK button briefly to toggle between 12-hour (AM/PM) and 24-hour formats.

Image: The timer's display showing different modes: 12/24 Hours Mode Time Display, 20 Custom ON/OFF Times, and 7-Day Schedule programming options.
Operating Instructions
Programming ON/OFF Times (Up to 20 Programs):
The timer allows you to set up to 20 different ON/OFF programs for various days or groups of days.
- Press the PRO/+ button once. The display will show "1 ON" and the time will flash.
- Use PRO/+ or - to select the desired day(s) for this program. Options include:
- MO TU WE TH FR SA SU (Every day)
- MO TU WE TH FR (Weekdays)
- SA SU (Weekends)
- MO WE FR
- TU TH SA
- MO TU WE TH FR SA
- Individual days (MO, TU, WE, TH, FR, SA, SU)
- Use PRO/+ or - to set the ON hour. Press SET to confirm.
- Use PRO/+ or - to set the ON minute. Press SET to confirm.
- The display will now show "1 OFF". Repeat steps 2-4 to set the OFF time for this program.
- After setting the OFF time, press PRO/+ to move to the next program ("2 ON") or press CLOCK to return to normal time display.
- To review or edit programs, repeatedly press PRO/+.
Operating Modes (ON, OFF, AUTO):
Press the MODE button to cycle through the operating modes:
- ON: The timer's outlets are continuously ON, overriding all programs.
- OFF: The timer's outlets are continuously OFF, overriding all programs.
- AUTO: The timer operates according to the programmed ON/OFF times. This is the standard operating mode for automated control.
Random Function:
The random function adds security by turning connected lights ON and OFF at random intervals (within a 30-minute window of your programmed times), making it appear as if someone is home.
- To activate: Press the RANDOM button. "RANDOM" will appear on the display.
- To deactivate: Press the RANDOM button again. "RANDOM" will disappear.
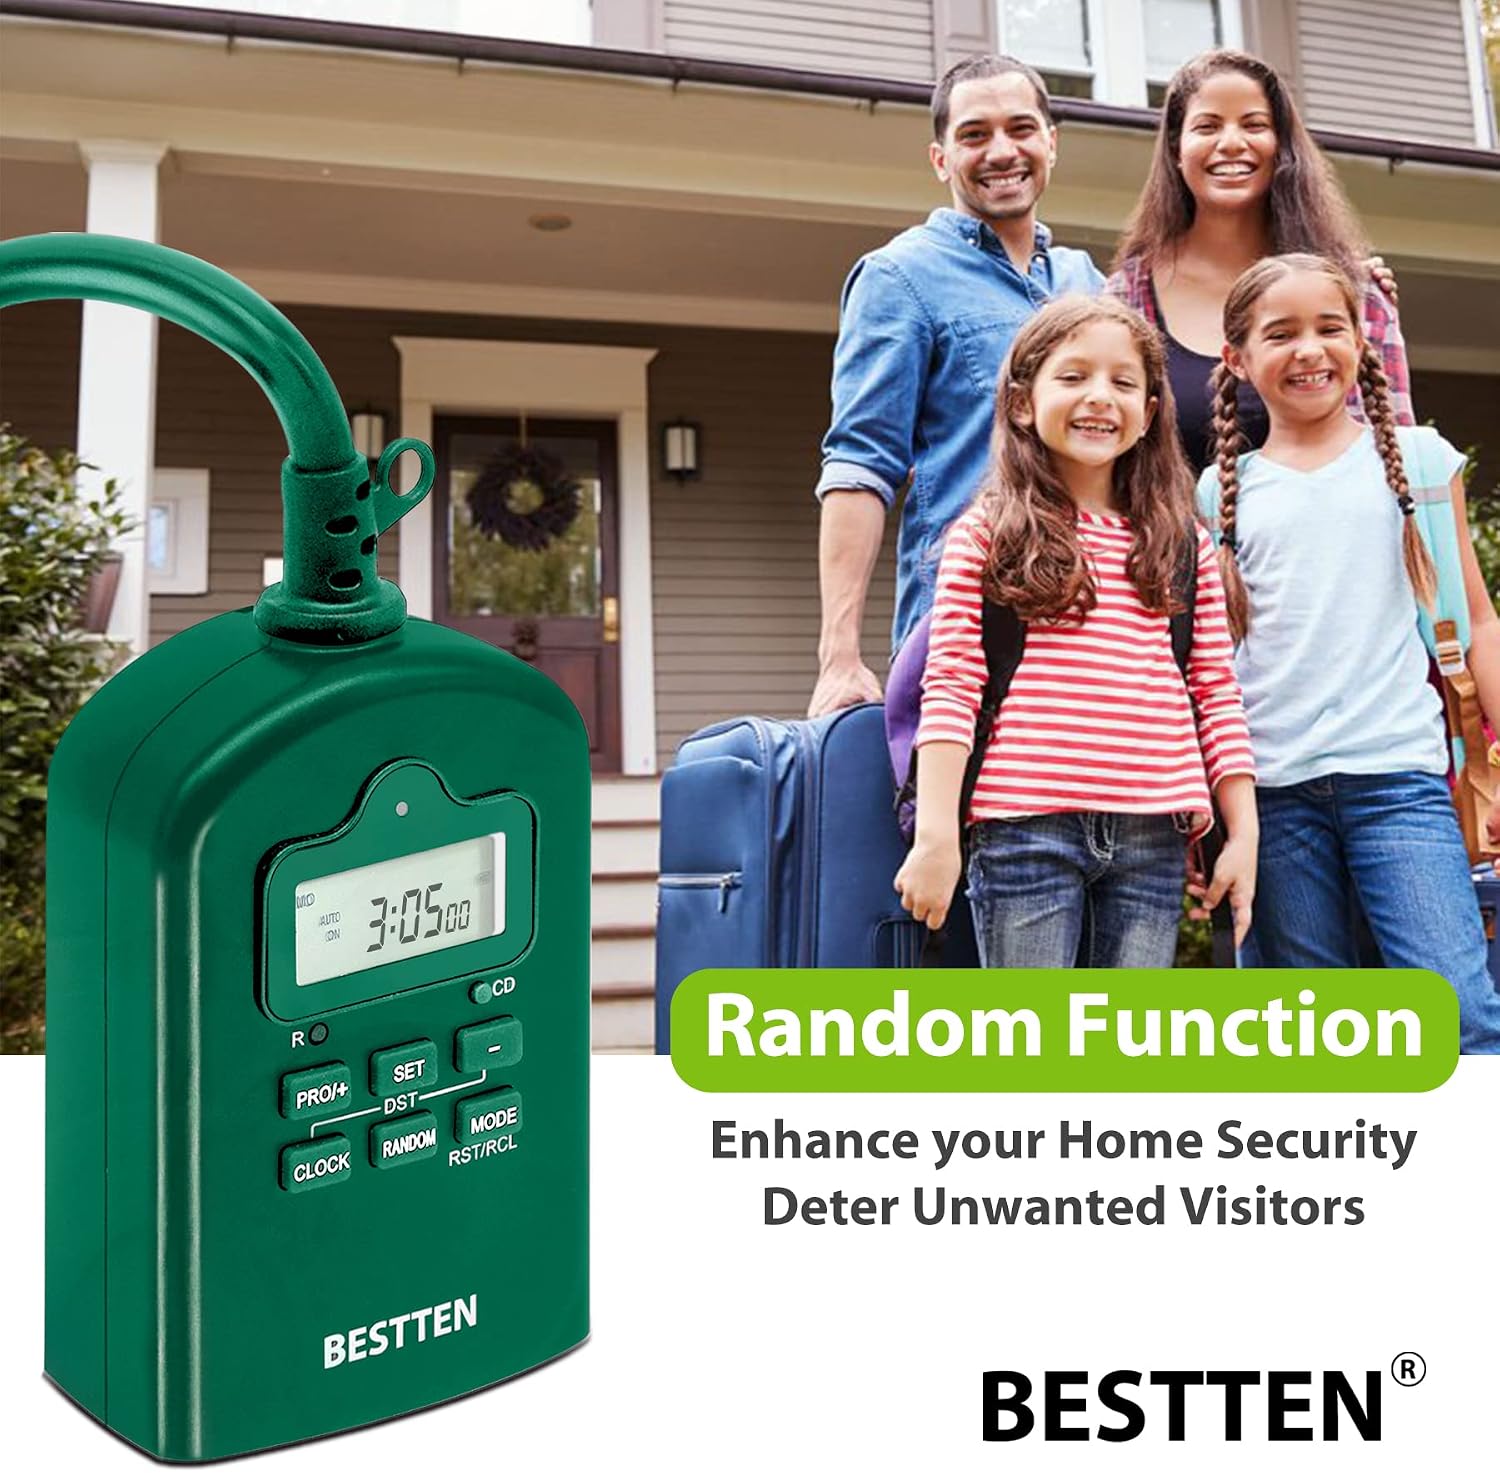
Image: The BESTTEN timer with a family in front of a house, illustrating the "Random Function" feature designed to enhance home security and deter unwanted visitors by simulating occupancy.
Countdown Function:
The countdown function allows you to turn the connected device ON or OFF after a set duration (from 1 minute to 9 hours 59 minutes).
- While in normal clock display mode, press and hold the - button for 3 seconds. "CD" will appear on the display, and the hour will flash.
- Use PRO/+ or - to set the countdown hour. Press SET to confirm.
- Use PRO/+ or - to set the countdown minute. Press SET to confirm.
- The countdown will begin. The display will show the remaining time. Once the countdown reaches zero, the timer will switch the connected device's state (if it was ON, it turns OFF; if it was OFF, it turns ON).
- To cancel the countdown, press the - button briefly.
Maintenance
- Cleaning: Unplug the timer from the power outlet before cleaning. Wipe the exterior with a soft, damp cloth. Do not use harsh chemicals or abrasive cleaners.
- Storage: When not in use, store the timer in a cool, dry place away from direct sunlight and extreme temperatures.
- Battery: The internal battery is designed for long-term use and typically does not require replacement. If the display becomes dim or settings are not retained, ensure the timer is plugged in for at least 30 minutes to recharge the battery.
Troubleshooting
| Problem | Possible Cause | Solution |
|---|---|---|
| Timer display is blank or dim. | Internal battery is low or depleted. | Plug the timer into a live outlet for at least 30 minutes to recharge the battery. |
| Timer does not turn ON/OFF at programmed times. |
|
|
| Connected device does not turn ON. |
|
|
| Timer causes GFCI outlet to trip. |
|
|
Specifications
| Feature | Detail |
|---|---|
| Model Number | USOT-D-2A-L |
| Input Voltage | 125VAC, 60Hz |
| Max. Load | 15A Resistive, 1875W |
| Motor Load | 1/2 HP |
| Programs | Up to 20 ON/OFF programs |
| Countdown Timer | 1 minute to 9 hours 59 minutes |
| Outlets | 2 Grounded Outlets |
| Material | Polycarbonate |
| Color | Green |
| Certifications | ETL Listed |
Warranty and Support
BESTTEN products are designed and manufactured to the highest quality standards. For warranty information, technical support, or any questions regarding your product, please refer to the official BESTTEN website or contact their customer service directly.
You can also find additional resources, including a PDF version of this manual, on the product's Amazon page under the "Product guides and documents" section.
For further assistance, please visit: BESTTEN Official Store on Amazon
Ask a question about this manual
Ask about setup, troubleshooting, compatibility, parts, safety, or missing instructions. Manuals+ will review the question and use this page’s manual context to help answer it.