Introduction
This manual provides essential information for the proper use and care of your Itari 4x6 Thermal Labels. These fan-fold shipping labels are designed for thermal printers and are compatible with various shipping platforms. Please read these instructions carefully to ensure optimal performance and longevity of your labels.
Product Features
- High Quality Material: Our shipping labels are made from high-quality material to ensure barcodes can be scanned easily.
- Water & Oil-proof & Strong Adhesive: These thermal printer labels are water & oil-proof, and scratch-proof. They feature strong adhesive for secure attachment to shipping boxes, mail, files, papers, and plastics.
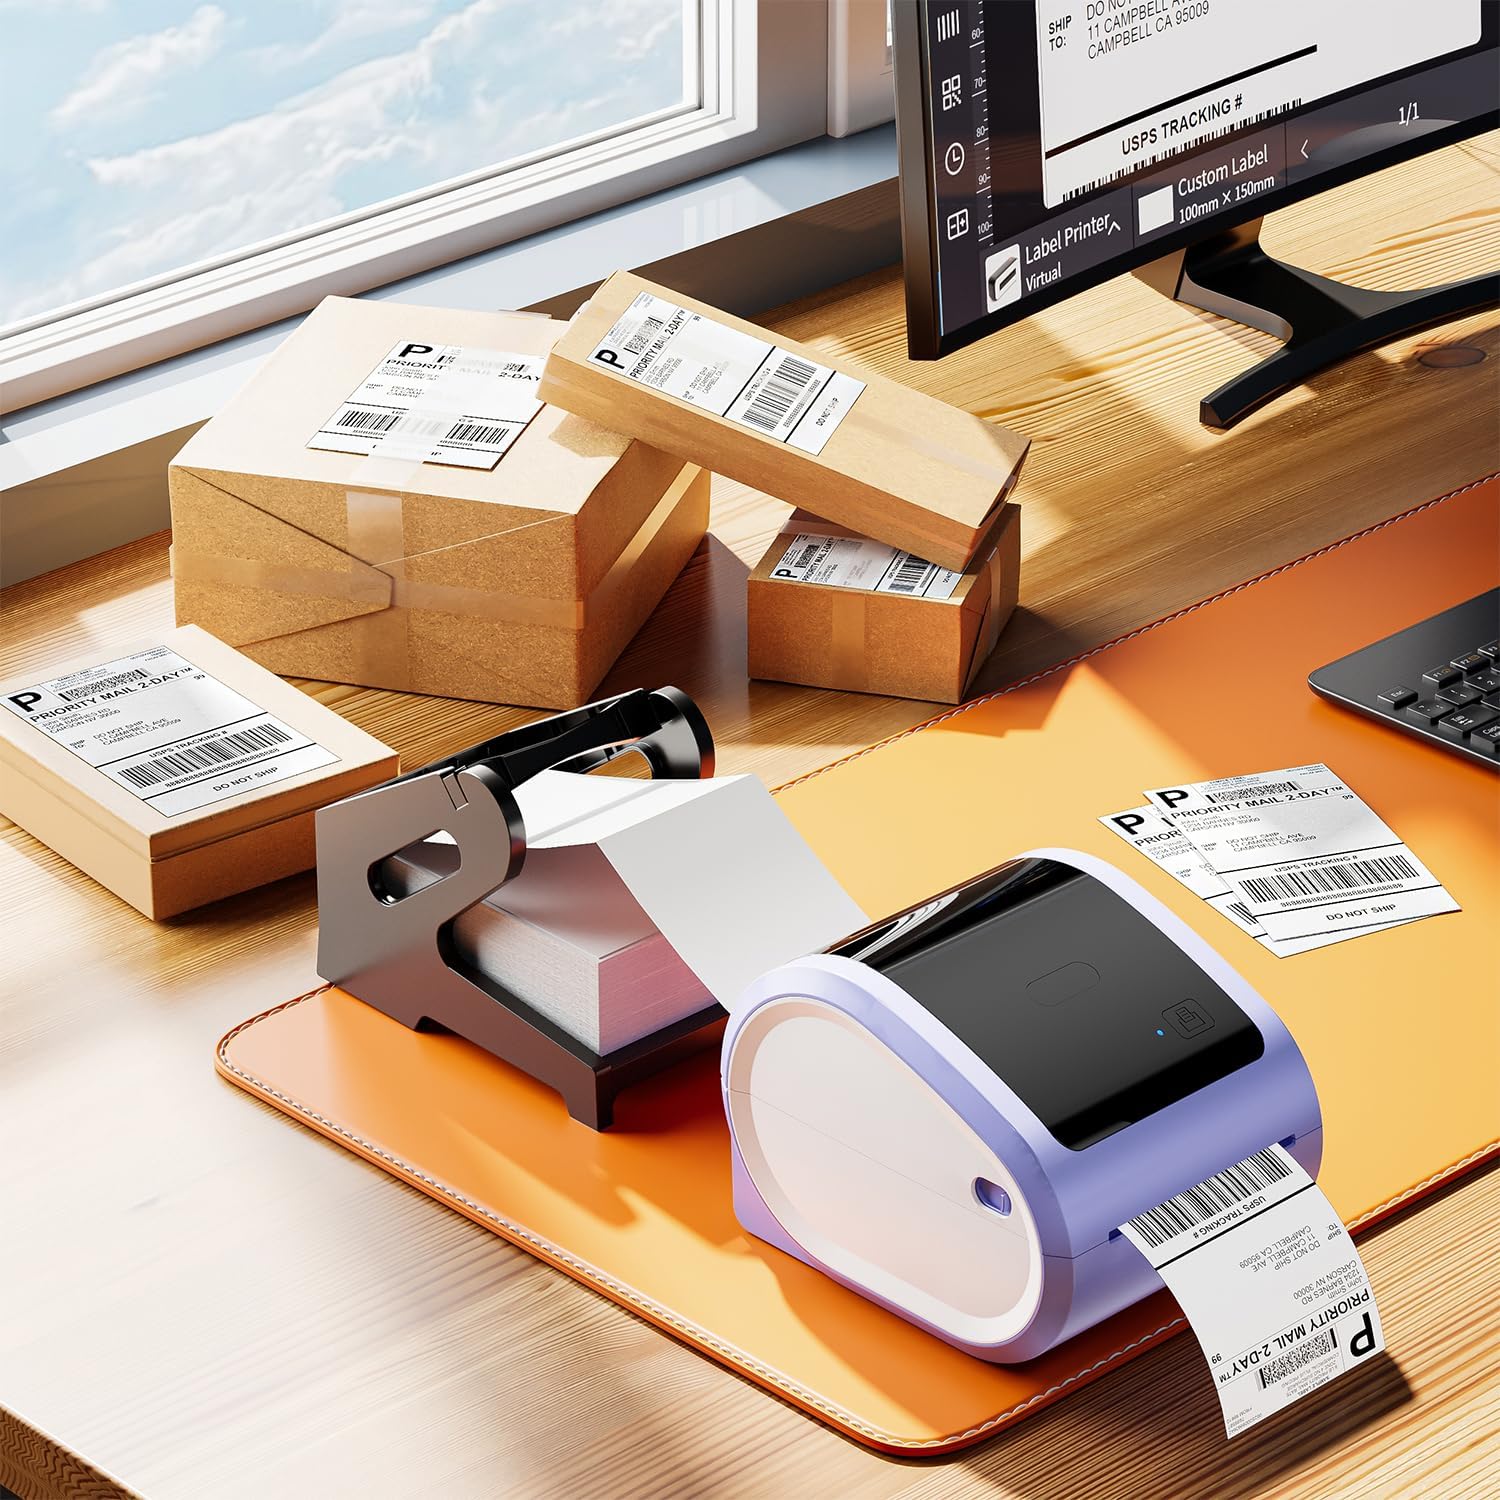
- Wide Compatibility: The 4x6 shipping labels are compatible with Itari, Rollo, MUNBYN, Zebra, Phomemo, and other thermal label printers. They are also compatible with shipping platforms and carriers such as DHL, FedEx, USPS, Amazon, Shopify, and eBay. Note: These labels are only suitable for thermal printers, not laser or inkjet printers.
- Specifications: Each package contains 500 fan-fold labels. Perforations between each label allow for easy tearing and damage-free separation. Labels are designed for easy peeling.
Specifications
| Brand | Itari |
| Model Number | SLP-4x6-500-1 |
| Label Size | 4 x 6 inches |
| Quantity | 500 labels per stack |
| Color | White |
| Shape | Rectangular |
| Finish Type | Perforated |
| Item Weight | 2.49 pounds |
| Product Dimensions | 4.8 x 4.8 x 4.21 inches |
Setup and Loading Labels
These fan-fold labels are designed for easy loading into compatible thermal label printers. Ensure your printer is powered off before loading.
- Open Printer Cover: Locate and press the release latch or button on your thermal printer to open the top cover.
- Adjust Paper Guides: Adjust the movable paper guide clips within the printer's paper compartment to match the 4x6 inch width of the labels.
- Load Labels: Place the stack of fan-fold labels into the rear paper slot or compartment of your thermal printer. Ensure the print side of the labels is facing up and the first label is fed smoothly into the printer's feed mechanism. The labels should be aligned straight with the paper guides to prevent skewing during printing.
- Close Cover: Close the printer cover securely.
- Calibrate (if necessary): Some thermal printers may require calibration after loading new labels. Refer to your specific printer's manual for calibration instructions.


Video: How to Set Up with D520bt Printer
This video demonstrates the setup process for a D520bt thermal label printer, including loading labels and basic operation. While specific to the D520bt, the general principles of loading fan-fold labels apply to many thermal printers.
Operating Instructions
Once the labels are loaded, you can begin printing. These labels are designed for direct thermal printing, meaning no ink or toner is required.
- Connect Printer: Ensure your thermal printer is connected to your computer or mobile device via USB or Bluetooth, as applicable.
- Software Setup: Use your preferred shipping software (e.g., from Etsy, Shopify, Amazon, FedEx) or a label design application. Configure the label size to 4x6 inches within the software settings.
- Print: Send the print job to your thermal printer. The labels will feed through and print clearly.
- Peel and Apply: Utilize the perforations to easily tear off printed labels. Peel the backing off the label and apply it firmly to your package or item. The strong adhesive ensures secure attachment.


Video: Print via Bluetooth
This video illustrates how to print labels wirelessly from a smartphone via Bluetooth, demonstrating the convenience of mobile printing with compatible thermal printers.
Maintenance
To maintain the quality and performance of your Itari Thermal Labels:
- Storage: Store labels in a cool, dry place away from direct sunlight and excessive heat or humidity. Extreme conditions can affect adhesive quality and thermal printability.
- Handling: Avoid touching the thermal printing surface of the labels with bare hands, as oils and dirt can degrade print quality. Handle labels by the edges.
- Printer Care: Regularly clean your thermal printer's print head and platen roller according to the printer manufacturer's instructions to ensure clear prints and prevent damage to the labels.
Troubleshooting
If you encounter issues with your Itari Thermal Labels, consider the following:
- Poor Print Quality:
- Ensure the labels are loaded correctly with the print side facing the thermal print head.
- Clean the thermal printer's print head.
- Adjust print density or darkness settings in your printer software.
- Verify that you are using a thermal printer, not an inkjet or laser printer.
- Labels Not Feeding Correctly:
- Check that the labels are properly aligned with the paper guides in the printer.
- Ensure there are no obstructions in the paper path.
- Calibrate your printer for the label size.
- Labels Not Sticking:
- Ensure the application surface is clean, dry, and free of dust or grease.
- Apply firm, even pressure across the entire label surface.
- Check the storage conditions of your labels; extreme temperatures or humidity can affect adhesive.
Warranty and Support
Itari is committed to providing quality products and customer satisfaction. If you experience any issues with your 4x6 thermal labels, please contact our customer service team.
Customer Service: Our customer service team is available 24/7 via WhatsApp, Skype, email, and phone call for any issues or inquiries.
- Email: support@itaricartridge.com
- WhatsApp: +86 1369 772 4676
- Website for Tutorials: www.itaricartridge.com
For additional support and video tutorials, search for "Itari Tech" on YouTube.
Related Documents - SLP-4x6-500-1
 |
Itari PM-241-BT Quick Start Guide: Wireless Label Printing A comprehensive quick start guide for the Itari PM-241-BT Bluetooth label printer, covering app download, printer connection, PDF import, printing, and PC connectivity for small businesses. |
 |
Itari PM-241 Logistics Label Printer User Guide: Setup, Installation, and Operation Comprehensive user guide for the Itari PM-241 Logistics Label Printer, covering quick start, product overview, setup for Windows and macOS, label loading, maintenance, troubleshooting, and driver installation. |
 |
A886 Tattoo Printer Quick Start Guide A comprehensive quick start guide for the Itari A886 Tattoo Printer, detailing setup, app connection via Bluetooth, printing from mobile and computer, maintenance, and troubleshooting. |
 |
Polono Platform Setup Guide for E-commerce Shipping Labels Comprehensive guide to setting up your Polono printer and software for printing 4x6 shipping labels from major e-commerce platforms including Amazon, Shopify, Etsy, eBay, PayPal, Stamps.com, FedEx, and Poshmark. |
 |
How to Print Different Size and Shape Labels with Jadens Printer A step-by-step guide on how to print custom-sized and shaped labels using the Jadens Printer app and Bluetooth thermal label printer. Covers downloading the app, connecting the printer, selecting files, cropping, rotating, and adjusting print settings for various label types. |
 |
MunbynPrinter User Manual - Setup, Configuration, and Operation Guide Comprehensive user manual for the MunbynPrinter, covering software installation, printer configuration, print operations, settings, and troubleshooting. Learn how to print 4x6 and 8x11 labels efficiently with MUNBYN's software. |