1. Introduction
This manual provides instructions for the installation, use, and maintenance of your LEDLUX Large Window Mosquito Net Kit. This high-quality mesh mosquito net is designed to provide reliable protection against insects, mosquitoes, and flies, ensuring a comfortable environment in your home.
The kit includes a black mesh net measuring 150 x 250 cm, with a width of 9 mm, and an adhesive tape for easy installation.

Figure 1: The LEDLUX mosquito net providing a protective barrier on a window.
2. Package Contents
Please verify that all components are present in your package:
- 1 x LEDLUX Mosquito Net (Black, 150 x 250 cm)
- 1 x Roll of Adhesive Tape (White)
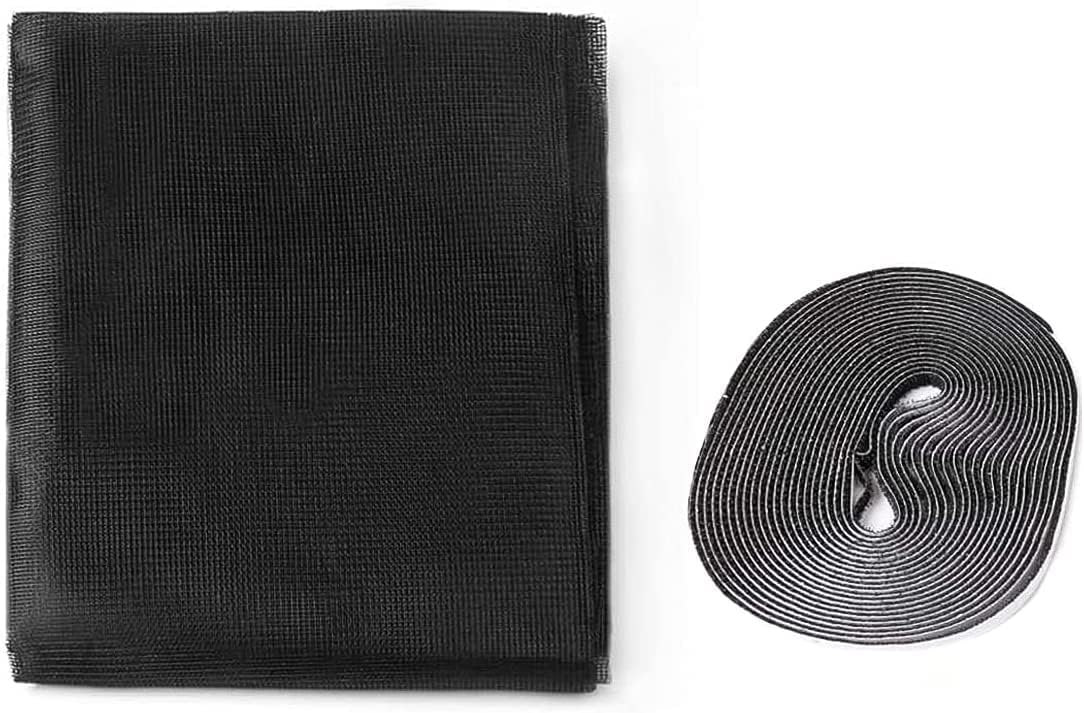
Figure 2: Included components: the mosquito net and adhesive tape.
3. Installation Guide
Follow these steps for proper installation of your mosquito net:
- Prepare the Window Frame: Ensure the window frame surface where the adhesive tape will be applied is clean, dry, and free of dust or grease. Use a damp cloth and mild detergent if necessary, then dry thoroughly.
- Measure and Apply Adhesive Tape: Measure the perimeter of your window frame. Cut the adhesive tape to the required lengths. Carefully peel off the backing paper from the adhesive tape and firmly press it onto the clean window frame. Ensure the tape is applied smoothly and securely around the entire perimeter.
- Attach the Mosquito Net: Starting from one corner, align the mosquito net with the adhesive tape on the window frame. Gently press the net onto the tape, working your way around the frame. Ensure the net is taut and free of wrinkles.
- Trim Excess Net: Once the net is securely attached around the entire frame, use a pair of scissors or a utility knife to carefully trim any excess net material that extends beyond the adhesive tape. This will give a neat and tidy finish.

Figure 3: Attaching the mosquito net to the window frame.
Important: For optimal adhesion, allow the tape to set for a few hours before putting tension on the net.
4. Usage and Access
The LEDLUX mosquito net provides continuous protection against insects while allowing fresh air to circulate. If you need to open or close your window, or access the outside, the net can be easily peeled back from the adhesive tape and re-attached as needed.

Figure 4: The mosquito net can be easily peeled back for window access.
This product is designed to enhance your comfort by keeping unwanted pests out, allowing for peaceful rest, especially for children.

Figure 5: Enjoying a peaceful, insect-free environment.
5. Care and Maintenance
To ensure the longevity and effectiveness of your mosquito net, follow these simple care instructions:
- Cleaning: The polyester mesh can be gently wiped with a damp cloth to remove dust and dirt. For more stubborn stains, use a mild soap solution and rinse thoroughly with a damp cloth. Avoid harsh chemicals or abrasive cleaners.
- Drying: Allow the net to air dry completely before re-attaching it to the window frame.
- Storage: If removing the net for seasonal storage, clean it thoroughly, fold it neatly, and store it in a dry, cool place away from direct sunlight.
6. Troubleshooting
Here are some common issues and their potential solutions:
| Problem | Possible Cause | Solution |
|---|---|---|
| Net not adhering properly. | Window frame not clean or dry; tape not pressed firmly enough; tape worn out. | Ensure surface is thoroughly cleaned and dried before applying tape. Press tape firmly. If tape is old, replace it. |
| Gaps around the net. | Net not aligned correctly; tape not applied to entire perimeter. | Re-align the net, ensuring it covers the entire adhesive tape. Ensure tape is applied continuously around the frame. |
| Net appears wrinkled or loose. | Net not pulled taut during installation. | Carefully peel back the affected section and re-attach, pulling the net taut as you go. |
7. Product Specifications
| Feature | Detail |
|---|---|
| Brand | LEDLUX |
| Color | Black |
| Material | Polyester |
| Dimensions (Net) | 150 x 250 cm (Width x Height) |
| Net Width | 9 mm |
| Package Dimensions | 24.5 x 13.8 x 4.9 cm |
| Item Weight | 130 grams |
| Shape | Rectangular |
| Number of Items | 1 (kit) |

Figure 6: Product dimensions illustration.
8. Warranty and Support
Specific warranty information for this product is not provided in the available documentation. For any questions, concerns, or support regarding your LEDLUX mosquito net kit, please contact the retailer or manufacturer directly through their official channels.
Information regarding the availability of spare parts is currently unavailable.


