1. Introduction and Overview
The Qubino Flush 2 Relay is an advanced Z-Wave Plus compatible module designed for intelligent control of two independent electrical loads, such as lights, fans, or other appliances. This compact device can be installed directly into a flush-mounted box, behind a wall switch, or in a distribution box. It features integrated power metering, allowing you to monitor the energy consumption of connected devices, contributing to a more energy-efficient smart home.

Image: The Qubino Flush 2 Relay module shown alongside its product packaging, highlighting its compact design and branding.
2. Safety Information
Please read this manual carefully before attempting installation. Installation should only be performed by a qualified electrician or trained professional. Disconnect power at the main circuit breaker before installation or maintenance to prevent electric shock. Do not expose the device to moisture or extreme temperatures. Ensure all wiring is compliant with local electrical codes and regulations.
3. Package Contents
- 1x Qubino Flush 2 Relay Module
- 1x User Manual (this document)
4. Product Features
- Dual Channel Control: Independently control two electrical loads.
- Z-Wave Plus Certified: Ensures compatibility and enhanced features within your Z-Wave smart home network.
- Power Metering: Monitor real-time energy consumption of connected devices.
- Compact Design: Fits easily into standard electrical boxes.
- Automatic Operation: Supports automated control via Z-Wave commands.
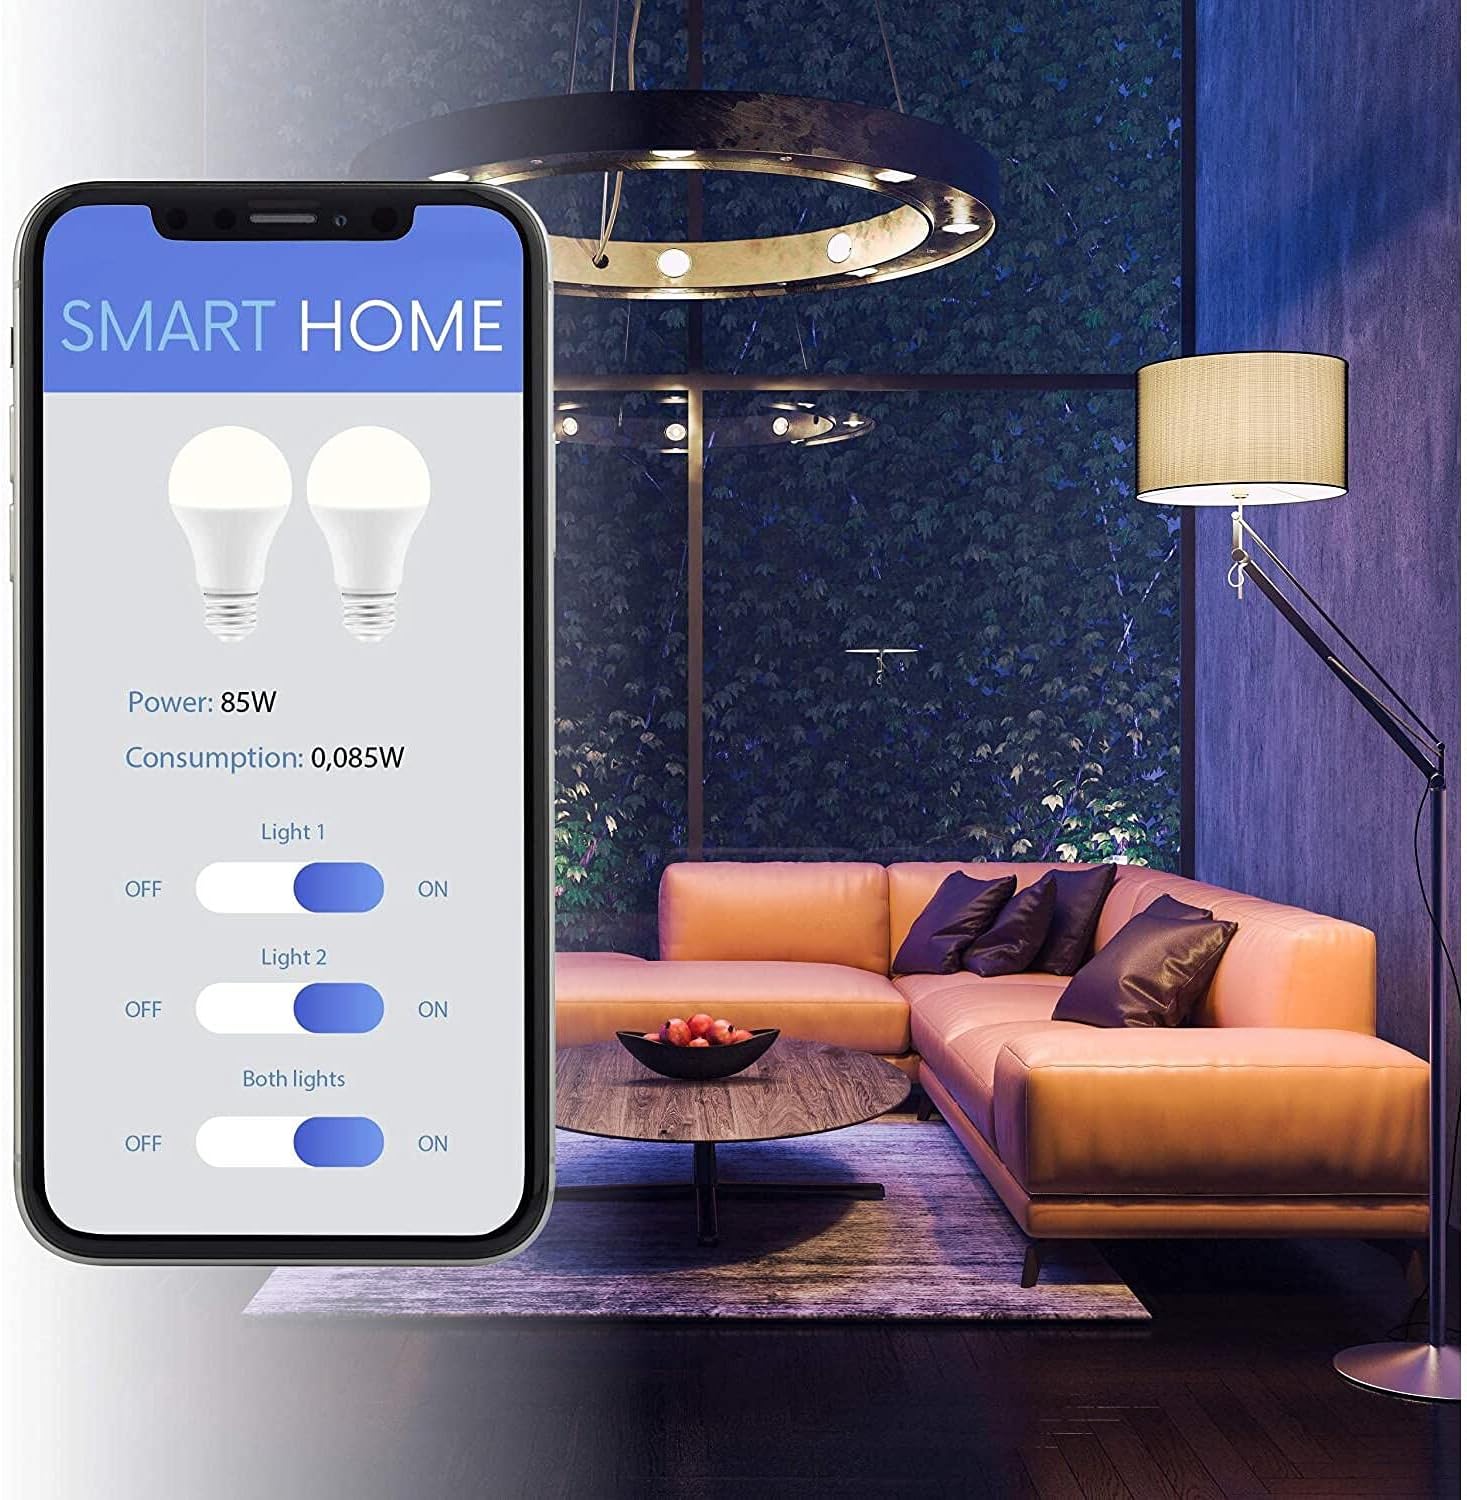
Image: A smartphone screen displaying a smart home application. The interface shows controls for two lights (Light 1, Light 2) with ON/OFF toggles, a combined control for 'Both lights', and real-time power and consumption readings (e.g., Power: 85W, Consumption: 0.085W). This illustrates the module's smart control and energy monitoring capabilities.
5. Installation
5.1. Mounting
The Qubino Flush 2 Relay is designed for flush mounting. It should be installed inside a standard electrical wall box, behind a traditional wall switch, or within a distribution box. Ensure there is sufficient space for the module and its wiring to avoid overheating or damage.
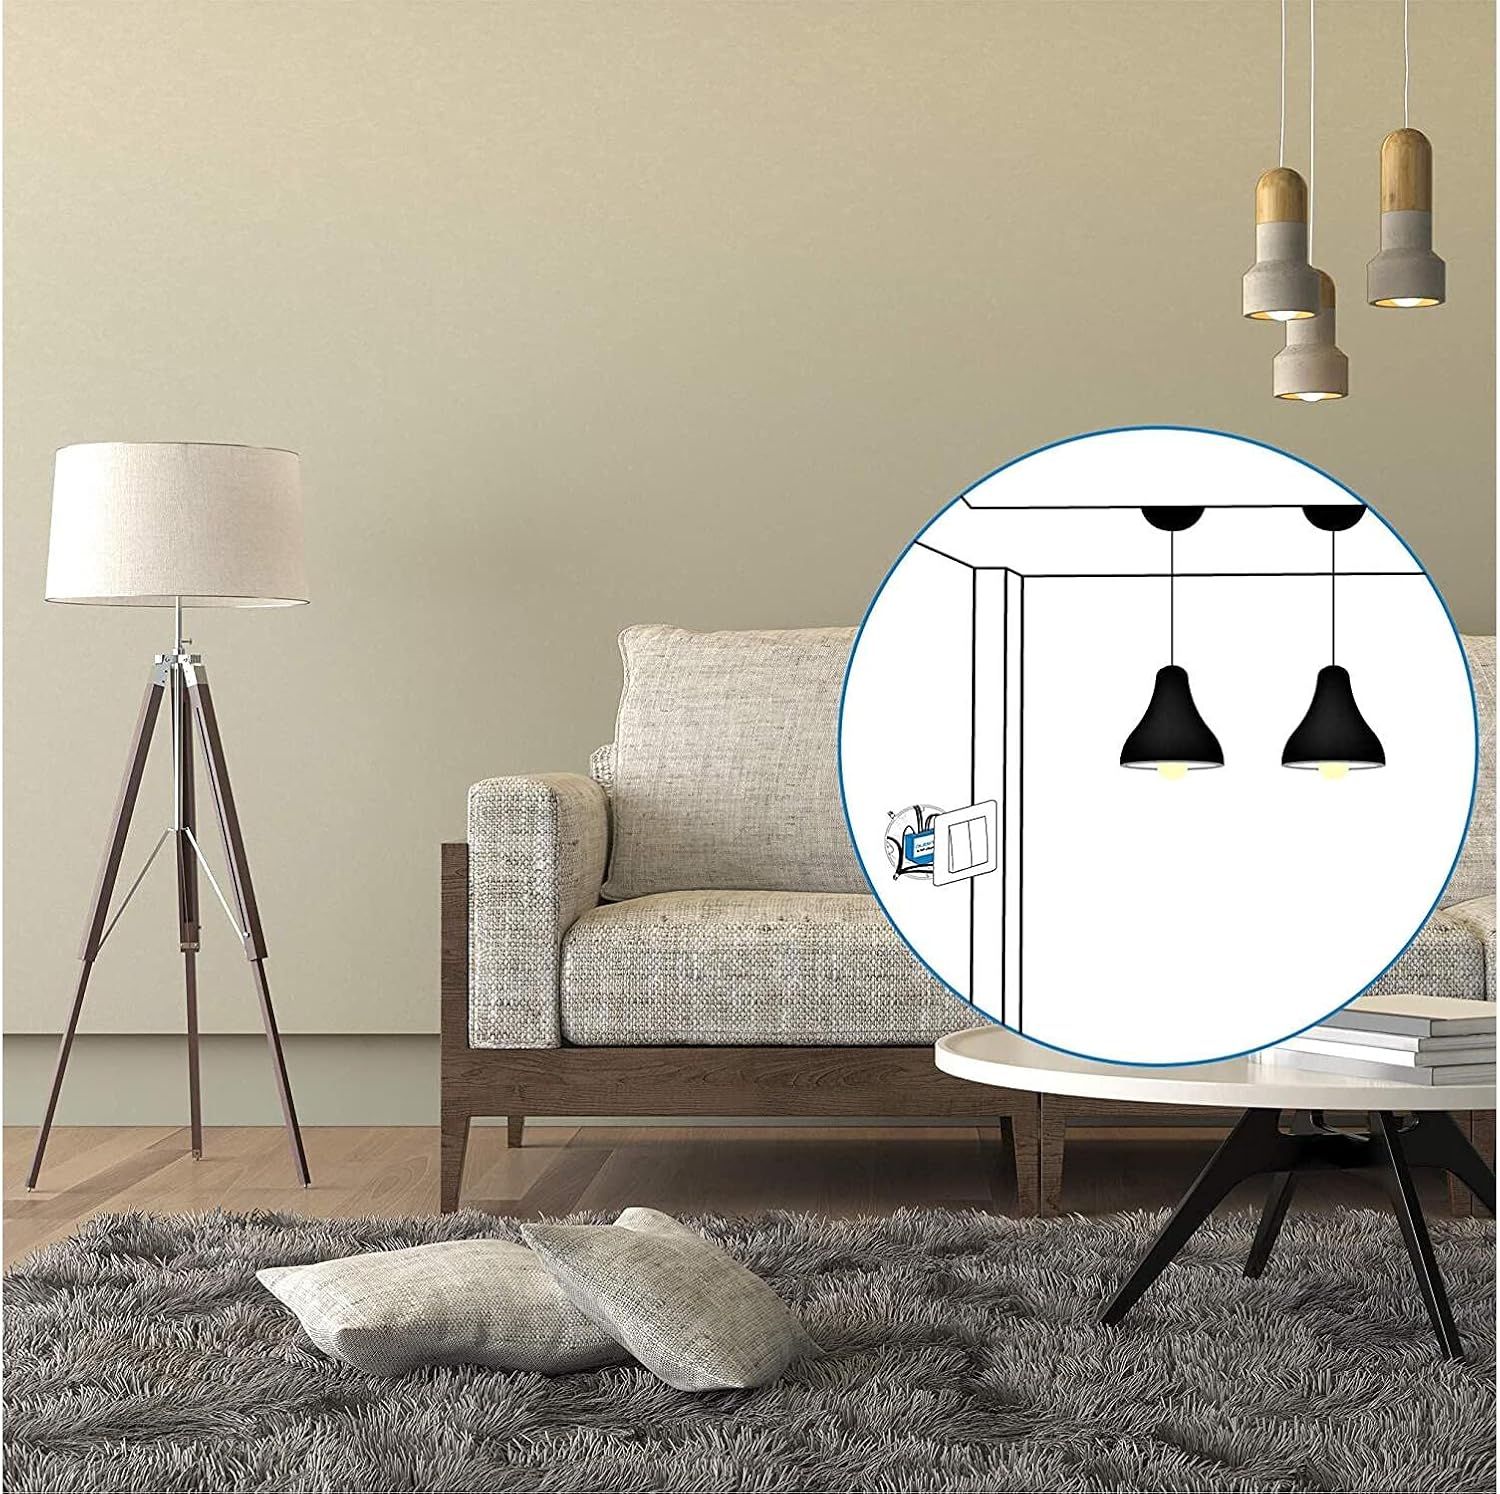
Image: A visual representation of the Qubino Flush 2 Relay module installed discreetly behind a wall switch. An inset diagram shows the module connected to the switch and controlling two ceiling light fixtures, demonstrating a typical flush-mount installation scenario.
5.2. Wiring Diagram
Before wiring, ensure the main power supply is disconnected. Follow the diagram below carefully. The module supports both momentary and toggle switches.

Image: Two technical diagrams of the Qubino Flush 2 Relay. The left diagram shows a top-down view of the module with its branding and a service button indicator ('S'). The right diagram is a detailed electrical wiring schematic, illustrating connections for Live (L), Neutral (N), two input switches (I1, I2), two output loads (Q1, Q2), and a temperature sensor input (TS). It also shows two light loads connected to Q1 and Q2, and fuses for protection.
Terminal Descriptions:
- L: Live input (Phase)
- N: Neutral input
- I1: Input for switch 1 (connected to L)
- I2: Input for switch 2 (connected to L)
- Q1: Output for load 1
- Q2: Output for load 2
- TS: Input for optional digital temperature sensor (not included)
Connect the Live (L) and Neutral (N) wires from your mains supply to the corresponding terminals on the module. Connect your switches to I1 and I2, and your loads (e.g., lights) to Q1 and Q2. Ensure all connections are secure.
6. Setup
6.1. Z-Wave Network Inclusion (Pairing)
- Ensure the Qubino Flush 2 Relay is powered on.
- Put your Z-Wave controller into inclusion (pairing) mode. Refer to your controller's manual for specific instructions.
- Press the service button (S) on the Qubino module three times within 3 seconds. Alternatively, if a switch is connected to I1, toggle it three times within 3 seconds.
- The module will be detected and added to your Z-Wave network.
6.2. Z-Wave Network Exclusion (Unpairing)
- Ensure the Qubino Flush 2 Relay is powered on.
- Put your Z-Wave controller into exclusion (unpairing) mode.
- Press the service button (S) on the Qubino module three times within 3 seconds. Alternatively, if a switch is connected to I1, toggle it three times within 3 seconds.
- The module will be removed from your Z-Wave network.
6.3. Factory Reset
A factory reset will restore the module to its default settings and remove it from any Z-Wave network. This should only be used when the primary controller is missing or inoperable.
- Ensure the Qubino Flush 2 Relay is powered on.
- Press and hold the service button (S) for at least 6 seconds.
- Release the button when the LED indicator (if present) confirms the reset.
7. Operating Instructions
7.1. Control via Z-Wave Controller/App
Once successfully included in your Z-Wave network, you can control the two connected loads (Q1 and Q2) using your Z-Wave gateway's interface or a compatible smart home application. You can turn loads ON/OFF, set schedules, or integrate them into scenes and automations.
7.2. Manual Control
If traditional wall switches are connected to I1 and I2, you can still control the loads manually by toggling these switches. The module will report the status changes to your Z-Wave controller.
7.3. Power Metering
The Qubino Flush 2 Relay continuously monitors the power consumption of the devices connected to Q1 and Q2. This data is reported to your Z-Wave controller and can be viewed in your smart home application, allowing you to track energy usage.
8. Maintenance
The Qubino Flush 2 Relay is designed for maintenance-free operation. Ensure the device is kept dry and free from dust. Do not attempt to open or repair the module yourself, as this will void the warranty and may pose a safety risk. For cleaning, gently wipe the exterior with a dry, soft cloth.
9. Troubleshooting
If you experience issues with your Qubino Flush 2 Relay, consider the following:
- Module not responding: Check the power supply to the module. Ensure all wiring connections are secure.
- Cannot include/exclude: Ensure your Z-Wave controller is in the correct mode and the module is within range. Try performing the inclusion/exclusion process closer to the controller.
- Incorrect status reporting: Verify the switch type setting in your Z-Wave controller's parameters (if applicable) matches the physical switch connected (momentary/toggle).
- Overheating: Ensure the module is installed in a well-ventilated area and not overloaded beyond its maximum wattage.
If problems persist, perform a factory reset (Section 6.3) and attempt re-inclusion.
10. Specifications
| Attribute | Value |
|---|---|
| Brand | Qubino |
| Model | Flush 2 Relay |
| Power / Electrical Power | Up to 920W per channel |
| ASIN | B0923JYRQR |
| First Available Date | April 9, 2021 |
| Connector Type | Screw, Wireless |
| Connection Type | 2NO (Normally Open) |
| Mounting Type | Flush Mount |
| Operating Mode | Automatic |
11. Warranty and Support
Qubino products are manufactured to the highest quality standards. For information regarding warranty terms and conditions, please refer to the documentation provided with your purchase or visit the official Qubino website. For technical support or further assistance, please contact your retailer or the Qubino customer support team.


