1. Introduction
This manual provides comprehensive instructions for the proper installation, operation, and maintenance of your Gravity Warzone WZ12D4 12-inch shallow car subwoofer. To ensure optimal performance and longevity of your subwoofer, please read this manual thoroughly before installation and use. This subwoofer is designed to deliver enhanced bass response in car audio systems, particularly in installations where mounting depth is limited.
2. Safety Information
Always observe the following safety precautions:
- Professional Installation: Installation of car audio components can be complex. If you are unsure about any aspect of the installation process, seek assistance from a qualified professional installer.
- Power Handling: Ensure that the amplifier connected to this subwoofer matches its RMS power handling capabilities to prevent damage. Overpowering or underpowering can lead to speaker failure.
- Wiring: Use appropriate gauge wiring for power, ground, and speaker connections. Incorrect wiring can cause electrical shorts, overheating, and potential fire hazards.
- Mounting: Securely mount the subwoofer in a suitable enclosure to prevent movement during vehicle operation, which could cause injury or damage.
- Ventilation: Ensure adequate ventilation around the subwoofer and amplifier to prevent overheating.
- Water Exposure: This subwoofer is not water-resistant. Avoid exposure to moisture or liquids.
3. Package Contents
Verify that your package contains the following items:
- 1x Gravity Warzone WZ12D4 Subwoofer
4. Features
The Gravity Warzone WZ12D4 subwoofer incorporates several design elements for robust performance:
- Shallow Mount Design: Engineered for installations with limited mounting depth.
- Dual 4 Ohm Voice Coil (DVC): Provides flexible wiring options to match various amplifier configurations.
- Carbon Fiber Cone: Offers rigidity and lightweight properties for accurate bass reproduction.
- Treated Rubber Surround: Contributes to extended excursion and durability.
- 2.5-inch Voice Coil: Designed for efficient power handling.
- Ferrite Magnet Structure: Provides strong magnetic force for speaker movement.
- Advanced Air Flow Cooling System: Helps dissipate heat during operation to maintain performance.

Figure 1: Front view of the Gravity Warzone WZ12D4 12-inch shallow subwoofer, showcasing the carbon fiber cone and treated rubber surround.

Figure 2: Angled view of the subwoofer, highlighting the cone and surround construction.
5. Setup
5.1. Installation Guidelines
The WZ12D4 is a shallow-mount subwoofer, requiring careful consideration for enclosure design and placement. Ensure the chosen location provides sufficient clearance for the subwoofer's dimensions.
- Enclosure: This subwoofer requires a sealed or ported enclosure designed for its specific parameters. Consult a car audio specialist or use a reputable enclosure design calculator for optimal results.
- Mounting Depth: The subwoofer has a shallow mounting depth of 3.58 inches (refer to specifications for exact dimensions). Ensure your enclosure can accommodate this.
- Cutout Diameter: The recommended cutout diameter is 11.02 inches.
- Secure Mounting: Use appropriate fasteners to securely mount the subwoofer to the enclosure.
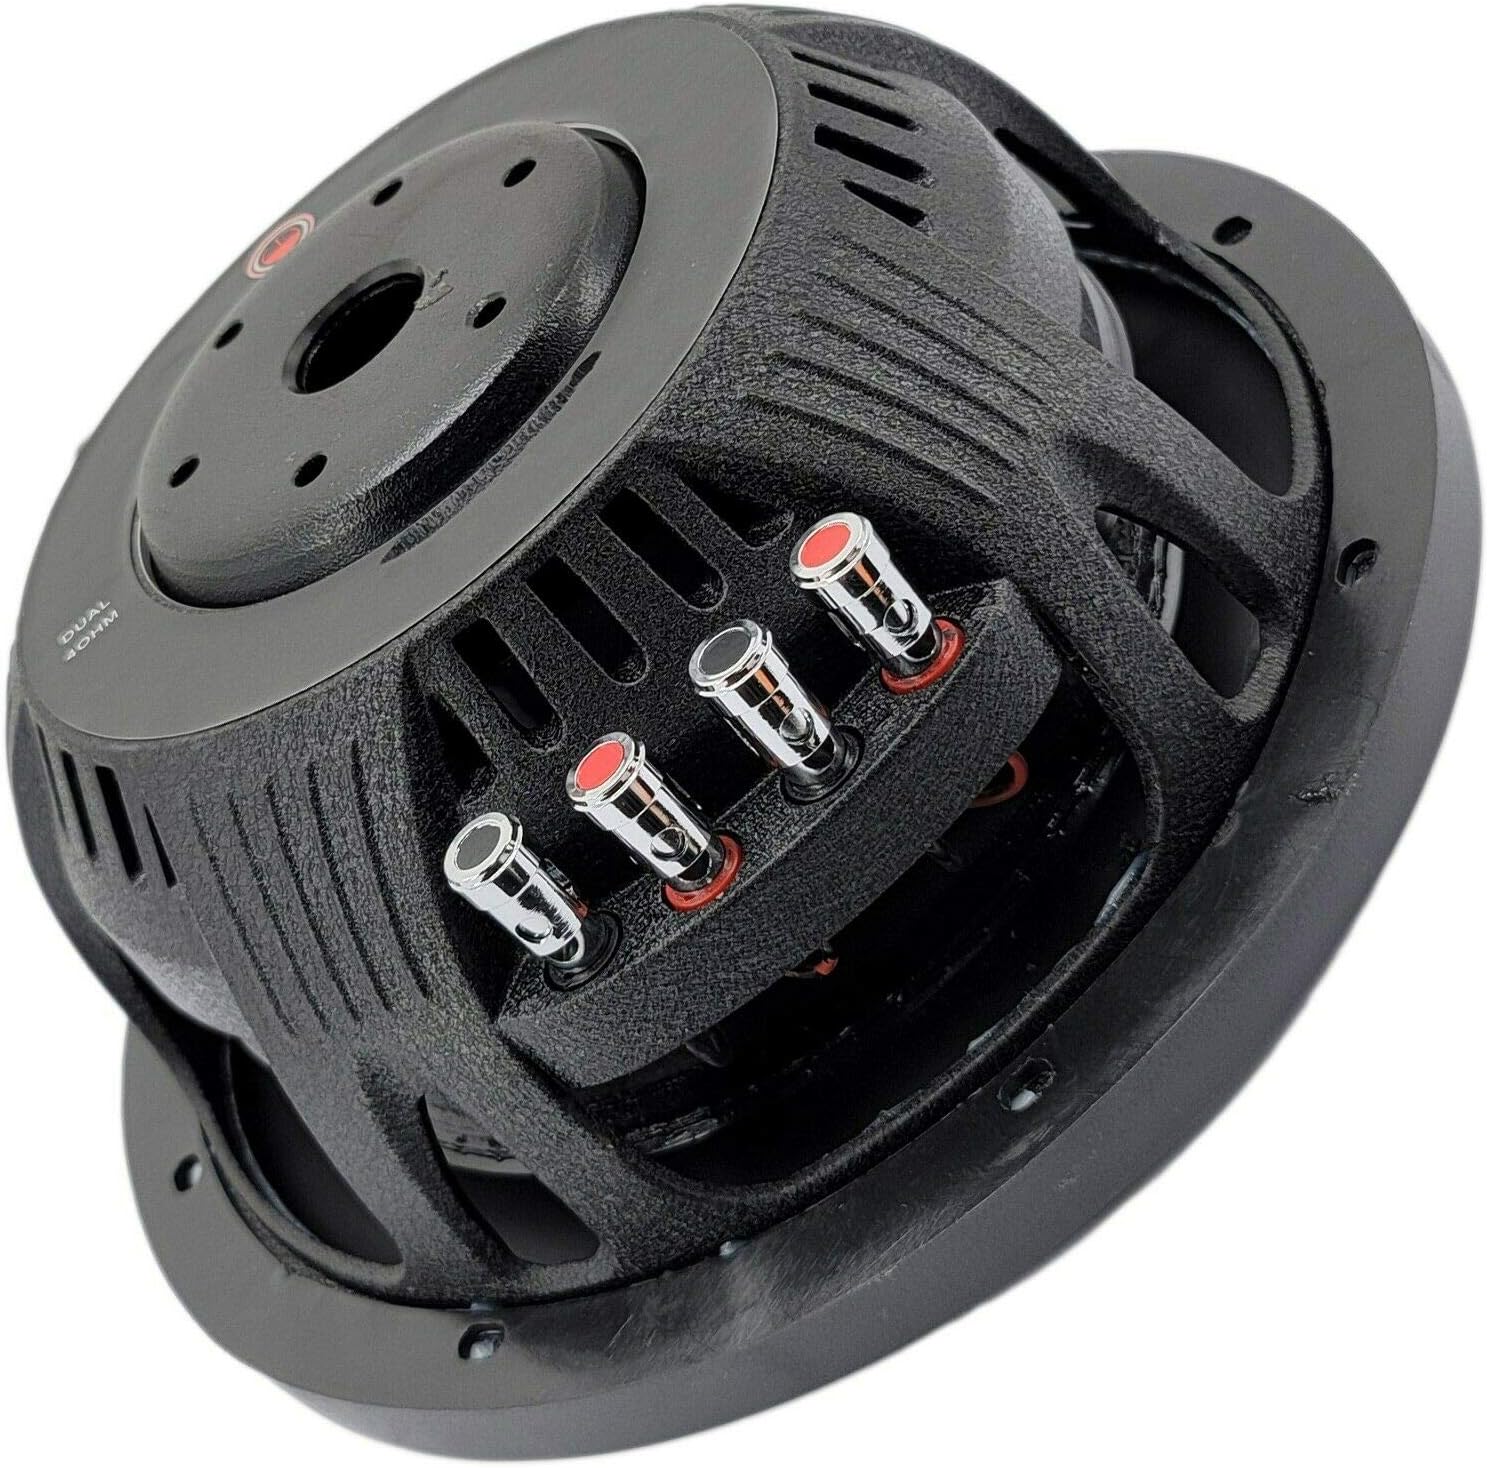
Figure 3: Rear view of the subwoofer, showing the magnet structure and terminal block.
5.2. Wiring the Dual Voice Coils (DVC)
The WZ12D4 features dual 4-ohm voice coils, offering flexibility in wiring configurations to achieve different impedance loads for your amplifier. Always ensure your amplifier is stable at the chosen impedance.
- Series Wiring (8 Ohms): Connect the positive terminal of Voice Coil 1 to the negative terminal of Voice Coil 2. Connect the amplifier's positive output to the positive terminal of Voice Coil 2, and the amplifier's negative output to the negative terminal of Voice Coil 1.
- Parallel Wiring (2 Ohms): Connect the positive terminals of both Voice Coils together. Connect the negative terminals of both Voice Coils together. Connect the amplifier's positive output to the combined positive terminals, and the amplifier's negative output to the combined negative terminals.

Figure 4: Close-up of the subwoofer's nickel-plated push terminals for secure wiring connections.
6. Operating
Once installed and wired correctly, connect the subwoofer to a compatible amplifier. Follow your amplifier's instructions for initial setup, including:
- Gain Setting: Adjust the amplifier's gain control carefully. Start with the gain at its minimum and slowly increase it until the desired volume is achieved without distortion.
- Crossover Frequency: Set the low-pass filter (LPF) on your amplifier to an appropriate frequency, typically between 80 Hz and 120 Hz, to ensure the subwoofer only reproduces low frequencies.
- Subsonic Filter: If your amplifier has a subsonic filter, set it slightly below your enclosure's tuning frequency to protect the subwoofer from over-excursion at very low frequencies.
7. Maintenance
Regular maintenance helps preserve the performance and appearance of your subwoofer:
- Cleaning: Use a soft, dry cloth to wipe down the subwoofer cone and surround. Avoid using harsh chemicals or excessive moisture.
- Inspection: Periodically inspect the cone, surround, and terminals for any signs of damage, wear, or loose connections.
- Environmental Protection: Keep the subwoofer away from direct sunlight, extreme temperatures, and high humidity.
8. Troubleshooting
If you experience issues with your subwoofer, refer to the following common problems and solutions:
| Problem | Possible Cause | Solution |
|---|---|---|
| No Sound | Loose wiring connection, amplifier off/faulty, incorrect impedance. | Check all wiring connections. Verify amplifier power and settings. Confirm correct impedance match. |
| Distorted Sound | Amplifier gain too high, incorrect crossover settings, damaged voice coil. | Reduce amplifier gain. Adjust LPF settings. Inspect subwoofer for physical damage. |
| Subwoofer Overheating | Excessive power, insufficient ventilation, incorrect impedance. | Reduce power to the subwoofer. Ensure adequate airflow around the subwoofer and amplifier. Verify correct impedance. |
If the problem persists after attempting these solutions, contact Gravity customer support or a qualified car audio technician.
9. Specifications
The following table outlines the technical specifications for the Gravity Warzone WZ12D4 12-inch shallow car subwoofer:
| Specification | Detail |
|---|---|
| Model Name | WZ12D4 |
| Brand | Gravity |
| Speaker Type | Subwoofer, Dynamic Driver |
| Subwoofer Diameter | 12 Inches |
| Peak Power | 1500 Watts |
| RMS Power | 500 Watts |
| Impedance | Dual 4 Ohms Voice Coil (DVC) |
| Frequency Response | 35 - 500 Hz |
| Sensitivity | 87 dB |
| Voice Coil Size | 2.5 Inches |
| Cone Material | Carbon Fiber |
| Surround Material | Treated Rubber |
| Mounting Type | Car Mount |
| Mounting Depth | 3.58 Inches |
| Cutout Diameter | 11.02 Inches |
| Shape | Circular |
| Item Weight | 15.32 pounds |
| Water Resistance | Not Water Resistant |
| Connectivity Technology | Wired (Coaxial) |
10. Warranty
The Gravity Warzone WZ12D4 subwoofer comes with a Limited Warranty. For specific details regarding warranty coverage, duration, and claims procedures, please refer to the warranty card included with your product or contact Gravity customer support directly. Keep your proof of purchase for warranty validation.
11. Support
For technical assistance, troubleshooting beyond this manual, or warranty inquiries, please contact:
- Gravity Customer Support: Refer to the contact information provided on the product packaging or the official Gravity website.
- Authorized Dealer: Contact the retailer from whom you purchased the product.


