1. Safety Information
Please read all safety instructions carefully before operating the VEVOR Semi-automatic Cup Sealing Machine. Failure to follow these instructions may result in electric shock, fire, or serious injury.
- Electrical Safety: Ensure the machine is connected to a grounded power outlet with the correct voltage (110 Volts). Do not operate with wet hands or in damp environments. Disconnect power before cleaning or maintenance.
- Heat Hazard: The sealing plate reaches high temperatures. Avoid direct contact with the heating elements during operation and immediately after use. Allow the machine to cool down before cleaning or handling internal components.
- Moving Parts: Keep hands and loose clothing clear of all moving parts, especially the film feeding mechanism and cup tray, during operation.
- Proper Ventilation: Ensure adequate ventilation around the machine to prevent overheating.
- Children and Pets: Keep children and pets away from the machine at all times.
- Intended Use: Use the machine only for its intended purpose of sealing compatible cups. Do not attempt to seal incompatible materials or use for other applications.
- Maintenance: Only qualified personnel should perform repairs or complex maintenance.
2. Setup and Assembly
2.1 Unpacking and Inspection
Carefully remove all packaging materials. Inspect the machine for any signs of damage during transit. Ensure all accessories listed in the packing list are present.
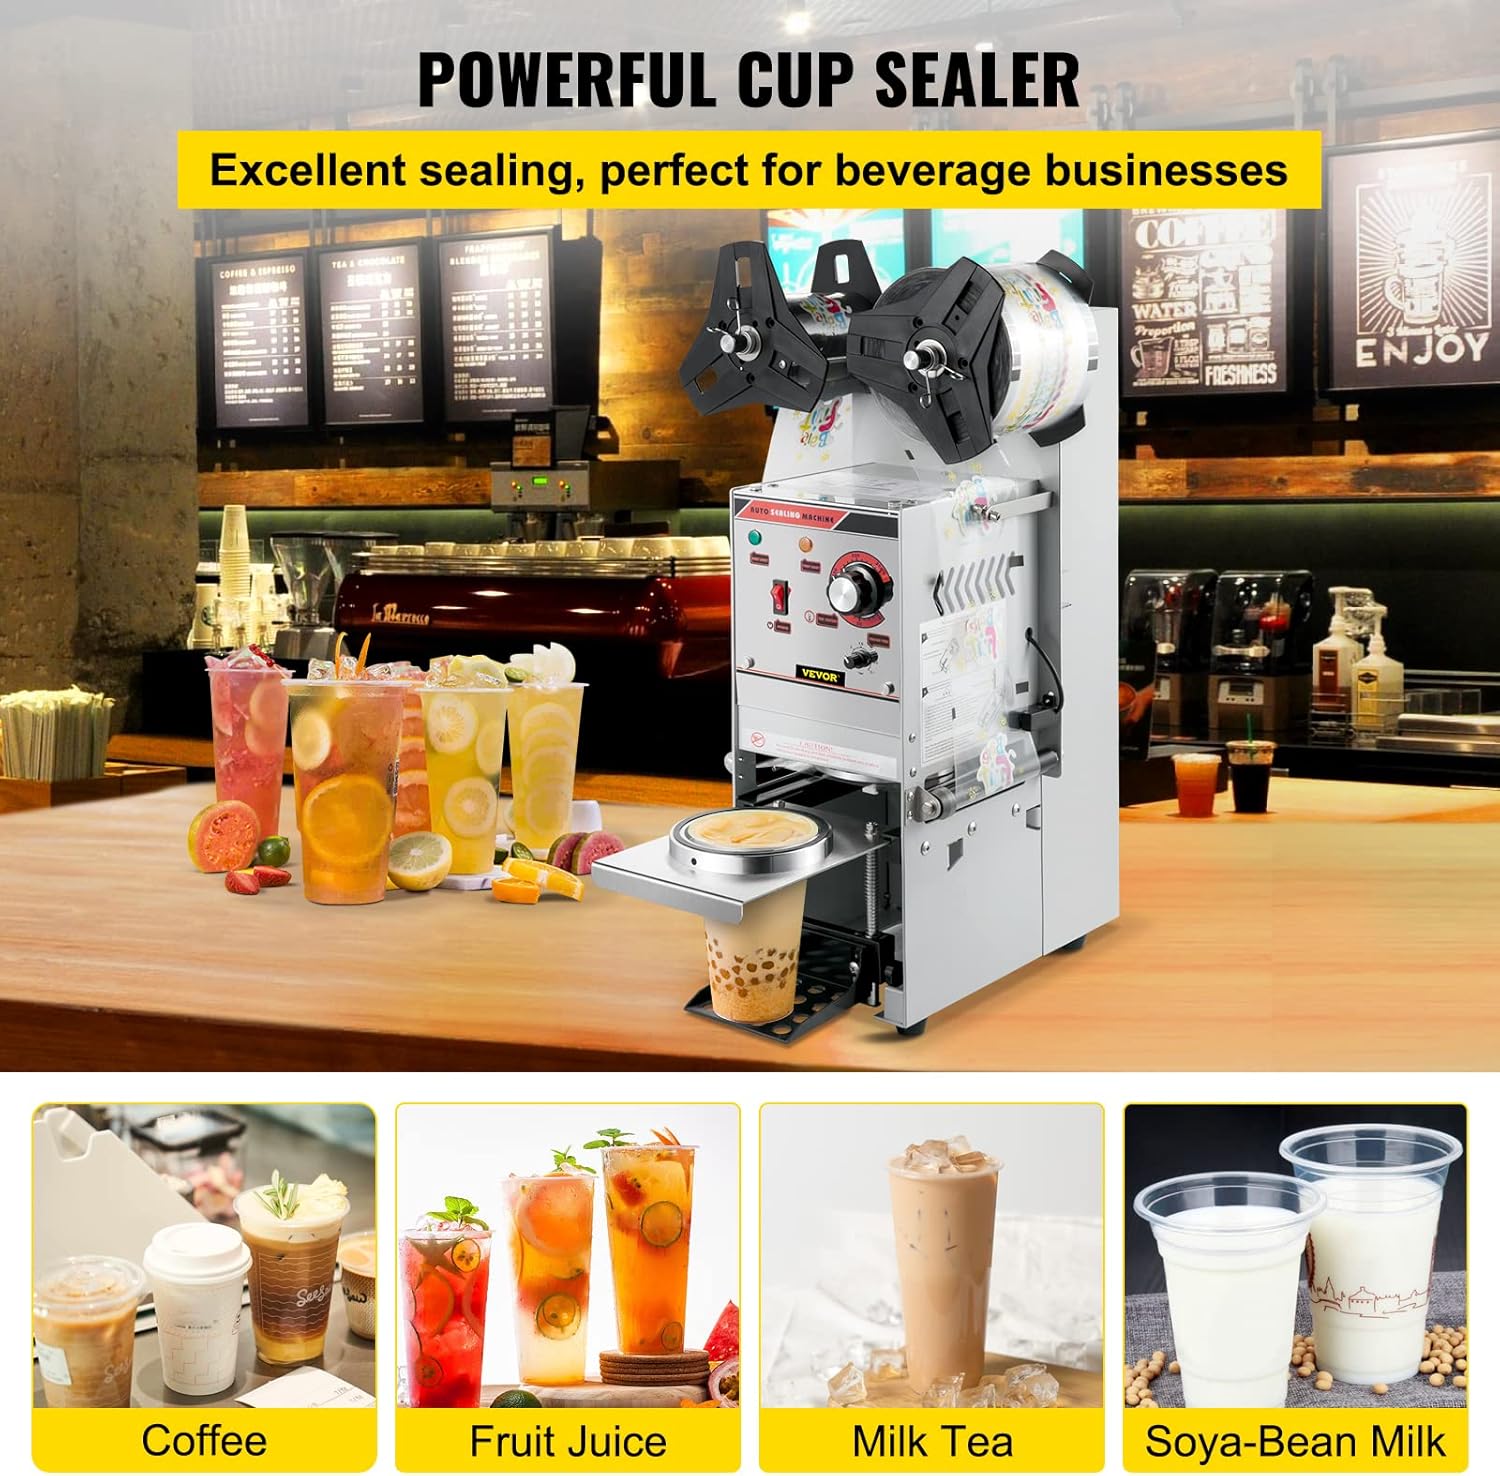
Image: The VEVOR Semi-automatic Cup Sealing Machine ready for use, showcasing its ability to seal various beverages like coffee, fruit juice, milk tea, and soya-bean milk.
2.2 Film Roll Installation
Proper installation of the sealing film is crucial for effective operation. Ensure the film is loaded correctly to prevent rolling issues.
- Mount the flower-shaped splint onto the sealing film roll.
- Insert the shim and film-collecting cylinder onto the machine's film shaft. Ensure the film-collecting cylinder and machine gears fit well.
- Thread the sealing film over the electric eye and the small iron pole. The film should be wrapped around the film-collecting cylinder from the outside in.
- Install the flower-shaped splint and shim, then secure with the spring clip.
Video: Detailed steps for installing the sealing film on the VEVOR Cup Sealing Machine (WY-680, WY-690 models).
3. Operation
3.1 Power On and Initial Settings
- Connect the machine to a 110 Volt power supply.
- Press the power button to turn on the machine. The 'HEAT LIGHT' will illuminate.
- Adjust the temperature knob to approximately 170°C (338°F). The 'TEMP LIGHT' will turn on during heating and turn off once the set temperature is reached.
- Set the sealing time between 0.1 to 0.5 seconds using the 'SEALING TIME' knob. This setting may vary based on cup and film material.

Image: Close-up of the control panel, showing the power button, operating indicators, temperature setting dial, and sealing time adjustment knob. An electric sensing eye is also highlighted for film alignment.
3.2 Sealing Process
- Once the 'TEMP LIGHT' is off, indicating the set temperature is reached, place a compatible cup filled with liquid onto the cup tray.
- Push the cup tray into the machine. The machine will automatically seal the cup.
- Pull the cup tray out. The sealed cup can now be removed.
- The machine can seal 300-500 cups per hour.

Image: The VEVOR Semi-automatic Cup Sealing Machine in action, demonstrating its fast and accurate sealing capability for bubble tea cups, highlighting its efficiency and leak-tightness.
3.3 Cup Compatibility
This cup sealer is suitable for 90/95 mm (3.54/3.74 inch) diameter cups made of PP, PE, and PS materials. The inner diameter of the cup should be less than 88 mm (3.46 inch). The cup tray can be adjusted for different cup heights. The cup and film material should be the same for optimal sealing.
Note: The machine is incompatible with PET material, paper cups, glass cups, etc.

Image: A diagram illustrating the applicable cup types and dimensions (90/95mm diameter, max height 180mm) for both plastic and paper cups, along with compatible cup materials (PP, PE, PET) and film materials.
4. Maintenance
4.1 Daily Cleaning
Regular cleaning ensures optimal performance and longevity of your machine.
- Ensure the machine is in idle mode and turn off the power switch.
- Use a wet towel (without excessive water) to clean any dirt or residue from the machine's surfaces, especially around the sealing area and cup tray.
- Once cleaning is complete, replace the pulling plate.
Video: Instructions for daily cleaning of the VEVOR Cup Sealing Machine (WY-680, WY-690 models).
5. Troubleshooting
5.1 Film Rolling Issues / Incomplete Sealing
If the film rolls incorrectly after the tooth knife or does not press down to seal the cup:
- First, ensure you have cleaned any used sealing film from the upper left corner of the machine. This is essential.
- Reinstall the sealing film and attempt to seal a cup.
- If the film still rolls or does not seal, adjust the sensitivity of the electric eye. The blank area of the sealing film should be inside the light-emitting slot. If the detection indicator light is on, adjust the electric eye damping screw clockwise until the detection indicator light turns off.
- Restart the machine after adjustment and try sealing a cup again.
Video: Solutions for film rolling issues and incomplete sealing on the VEVOR Cup Sealing Machine (WY-680, WY-690 models).
5.2 Pinion Gear Replacement
If the pinion gear needs replacement:
- Observe the current position of the pinion screw. If the screw location is not accessible, operate the machine once to move the gear into a removable position.
- Power off the machine and loosen the pinion screw.
- Remove the old gear.
- Install the screws onto the new gear.
- Install the new gear onto the machine and tighten the screw.
Video: Guide for replacing the pinion gear on the VEVOR Cup Sealing Machine (WY-680, WY-690 models).
6. Specifications
| Feature | Detail |
|---|---|
| Brand | VEVOR |
| Model | Semi-automatic |
| Material | Plastic, Carbon Steel |
| Color | Silver |
| Product Dimensions | 15"L x 14"W x 27"H (37cm L x 36cm W x 68cm H) |
| Item Weight | 42 Pounds (18.4 kg) |
| Power Source | Corded Electric |
| Operation Mode | Semi-Automatic |
| Wattage | 350 watts |
| Voltage | 110 Volts |
| Sealing Output | 300-500 cups/hour |
| Compatible Cup Diameter | 90/95 mm (3.54/3.74 inch) |
| Max. Inner Cup Diameter | 88 mm (3.46 inch) |
| Compatible Cup Materials | PP, PE, PS (Note: Incompatible with PET, paper, glass cups) |

Image: A visual representation of the VEVOR Semi-automatic Cup Sealing Machine's dimensions, showing its height (27 inches / 68 cm), length (15 inches / 37 cm), and width (14 inches / 36 cm).
7. Warranty and Support
For warranty information, technical support, or to register your product, please refer to the official VEVOR website or contact customer service. Keep your purchase receipt for warranty claims.
VEVOR Support: www.vevor.com/support