1. Introduction
This user manual provides comprehensive instructions for the operation and maintenance of your VILINICE Native 1080P HD WiFi Bluetooth Projector. Please read this manual thoroughly before using the product to ensure proper function and to extend its lifespan.
2. Package Contents
Verify that all items listed below are included in your package. If any items are missing or damaged, please contact customer support.

Image: VILINICE Projector and included accessories. This image shows the main projector unit, a user manual, a 100-inch screen, an HDMI cable, a power cable, a 3-in-1 AV cable, and a remote control.
- 1 x VILINICE Native 1080P WiFi Projector
- 1 x 100-inch Projector Screen
- 1 x Power Cable
- 1 x HDMI Cable
- 1 x 3-in-1 AV Cable
- 1 x Remote Control
- 1 x User Manual (This document)
3. Product Features
- Native 1080P Full HD Resolution: Supports 4K content with a true native resolution of 1920x1080P.
- High Brightness & Contrast: 9500 Lumens brightness and 10000:1 contrast ratio for clear and vivid images.
- Dual-band WiFi Connectivity: Supports 2.4G and 5G WiFi for seamless screen mirroring from smartphones (iOS/Android).
- Bluetooth Audio Output: Connects to external Bluetooth speakers, headphones, or AirPods for enhanced audio.
- Built-in HiFi Stereo Speakers: Equipped with two 10W HiFi stereo speakers and SRS audio system.
- Large Projection Size: Projects screen sizes from 50 inches to 300 inches.
- Flexible Projection Distance: Optimal projection distance from 1.8m to 8.3m (70 to 325 inches).
- Keystone Correction: Manual ±30° keystone correction for image adjustment.
- Long Lamp Lifespan: Lamp life up to 100,000 hours.
- Multiple Connectivity Options: USB, HDMI (x2), AV, Micro SD, VGA ports.
- Included 100-inch Screen: Comes with a portable 100-inch projector screen for outdoor use.
4. Product Overview
4.1. Front and Top View

Image: Front and top view of the VILINICE projector. This image highlights the projector's lens, the focus and keystone adjustment rings on top, and the overall design with a grey fabric finish.
4.2. Rear and Side View (Ports)

Image: Side view of the VILINICE projector displaying its connectivity ports. These include USB, HDMI1, HDMI2, AV, Micro SD, and VGA ports, allowing for multiple device connections.
- Lens: Projects the image onto the screen.
- Focus Ring: Adjusts image clarity.
- Keystone Correction Ring: Corrects trapezoidal distortion.
- Power Button: Turns the projector on/off.
- USB Ports: For connecting USB drives.
- HDMI Ports (HDMI1, HDMI2): For connecting devices like laptops, TV boxes, gaming consoles.
- AV Port: For connecting older devices using the 3-in-1 AV cable.
- Micro SD Slot: For inserting Micro SD cards.
- VGA Port: For connecting computers with VGA output.
- Audio Out (3.5mm Jack): For connecting external wired speakers or headphones.
5. Setup
5.1. Placement
Place the projector on a stable, flat surface. Ensure there is adequate ventilation around the projector to prevent overheating. The optimal projection distance ranges from 1.8m to 8.3m (70 to 325 inches) for screen sizes between 50 and 300 inches.
5.2. Power Connection
- Connect the power cable to the projector's power input.
- Plug the other end of the power cable into a power outlet.
- The power indicator light will illuminate.
5.3. Initial Power On
Press the power button on the projector or the remote control to turn on the device. The VILINICE logo will appear on the screen.
6. Operating Instructions
6.1. Adjusting Image Focus and Keystone
- Focus Adjustment: Rotate the focus ring on top of the projector until the image appears clear and sharp.
- Keystone Correction: If the projected image is trapezoidal (wider at the top or bottom), rotate the keystone correction ring to achieve a rectangular image. The projector supports ±30° manual keystone correction.
6.2. Wireless Connection (Screen Mirroring)
The projector supports 2.4G and 5G WiFi for screen mirroring from iOS and Android smartphones/tablets.

Image: Diagram illustrating both wireless (WiFi) and wired (USB cable) connection methods for the VILINICE projector, compatible with Android and iOS devices.
6.2.1. For iOS Devices (iPhone/iPad)
- Ensure your iOS device and the projector are connected to the same WiFi network.
- On the projector, select "Screen Mirroring" or "iOS Cast" from the main menu.
- On your iOS device, open Control Center and tap "Screen Mirroring" or "AirPlay Mirroring".
- Select the projector's name from the list (e.g., "VILINICE-XXXX").
- The screen of your iOS device will now be mirrored on the projector.
6.2.2. For Android Devices
- Ensure your Android device and the projector are connected to the same WiFi network.
- On the projector, select "Screen Mirroring" or "Android Cast" from the main menu.
- On your Android device, enable "Wireless Display," "Multi-screen," "Smart View," or "Screen Cast" (names may vary by device).
- Select the projector's name from the detected devices.
- The screen of your Android device will now be mirrored on the projector.
6.3. Wired Connection (USB Cable)
For a direct connection without WiFi, you can use your original USB charging cable.
- Connect your smartphone/tablet to the projector's USB port using its original USB charging cable.
- Select the appropriate input source on the projector (e.g., "USB").
- Follow any on-screen prompts on your device to allow the connection.
6.4. Connecting External Devices via HDMI/AV/VGA
Image: Side view of the VILINICE projector displaying its connectivity ports. These include USB, HDMI1, HDMI2, AV, Micro SD, and VGA ports, allowing for multiple device connections.
The projector supports various wired connections for different devices:
- HDMI: Connect laptops, TV boxes, Fire TV Stick, Roku, PS4, Xbox, etc., using an HDMI cable. Select the corresponding HDMI input (HDMI1 or HDMI2) on the projector.
- AV: Connect older devices like DVD players using the included 3-in-1 AV cable. Select the AV input.
- VGA: Connect computers with VGA output using a VGA cable. Select the VGA input.
- USB Disk/SD Card: Insert a USB flash drive or Micro SD card into the respective port to play media files directly. Select the USB or SD input.
6.5. Bluetooth Audio Connection
Connect the projector to external Bluetooth speakers, headphones, or AirPods for a superior audio experience.
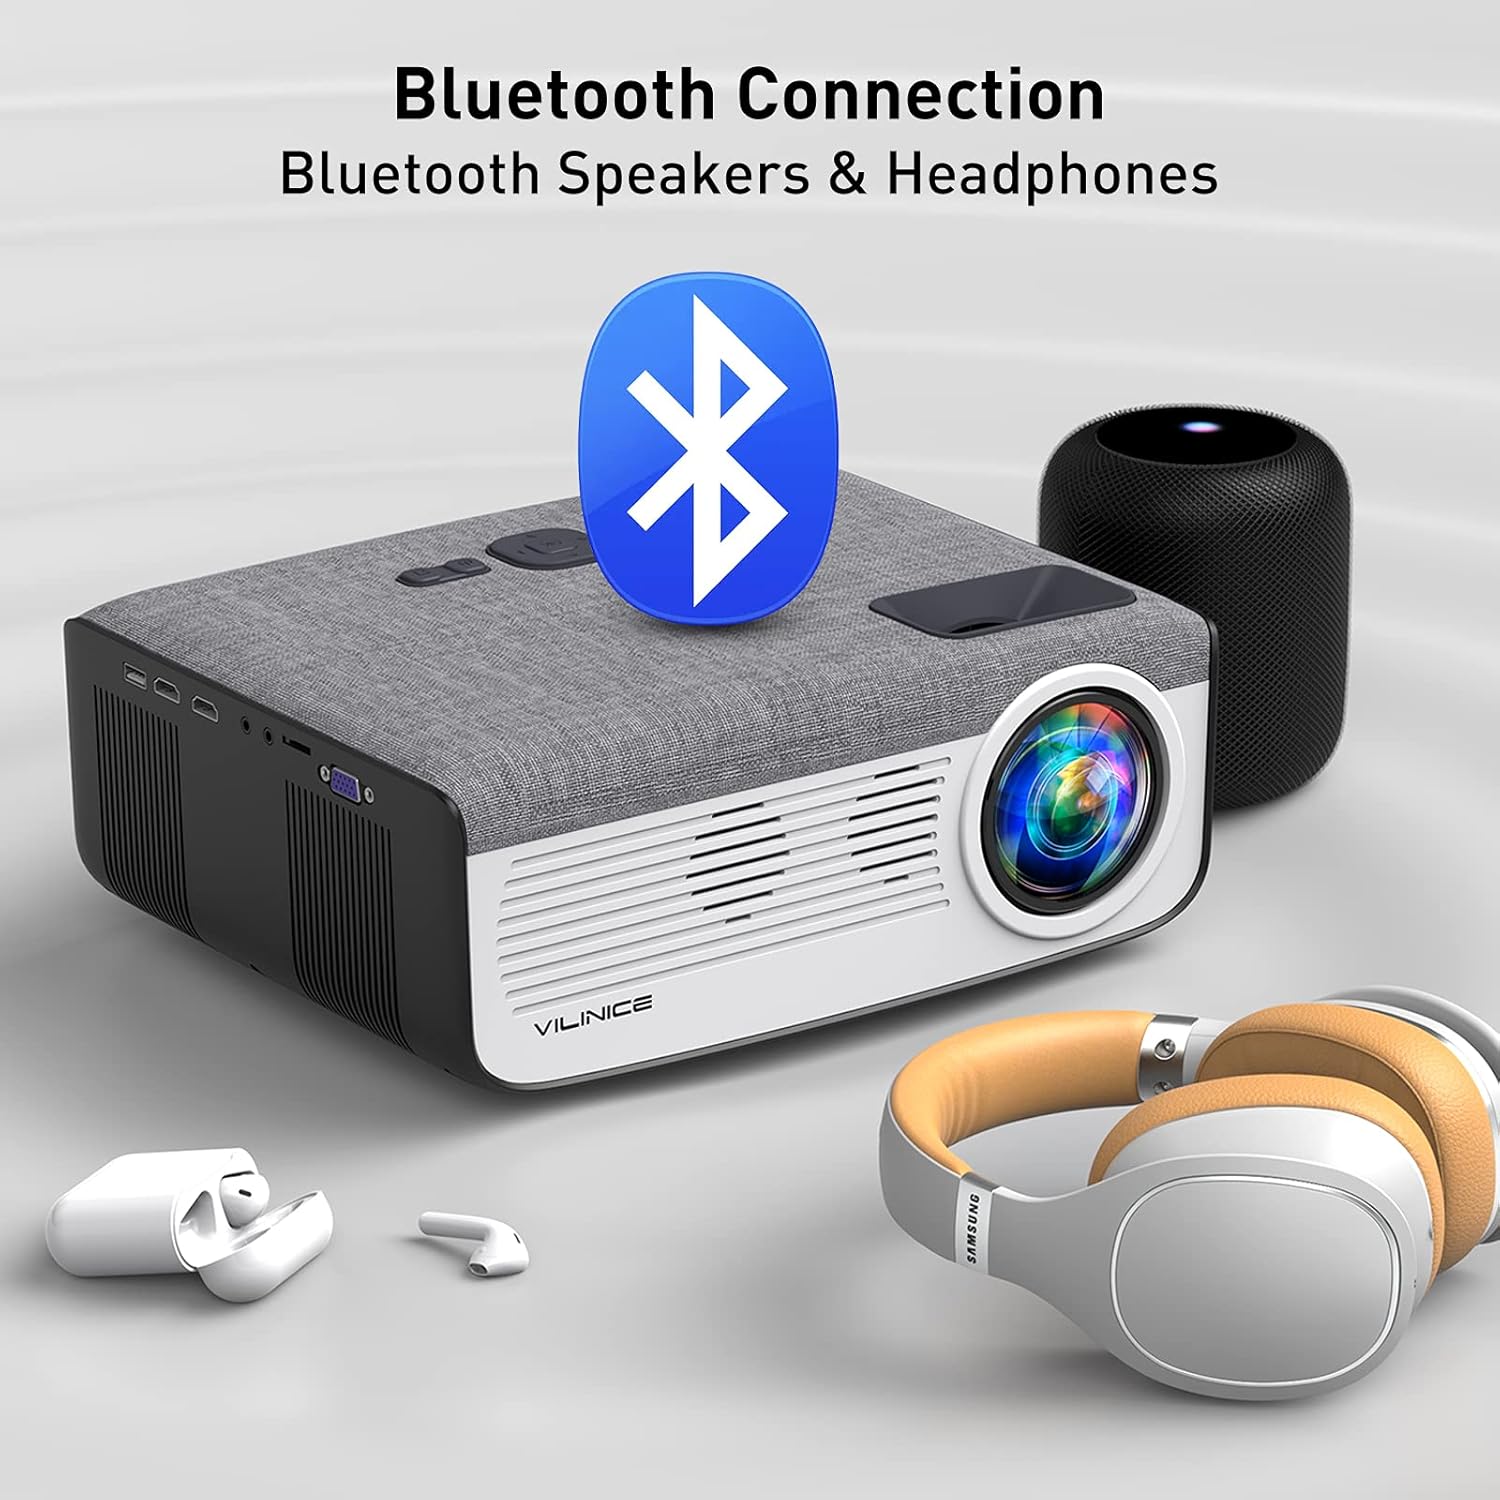
Image: The VILINICE projector shown with a large Bluetooth logo, indicating its Bluetooth connectivity feature. Nearby are a Bluetooth speaker and a pair of Bluetooth headphones, illustrating the ability to connect to external audio devices.
- Turn on your Bluetooth speaker or headphones and set them to pairing mode.
- On the projector, navigate to the Bluetooth settings menu.
- Scan for available Bluetooth devices.
- Select your Bluetooth device from the list to pair.
- Once connected, audio will be routed through the external Bluetooth device.
7. Maintenance
7.1. Cleaning the Lens
Use a professional lens cleaning cloth or lens paper to clean the projector lens. Avoid using abrasive cleaners or cloths that could scratch the lens.
7.2. Cleaning the Projector Body
Wipe the projector body with a soft, dry cloth. Do not use liquid cleaners or solvents.
7.3. Ventilation
Ensure the ventilation vents are clear of dust and obstructions. The projector has an intelligent fan system that adjusts speed based on temperature to minimize power consumption and extend lamp life. Do not block the vents.
7.4. Storage
When not in use for extended periods, store the projector in a cool, dry, dust-free environment. Use the original packaging or a protective case if available.
8. Troubleshooting
| Problem | Possible Cause | Solution |
|---|---|---|
| No image/Power off | Power cable loose; Projector off; Overheating. | Check power connection; Press power button; Allow projector to cool down. |
| Blurred image | Out of focus; Incorrect projection distance. | Adjust focus ring; Adjust projection distance. |
| Trapezoidal image | Incorrect keystone setting. | Adjust keystone correction ring. |
| No sound | Volume too low; Muted; Incorrect audio output; Bluetooth not connected. | Increase volume; Unmute; Check audio settings; Reconnect Bluetooth device. |
| Screen mirroring issues | WiFi connection unstable; Device compatibility; Incorrect steps. | Ensure stable WiFi (2.4G/5G); Check device compatibility; Follow screen mirroring steps carefully. Try wired USB connection. |
| Remote control not working | Batteries dead; Obstruction; Not pointed at IR receiver. | Replace batteries; Remove obstructions; Point remote directly at projector's IR receiver. |
9. Specifications
| Feature | Detail |
|---|---|
| Brand | VILINICE |
| Model Number | VL407 |
| Native Resolution | 1920 x 1080P (Supports 4K) |
| Brightness | 9500 Lumens |
| Contrast Ratio | 10000:1 |
| Lamp Lifespan | 100,000 hours |
| Projection Size | 50" - 300" |
| Projection Distance | 1.8m - 8.3m (70" - 325") |
| Keystone Correction | ±30° Manual |
| Aspect Ratio | 4:3 / 16:9 |
| Connectivity | Wi-Fi (2.4G/5G), Bluetooth, HDMI (x2), USB (x1), AV, Micro SD, VGA |
| Compatible Devices | HDMI, Laptop, Smartphone, Television, USB, PS4, Fire Stick, Roku |
| Built-in Speakers | 2 x 10W HiFi Stereo with SRS Audio System |
| Power Consumption | 133W |
10. Warranty and Support
VILINICE offers lifetime free technical support and a 24-hour service desk. If you encounter any problems during the connection or operation of your HD projector, or if there is a quality issue with the product or package, please contact us immediately. We are committed to providing the best solution for you.
For assistance, please refer to the contact information provided on the product packaging or the official VILINICE website.


