
A-MIND for iPad Air 4 LCD Screen
User Manual for A-MIND iPad Air 4 Screen Replacement Kit
Models: A2324, A2072, A2325, A2316
1. Introduction
This manual provides essential information for the installation and care of your A-MIND LCD Display Touch Digitizer Assembly Screen Replacement Kit for iPad Air 4 (2020) 10.9-inch models. Please read all instructions and precautions carefully before proceeding with the replacement.

Figure 1: A-MIND iPad Air 4 Screen Replacement Kit contents.
2. Package Contents
The A-MIND iPad Air 4 Screen Replacement Kit includes the following components:
- 1x LCD Touch Screen Replacement for iPad AIR 4
- 1x Tempered Glass Screen Protector for iPad AIR 4
- 1x Strong Suction Cup
- 1x Triangle Opening Tools
- 1x Card Pin
- 1x Plastic Spudger
- 1x Tape
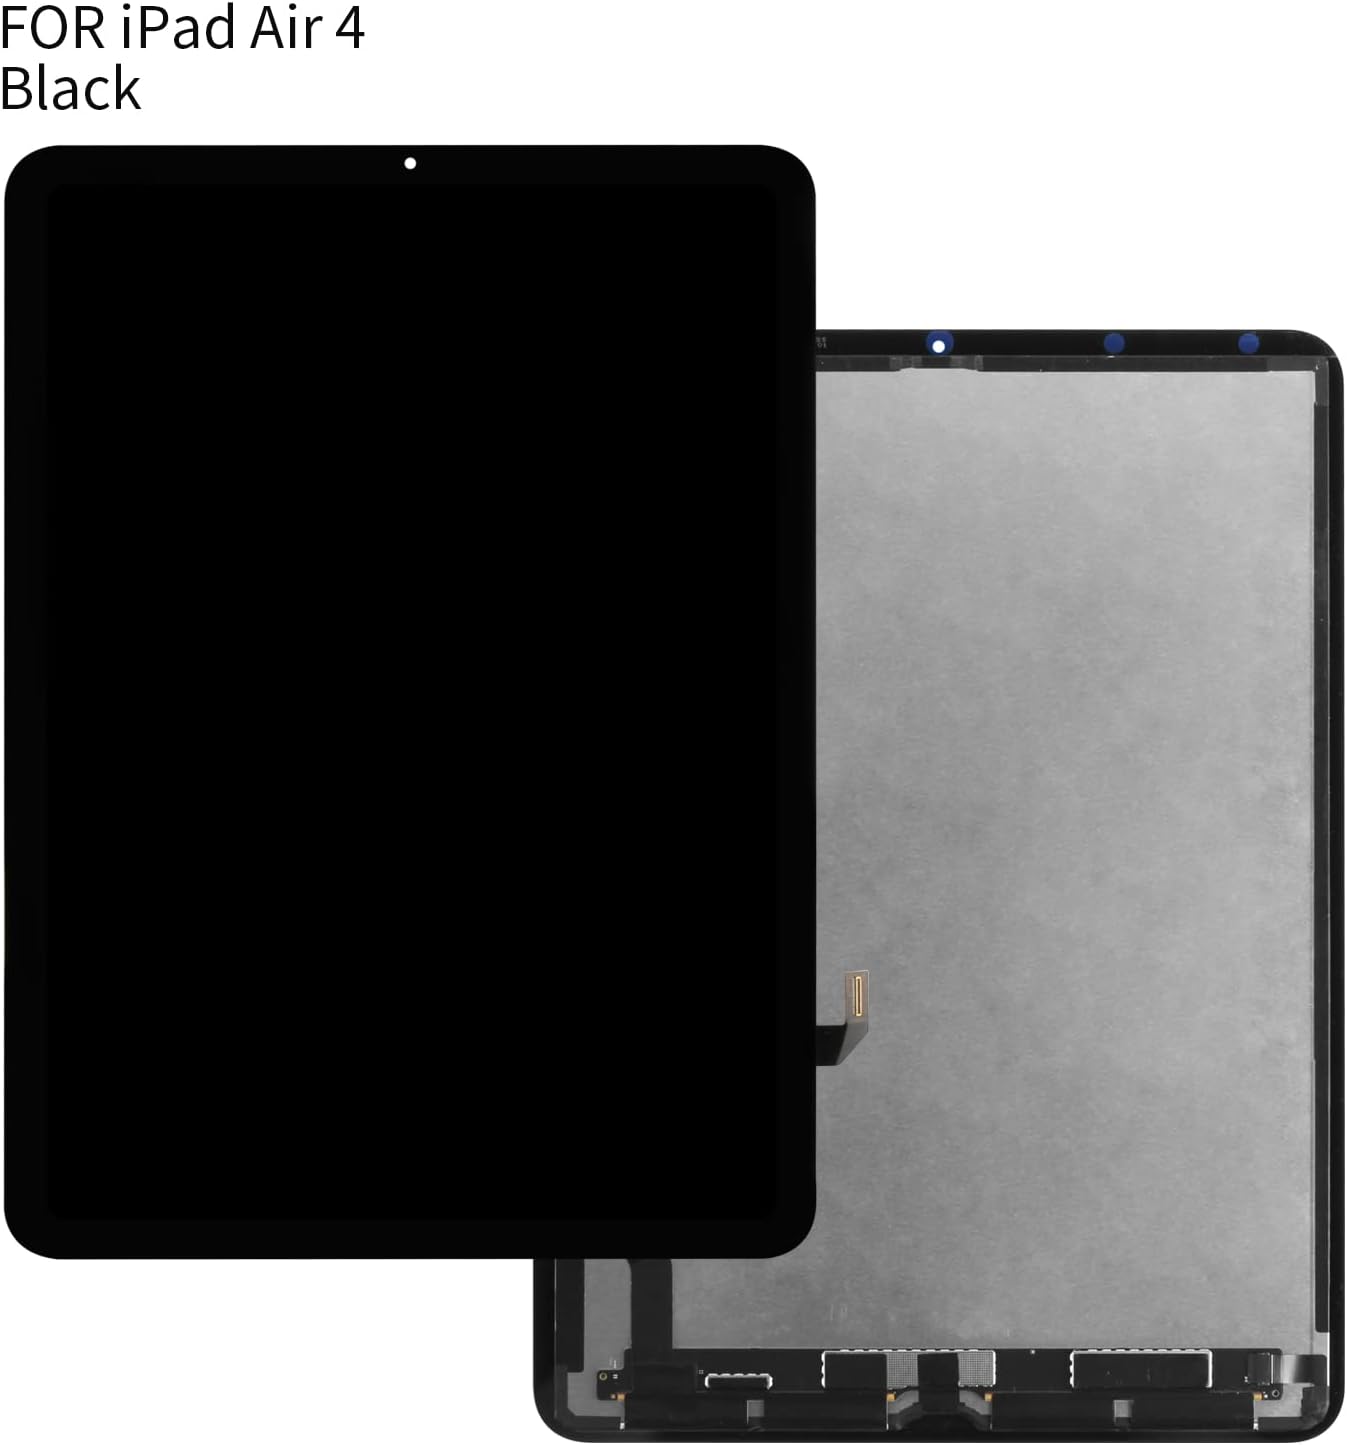
Figure 2: The black LCD display and digitizer assembly.
3. Compatibility
This screen replacement kit is compatible with the following iPad Air 4 (2020) 10.9-inch models:
- A2324
- A2072
- A2325
- A2316
Please verify your iPad's model number, typically found on the back of the device, before attempting installation.
4. Important Safety Information and Precautions
- Professional Installation Recommended: If you are not experienced in repairing electronic equipment, it is strongly recommended to seek assistance from a professional repair store. Attempting self-repair without proper knowledge may result in damage to your device or the new screen.
- Battery Disconnection: Before beginning the installation process, always disconnect the battery from your device. Reconnect the battery only after the new screen is properly connected and ready for testing.
- Pre-Installation Testing: Before permanently installing the screen with adhesive, connect the new screen and test its functionality (display, touch response) thoroughly. Do not apply adhesive until you have confirmed the screen works perfectly. Once adhesive is applied, returns or refunds for functional issues may not be accepted.
- Handle with Care: Screens are made of glass and are fragile. Exercise extreme caution when opening the package and during installation to prevent damage.
- Quality Assurance: All A-MIND screen replacement products undergo strict Quality Control (QC) testing prior to shipment to ensure optimal performance. This includes checking for scratches, dead zones, dead pixels, or lines on the screen.
5. Setup and Installation
Detailed installation instructions are not included with this kit. We highly recommend searching for video tutorials on platforms like YouTube or Google for comprehensive guidance specific to your iPad Air 4 model. These resources can provide visual step-by-step instructions for a successful replacement.
General Installation Steps (Consult Video Tutorials for Details):
- Power Off Device: Ensure your iPad is completely powered off before starting.
- Heat the Edges: Carefully apply heat to the edges of the iPad's screen to soften the adhesive.
- Pry Open: Use the provided suction cup and opening tools to gently pry open the old screen.
- Disconnect Cables: Carefully disconnect the flex cables connecting the old screen to the iPad's logic board.
- Clean Frame: Thoroughly clean any old adhesive residue from the iPad's frame.
- Connect New Screen: Connect the flex cables of the new A-MIND screen to the logic board.
- Test Functionality: Before applying adhesive, power on the iPad and test the display, touch response, and all other screen functions.
- Secure New Screen: Once tested and confirmed working, apply new adhesive (not included in this kit, but often recommended for a secure fit) and carefully press the new screen into place.
- Reassemble: Reassemble any other components removed during the process.

Figure 3: Rear view of the screen assembly, highlighting flex cable connections.

Figure 4: Detailed view of the screen's flex cable for connection.
Installation Video Resources:
Video 1: This video demonstrates the screen replacement process for the iPad Air 4th Generation. It shows the steps involved in removing the old screen and installing the new one, including handling the display and connecting cables.
6. Operating the New Screen
After successful installation, your new A-MIND screen should provide full functionality comparable to the original display. This includes:
- High-Definition Display: Expect clear and vibrant visuals with high resolution.
- Responsive Touch Digitizer: The touch screen should respond smoothly and accurately to all gestures and inputs.
- Wide Color Gamut: Enjoy accurate and rich color reproduction.

Figure 5: Key features of the A-MIND replacement screen.
Product Showcase Video:
Video 2: This video provides a visual showcase of the iPad Air 4th Generation LCD screen, demonstrating its appearance and quality.
7. Maintenance
To ensure the longevity and optimal performance of your new screen:
- Cleaning: Use a soft, lint-free cloth, slightly dampened with water or a screen-specific cleaner, to gently wipe the screen. Avoid harsh chemicals or abrasive materials.
- Screen Protector: Utilize the included tempered glass screen protector to guard against scratches and minor impacts.
- Avoid Pressure: Do not apply excessive pressure to the screen, as this can cause damage to the LCD or digitizer.
- Temperature Extremes: Avoid exposing your device to extreme temperatures, which can affect screen performance and lifespan.
8. Troubleshooting
If you encounter any issues after installation, consider the following common problems and solutions:
| Problem | Possible Cause | Solution |
|---|---|---|
| Screen not turning on / No display | Loose flex cable connection, battery not reconnected, damaged screen during installation. | Ensure all flex cables are securely connected. Verify battery is properly reconnected. If issues persist, the screen may be damaged; contact support. |
| Touch not working / Unresponsive touch | Loose digitizer flex cable, software glitch, digitizer damage. | Check digitizer flex cable connection. Restart the device. If problem persists, the digitizer may be faulty. |
| Dead pixels, lines, or wrong colors on display | LCD damage, manufacturing defect. | This indicates a potential issue with the LCD panel. If the screen was tested before final installation and worked, recheck connections. Otherwise, contact customer service for warranty support. |
| Screen not fitting properly | Old adhesive residue, incorrect alignment. | Ensure all old adhesive is removed from the frame. Carefully align the screen before pressing it into place. |
9. Specifications
| Feature | Detail |
|---|---|
| Compatible Models | iPad Air 4 (2020) A2324, A2072, A2325, A2316 |
| Screen Size | 10.9 inches |
| Type | LCD Display Touch Digitizer Assembly |
| Item Weight | 1.6 ounces |
| Package Dimensions | 3.36 x 3.36 x 0.78 inches |
| Manufacturer | A-MIND |
10. Warranty and Support
A-MIND provides a 3-month warranty for this product. The warranty covers functional defects, provided there is no man-made or physical damage to the screen. If the screen does not function normally under these conditions, a new replacement can be exchanged.
For any issues or inquiries regarding your order, please do not hesitate to contact our customer service team. We are committed to providing assistance within 24 hours.

Figure 6: Assurance of 100% testing before shipment.
Ask a question about this manual
Ask about setup, troubleshooting, compatibility, parts, safety, or missing instructions. Manuals+ will review the question and use this page’s manual context to help answer it.