Important Safety Information
Please read and understand all safety warnings and operating instructions before using this instrument. Failure to follow these instructions may result in electric shock, fire, or serious injury.
- Always ensure the multimeter is in good working condition before use.
- Do not apply voltage or current that exceeds the maximum rated values specified for the multimeter.
- Use caution when working with voltages above 30V AC RMS, 42V peak, or 60V DC. These voltages pose a shock hazard.
- Replace batteries immediately when the low battery indicator appears to ensure accurate readings.
- Do not operate the multimeter in explosive gas, vapor, or dusty environments.
- Ensure test leads are properly connected and in good condition. Inspect for damaged insulation or exposed metal.
- Always disconnect the test leads from the circuit before changing functions.
Product Overview
The MESTEK DM92S is a compact, pen-style digital multimeter designed for various electrical measurements. It features smart measurement capabilities, a 6000-count display, and functions such as NCV detection, DC/AC voltage, capacitance, and frequency measurement.
Key Features
- 6000 Counts Display
- Smart/Auto Ranging Operating Mode
- Frequency Measurement: 40Hz~9.9MHz
- Buzzer/Diode Auto Recognition
- Built-in Flashlight
- Firewire Detection
- 180-degree Flip Screen
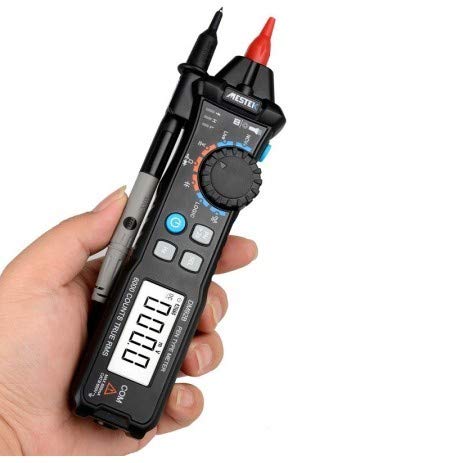
Figure 1: MESTEK DM92S Pen Style Digital Multimeter in hand, showing its compact design.
Package Contents
Verify that all items listed below are included in your package. If any items are missing or damaged, please contact your retailer.
- MESTEK DM92S Digital Multimeter
- Test Leads (Red and Black)
- Carrying Pouch
- User Manual (this document)
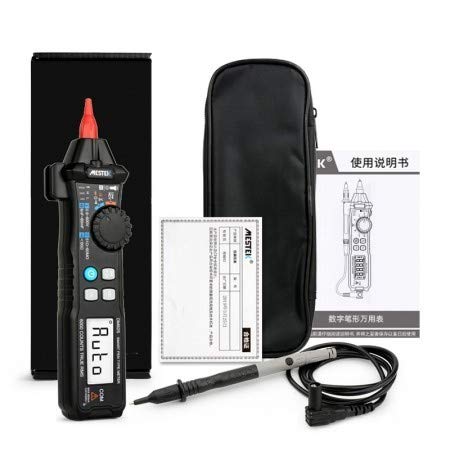
Figure 2: The MESTEK DM92S Multimeter and its included accessories.
Setup
Battery Installation
- Ensure the multimeter is powered off.
- Locate the battery compartment cover on the back of the device.
- Use a screwdriver to open the battery compartment.
- Insert the required batteries, observing correct polarity (+ and -).
- Replace the battery compartment cover and secure it with the screw.
Operating Instructions
General Operation
To power on the multimeter, rotate the central dial to the desired measurement function. The device will automatically enter smart/auto range mode for most measurements. To power off, rotate the dial to the 'OFF' position.
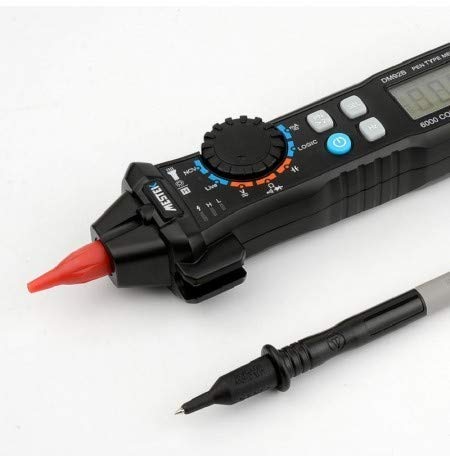
Figure 3: Close-up of the multimeter's tip and test probe connection.
Measurement Functions
DC/AC Voltage Measurement
- Rotate the dial to the 'V' position. The multimeter will automatically detect AC or DC voltage.
- Connect the red test lead to the positive (+) terminal of the circuit and the black test lead to the negative (-) terminal.
- Read the voltage value displayed on the screen.
NCV (Non-Contact Voltage) Detection
- Rotate the dial to the 'NCV' position.
- Bring the tip of the multimeter close to the conductor being tested.
- The device will indicate the presence of AC voltage through an audible beep and visual indicator.
Capacitance Measurement
- Rotate the dial to the capacitance symbol (usually 'F' for Farad).
- Ensure the capacitor is fully discharged before testing.
- Connect the test leads across the capacitor terminals.
- Read the capacitance value on the display.
Frequency Measurement
- Rotate the dial to the 'Hz' position.
- Connect the test leads to the circuit where frequency is to be measured.
- The frequency will be displayed in Hertz (Hz).
Diode Test and Continuity Buzzer
- Rotate the dial to the diode/continuity symbol. The multimeter will auto-recognize.
- For diode test, connect the red lead to the anode and black lead to the cathode. Read the forward voltage drop. Reverse the leads to check for open circuit.
- For continuity, connect the test leads across the circuit. An audible beep indicates continuity (low resistance).
Firewire Detection
- Rotate the dial to the 'LIVE' or 'Firewire' position.
- Insert the red test probe into the socket or near the wire to be tested.
- The multimeter will indicate the live wire through visual and/or audible signals.
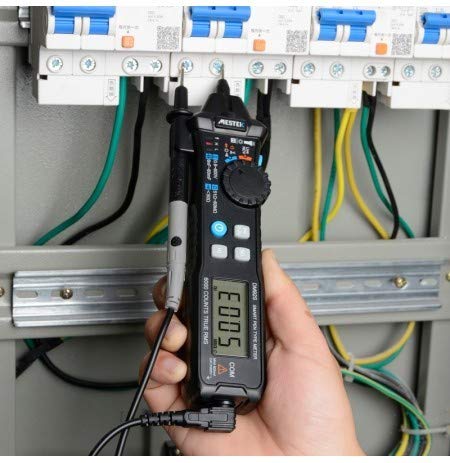
Figure 4: The multimeter in use, demonstrating a typical measurement scenario.
Maintenance
Battery Replacement
When the low battery indicator appears on the display, replace the batteries as described in the 'Battery Installation' section. Always use the specified battery type.
Cleaning
To clean the multimeter, wipe the case with a damp cloth and a mild detergent. Do not use abrasives or solvents. Ensure the device is completely dry before storage or use.
Troubleshooting
- No Display/Power On: Check battery installation and ensure batteries are not depleted.
- Inaccurate Readings: Verify correct function selection, proper test lead connection, and ensure batteries are not low.
- No Continuity Beep: Check if the circuit has high resistance or if the test leads are faulty.
- NCV Not Detecting: Ensure the multimeter is in NCV mode and brought close enough to the AC voltage source.
Specifications
| Specification | Value |
|---|---|
| Brand | MESTEK |
| Model Number | DM92S |
| Measurement Type | Multimeter |
| Display Count | 6000 Counts |
| Operating Mode | Smart/Auto Range |
| Power Source | Battery Powered |
| Frequency Range | 40Hz~9.9MHz |
| Buzzer/Diode | Auto Recognition |
| Flashlight | Supported |
| Item Weight | 454 g |
| Specification Met | CE |
Compliance and Disposal
This device complies with CE standards. Do not dispose of this product as unsorted municipal waste. Dispose of it according to local regulations for electronic waste. For proper disposal, contact your local authorities or the retailer where the product was purchased.


