1. Introduction
This manual provides instructions for the LiftMaster 878MAX Wireless and Keyless Entry System, designed for easy access to your garage. This keypad is compatible with LiftMaster door openers equipped with safety sensors manufactured from 1993 to the present, supporting Security+ 390 MHz, Security+ 315 MHz, and Security+ 2.0 technologies.
Please read these instructions carefully before installation and operation to ensure proper functionality and safety.
2. Key Features
- Compatibility: Works exclusively with LiftMaster door openers featuring safety sensors from 1993 to the present (Billion code 390 MHz, Security+ 390 MHz, Security+ 315 MHz, Security+ 2.0).
- Ease of Use: Includes a temporary password option and a one-button-to-close feature for enhanced convenience.
- Battery-Operated: This wireless and keyless garage door keypad operates on a 9-volt battery, which is included.
- Wall-Mounted: Designed for convenient mounting outside your garage door, allowing easy access to open or close it.
- Wireless Design: Eliminates the need for additional wiring, offering a completely wireless keyless entry system.

The LiftMaster 878MAX keypad, emphasizing its keyless access functionality using a 4-digit code for opening or closing the garage door.
3. Setup and Programming
3.1. Mounting the Keypad
The LiftMaster 878MAX keypad is designed for outdoor installation next to your garage door. It is wireless, requiring no electrical wiring. Simply secure it to a suitable surface using the provided mounting screws.
The LiftMaster 878MAX keypad securely mounted on an exterior wall beside a garage door, demonstrating its discreet and accessible placement.
3.2. Programming Your Personal Identification Number (PIN)
The programming instructions are located on the inside of the keypad's protective cover. The process involves using the 'LEARN' button on your garage door opener and entering a 4-digit PIN of your choice on the keypad.
- Press and release the 'LEARN' button on your garage door opener. The learn indicator light will glow steadily for 30 seconds.
- Within 30 seconds, enter your chosen 4-digit PIN on the keypad.
- Press and hold the 'ENTER' button until the garage door opener light bulb blinks or two clicks are heard. This indicates the code has been learned.
- Test your PIN by entering it and pressing 'ENTER'. The garage door should activate.
3.3. Programming for Specific Garage Door Opener Types (Security+ 2.0, 315 MHz, 390 MHz)
If your opener has a yellow 'LEARN' button, follow Method A above. For other colored 'LEARN' buttons, follow Method B:
- Press and hold the '*' and '#' buttons until the lights on the keypad stop blinking.
- Enter your 4-digit PIN.
- Press the 'ENTER' button the number of times corresponding to your garage door opener type:
- 1 time for Security+ 2.0 (Yellow Learn Button)
- 2 times for 315 MHz Security+ (Purple Learn Button)
- 3 times for 390 MHz Security+ (Red/Orange Learn Button)
- 4 times for 390 MHz Billion Code (Green Learn Button)
- Press and release the 'LEARN' button one time on the garage door opener. The learn LED will light.
- Enter the 4-digit PIN, then press and release the 'ENTER' button until the garage door opener lights flash or two clicks are heard.
- Test by pressing the PIN you just programmed, and then press the 'ENTER' button. The garage door opener will activate.
This video demonstrates the quick and easy installation and programming process for the LiftMaster 878MAX keypad, showing how to set up a personal identification number (PIN) and synchronize it with a compatible garage door opener.
An overview video showcasing the LiftMaster 878MAX Wireless Keyless Entry System, including its features, ease of use, and the secure 'Security+' technology for reliable garage access.
4. Operating the Keypad
4.1. Opening and Closing the Garage Door
To open your garage door, simply enter your 4-digit PIN and press the 'ENTER' button. To close the garage door, you can often just press the 'ENTER' button without re-entering the PIN, depending on your opener's configuration.

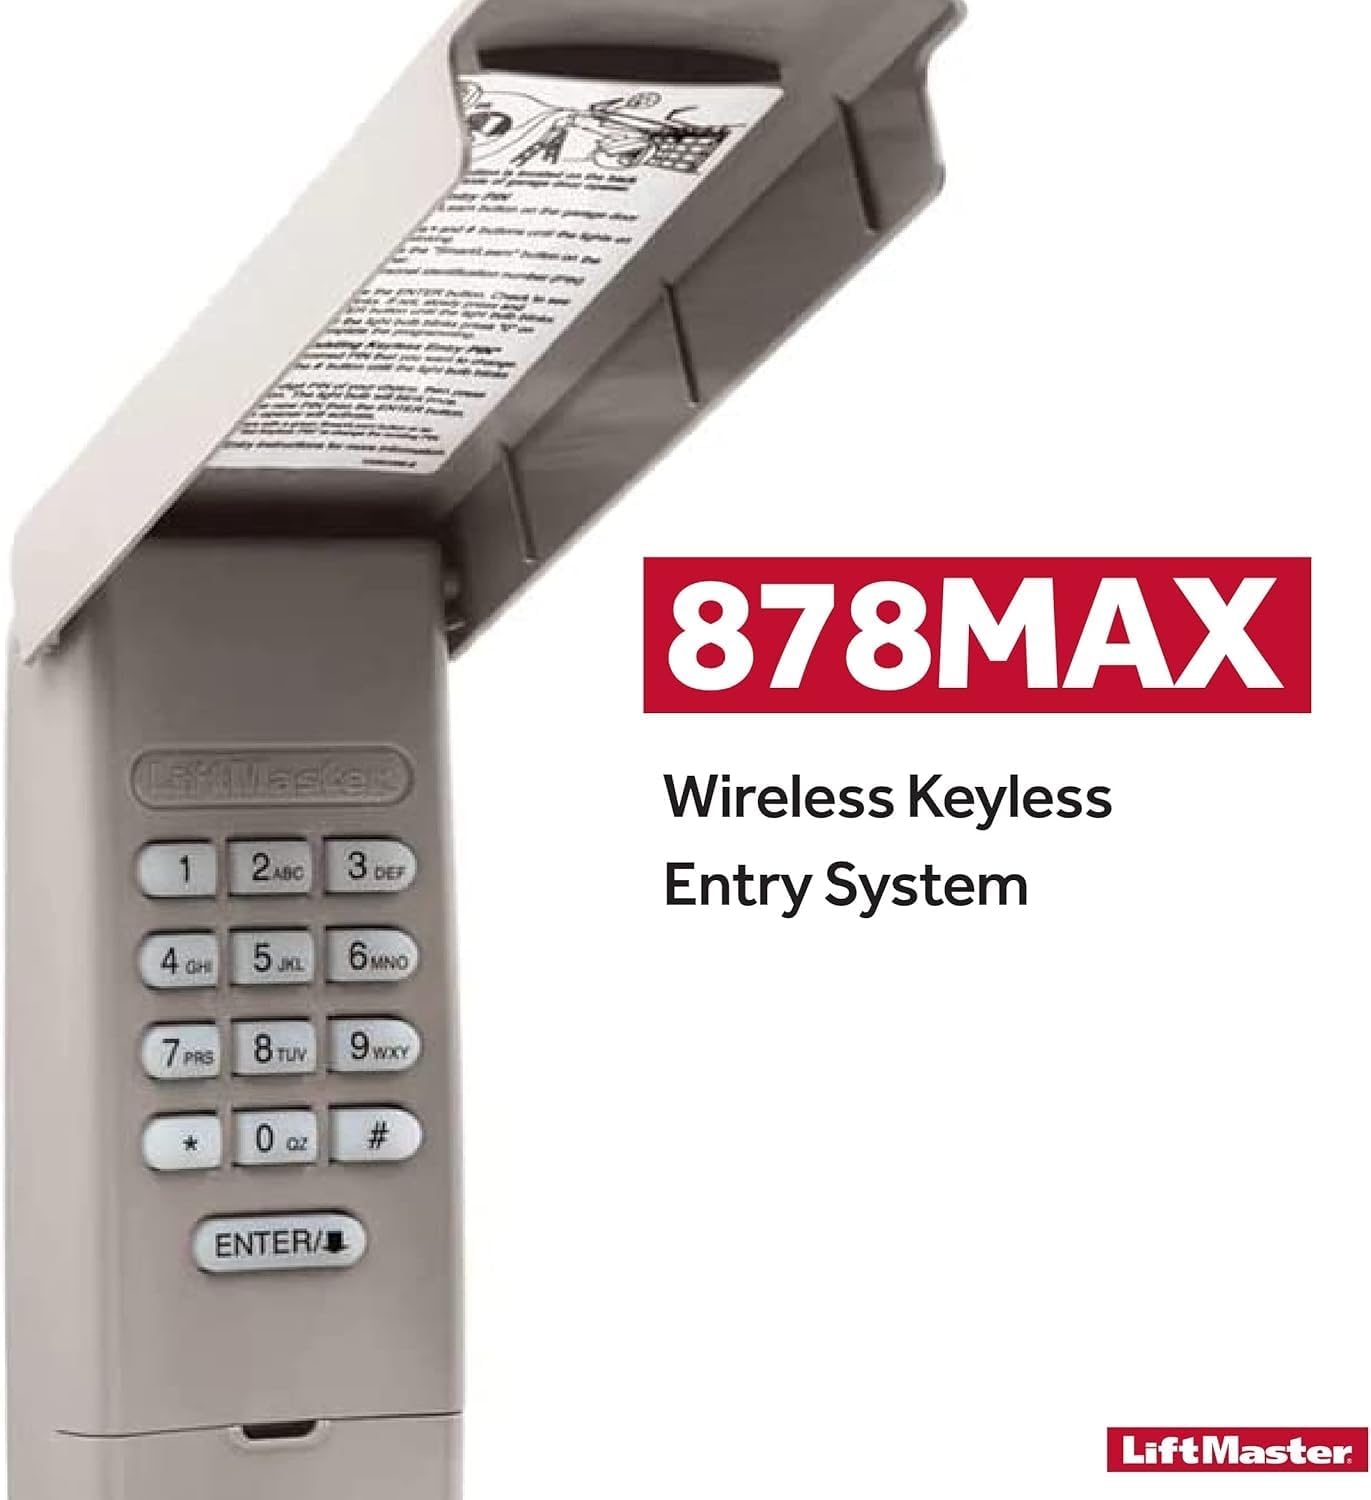
The LiftMaster 878MAX keypad with its protective cover lifted, revealing the numeric buttons and the 'ENTER' key. Instructions for programming are visible on the inside of the cover.
4.2. Setting a Temporary PIN
The keypad allows you to set a temporary PIN for guests or service personnel, providing controlled access without sharing your primary PIN. Instructions for setting a temporary PIN are located on the inside of the keypad cover. You can specify the number of hours the temporary PIN is valid or the number of times it can be used.
This video demonstrates the LiftMaster 878MAX keypad in action, showing how to enter a code to open and close a garage door, and highlighting its subtle design and ease of use.
This video explains the benefits of the LiftMaster 878MAX keypad, focusing on its keyless entry, one-button-to-close feature, and the ability to set temporary PINs for guests or service personnel.
5. Maintenance
5.1. Battery Replacement
The LiftMaster 878MAX keypad is powered by a 9-volt alkaline battery. To replace the battery, slide down the bottom cover of the keypad to reveal the battery compartment. Replace the old battery with a new 9-volt alkaline battery, ensuring correct polarity. Close the cover securely.

A view of the LiftMaster 878MAX keypad with the battery compartment cover slid down, revealing the 9-volt battery.
6. Troubleshooting
If you experience any issues with your LiftMaster 878MAX keypad, please refer to the detailed instructions provided on the inside of the keypad cover or consult the full product manual for comprehensive troubleshooting steps. Common issues may include incorrect PIN entry, battery depletion, or synchronization problems with the garage door opener.
7. Specifications
| Attribute | Detail |
|---|---|
| Brand | LiftMaster |
| Model Number | 878MAX |
| Material | Plastic |
| Item Weight | 6.4 ounces |
| Product Dimensions | 6.5 x 16.5 x 1.5 inches |
| Batteries Required | 1 x 9V (Alkaline) |
| Compatibility | LiftMaster door openers with safety sensors (1993-present), supporting Security+ 390 MHz, Security+ 315 MHz, Security+ 2.0, and Billion code 390 MHz. |
8. Warranty and Support
For warranty information, technical support, or to purchase replacement parts, please visit the official LiftMaster website or contact their customer service. Keep your purchase receipt for warranty claims.


