1. Introduction
This manual provides detailed instructions for the installation, operation, and maintenance of your WOODBRIDGE 67-inch Acrylic Freestanding Bathtub, Model BTS1609. Please read this manual thoroughly before installation and use to ensure proper function and safety. Keep this manual for future reference.
2. Safety Information
- Ensure all local plumbing and building codes are met during installation.
- Installation should be performed by a certified and licensed professional.
- Do not over-tighten drain nuts; snug is sufficient to prevent damage.
- Always test for leaks after installation by filling the tub with cold water above the overflow level.
- The bathtub features a non-slip bottom surface, meeting ASTM standards for slip resistance, to enhance user safety.
- Avoid using abrasive cleaners or tools that could scratch the acrylic surface.
- Supervise children and individuals with limited mobility when using the bathtub.
3. Package Contents
Verify that all components are present and undamaged before beginning installation.
- WOODBRIDGE 67-inch Freestanding Bathtub
- Matte Black Drain and Overflow Cover
- Installation and Care Guide (this manual)
- Drain Kit Installation Manual
4. Specifications
| Feature | Detail |
|---|---|
| Exterior Dimensions | 67" L x 31.5" W x 23.63" H |
| Effective Tub Capacity | 60 Gallons |
| Material | 100% High Gloss White LUCITE Acrylic, reinforced with ASHLAND resin & fiberglass |
| Drain & Overflow Finish | Matte Black |
| Installation Type | Freestanding |
| Item Weight | 89 Pounds |
| Shape | Rectangular |
| Special Features | Non-slip bottom, Double Walled design for insulation |
| Certifications | CSA B45.5-17/IAPMO Z124-2017, Massachusetts Plumbing & Gas Code |
For detailed dimensions, refer to the diagram below:
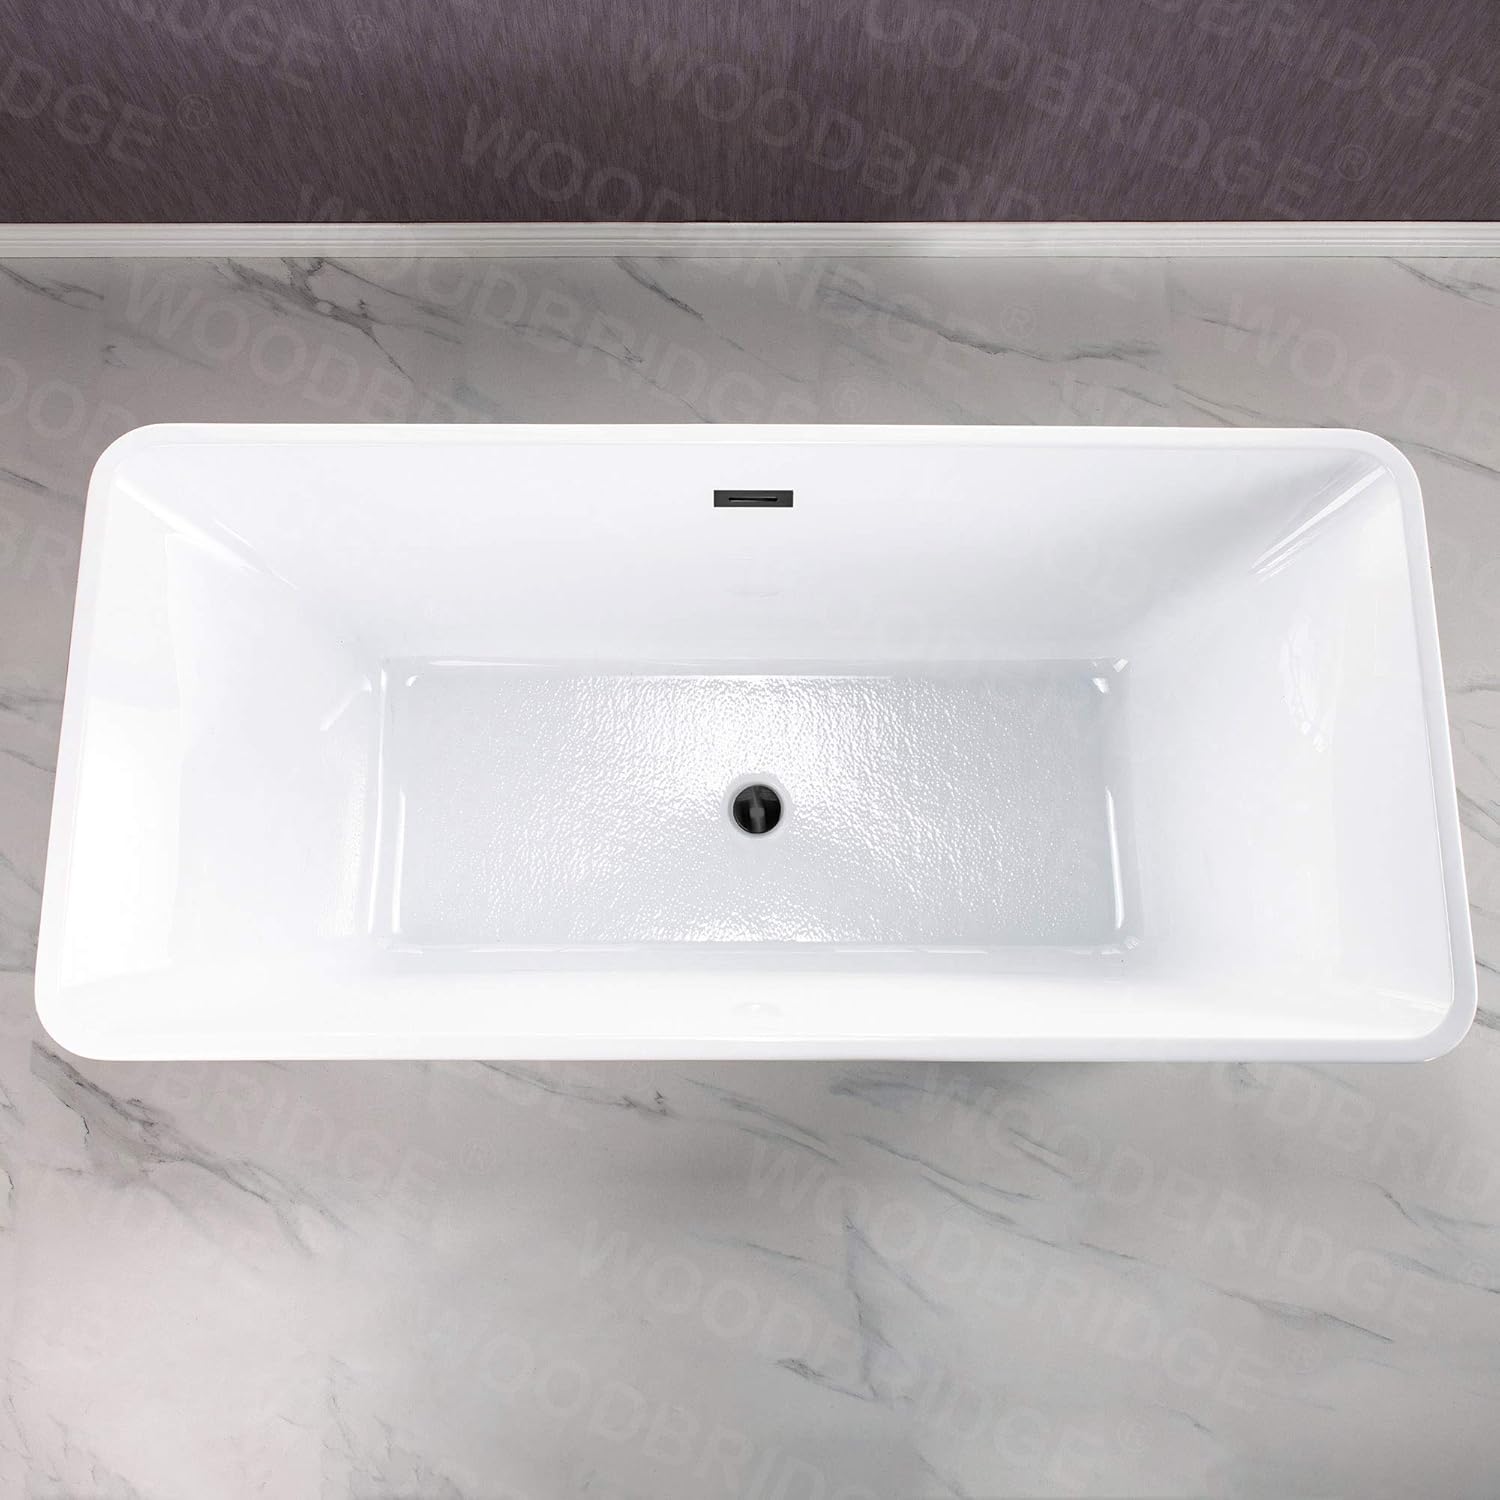
Image: Top-down view of the WOODBRIDGE BTS1609 bathtub.

Image: WOODBRIDGE BTS1609 bathtub filled with water.
5. Installation
Refer to the official installation video and the included drain kit manual for detailed steps. Professional installation is recommended.
Video: Normal Freestanding Bathtub Installation Guide. This video demonstrates the general installation process for WOODBRIDGE freestanding bathtubs, including overflow and drain assembly, leak testing, leveling, and connecting to plumbing.
Key Installation Steps:
- Unpacking and Inspection: Carefully remove the bathtub from its packaging. Inspect for any damage. Ensure all parts, including the drain and overflow cover, are present.
- Overflow Trim Installation: Apply clear silicone caulking to the tub overflow trim piece. Insert the overflow trim flat and level. Secure it with blue painter's tape until the caulking cures (approx. 24 hours).

Image: Detail of the matte black overflow.
- Drain Nut Tightening: With the tub inverted, fill the grooved gasket with silicone and install it with the groove and silicone facing up. Tighten the drain nut in place. Be careful not to over-tighten; it only needs to be snug.

Image: Matte Black Drain and Overflow.
- Leak Test: Push the pop-up drain into a closed position. Fill the bathtub with cold water above the overflow level. Check for any leaks around the drain and pipe connections.
- Marking Tub Location: Once the tub is in its desired final position, mark its outline on the floor with an erasable pencil.
- Leveling the Bathtub: Use a 24-inch level to adjust the tub legs. Leave a 1/8-inch to 1/4-inch gap between the rim of the tub and the level. Tighten the nuts on the legs to secure them in place.
- Connecting to Plumbing: Attach your flanged tail piece (provided by installer) to the tub drain and tighten. Connect the tub's drain assembly to the floor drain (P-trap). This may require underfloor access or specific slab floor installation kits.
- Final Sealing: Apply silicone caulking to the base rim of the tub where it meets the floor to create a watertight seal.
6. Operating Instructions
Your WOODBRIDGE freestanding bathtub is designed for comfortable soaking. To operate:
- Filling: Ensure the drain stopper is closed. Fill the tub with water to your desired level, being mindful of the overflow limit.
- Draining: To drain the tub, open the drain stopper. The integrated overflow system will prevent overfilling.
- Non-Slip Surface: The bathtub features a non-slip bottom for added safety during entry and exit.

Image: Non-Slip design Bathtub Bottom for Added Safety.
7. Maintenance and Cleaning
To maintain the pristine condition of your WOODBRIDGE bathtub, follow these guidelines:
- Regular Cleaning: The bathtub's LUCITE acrylic surface is easy to clean, stain-resistant, and scratch-resistant. Use a soft cloth and non-abrasive liquid cleaners.
- Avoid Harsh Chemicals: Do not use abrasive powders, steel wool, or harsh chemical cleaners, as these can damage the acrylic finish.
- Stain Removal: For stubborn stains, a mild solution of vinegar and water can be used. Rinse thoroughly after cleaning.
- Scratch Repair: Minor scratches on the LUCITE acrylic surface can often be buffed out with a fine-grit polishing compound designed for acrylics.
- Drain Maintenance: Periodically remove and clean the drain stopper to prevent clogs from hair and soap residue.
8. Troubleshooting
If you encounter issues with your bathtub, refer to the following common solutions:
- Leaks: If leaks occur around the drain or overflow, re-check all connections for tightness. Ensure silicone sealant was properly applied during installation. If the issue persists, contact a professional plumber.
- Slow Drainage: A slow drain is typically caused by a clog. Remove the drain stopper and clear any hair or debris. If the clog is further down the pipe, a plumbing snake may be required.
- Water Spots: Water spots can be removed with a soft cloth and a mild cleaner. To prevent them, wipe the tub dry after each use.
9. Warranty and Support
WOODBRIDGE provides a 1-Year limited warranty against defects in material and workmanship for this product. For warranty claims, technical assistance, or to order replacement parts, please contact the WOODBRIDGE US-based product support team. Our team is available to assist with any sales or product-oriented queries.
This product complies with CSA B45.5-17/IAPMO Z124-2017 standards and meets the Massachusetts Plumbing & Gas Code.