
Introduction
Thank you for choosing the AAJK 150-inch Outdoor Projector Screen. This manual provides essential information for the safe and effective setup, operation, and maintenance of your new projector screen. Designed for both indoor and outdoor use, this washable, anti-crease screen offers a wide viewing angle and supports double-sided projection, making it versatile for various entertainment and presentation needs.
Safety Information
- Ensure the screen is securely mounted to prevent accidental falls, especially when used outdoors in windy conditions.
- Keep the screen away from open flames or extreme heat sources.
- Avoid using sharp objects on the screen surface to prevent damage.
- When cleaning, follow the recommended methods to maintain material integrity.
Package Contents
Your AAJK 150-inch Outdoor Projector Screen package includes:
- 1 x AAJK 150-inch Projector Screen (16:9 aspect ratio, 132"W x 72"H viewing area)
- Mounting accessories (hooks, ropes, adhesive strips for wall mounting)
Setup Instructions
The AAJK projector screen is designed for easy installation using various methods. Choose the method best suited for your environment.
1. Preparing the Screen
Unfold the screen carefully. The anti-crease polyester material is designed to minimize wrinkles. If minor creases are present, gentle stretching during installation or light ironing (as per maintenance instructions) can resolve them.
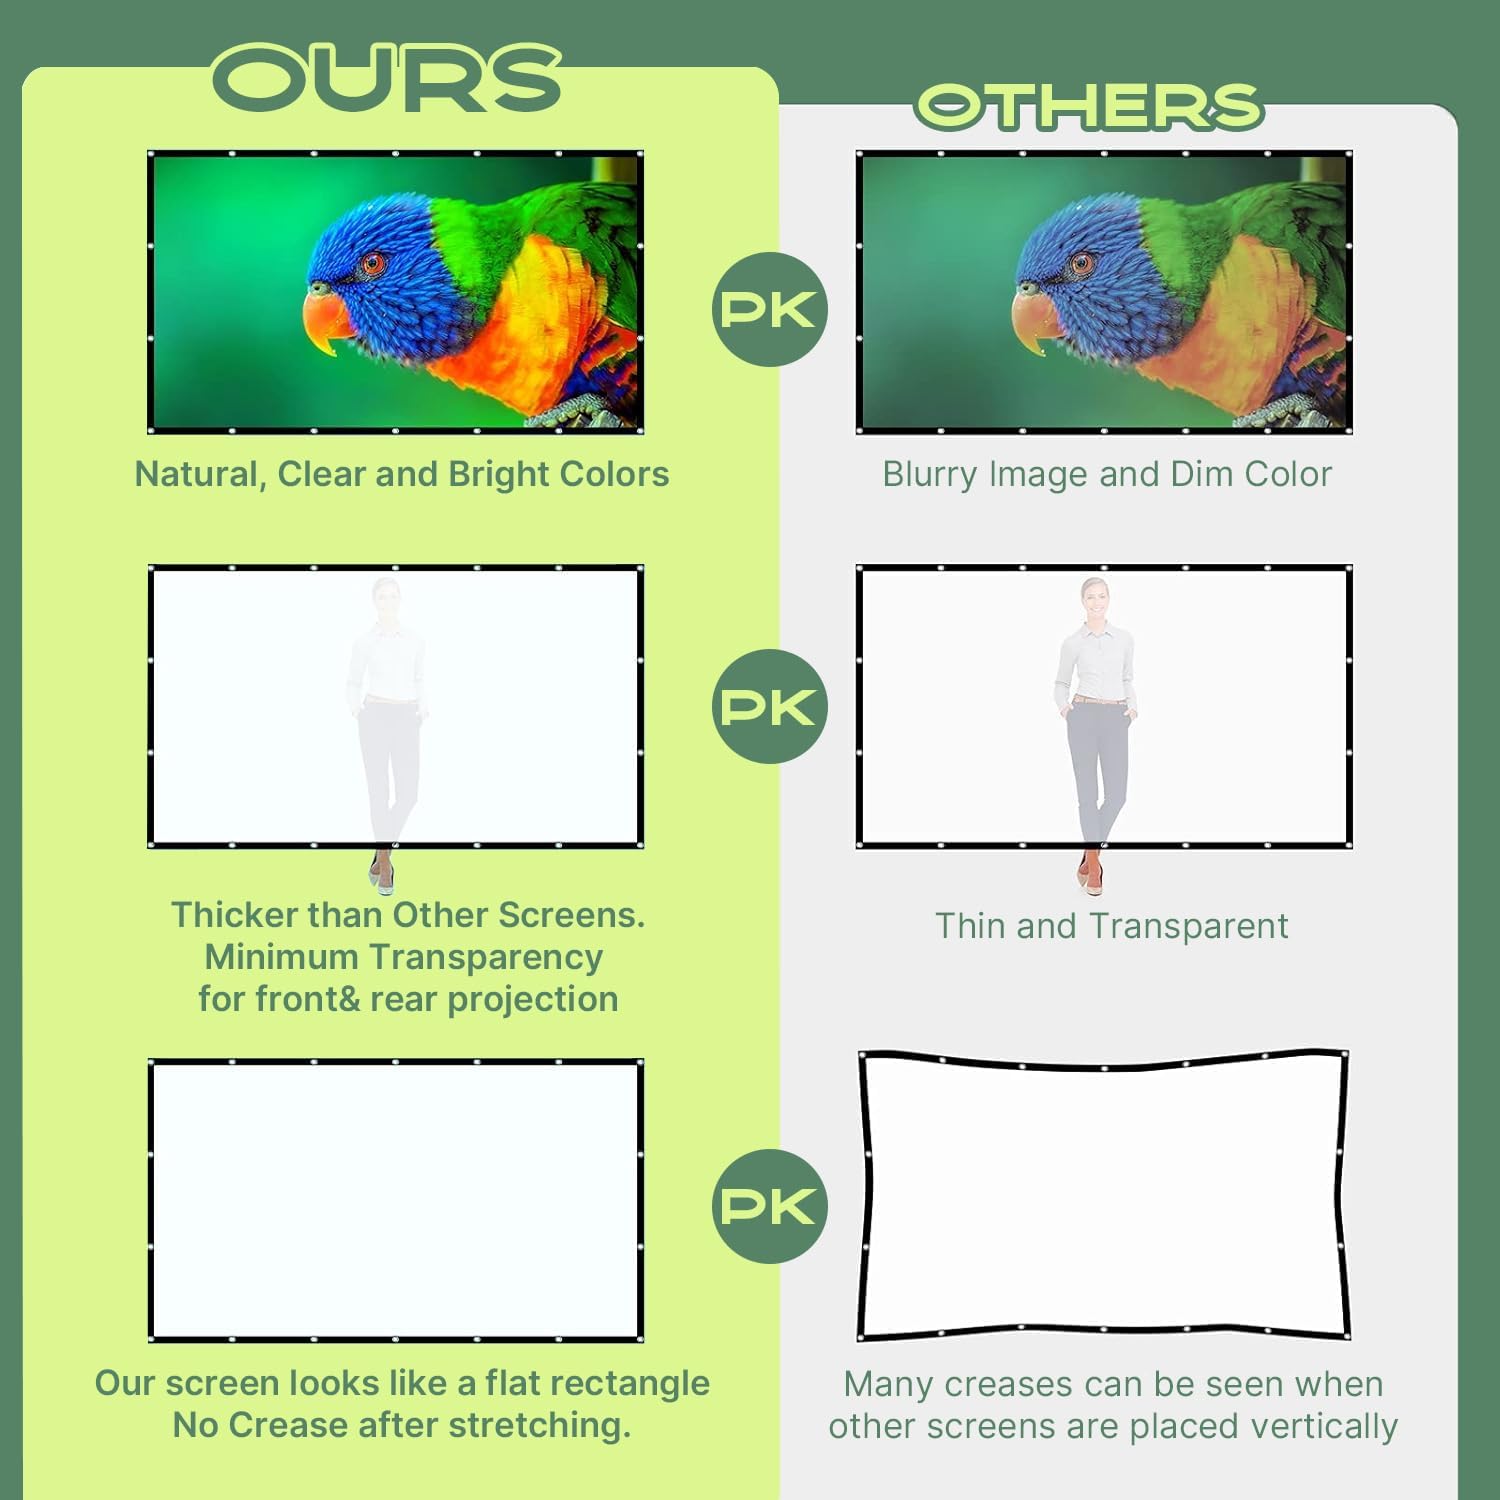
Image: A comparison graphic showing AAJK screen with natural, clear, bright colors, thicker material, and flat surface versus other screens with blurry, dim colors, thin material, and creases.
2. Mounting Options
The screen features reinforced grommets along its edges for secure attachment.
- Using Hooks/Adhesive Strips (Indoor/Smooth Surfaces):
- Clean the wall surface thoroughly to ensure optimal adhesion.
- Peel the protective film from the adhesive strips on the hooks.
- Press the hooks firmly onto the desired mounting points on the wall, ensuring they align with the screen's grommets. Apply sufficient pressure for several seconds.
- Hang the screen by inserting the grommets onto the hooks. Adjust tension by repositioning hooks slightly if needed to achieve a flat surface.
- Using Ropes (Outdoor/Temporary Setup):
- Thread the provided ropes through the grommets on the screen.
- Securely tie the ropes to stable anchor points such as trees, poles, or a frame.
- Adjust the tension of the ropes to stretch the screen taut and remove any slack.
- Using Nails/Brackets (Permanent/Robust Installation):
- Mark the desired positions for nails or brackets on your mounting surface, ensuring they correspond to the screen's grommets.
- Install nails or brackets securely into the surface.
- Hang the screen by placing the grommets over the installed nails or hooks on the brackets.

Image: Illustration detailing how to set up the screen using hooks, ropes, and nails (not included), highlighting the grommets.
Operating Instructions
Your AAJK projector screen is ready for use once properly installed. It is designed to provide an optimal viewing experience with a wide range of projectors.
- Projection: The screen supports both front and rear projection, offering flexibility in projector placement.
- Viewing Angle: With a 160-degree wide viewing angle, the screen ensures clear images from various audience positions.
- Optimal Viewing: For the best experience, ensure your projector's focus and keystone correction are properly adjusted. Ensure the projection surface is clean and free from obstructions. Check the projector's distance from the screen for optimal image size and clarity.

Image: A top-down view showing a projector screen with a 160-degree wide viewing angle, indicating that viewers seated at various angles can enjoy the projection.

Image: A collage demonstrating the versatility of the projector screen for various applications, including outdoor movie nights, parties, business presentations, educational settings, home theater, and gaming.
Maintenance & Care
Proper care will extend the life and maintain the quality of your projector screen.
- Cleaning: The screen is made from washable polyester material. It can be washed by hand or in a washing machine using a gentle cycle with cold water and mild detergent. Do not use bleach.
- Drying: Air dry the screen completely. It supports ironing at a low temperature to remove any remaining wrinkles.
- Storage: When not in use, fold the screen neatly and store it in a dry, cool place to prevent damage. Its foldable design allows for compact storage in a backpack or suitcase.

Image: A visual guide showing the screen being hand-washed, machine-washed, ironed, and air-dried, emphasizing its washable and anti-crease properties.
Troubleshooting
- Wrinkles/Creases:
The screen is designed to be anti-crease. If wrinkles appear, stretch the screen taut during installation. For stubborn creases, gently iron the screen on a low heat setting or use a steamer.
- Unstable Mounting:
Ensure all hooks, ropes, or nails are securely fastened to a stable surface. For outdoor use, consider additional anchoring to prevent movement in windy conditions.
- Poor Image Quality:
Verify that your projector's focus and keystone correction are properly adjusted. Ensure the projection surface is clean and free from obstructions. Check the projector's distance from the screen for optimal image size and clarity.
Specifications
| Brand | AAJK |
| Model Number | 150 |
| Material | Polyester |
| Display Dimensions (Diagonal) | 150 inches |
| Viewing Area (W x H) | 132"W x 72"H |
| Aspect Ratio | 16:9 |
| Viewing Angle | 160 Degrees |
| Operation Mode | Manual |
| Mounting Type | Wall Mount (Hooks, Brackets, Nails, Double-sided Tape) |
| Washable | Yes (Hand or Machine) |
| Anti-Crease | Yes |
| Double-Sided Projection | Yes |
| Item Weight | 2.84 Pounds |
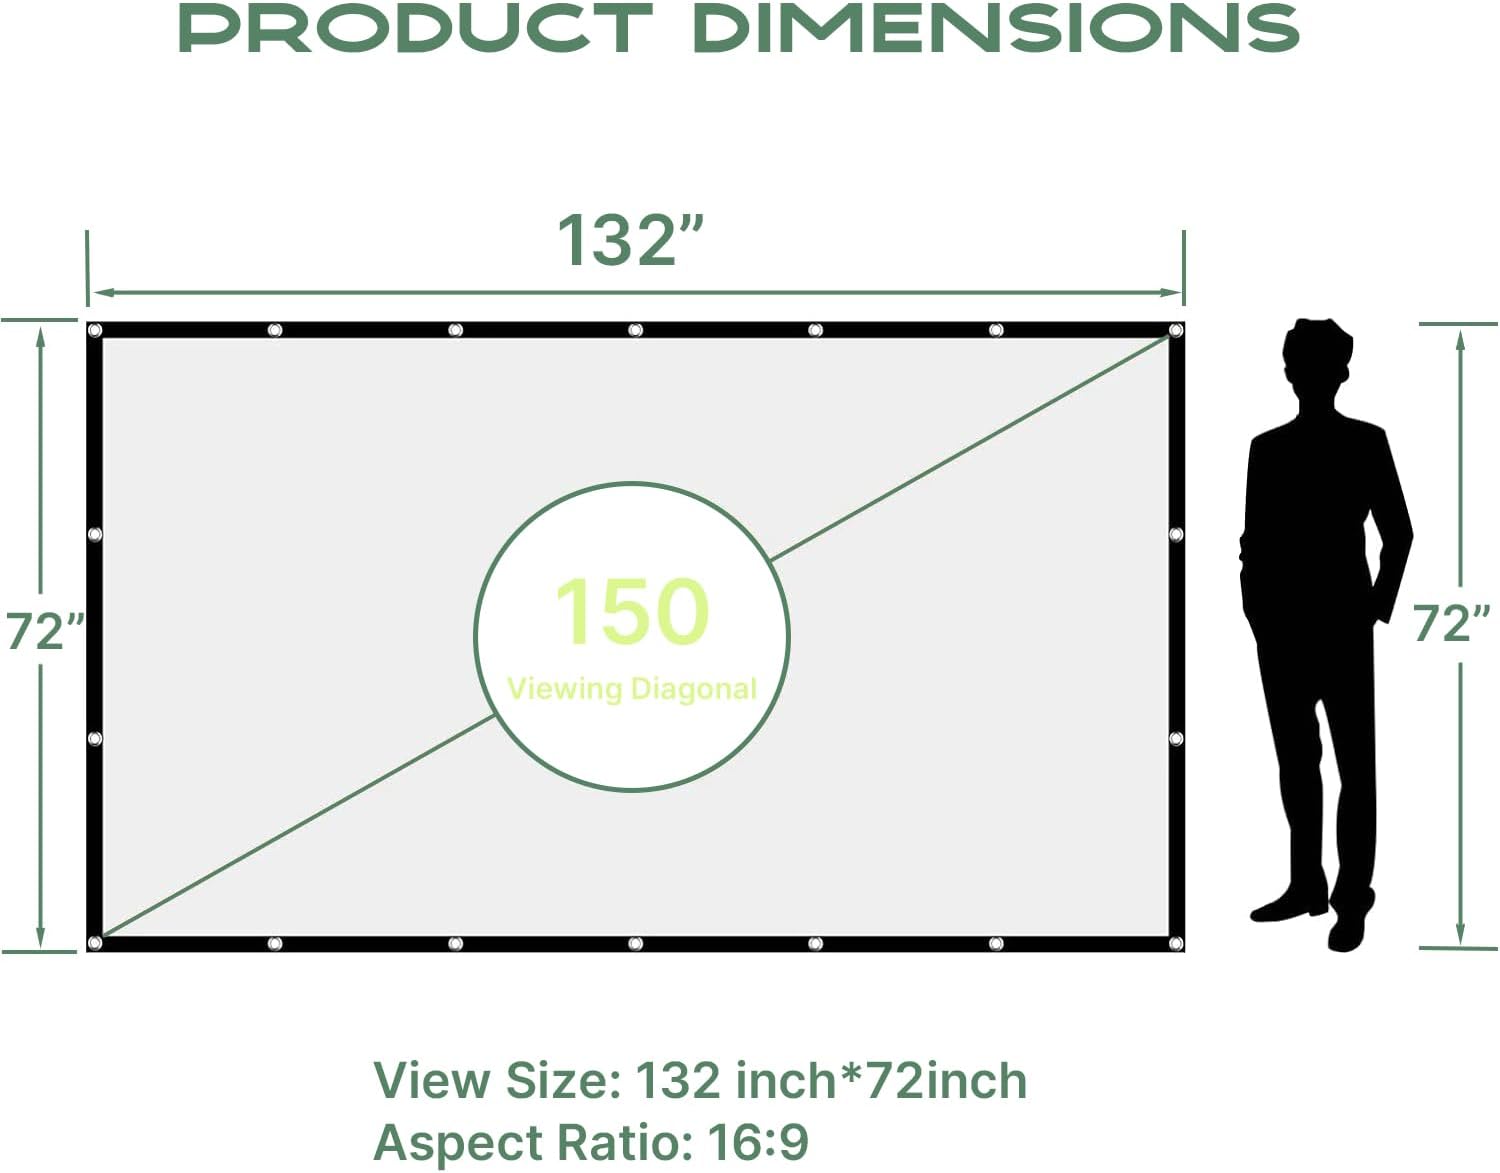
Image: A graphic illustrating the physical dimensions of the 150-inch screen, including its 132-inch width and 72-inch height, and the 150-inch diagonal measurement.
Warranty & Support
The AAJK 150-inch Outdoor Projector Screen comes with a 30-day warranty. For any issues or support inquiries, please contact AAJK customer service through your purchase platform.
