
1. Product Overview
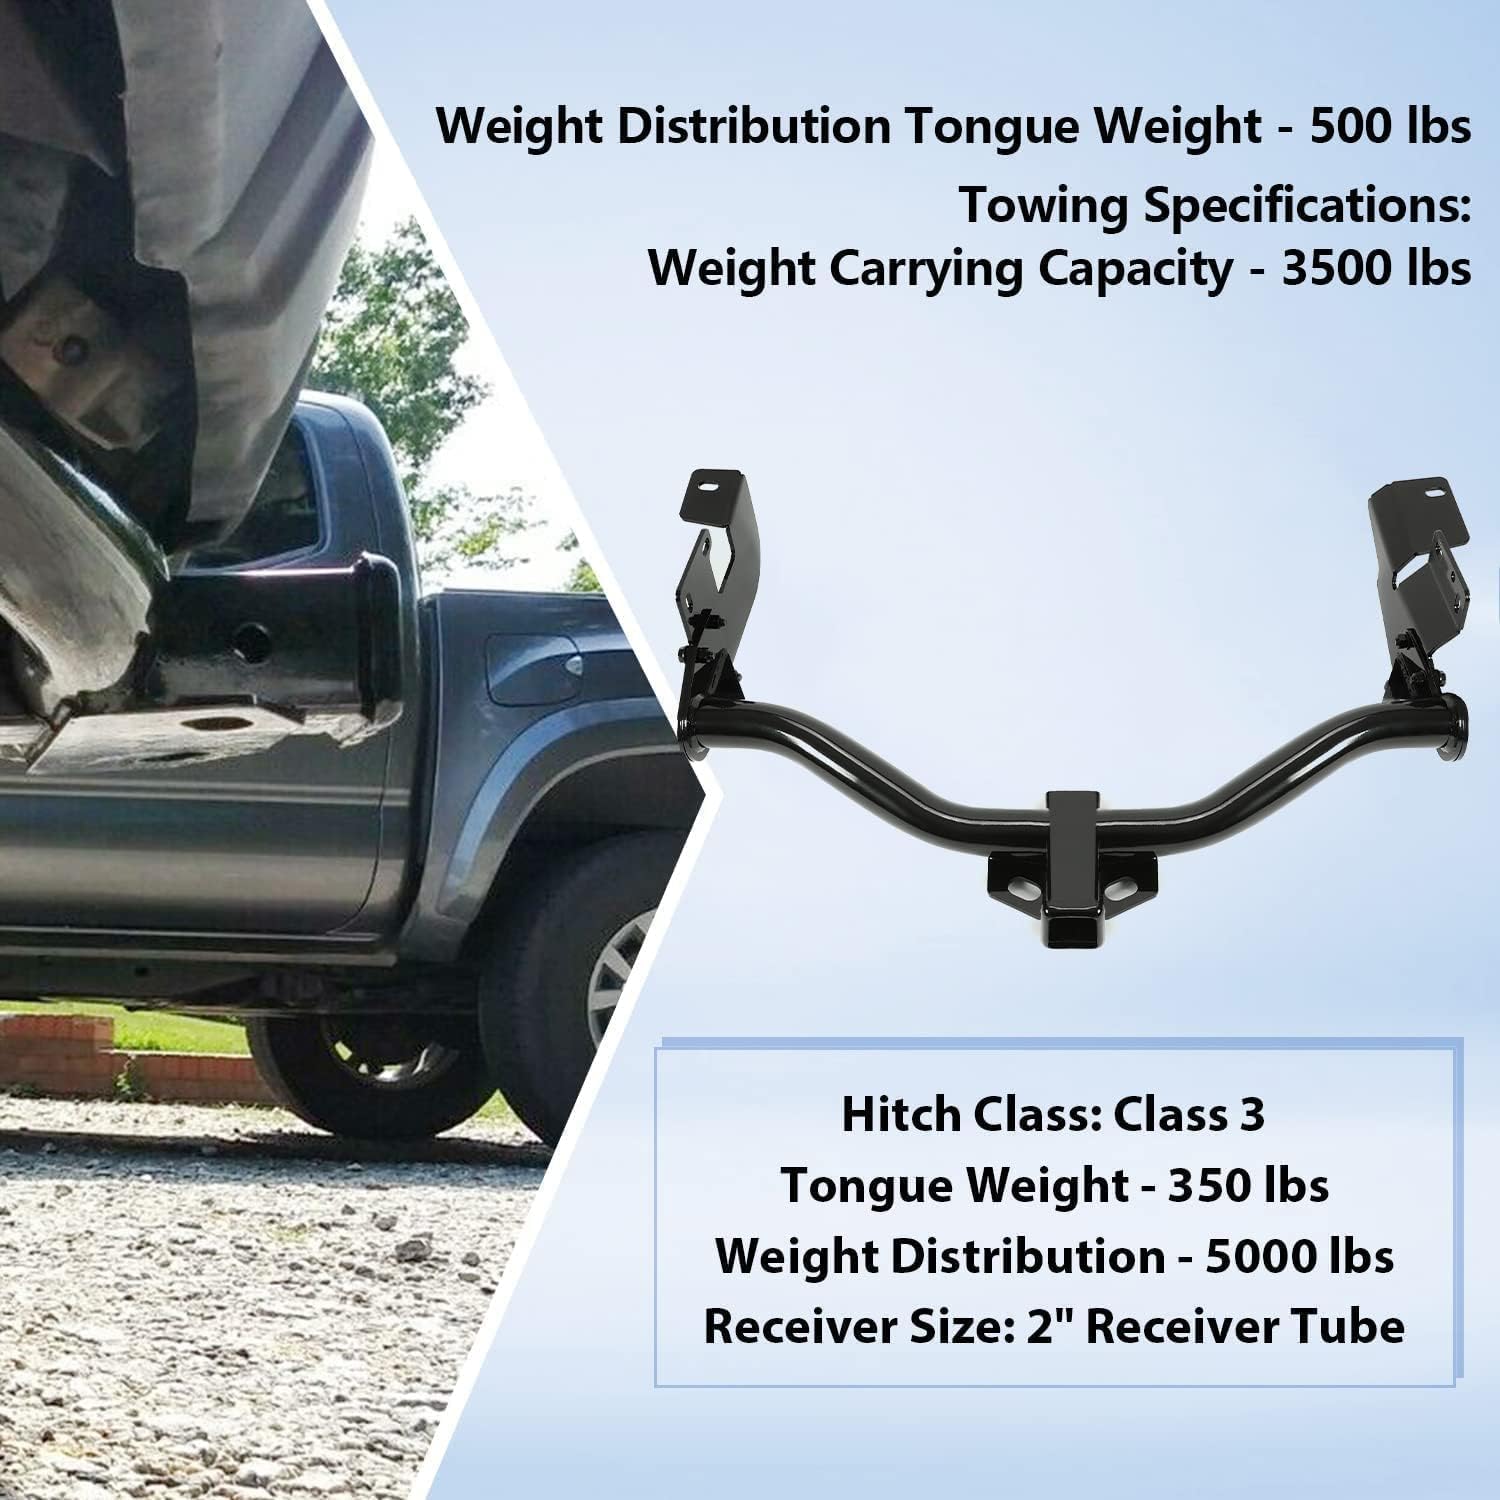
This ECOTRIC Class 3 Trailer Hitch is designed for specific Ford, Mazda, and Mercury models, providing a robust 2-inch receiver for various towing applications. It is constructed from high-quality alloy steel with a powder-coated finish for durability.
Key Features:
- Fitment: Compatible with 2005-2012 Ford Escape All Models, 2005-2011 Mazda Tribute All Models, 2005-2011 Mercury Mariner All Models.
- Hitch Class: Class 3.
- Receiver Size: 2" Receiver Tube.
- Towing Specifications: Weight Carrying Capacity - 3500 lbs, Tongue Weight - 350 lbs; Weight Distribution - 5000 lbs, Weight Distribution Tongue Weight - 500 lbs.
- Versatile Function: Accepts a ball mount, cargo carrier, bike rack, tow hook, and more.
- Heavy Duty Construction: Made of high-quality alloy steel with a powder-coated finish.
2. Safety Information
Always prioritize safety during installation and use. Read all instructions carefully before beginning. Wear appropriate personal protective equipment, including safety glasses and gloves. Ensure the vehicle is securely supported before working underneath it. Do not exceed the specified towing capacities of the hitch or your vehicle, whichever is lower. Regularly inspect the hitch for any signs of wear, damage, or corrosion.
3. Package Contents
Verify that all components are present before beginning installation.
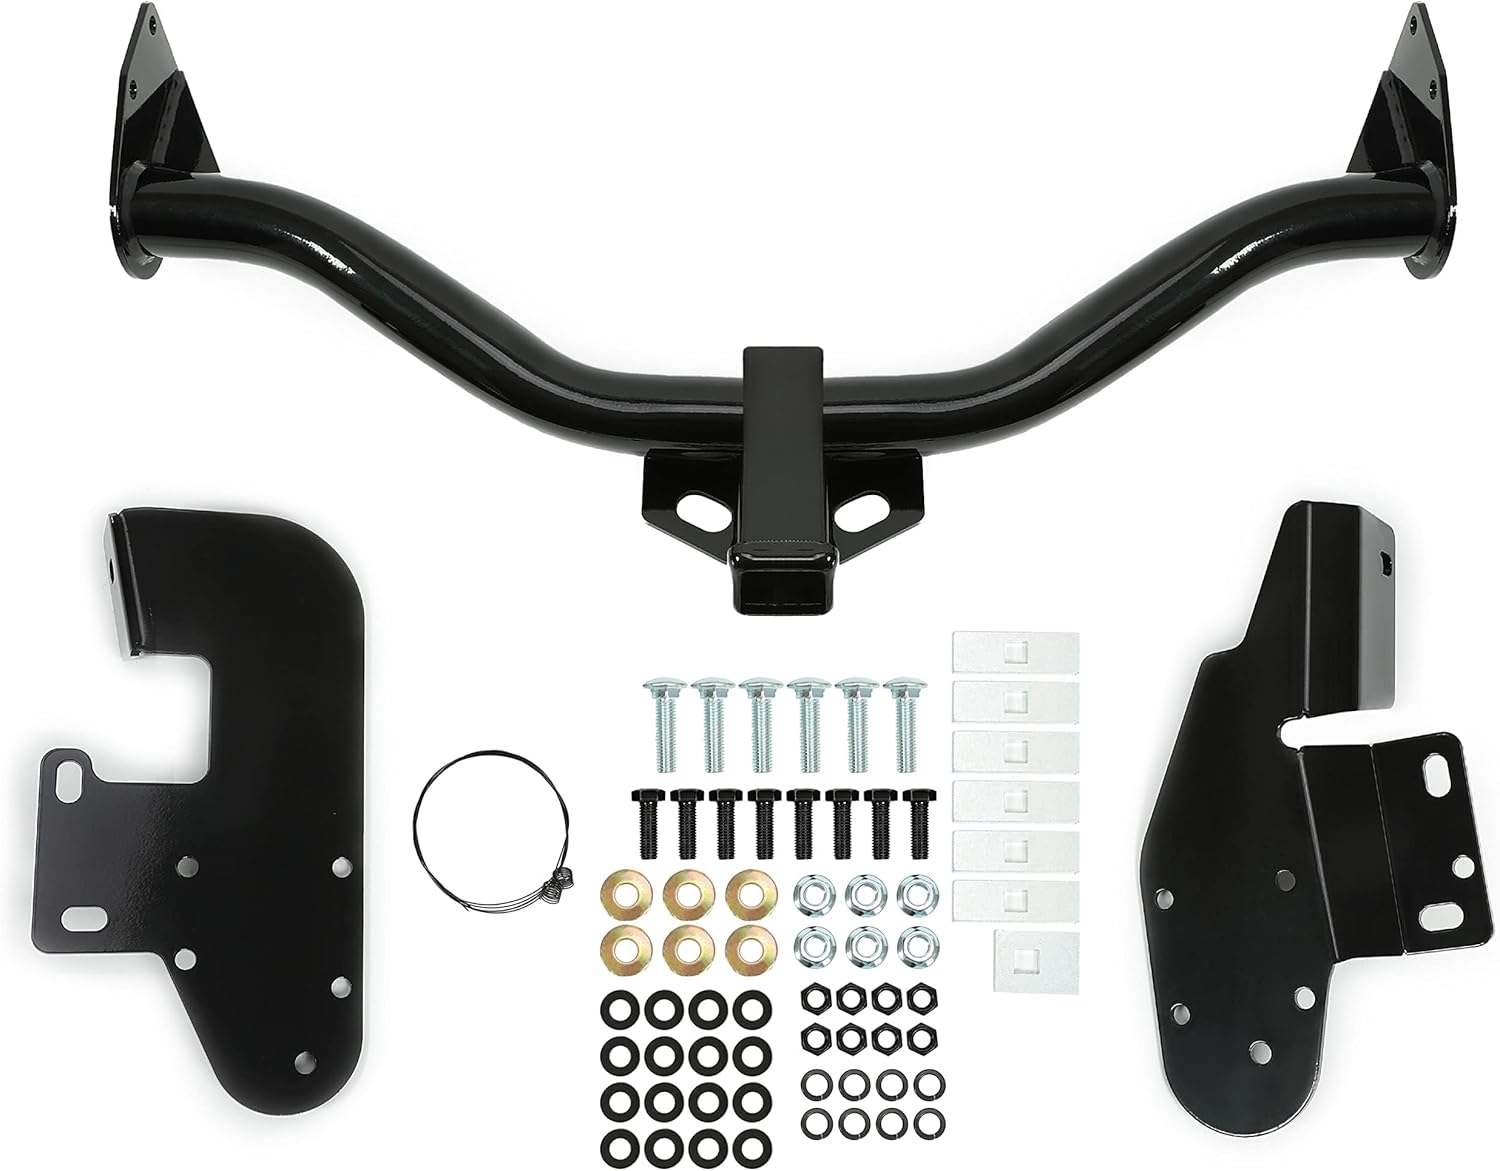
- 1 x ECOTRIC Class 3 Trailer Hitch
- Mounting Hardware (bolts, washers, nuts)
- Instruction Manual (this document)
Note: Pin, Clip, ball mount, and wirings are not included and must be purchased separately.


4. Tools Required
- Ratchet
- Ratchet Extension
- 11/16" Socket
- 10mm Socket
- Swivel Socket
- Phillips Screwdriver
- Trim Retainer Removal Tool
- Die Grinder (if trimming is required)
- Measuring Tape
- Masking Tape
- Utility Knife
- Marking Pen
- Pry Bar
- Torque Wrench
- Spray Lubricant or Soapy Water (for exhaust isolators)
5. Installation Instructions
Follow these steps carefully to install your ECOTRIC Class 3 Trailer Hitch. It is recommended to have a second person assist with the installation due to the weight and size of the hitch.
Step 1: Prepare the Vehicle
- If present, remove the underbody panel by detaching the eight fasteners located underneath the vehicle and the two fasteners on the driver's side rear wheel well.
- Lower the exhaust by removing the two rubber exhaust isolators. A spray lubricant or soapy water mixture can assist in this process.


Step 2: Trim the Underbody Panel (if necessary)
Mark the underbody panel for trimming according to the provided diagram in the instruction sheet. Use masking tape to clearly define the cut lines. Trim the marked area using a utility knife or die grinder to ensure proper clearance for the hitch.


Step 3: Install the Hitch
- Insert the supplied U-bolt into the vehicle's tow loop.
- Raise the hitch into position, aligning it with the mounting points.
- Secure the hitch loosely to the U-bolt using the supplied 7/16" hex flange nuts.
- Mount the passenger side plate to the frame using the supplied 10mm bolts and conical tooth washers. Repeat this process for the driver's side.
- Torque all hardware to the specifications provided in the instruction sheet.
- Reattach the underbody panel using the fasteners removed previously.
- Reattach the exhaust system by securing the rubber isolators.


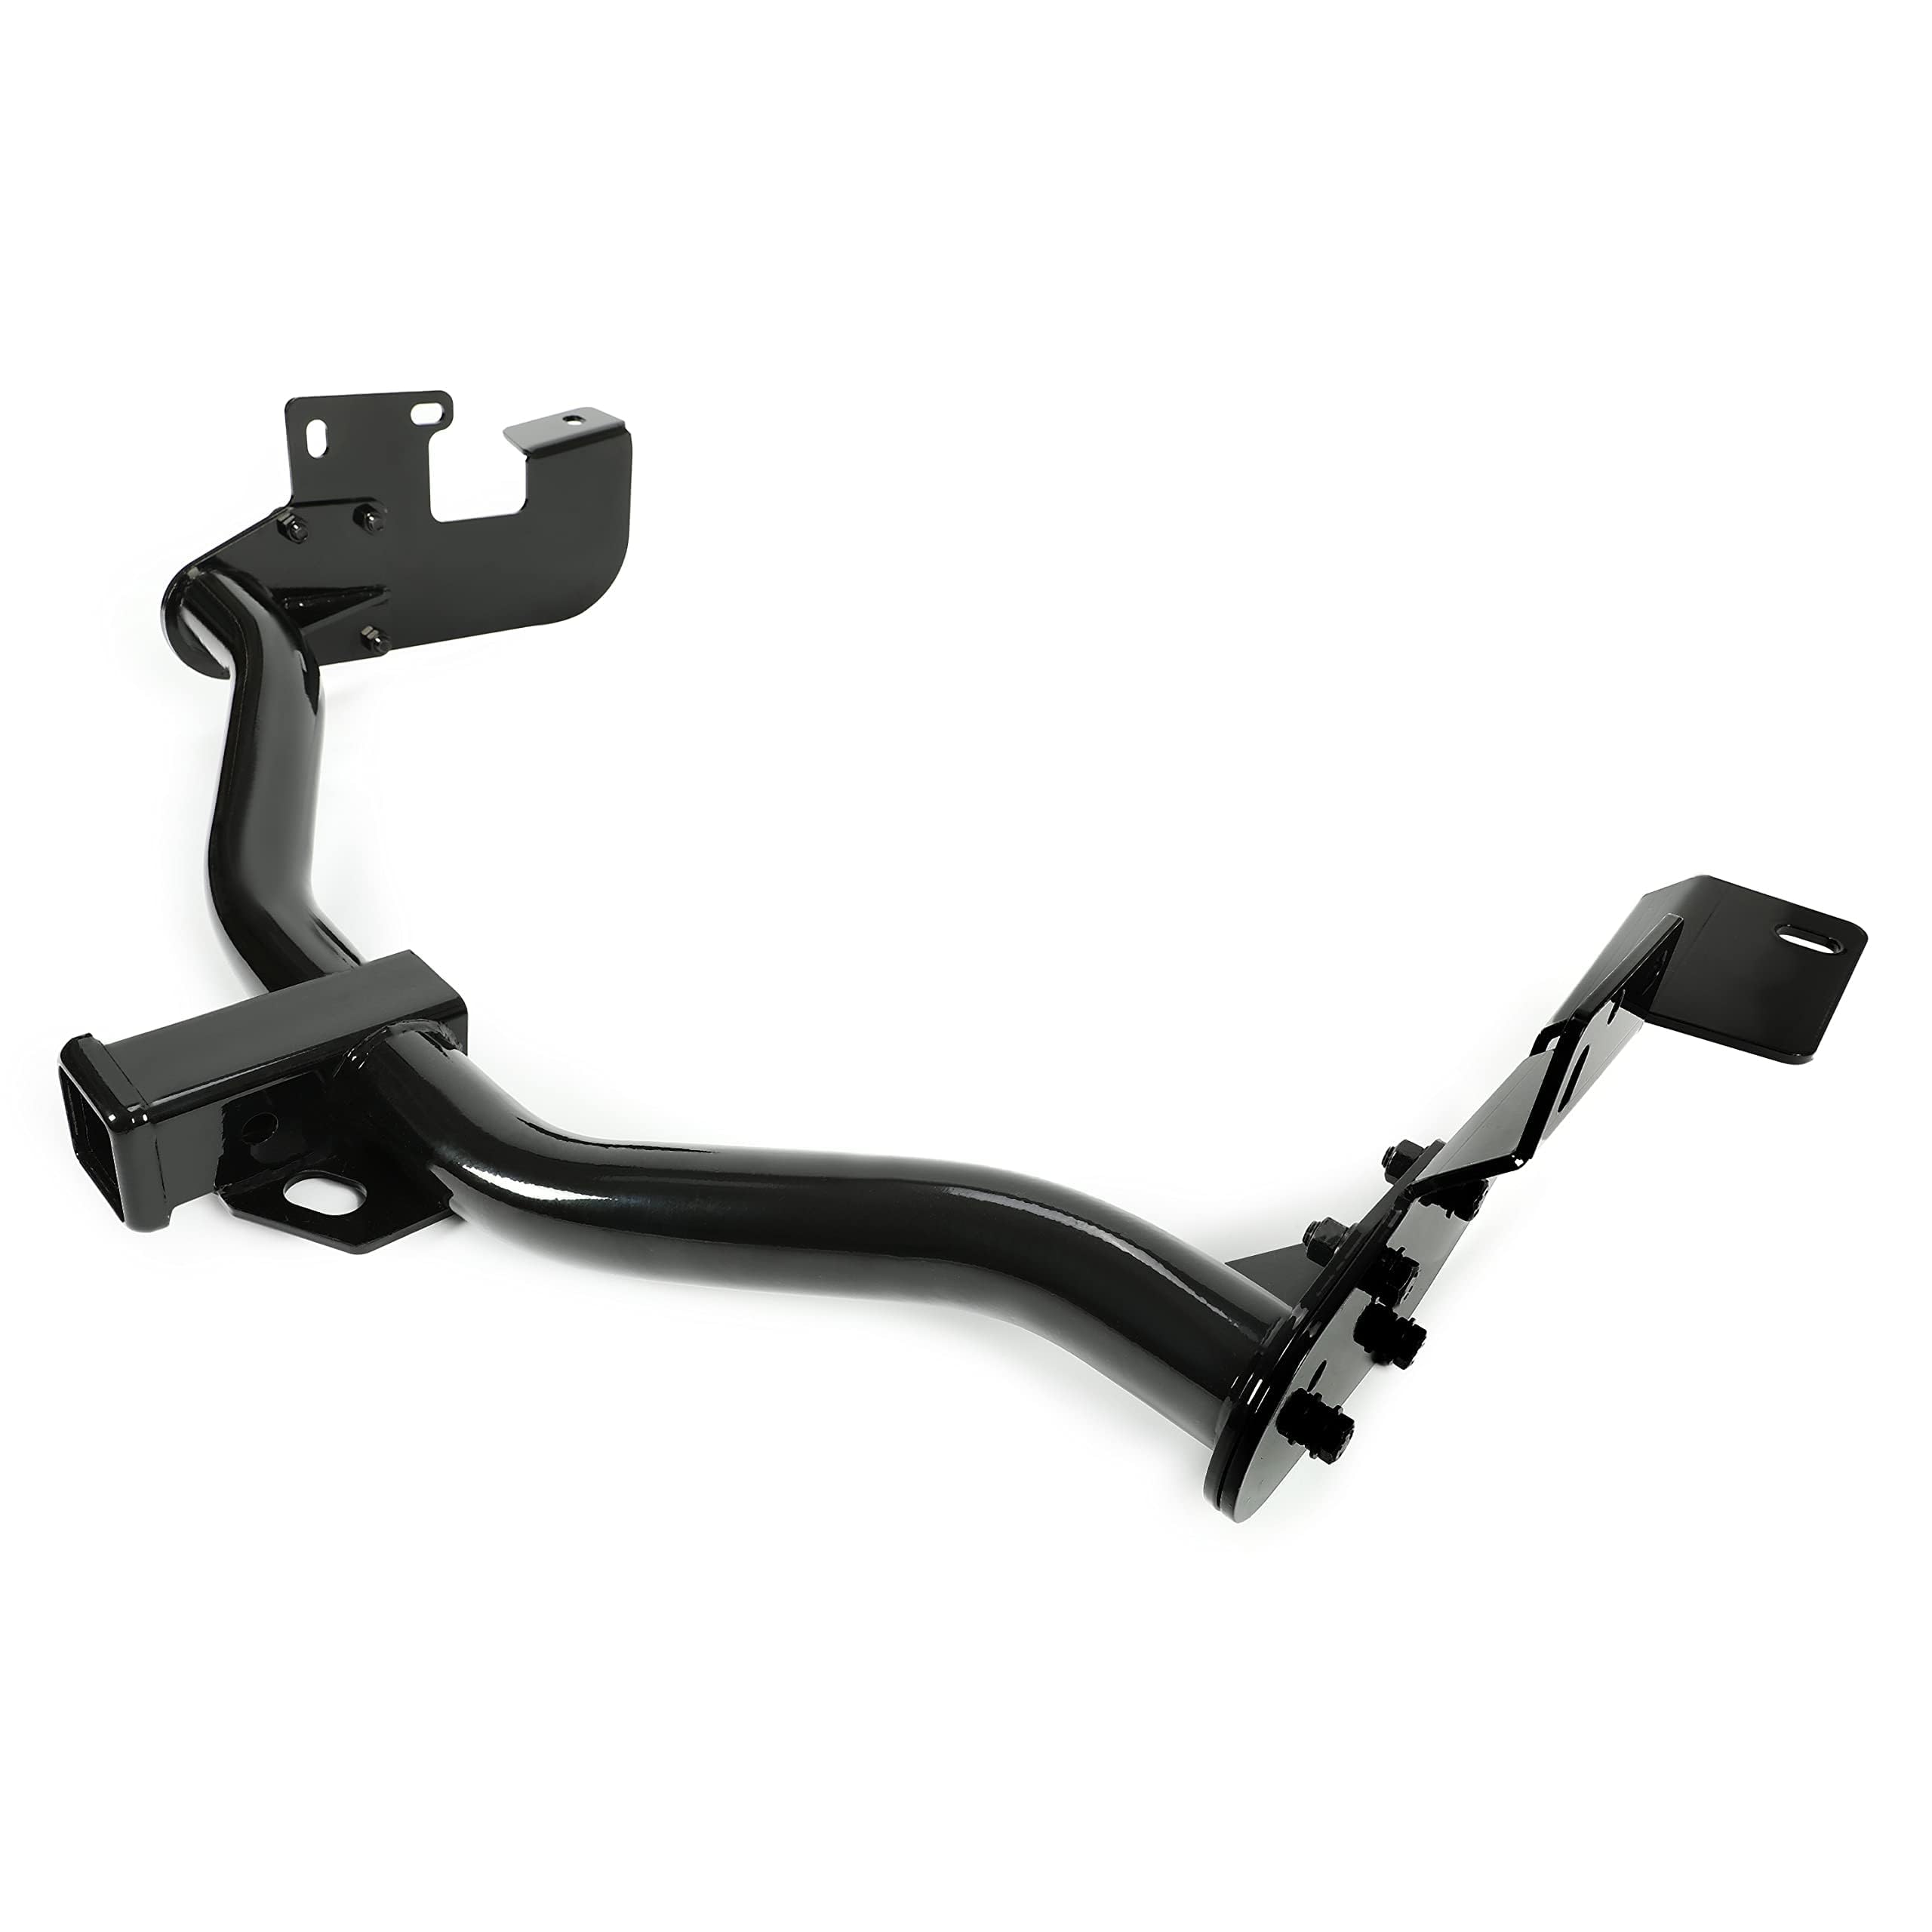
Installation Video:
Video: This video demonstrates the assembly process of a similar Class 3 trailer hitch, showing how to attach the side plates to the main hitch bar using bolts and washers. It provides a visual guide for the initial setup steps.
6. Operating the Trailer Hitch
Once installed, the ECOTRIC Class 3 Trailer Hitch provides a secure attachment point for various towing accessories. To use, insert your desired accessory (e.g., ball mount, bike rack, cargo carrier) into the 2-inch receiver tube. Secure the accessory with a hitch pin and clip (not included). Always ensure the accessory is properly seated and secured before towing or transporting. Refer to your vehicle's owner's manual and the accessory's instructions for specific usage guidelines and weight limits.
7. Product Specifications
| Specification | Value |
|---|---|
| Hitch Class | Class 3 |
| Receiver Size | 2 inches |
| Weight Carrying Capacity | 3500 lbs |
| Tongue Weight (Weight Carrying) | 350 lbs |
| Weight Distribution Capacity | 5000 lbs |
| Tongue Weight (Weight Distribution) | 500 lbs |
| Material | Alloy Steel |
| Finish Type | Powder Coated |
| Item Weight | 21.42 Kilograms |
| Model Number | VC-LYAM-508S |
| Manufacturer | ECOTRIC |
8. Maintenance
Regular maintenance ensures the longevity and safe operation of your trailer hitch. Periodically inspect all bolts and nuts for tightness and re-torque to specifications if necessary. Check the hitch for any signs of rust, cracks, or damage. Clean the receiver tube regularly to prevent debris buildup, which can hinder the insertion of accessories. Apply a light coat of grease or anti-corrosion spray to the receiver tube and hitch pin holes to prevent rust and ensure smooth operation.
9. Troubleshooting
- Issue: Hitch does not fit correctly.
Solution: Double-check the vehicle compatibility list. Ensure all obstructions (e.g., underbody panels, exhaust hangers) have been properly removed or adjusted. Verify that the underbody panel was trimmed according to the diagram.
- Issue: Loose or rattling hitch.
Solution: Inspect all mounting bolts and nuts. Re-torque them to the specified values. Ensure all washers are correctly installed. A hitch tightener or anti-rattle device can be used with your accessory if the issue persists.
- Issue: Difficulty inserting accessories into the receiver.
Solution: Clean the inside of the receiver tube to remove any dirt, rust, or debris. Apply a small amount of grease or lubricant to the accessory shank before insertion. Check for any deformation of the receiver tube or accessory shank.
10. Warranty and Support
For warranty information or technical support, please contact ECOTRIC customer service. Keep your purchase receipt and model number (VC-LYAM-508S) handy for faster service. You can typically find contact information on the manufacturer's website or on your product packaging.