
Introduction
This manual provides instructions for the safe and effective use of your Shark VACMOP Pro Cordless Hard Floor Vacuum Mop. Please read all instructions carefully before operating the appliance and retain this manual for future reference.

Image: The Shark VACMOP Pro, a cordless hard floor vacuum mop, shown in its assembled state.
Product Components
Familiarize yourself with the components of your Shark VACMOP Pro:
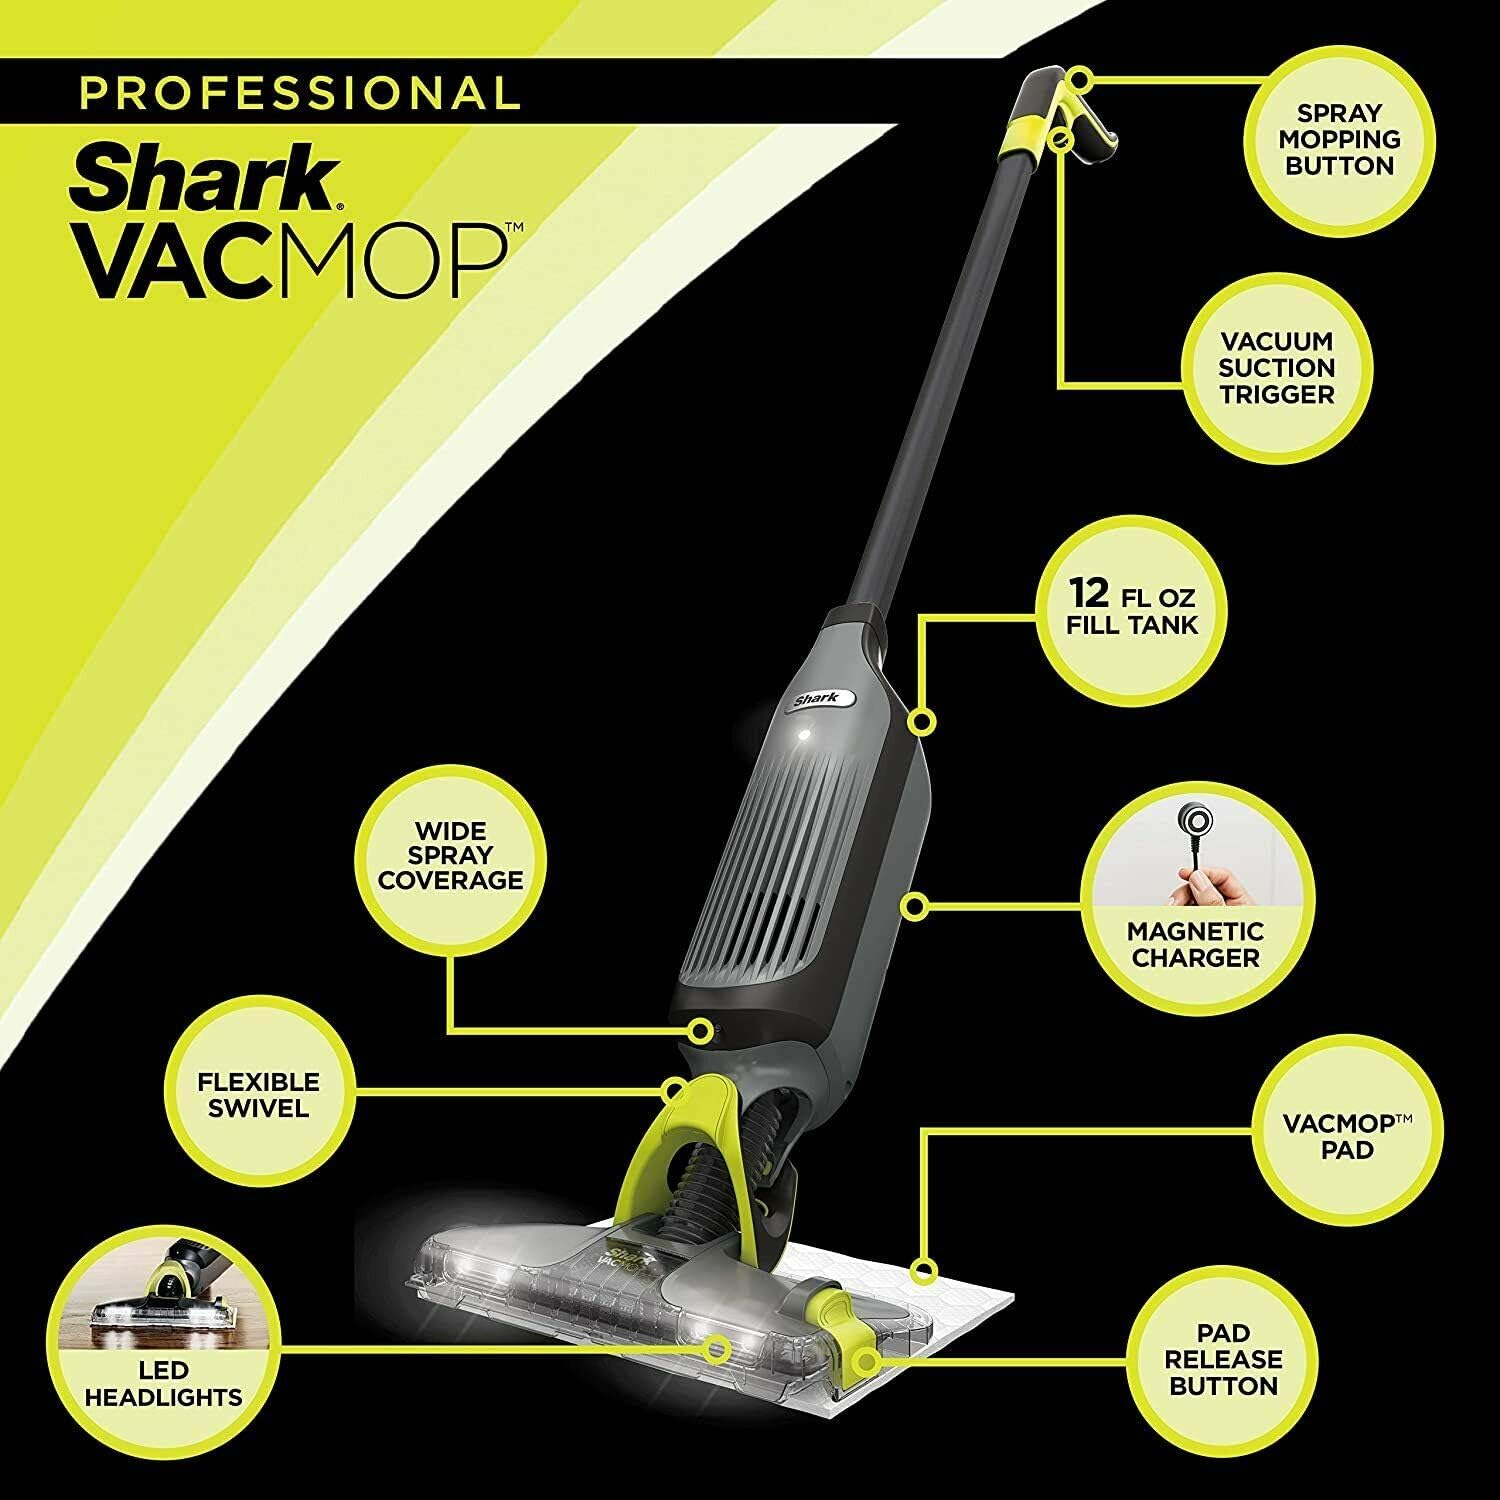
Image: Diagram illustrating the various parts of the Shark VACMOP Pro, including the spray mopping button, vacuum suction trigger, 12 fl oz fill tank, magnetic charger, VACMOP pad, pad release button, flexible swivel, and LED headlights.
- Spray Mopping Button: Activates the spray function for wet mopping.
- Vacuum Suction Trigger: Engages the vacuum function for dry debris.
- 12 fl oz Fill Tank: Reservoir for cleaning solution.
- Magnetic Charger: For convenient charging of the unit.
- VACMOP Pad: Disposable pad for vacuuming and mopping.
- Pad Release Button: For easy disposal of used pads.
- Flexible Swivel: Allows for maneuverability.
- LED Headlights: Illuminates the cleaning path.
Setup
1. Assembly
Assemble the handle to the main body of the VACMOP Pro until it clicks securely into place.
2. Charging the Battery
Before first use, fully charge the VACMOP Pro. Connect the magnetic charger to the charging port on the unit. The indicator lights will show charging status. A full charge typically takes approximately 3.5 hours.
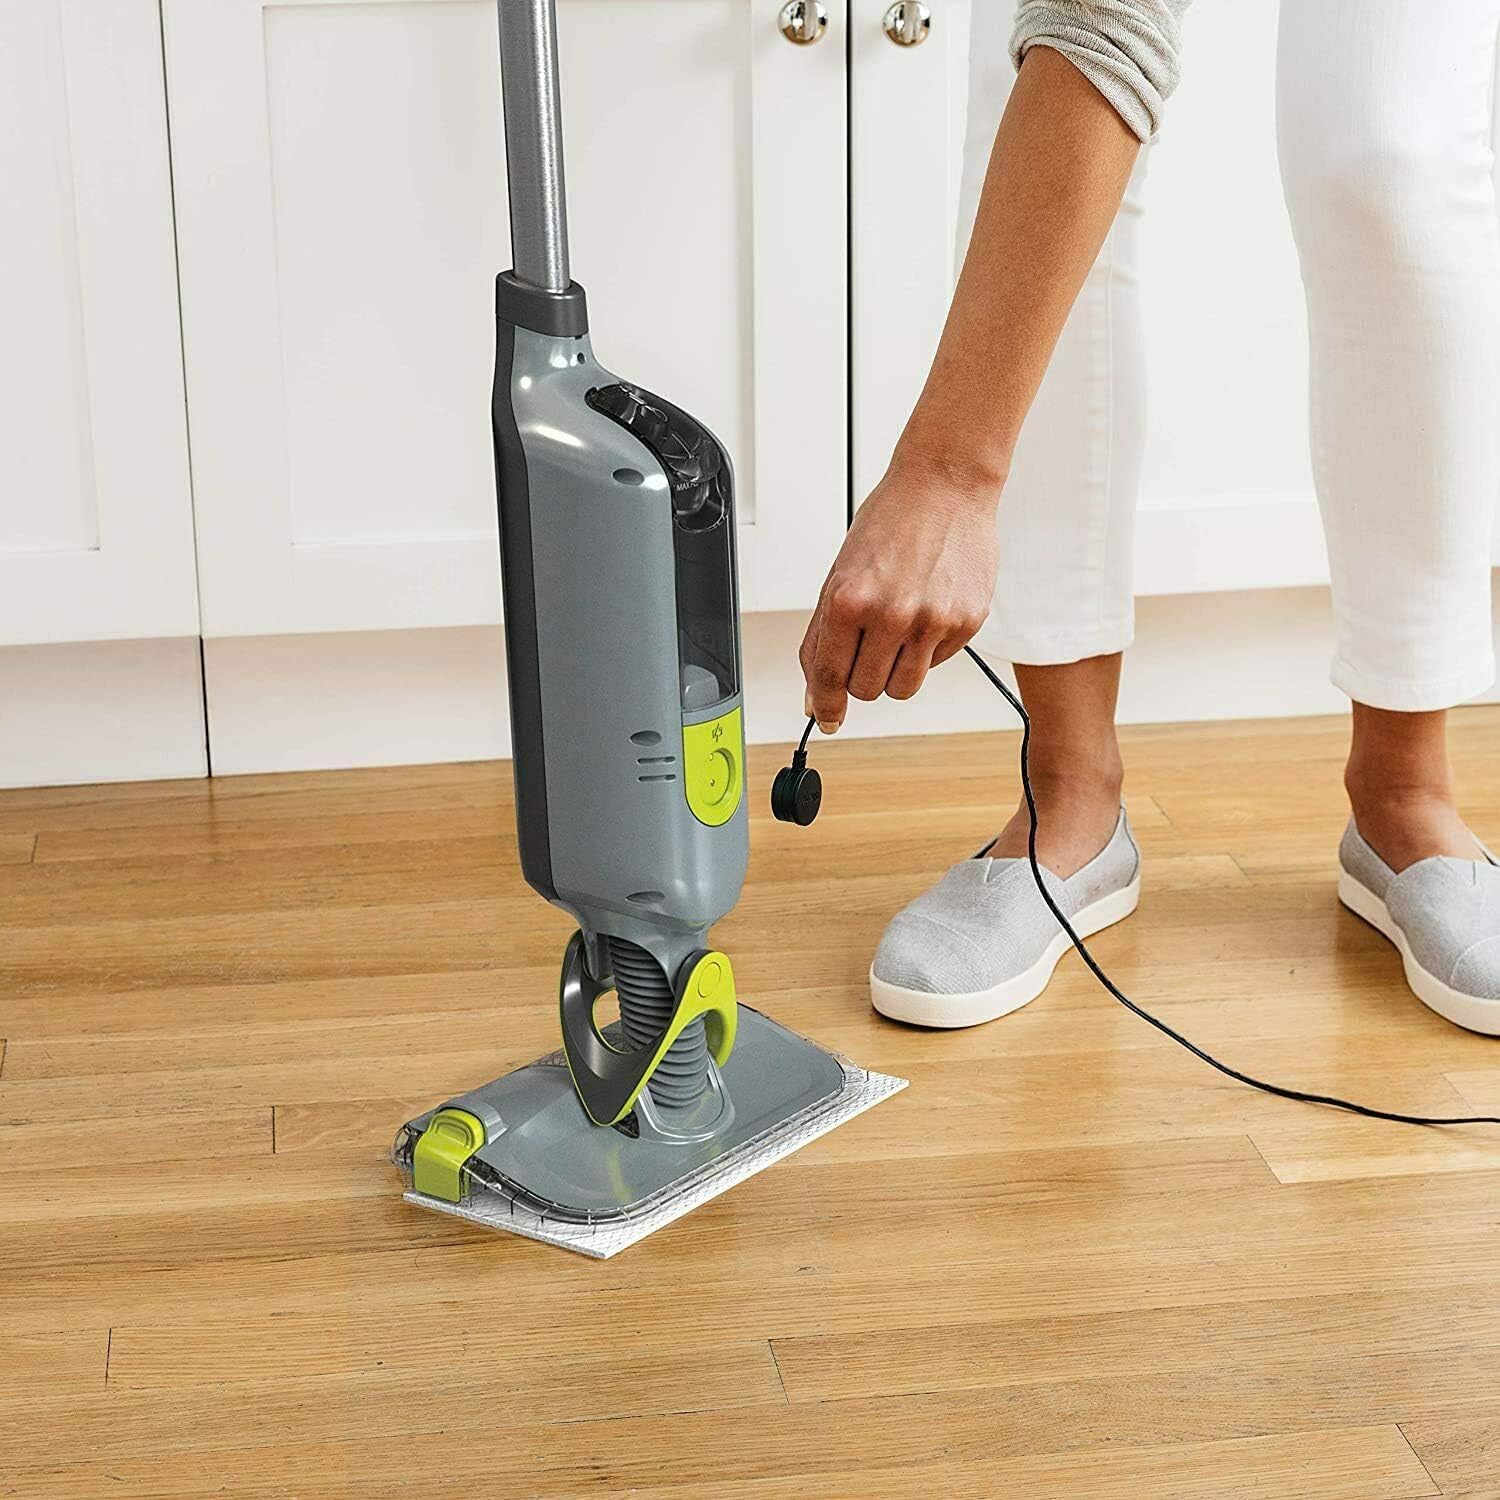
Image: A person connecting the magnetic charger to the Shark VACMOP Pro unit, indicating the charging process.
3. Attaching a VACMOP Pad
Place a new disposable VACMOP Pad on the floor. Align the bottom of the VACMOP Pro head with the pad and press down firmly until it clicks into place. Ensure the pad is securely attached.
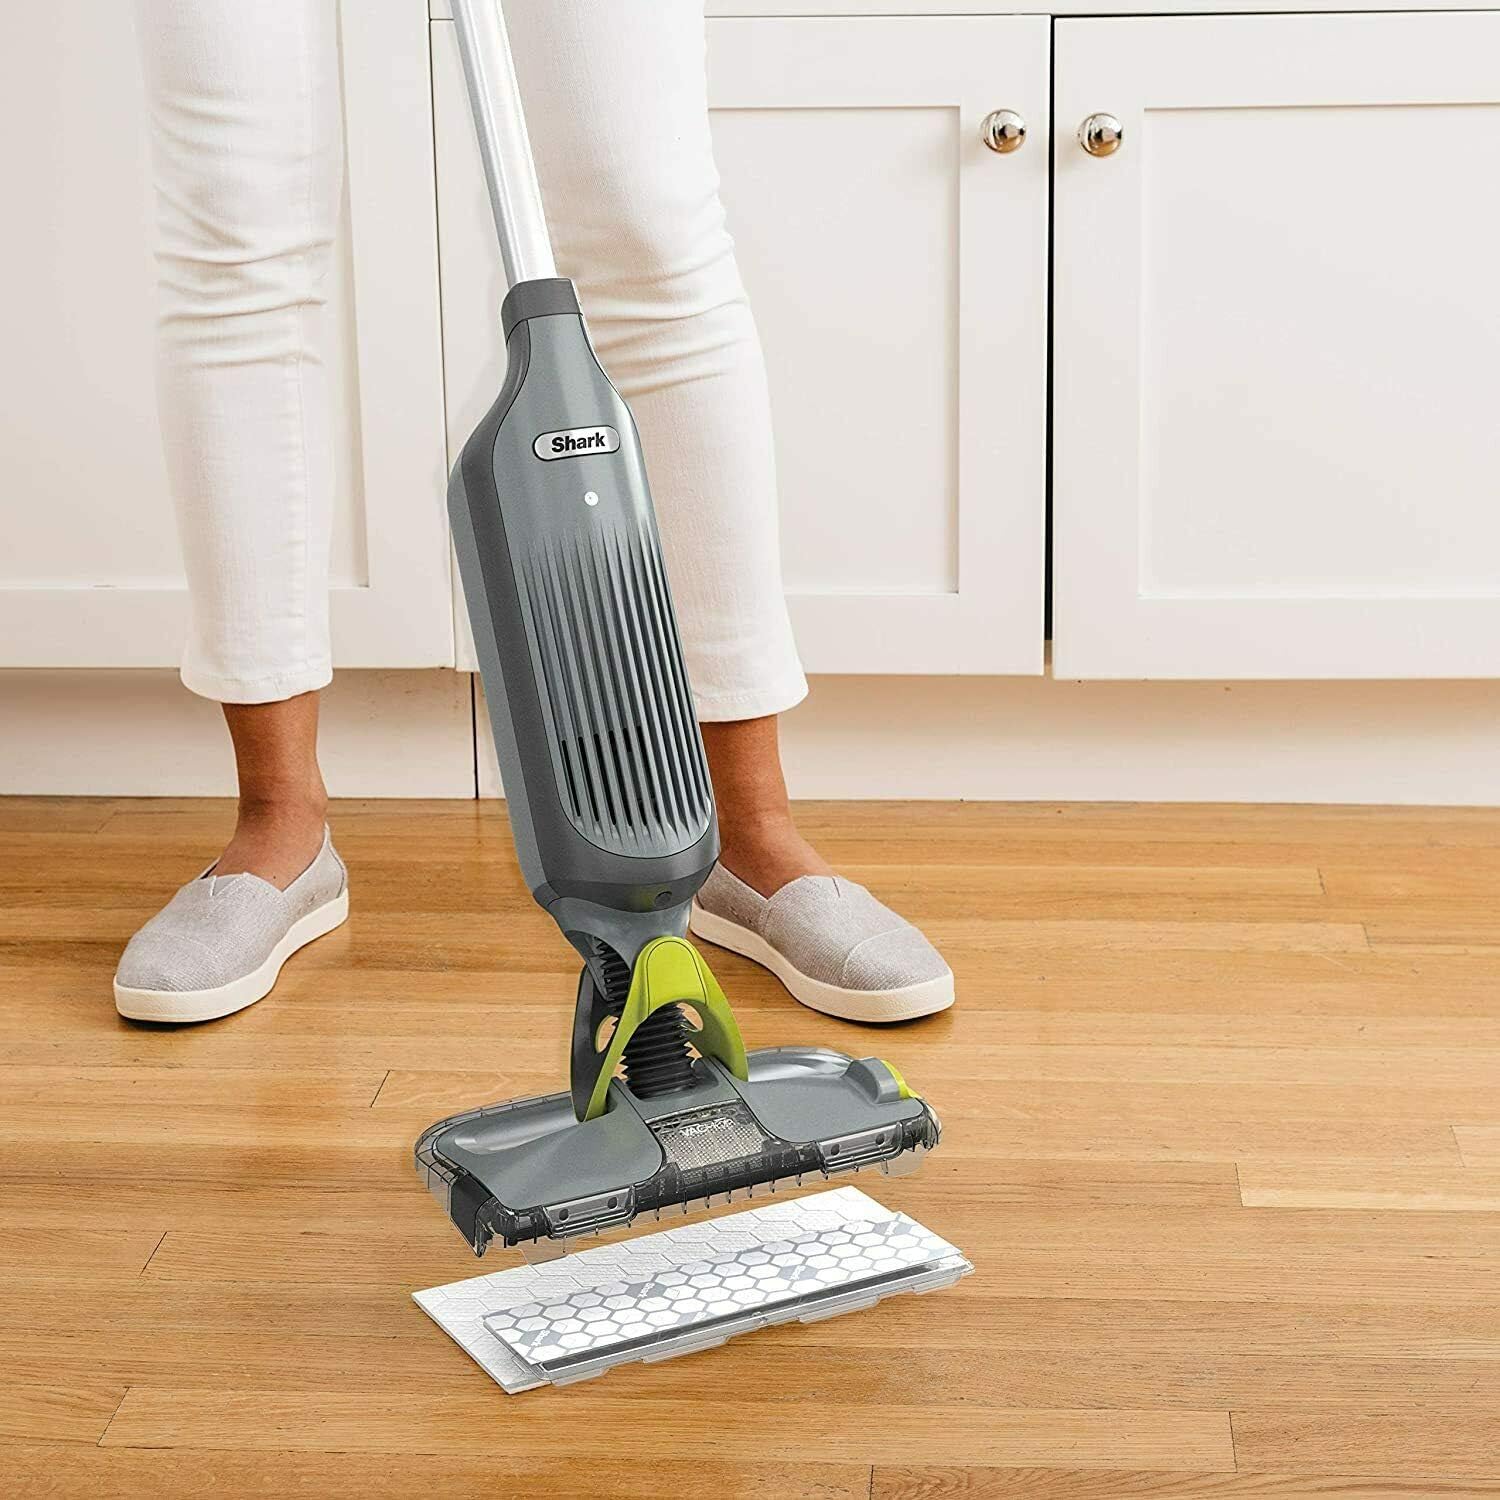
Image: A person demonstrating how to attach a disposable VACMOP pad to the cleaning head of the Shark VACMOP Pro.
4. Filling the Solution Tank
Open the fill cap on the top of the unit. Pour Shark VACMOP Multi-Surface Cleaner into the tank. Close the cap securely. Note: 12oz VACMOP Multi-Surface Cleaner is not included with the unit and must be purchased separately.

Image: A person pouring cleaning solution into the fill tank of the Shark VACMOP Pro.
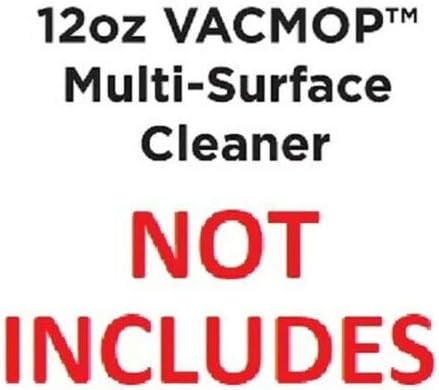
Image: Text indicating that 12oz VACMOP Multi-Surface Cleaner is not included with the product.
Operating Instructions
1. Powering On/Off
Press the power button located on the handle to turn the unit on or off.
2. Vacuuming Dry Debris
To vacuum dry debris, press and hold the vacuum suction trigger. Guide the VACMOP Pro over the area to be cleaned. The powerful suction will draw debris into the disposable pad's dirt chamber.
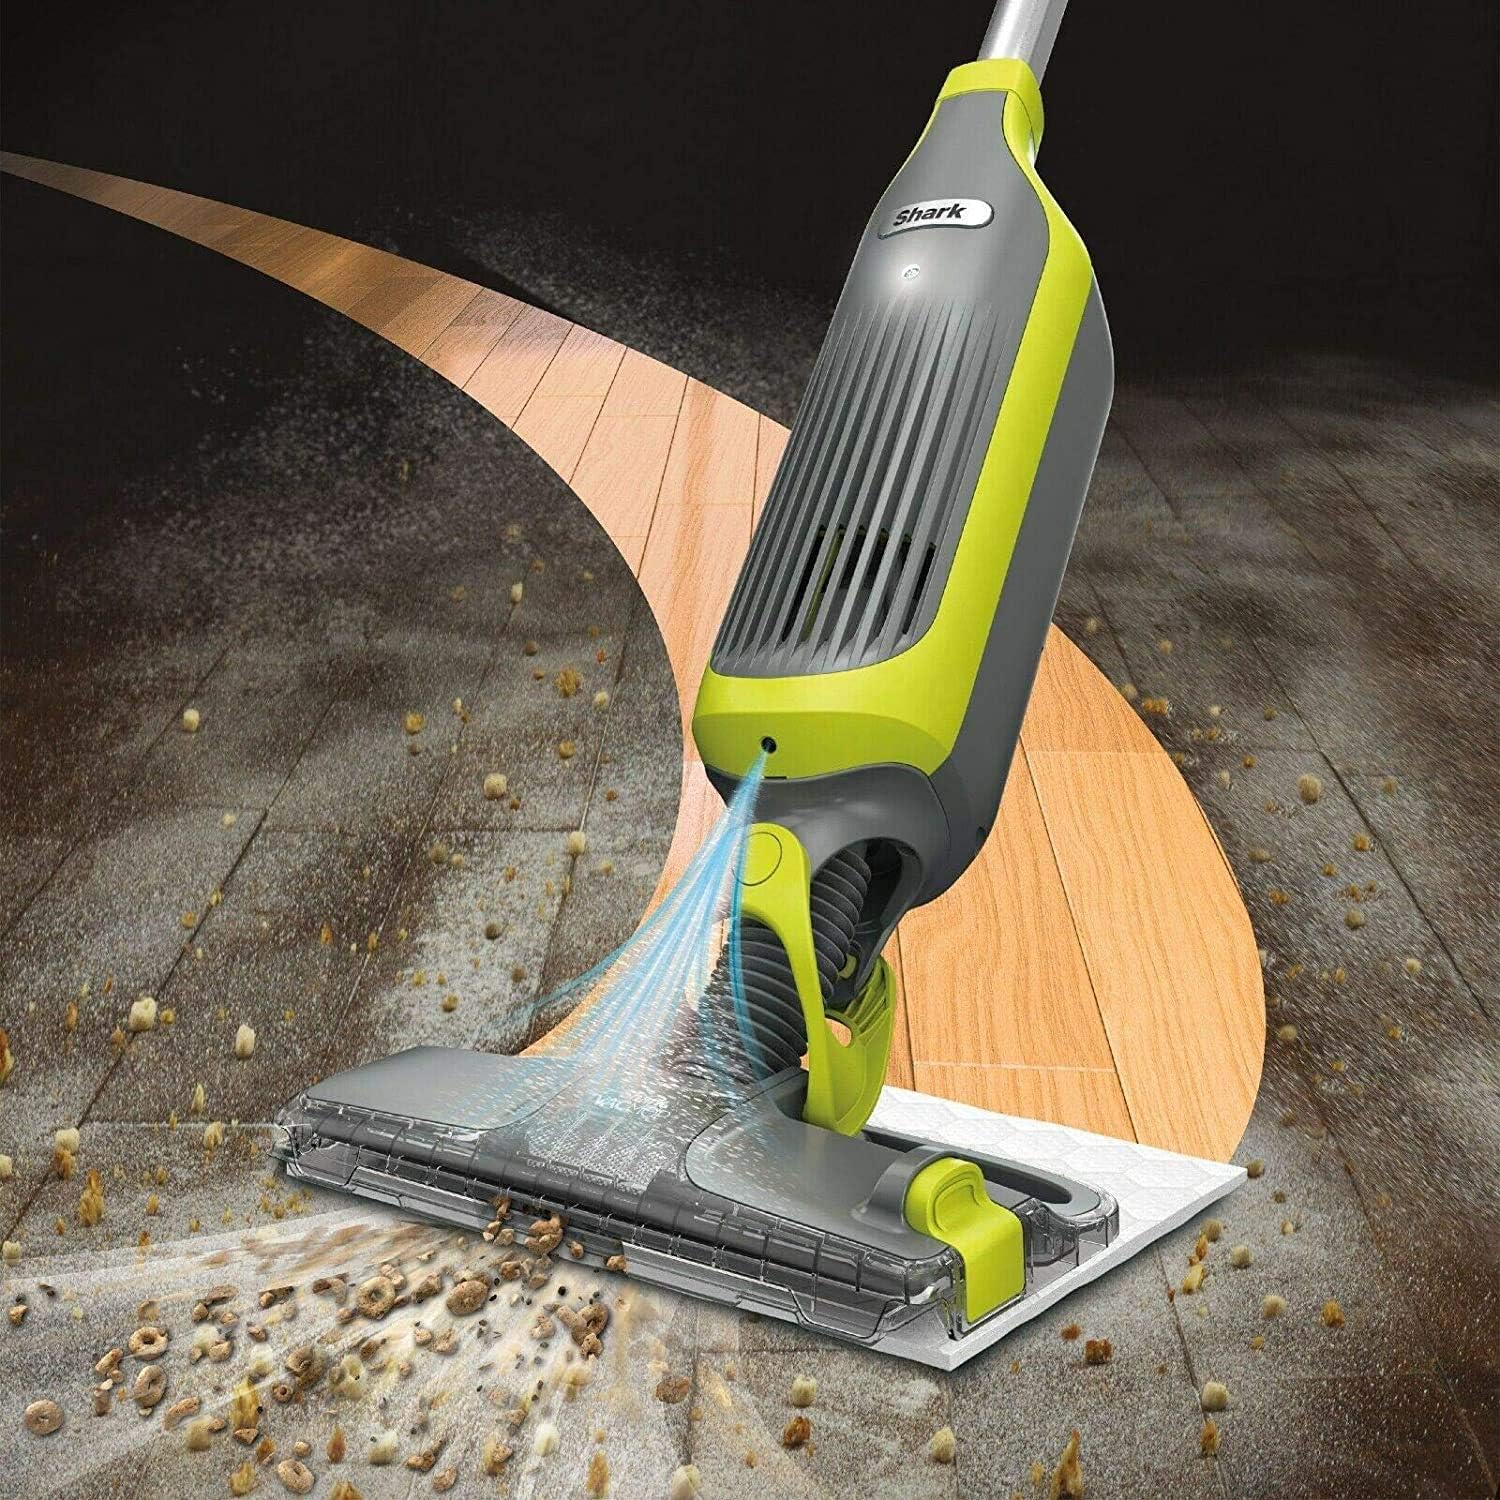
Image: The Shark VACMOP Pro actively vacuuming dry debris from a hard floor surface.
3. Spray Mopping Wet Messes
To spray and mop, press the spray mopping button. Guide the VACMOP Pro over the area. The cleaning solution will be dispensed, and the absorbent pad will clean wet messes and stuck-on grime.

Image: The Shark VACMOP Pro dispensing cleaning solution and mopping a hard floor, demonstrating its wet cleaning capability.
4. LED Headlights
The integrated LED headlights automatically illuminate the cleaning path, making hidden debris visible in corners, crevices, and under furniture.

Image: Close-up view of the Shark VACMOP Pro's LED headlights illuminating the floor under furniture, highlighting its ability to reveal hidden dirt.
Maintenance
1. Disposing of VACMOP Pads
When the pad is full or cleaning is complete, press the pad release button to detach the dirty pad without touching it. Dispose of the used pad in the trash.
2. Cleaning the Unit
Wipe the exterior of the VACMOP Pro with a damp cloth. Do not immerse the unit in water. Ensure the unit is dry before storing or recharging.
3. Storage
Store the VACMOP Pro in an upright position in a dry, cool place. Ensure the battery is charged before long-term storage.
Troubleshooting
| Problem | Possible Cause | Solution |
|---|---|---|
| Unit does not turn on. | Battery is not charged. | Ensure the unit is fully charged. |
| No spray from nozzle. | Solution tank is empty or clogged nozzle. | Refill the solution tank. Check for and clear any obstructions in the spray nozzle. |
| Poor vacuum suction. | VACMOP Pad is full or improperly attached. | Replace the disposable VACMOP Pad. Ensure the pad is securely attached. |
| Unit leaves streaks. | Dirty VACMOP Pad or incorrect solution. | Replace the VACMOP Pad. Use only Shark VACMOP brand cleaning solution. |
Specifications
- Model Names: QM250 / VM250 / VC205
- Brand: Shark
- Special Feature: Bagless
- Filter Type: Foam
- Included Components: 10 Disposable Pads and 12 oz Solution (Note: 12oz solution is often sold separately, verify package contents)
- Cordless: Yes
- Capacity: 350 Milliliters (Solution Tank)
- Color: Charcoal Gray
- Battery Description: Rechargeable
- Item Weight: 4.74 pounds
- Control Method: Touch / Push Button
- Indoor Usage: Yes
Warranty and Support
For warranty information and customer support, please refer to the warranty card included with your product or visit the official Shark website. Keep your purchase receipt as proof of purchase for warranty claims.
Online Support: www.sharkclean.com


