1. Introduction
This manual provides essential information for the safe and efficient operation of your Direct Portable Compact Twin Tub Washing Machine, model GT51056504. Please read these instructions thoroughly before using the appliance and retain them for future reference.
2. Safety Instructions
To reduce the risk of fire, electric shock, or injury, observe the following safety precautions:
- Ensure the power supply matches the specifications of the washing machine (110V/60Hz).
- Do not operate the machine with a damaged power cord or plug.
- Keep children and pets away from the appliance during operation.
- Do not immerse the electrical parts in water.
- Unplug the machine before cleaning or performing any maintenance.
- Do not wash items that are soiled with flammable liquids.
- Always ensure the drain hose is properly positioned before draining water.
3. Package Contents
Verify that all components are present upon unpacking:
- 1 x Twin Tub Washing Machine
- 1 x 2m Water Inlet Hose
- 1 x 2m Drain Pipe
- 1 x User Manual (this document)
4. Product Overview
Familiarize yourself with the main components of your washing machine.
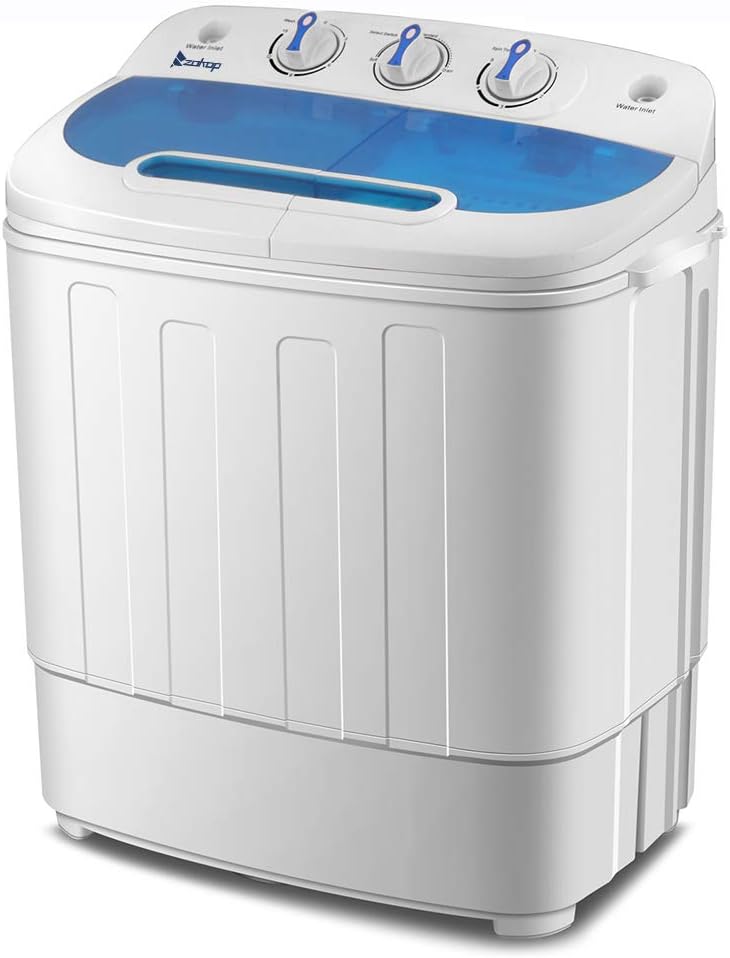
Figure 4.1: Front view of the Direct Portable Compact Twin Tub Washing Machine. This image shows the overall design of the appliance, featuring a white body with a blue transparent lid on top, and control knobs located on the upper panel.

Figure 4.2: Top view of the control panel. The panel features three rotary knobs: Wash Timer, Select Switch (for wash mode/drain), and Spin Timer. Water inlet ports are visible on both sides.

Figure 4.3: Top view with the blue transparent lids open, revealing the wash tub on the left with a pulsator, and the spin tub on the right with a spin basket. A handle is visible between the two tubs.
5. Setup and Installation
- Unpacking: Carefully remove the washing machine from its packaging. Inspect for any damage during transit.
- Placement: Place the machine on a flat, stable surface to minimize vibration and noise during operation. Ensure there is adequate space around the machine for ventilation and access.
- Drain Pipe Connection: Connect the provided 2-meter drain pipe to the drain outlet on the machine. Position the other end of the drain pipe into a sink or drain area, ensuring it is lower than the machine's drain outlet for proper gravity drainage.
- Water Inlet Connection: Connect the 2-meter water inlet hose to a water faucet. The other end can be placed into the water inlet port on the washing machine (located on the top panel, see Figure 4.2).
- Power Connection: Plug the power cord into a grounded 110V/60Hz electrical outlet.
6. Operating Instructions
6.1. Washing Cycle
- Load Laundry: Open the wash tub lid and place clothes loosely into the wash tub. Do not overload the machine (maximum 8 lbs for washing).
- Add Water and Detergent: Fill the wash tub with water to the desired level using the inlet hose. Add appropriate detergent.
- Set Wash Mode: Turn the "Select Switch" knob to either "Soft" for delicate items or "Standard" for regular laundry.
- Set Wash Timer: Turn the "Wash Timer" knob to the desired washing time (up to 15 minutes). The machine will start washing automatically.
- Drain Water: Once the wash cycle is complete, turn the "Select Switch" knob to "Drain" to empty the water from the wash tub. Ensure the drain pipe is positioned correctly.
6.2. Rinsing Cycle
- After draining the wash water, refill the wash tub with clean water.
- Set the "Wash Timer" for 3-5 minutes to rinse the clothes.
- Drain the rinse water by turning the "Select Switch" to "Drain". Repeat if necessary for thorough rinsing.
6.3. Spin Drying Cycle

Figure 6.1: Close-up view of the stainless steel spin tub interior. This tub is designed for efficient water extraction from laundry.
- Transfer Laundry: Carefully transfer the rinsed clothes from the wash tub to the spin tub (maximum 5 lbs for spinning). Distribute clothes evenly to prevent imbalance.
- Close Lid: Ensure the spin tub lid is securely closed.
- Set Spin Timer: Turn the "Spin Timer" knob to the desired spinning time (up to 3 minutes). The machine will begin spinning.
- Remove Laundry: Once the spin cycle is complete, open the lid and carefully remove the spun clothes.
7. Maintenance and Care
- Cleaning the Exterior: Wipe the exterior of the machine with a soft, damp cloth. Do not use abrasive cleaners or solvents.
- Cleaning the Tubs: Periodically clean the interior of the wash and spin tubs to prevent detergent residue buildup. A mild detergent and soft brush can be used. Rinse thoroughly.
- Drain Filter (if applicable): Check and clean any lint filters or drain filters regularly to ensure efficient drainage.
- Storage: If storing the machine for an extended period, ensure both tubs are empty and dry. Disconnect power and drain hoses.
8. Troubleshooting
| Problem | Possible Cause | Solution |
|---|---|---|
| Machine does not start | Power cord not plugged in; Power outage; Timer not set. | Ensure power cord is securely plugged in; Check household power; Set the Wash or Spin Timer. |
| Water does not drain | Drain pipe is kinked or blocked; Drain pipe is not positioned lower than the machine. | Straighten the drain pipe; Clear any blockages; Ensure the drain pipe is positioned correctly for gravity drainage. |
| Excessive vibration/noise during spin | Laundry unevenly distributed in spin tub; Machine not on a level surface. | Redistribute laundry evenly in the spin tub; Adjust machine placement to a level surface. |
| Water leakage | Hoses not securely connected; Drain pipe improperly positioned. | Check all hose connections for tightness; Ensure drain pipe is correctly placed. |
9. Specifications
| Feature | Detail |
|---|---|
| Model | GT51056504 (XPB46 RS4) |
| Power Supply | 110V / 60Hz |
| Rated Washing Capacity | 8 lbs (3.6 kg) |
| Rated Spin Capacity | 5 lbs (2.3 kg) |
| Rated Wash Input Power | 300W |
| Rated Spin Input Power | 250W |
| Total Power | 550W |
| Dimensions (L x W x H) | 23.23 x 13.98 x 26.57 inches (59 x 35.5 x 67.5 cm) |
| Item Weight | 24.25 lbs (11 kg) |
| Material | Plastic, PP, Stainless Steel |
| Max Spin Speed | 1300 RPM |
| Control Type | Knob |
| Drain Pipe Length | 2 meters |
| Water Inlet Hose Length | 2 meters |
10. Warranty and Support
For warranty information or technical support, please refer to the retailer or manufacturer's official website. If you encounter any issues not covered in this manual, contact customer service for assistance.
The manufacturer aims for 100% customer satisfaction. If you are not satisfied with your purchase, please contact the seller directly for resolution.


