Important Safety Instructions
When using electrical appliances, basic safety precautions should always be followed to reduce the risk of fire, electric shock, and injury to persons, including the following:
- Read all instructions before using the appliance.
- Do not touch hot surfaces. Use handles or knobs.
- To protect against electric shock, do not immerse cord, plugs, or the appliance housing in water or other liquid.
- Close supervision is necessary when any appliance is used by or near children.
- Unplug from outlet when not in use and before cleaning. Allow to cool before putting on or taking off parts.
- Do not operate any appliance with a damaged cord or plug, or after the appliance malfunctions or has been damaged in any manner.
- The use of accessory attachments not recommended by the appliance manufacturer may cause injuries.
- Do not use outdoors.
- Do not let cord hang over edge of table or counter, or touch hot surfaces.
- Do not place on or near a hot gas or electric burner, or in a heated oven.
- Extreme caution must be used when moving an appliance containing hot oil or other hot liquids.
- Always attach plug to appliance first, then plug cord into the wall outlet. To disconnect, turn any control to "off", then remove plug from wall outlet.
- Do not use appliance for other than intended use.
- This appliance is for household use only.
Product Overview
The BLACK+DECKER Digital Air Fryer Oven AOF100 is a versatile kitchen appliance designed for air frying, baking, broiling, and reheating. It features a 12-liter capacity, digital temperature control from 80°C to 200°C, and 10 preset cooking programs. The oven also includes a 90-minute timer and an automatic shut-off function for safety and convenience.
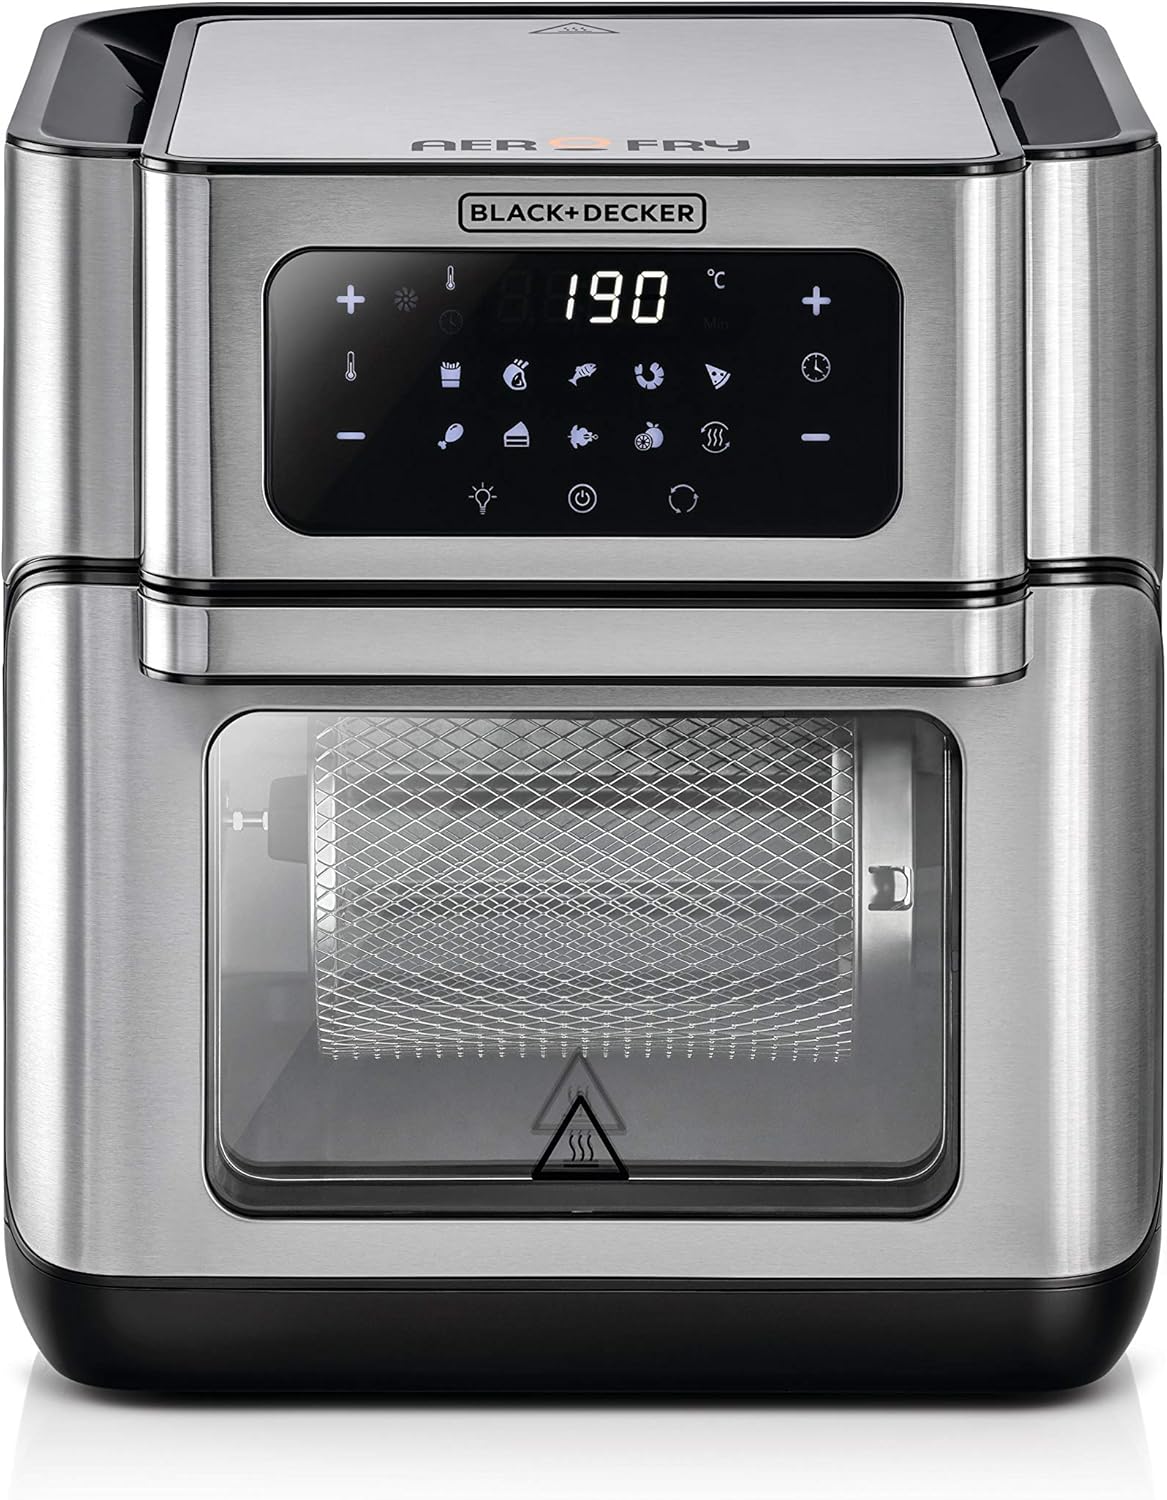
Figure 1: Front view of the BLACK+DECKER Digital Air Fryer Oven AOF100, showing the digital control panel and viewing window.
Components and Accessories
The BLACK+DECKER Digital Air Fryer Oven AOF100 comes with several accessories to enhance your cooking experience:
- Rotisserie Basket: Ideal for fries, nuts, and other small items that require tumbling for even cooking.
- Rotisserie Spit: Used for roasting whole chickens or larger cuts of meat.
- Rotisserie Handle: For safely inserting and removing the rotisserie spit or basket.
- Air Flow Racks (2): For air frying, dehydrating, or crisping various foods.
- Drip Tray: Catches excess oil and food particles, making cleanup easier.
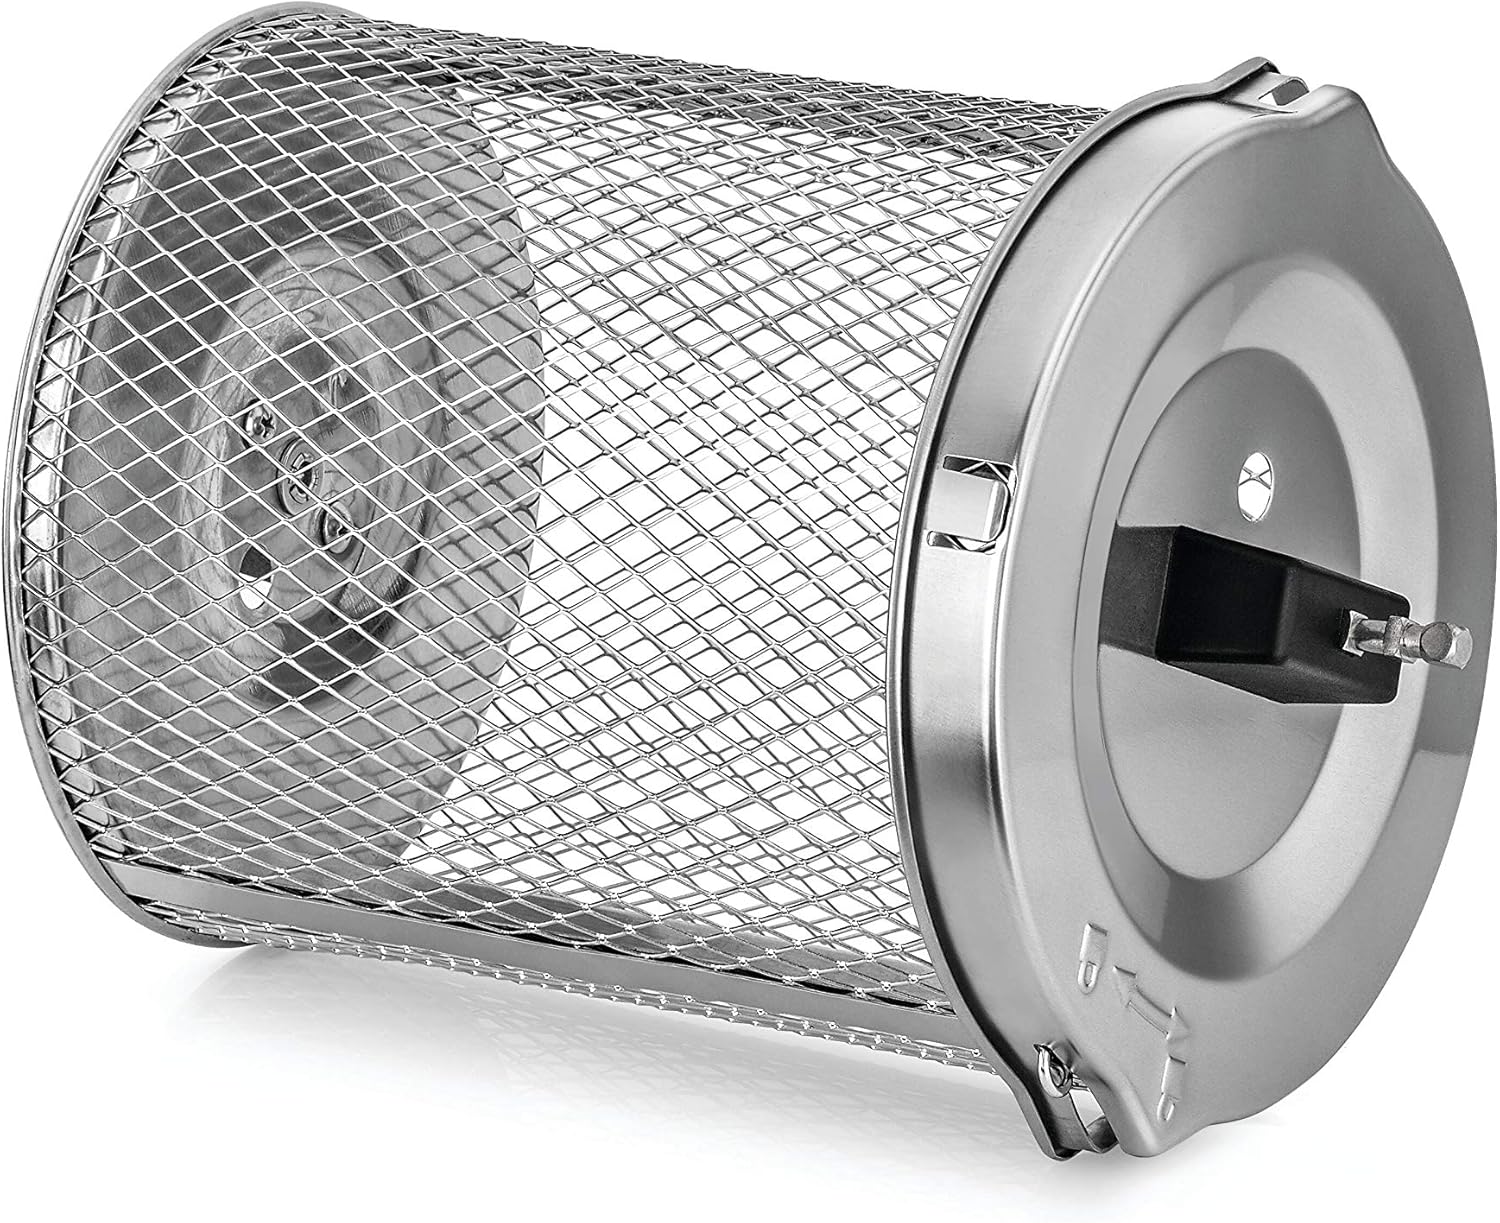
Figure 2: The rotisserie basket accessory, designed for tumbling smaller food items.
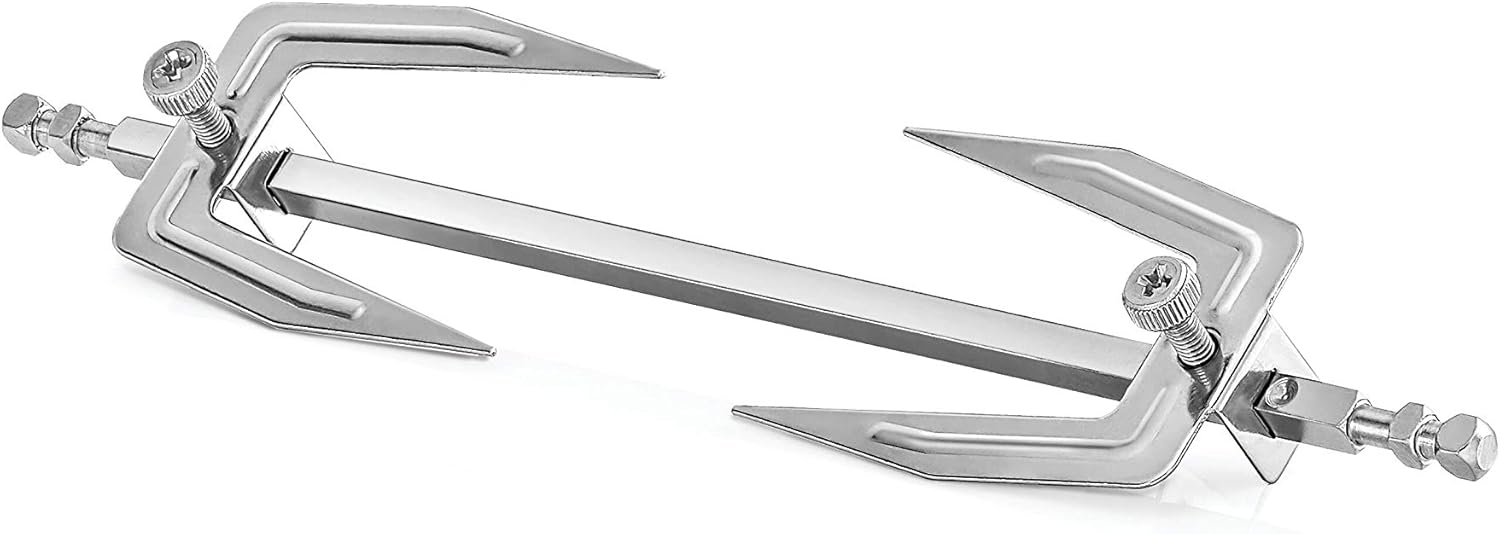
Figure 3: The rotisserie spit accessory, used for roasting whole poultry.

Figure 4: The rotisserie handle, for safe handling of hot rotisserie accessories.

Figure 5: An air flow rack, used for crisping and even cooking.

Figure 6: The drip tray, placed at the bottom to collect drippings.
Setup and First Use
- Unpack: Carefully remove all packaging materials and accessories from the air fryer oven.
- Clean: Wash all removable parts (rotisserie basket, spit, racks, drip tray) in warm, soapy water. Wipe the interior and exterior of the appliance with a damp cloth. Dry thoroughly.
- Placement: Place the air fryer oven on a stable, heat-resistant surface, ensuring adequate clearance (at least 15 cm) from walls and other appliances for proper ventilation.
- Power Connection: Plug the power cord into a grounded 220V-240V, 50Hz electrical outlet.
- Initial Burn-Off: For the first use, operate the empty air fryer oven at 180°C for approximately 10-15 minutes to burn off any manufacturing residues. A slight odor or smoke may be present; this is normal. Ensure good ventilation during this process.
Operating Instructions
General Operation
- Place the drip tray at the bottom of the oven.
- Place food on the desired accessory (air flow rack, rotisserie basket, or rotisserie spit).
- Close the oven door securely.
- Press the Power button to turn on the appliance.
- Select a preset program or manually set the temperature (80-200°C) and time (up to 90 minutes) using the digital controls.
- Press the Start/Pause button to begin cooking.
- The internal light can be turned on to monitor cooking progress through the viewing window.
- When cooking is complete, the oven will beep and automatically shut off. Carefully remove food using heat-resistant gloves and the rotisserie handle if applicable.
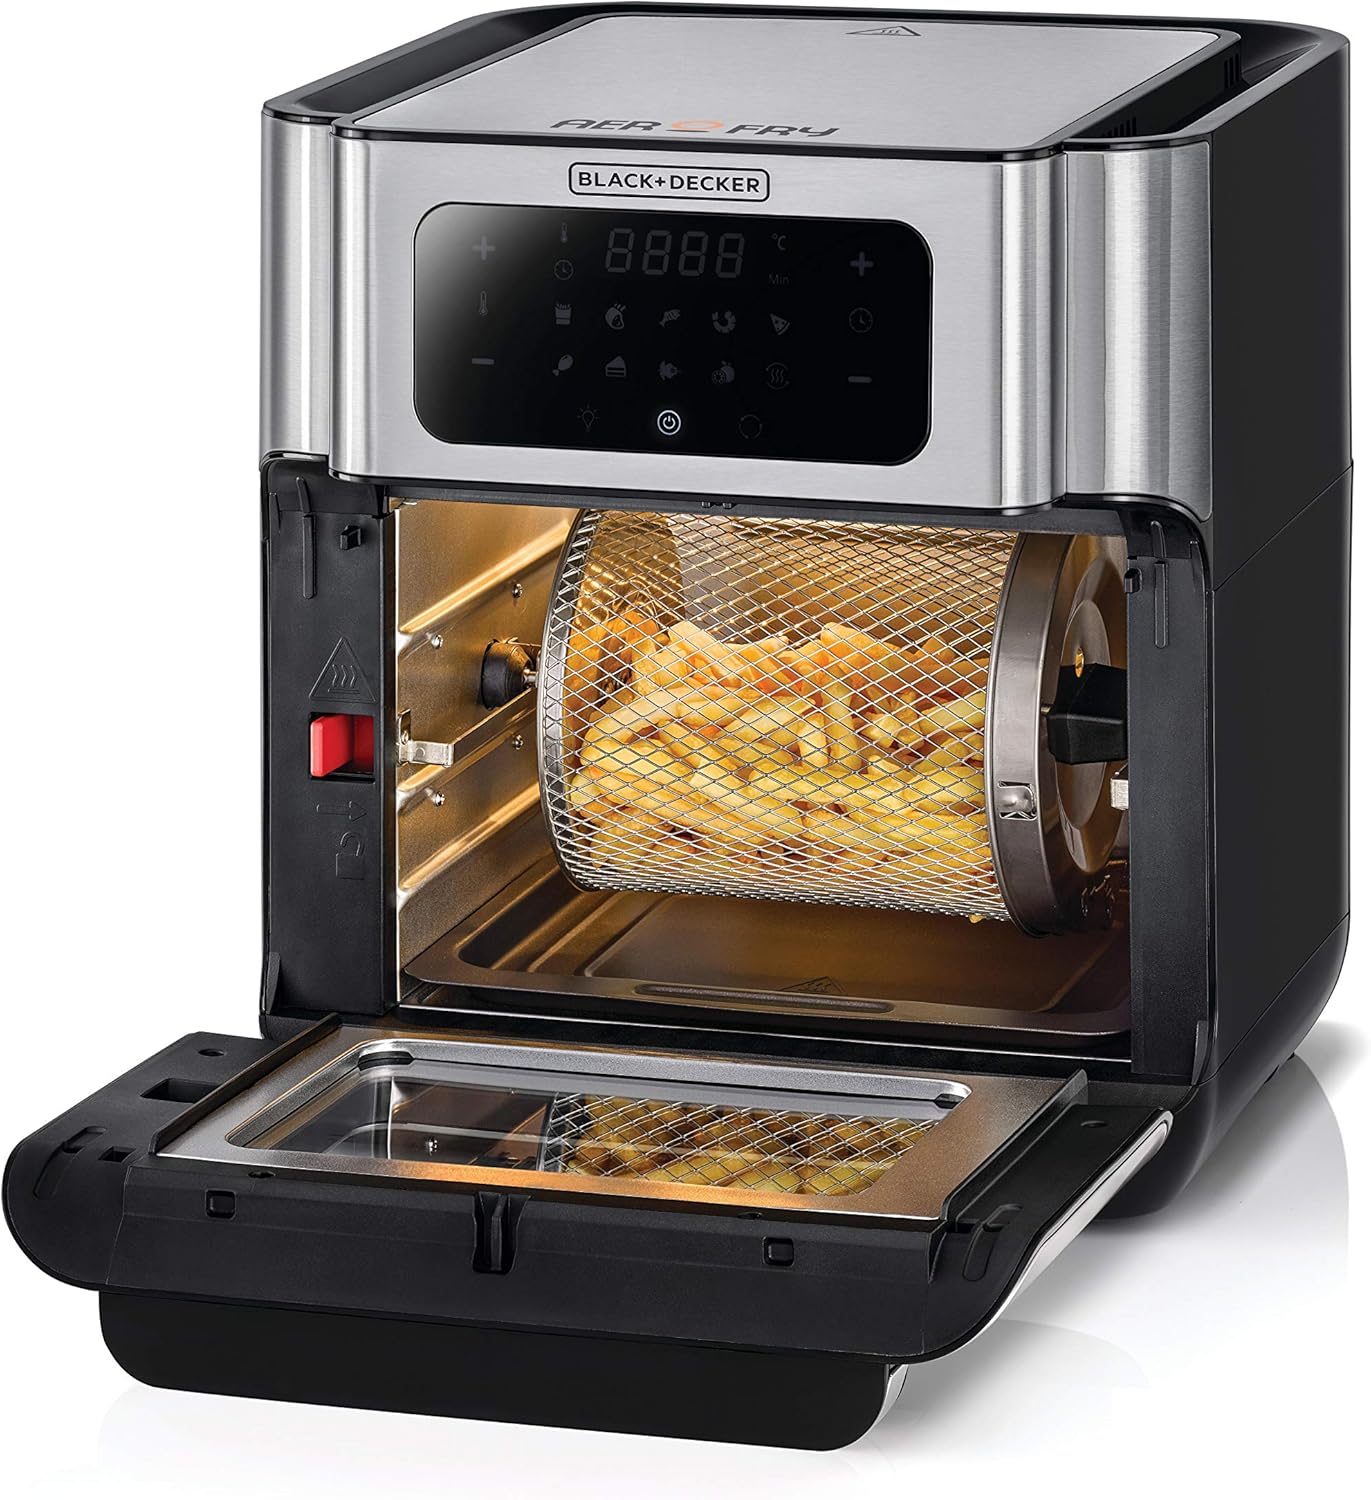
Figure 7: The oven interior with the rotisserie basket containing fries.
Using the Rotisserie Function
- Prepare your food (e.g., a whole chicken) and secure it onto the rotisserie spit. Ensure it is balanced.
- Using the rotisserie handle, carefully insert the rotisserie spit into the designated slots inside the oven.
- Select the rotisserie preset program or manually set the temperature and time.
- Press the Rotisserie button to activate the rotation function.
- Monitor cooking through the viewing window.
- Once cooking is complete, use the rotisserie handle to safely remove the hot spit and food.
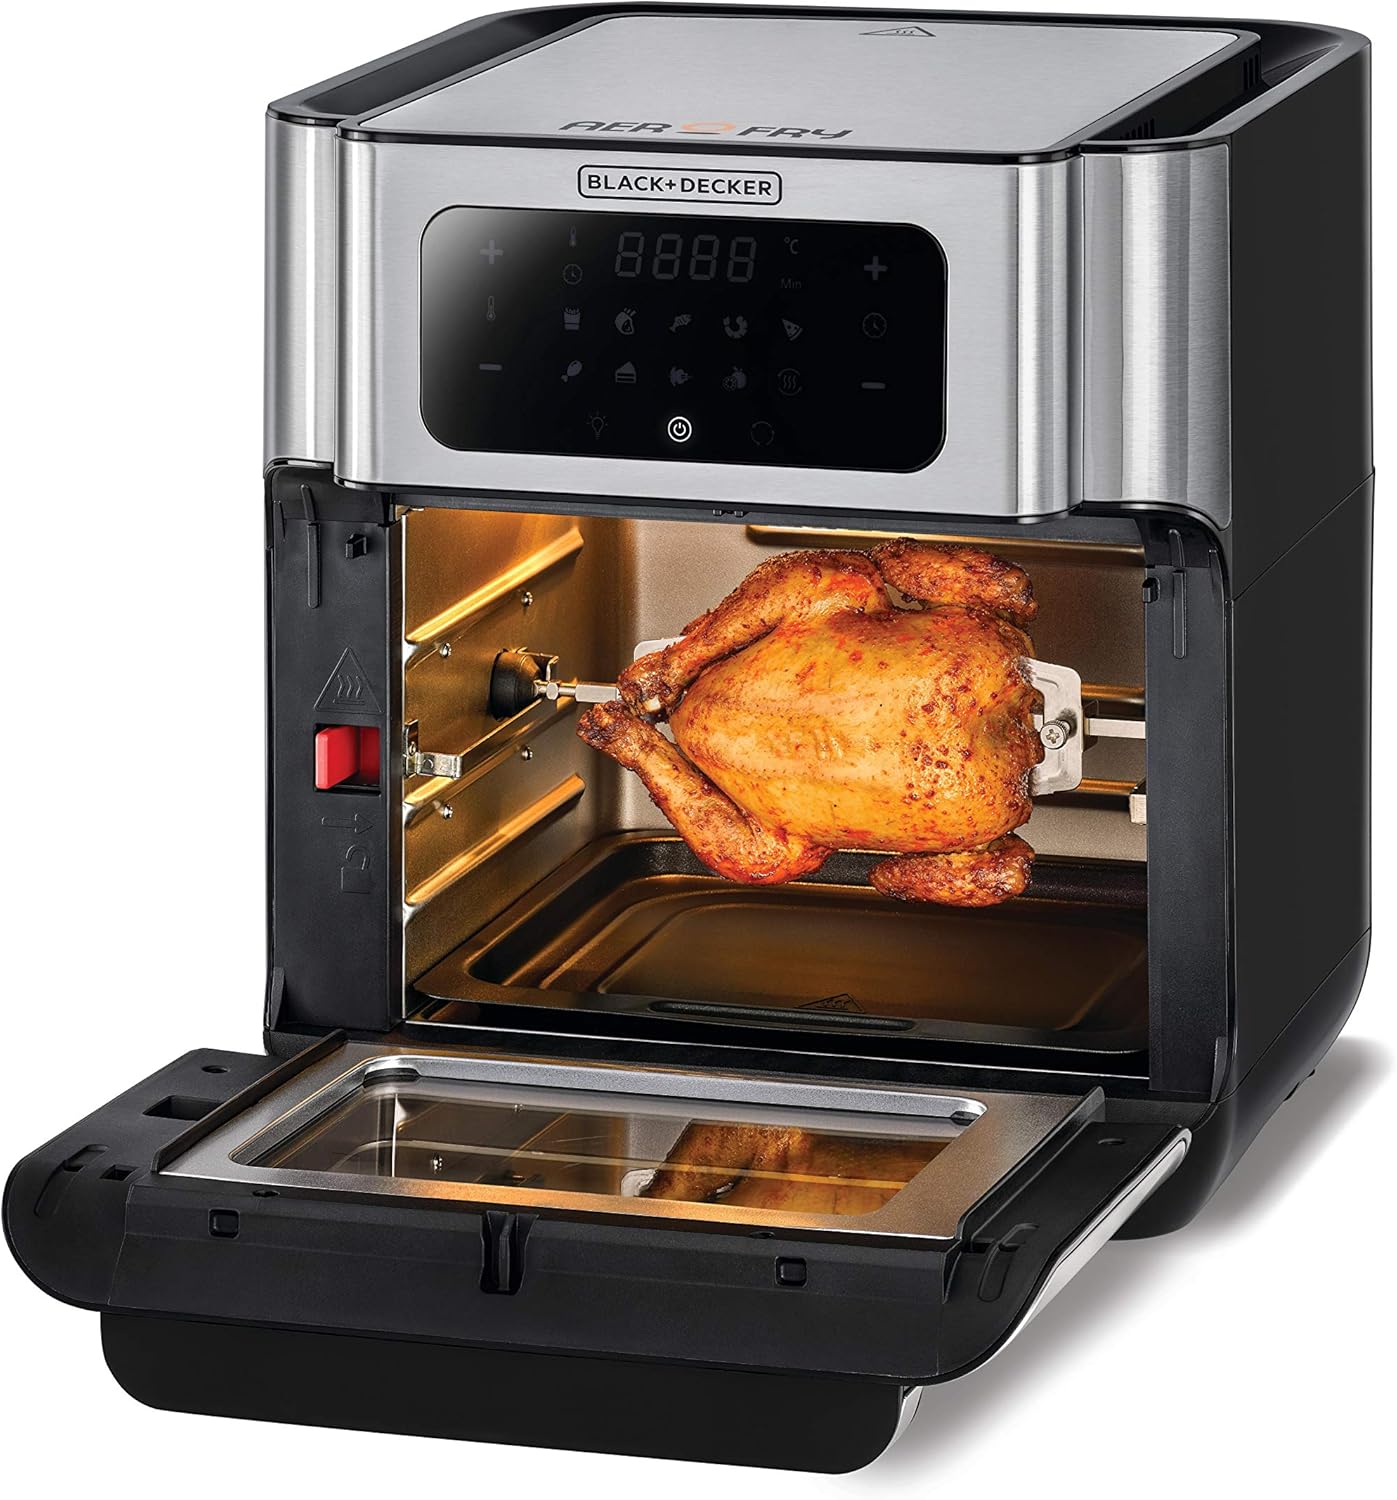
Figure 8: The oven interior with a whole chicken roasting on the rotisserie spit.

Figure 9: Front view of the oven with a rotisserie chicken cooking inside.
Maintenance and Cleaning
Regular cleaning ensures optimal performance and extends the life of your appliance.
- Unplug and Cool: Always unplug the air fryer oven from the power outlet and allow it to cool completely before cleaning.
- Removable Parts: The rotisserie basket, spit, air flow racks, and drip tray are dishwasher safe. Alternatively, wash them in warm, soapy water using a non-abrasive sponge. Rinse thoroughly and dry.
- Interior Cleaning: Wipe the interior surfaces with a damp cloth and mild detergent. For stubborn food residue, a non-abrasive brush can be used. Avoid harsh chemicals or abrasive cleaners.
- Exterior Cleaning: Wipe the exterior of the appliance with a damp cloth. Do not immerse the main unit in water or any other liquid.
- Storage: Ensure all parts are clean and dry before storing the appliance in a cool, dry place.
Troubleshooting
| Problem | Possible Cause | Solution |
|---|---|---|
| Appliance does not turn on | Not plugged in; Power outlet malfunction; Appliance malfunction | Ensure power cord is securely plugged in; Test outlet with another appliance; Contact customer support. |
| Food is not cooked evenly | Overcrowding; Incorrect temperature/time; Food not rotated | Do not overcrowd the oven; Adjust temperature/time as needed; For best results, rotate food or use the rotisserie function for applicable items. |
| White smoke from appliance | Grease/oil residue; Fatty food cooking | Clean the drip tray and interior thoroughly; For fatty foods, ensure drip tray is in place and consider reducing temperature slightly. |
| Rotisserie function not working | Rotisserie spit/basket not properly installed; Rotisserie button not activated | Ensure the rotisserie accessory is correctly seated in the drive and support slots; Press the Rotisserie button on the control panel. |
Specifications
| Feature | Detail |
|---|---|
| Brand | BLACK+DECKER |
| Model Number | AOF100 |
| Color | Silver |
| Product Dimensions | 37 x 37 x 41.6 cm |
| Capacity | 12 Liters |
| Power / Wattage | 1500 watts |
| Voltage | 220V-240V |
| Material | Metal |
| Auto Shutoff | Yes |
| Item Weight | 8.3 Kilograms |
| Recommended Uses | Bake, Broil, Reheat, Steam, Air Fry |
Warranty and Support
This BLACK+DECKER Digital Air Fryer Oven AOF100 comes with an International Warranty. For specific warranty terms, conditions, and duration, please refer to the warranty card included with your product or contact BLACK+DECKER customer service in your region.
For technical support, spare parts, or service inquiries, please visit the official BLACK+DECKER website or contact their authorized service centers.


