1. Introduction
Thank you for purchasing the CHiQ 32P625Q 32-inch QHD IPS LED Monitor. This manual provides essential information for the safe and efficient operation of your new monitor. Please read this manual thoroughly before use and retain it for future reference.
Safety Information
- Do not expose the monitor to rain or moisture to prevent fire or shock hazards.
- Do not open the monitor casing. There are no user-serviceable parts inside. Refer all servicing to qualified personnel.
- Place the monitor on a stable, flat surface to prevent it from falling.
- Ensure proper ventilation around the monitor. Do not block ventilation openings.
- Use only the power adapter supplied with the monitor.
- Unplug the monitor from the power outlet during lightning storms or when unused for extended periods.
2. Package Contents
Verify that all items are present in your package:
- CHiQ 32P625Q 32-inch QHD IPS LED Monitor
- Monitor Stand (Base and Neck)
- Power Adapter
- HDMI Cable
- User Manual (this document)
3. Product Overview
Monitor Front View
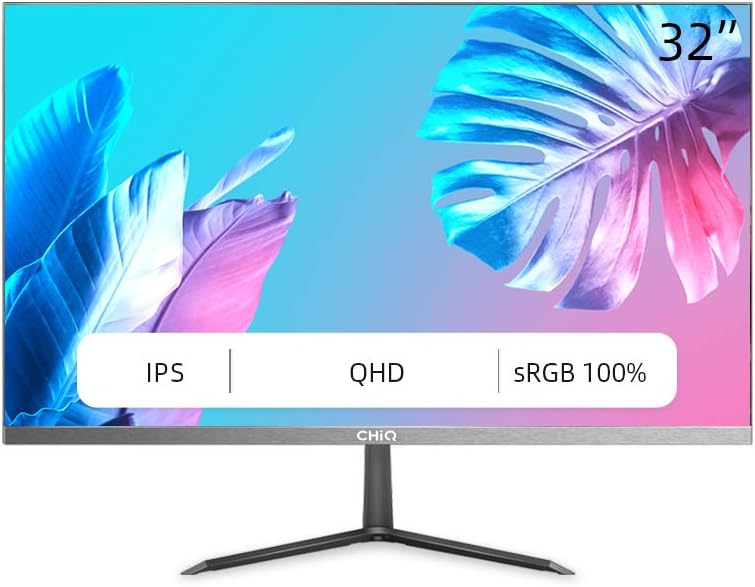
Figure 3.1: Front view of the CHiQ 32P625Q monitor, showcasing its 32-inch IPS QHD display with sRGB 100% color coverage and ultra-thin bezels.
Monitor Rear and Side Views (Illustrative)

Figure 3.2: Side view of the CHiQ 32P625Q monitor, highlighting its slim profile and metal stand design.

Figure 3.3: Close-up illustrating the 6.9mm super slim design and frameless metal bezel of the monitor.
Control Buttons and Ports
The monitor features intuitive control buttons, typically located on the rear or bottom right side, and various input ports on the rear panel.
- Power Button: Turns the monitor on or off.
- OSD Menu Buttons: Navigate and select options within the On-Screen Display menu.
- HDMI Port(s): Connect to devices using an HDMI cable.
- DP (DisplayPort) Port: Connect to devices using a DisplayPort cable.
- VGA Port: Connect to older devices using a VGA cable.
- Audio Out (Headphone Jack): Connect headphones or external speakers.
- DC Power Input: Connect the power adapter.
4. Setup
4.1 Assembling the Stand
- Carefully remove the monitor from its packaging, keeping it protected on a soft surface.
- Attach the stand neck to the monitor panel.
- Attach the stand base to the stand neck and secure it with the provided screws.
- Place the assembled monitor on a stable, flat desk.

Figure 4.1: Illustration of the monitor's minimalist design, including the metal stand, frameless design, and ultra-slim profile (6.9mm).
4.2 VESA Mounting
The CHiQ 32P625Q monitor is VESA compatible, allowing it to be mounted on a wall or an articulating arm (sold separately). Ensure your VESA mount is compatible with the monitor's VESA pattern (typically 100x100mm, though specific details should be confirmed with the product's physical specifications or packaging).
- Remove the stand from the monitor if it is already attached.
- Follow the instructions provided with your VESA mount to attach it to the monitor and then to your desired surface.
4.3 Connecting to Devices
Connect your computer or other devices to the monitor using the appropriate cables.
- HDMI: Connect one end of the HDMI cable to the HDMI port on your computer/device and the other end to an HDMI port on the monitor.
- DisplayPort (DP): Connect one end of the DP cable to the DP port on your computer/device and the other end to the DP port on the monitor.
- VGA: Connect one end of the VGA cable to the VGA port on your computer/device and the other end to the VGA port on the monitor.
- Audio Out: If you wish to use external speakers or headphones, connect them to the 3.5mm audio out jack on the monitor.
4.4 Power Connection
- Connect the power adapter cable to the DC power input port on the monitor.
- Plug the power adapter into a power outlet.
5. Operating the Monitor
5.1 Power On/Off
Press the power button on the monitor to turn it on or off. The power indicator light will illuminate when the monitor is on.
5.2 OSD Menu Navigation
The On-Screen Display (OSD) menu allows you to adjust various monitor settings. Use the control buttons (usually located on the rear or bottom right) to navigate the menu.
- Press a menu button to open the OSD menu.
- Use the navigation buttons (up/down/left/right or joystick) to move through menu options.
- Press the select/enter button to confirm a selection or enter a sub-menu.
- Press the exit button to close the OSD menu.
5.3 Picture Settings
Adjust display characteristics for optimal viewing.
- Brightness: Adjust the overall luminance of the screen.
- Contrast: Adjust the difference between light and dark areas.
- Color Temperature: Select predefined color temperature modes (e.g., Warm, Cool, User) or adjust RGB values manually.
- Low Blue Light Mode: Reduces blue light emission to minimize eye strain, especially during prolonged use.
- Flicker-Free Technology: This monitor incorporates flicker-free technology to reduce eye fatigue.
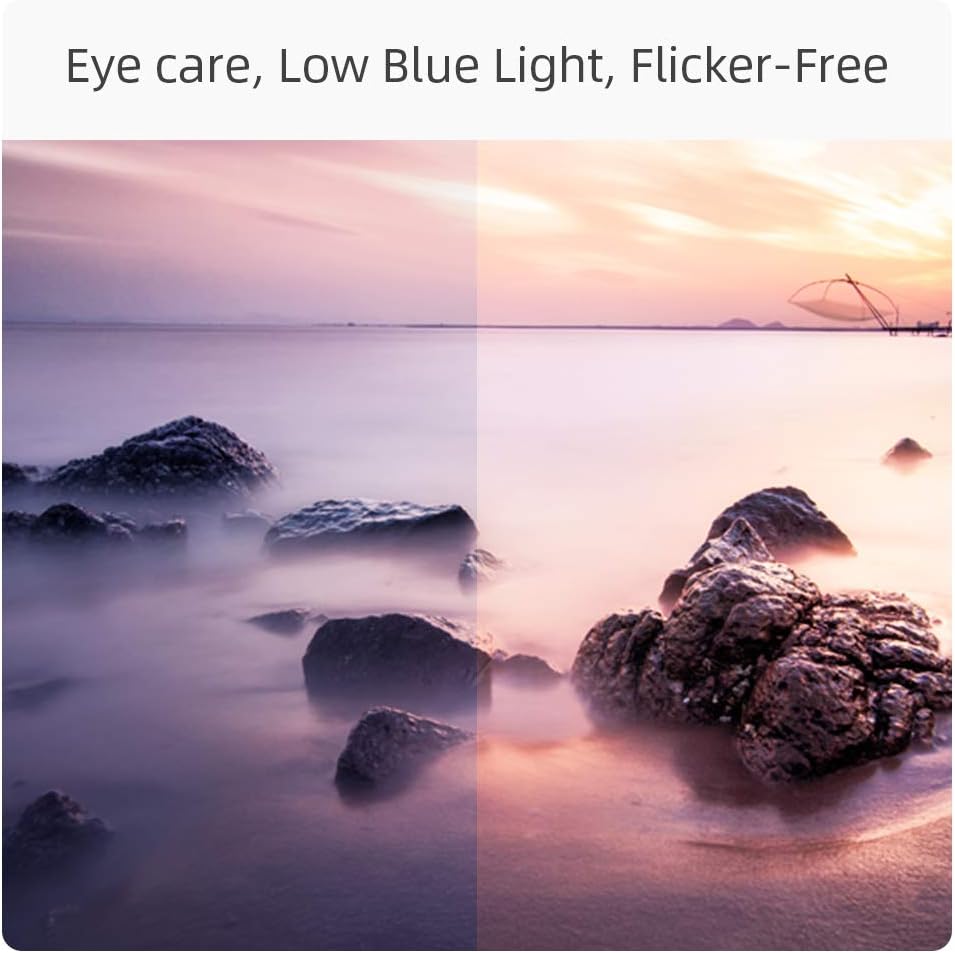
Figure 5.1: Visual representation of the monitor's eye care features, including Low Blue Light and Flicker-Free technology, designed to reduce eye strain.
5.4 Input Selection
If multiple devices are connected, you can switch between input sources via the OSD menu or a dedicated input select button.
5.5 Audio Settings
Adjust the volume for connected headphones or external speakers.
5.6 Gaming Features
- FreeSync: This monitor supports AMD FreeSync technology, which synchronizes the monitor's refresh rate with your GPU's frame rate to eliminate screen tearing and stuttering. Enable FreeSync in the OSD menu and on your graphics card settings.
- Response Time: The monitor features a 5ms response time for smooth motion.
- Refresh Rate: The monitor supports a 75Hz refresh rate for smoother visuals compared to standard 60Hz displays.

Figure 5.2: Visual comparison demonstrating the smoother motion provided by a 75Hz refresh rate, ideal for dynamic content and gaming.
6. Maintenance
Cleaning the Monitor
- Always unplug the monitor before cleaning.
- Use a soft, lint-free cloth to gently wipe the screen. For stubborn marks, dampen the cloth with a small amount of water or a mild, non-abrasive screen cleaner.
- Wipe the monitor casing with a soft, dry cloth. Avoid using abrasive cleaners, waxes, or solvents.
Storage
If storing the monitor for an extended period, unplug it and store it in a cool, dry place, preferably in its original packaging to protect it from dust and physical damage.
7. Troubleshooting
| Problem | Possible Cause | Solution |
|---|---|---|
| No image on screen |
|
|
| Image is blurry or distorted |
|
|
| No sound from audio out |
|
|
| Flickering or unstable image |
|
|
8. Specifications
| Feature | Detail |
|---|---|
| Model Number | 32P625Q |
| Screen Size | 32 Inches |
| Panel Type | IPS LED |
| Resolution | QHD (2560 x 1440 Pixels) |
| Aspect Ratio | 16:9 |
| Response Time | 5 ms |
| Refresh Rate | 75 Hz |
| Brightness | 250 cd/m2 |
| Contrast Ratio | 1000:1 (Static), 1M:1 (Dynamic) |
| Viewing Angle | 178°/178° |
| Color Gamut | sRGB 100% (10-bit panel) |
| Connectivity | HDMI, DisplayPort (DP), VGA, Audio Out (Headphone Jack) |
| Special Features | Low Blue Light, Flicker-Free, FreeSync, Ultra-thin bezels, VESA Compatible |
| Power Consumption | 34 Watt (Typical), 26 kWh/1000h (Energy Label) |
| Dimensions (with stand) | 712 x 180 x 495 mm (LxWxH) |
| Tilt Adjustment | 5° to -15° |

Figure 8.1: Detailed dimensions of the CHiQ 32P625Q monitor with its stand.
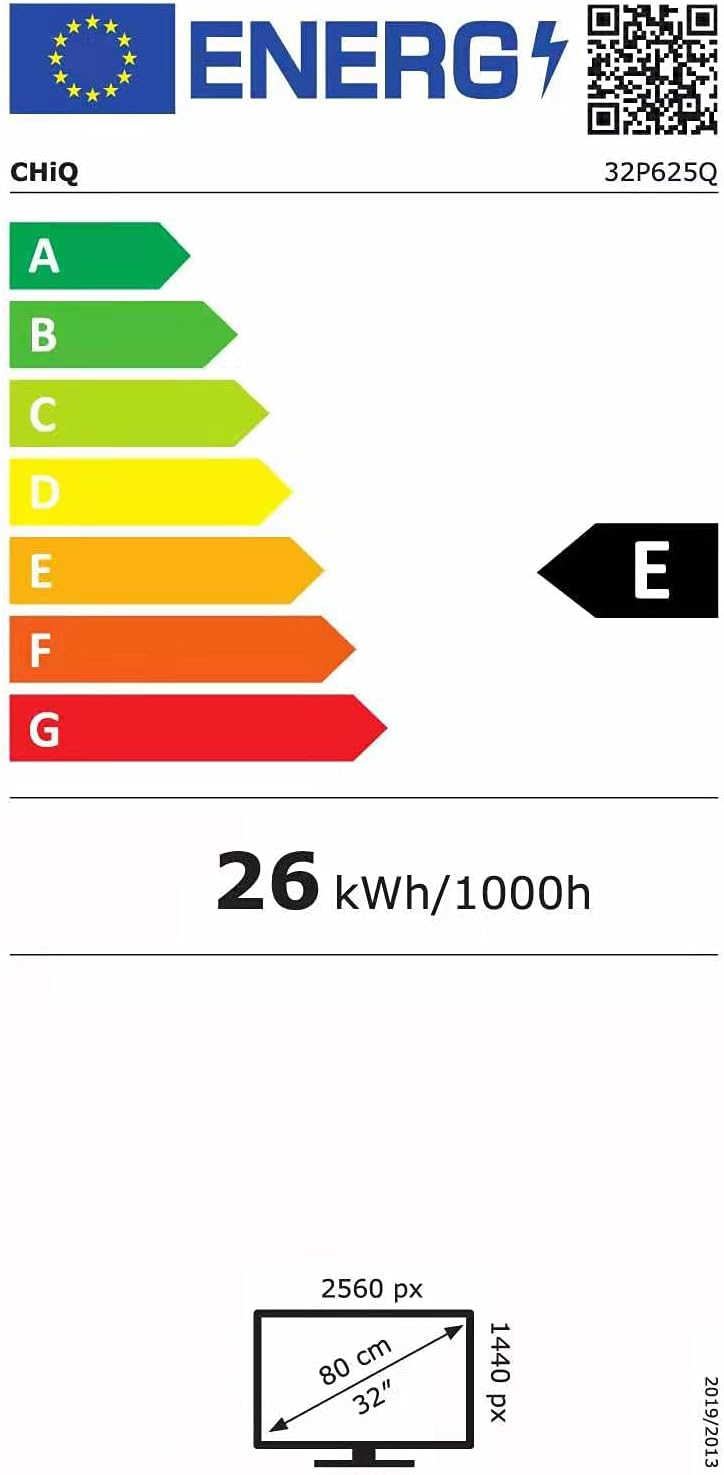
Figure 8.2: EU Energy Label for the CHiQ 32P625Q monitor, indicating an energy efficiency class E and 26 kWh/1000h consumption. For more details, visit the EPREL database.
9. Warranty and Support
CHiQ products are designed and manufactured to the highest quality standards. For information regarding warranty coverage, technical support, or service inquiries, please refer to the warranty card included with your product or visit the official CHiQ website. Please have your model number (32P625Q) and purchase information ready when contacting support.


